

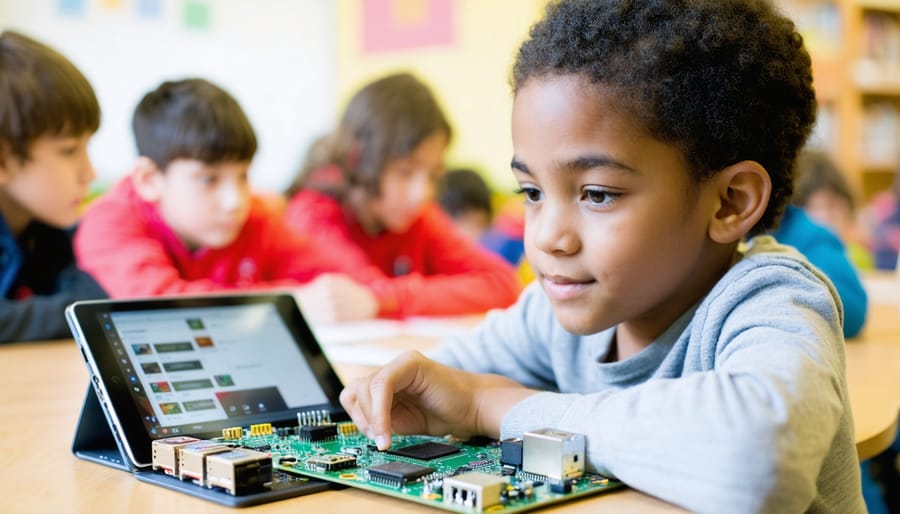
Transform any tablet or smartphone into a powerful communication device by installing dedicated AAC (Augmentative and Alternative Communication) apps like Proloquo2Go or TouchChat. Modern assistive technology solutions have revolutionized how non-verbal students participate in classroom activities, express their needs, and engage with peers. Eye-tracking devices, switch-accessible tablets, and text-to-speech systems now offer unprecedented opportunities for meaningful communication at a fraction of the cost of traditional speech-generating devices.
Whether navigating complex academic concepts or sharing basic needs, today’s digital tools adapt to each student’s unique abilities and communication style. Open-source software and affordable hardware options make these solutions increasingly accessible to schools and families across all budget levels. The key lies in selecting the right combination of tools, implementing them consistently, and maintaining ongoing support to ensure students develop true communication independence.
This guide explores practical, cost-effective ways to implement assistive technology in educational settings, focusing on customizable solutions that grow with your students’ needs and abilities.
Why Raspberry Pi for Communication Devices?
When it comes to creating assistive communication devices, Raspberry Pi stands out as an exceptional choice for several compelling reasons. As demonstrated by various cost-effective Raspberry Pi solutions, these versatile single-board computers offer an impressive balance of functionality and affordability that makes them ideal for educational applications.
First and foremost, the cost advantage is significant. While commercial augmentative and alternative communication (AAC) devices can cost thousands of dollars, a Raspberry Pi-based solution can be built for a fraction of that price. This affordability makes it possible for schools and families to provide communication tools to more students who need them.
The customization potential of Raspberry Pi is another major advantage. Using Python or other programming languages, educators and developers can create interfaces tailored to each student’s specific needs, abilities, and preferences. Whether it’s adjusting button sizes, modifying color schemes, or implementing unique input methods, the flexibility is unmatched.
Durability is also a key factor. Raspberry Pi boards are known for their reliability and can be housed in sturdy cases designed for educational environments. With proper protection, these devices can withstand daily use in classroom settings and be easily maintained or repaired when necessary.
The active Raspberry Pi community provides an additional benefit, offering extensive support through forums, tutorials, and shared projects. This means educators can find solutions to common problems and build upon existing successful implementations rather than starting from scratch.
Furthermore, Raspberry Pi devices can be easily updated and expanded over time. As a student’s needs change or new features become necessary, the system can evolve without requiring the purchase of entirely new equipment. This adaptability ensures that the communication device remains relevant and useful throughout a student’s educational journey.

Essential Hardware Components
Choosing the Right Raspberry Pi Model
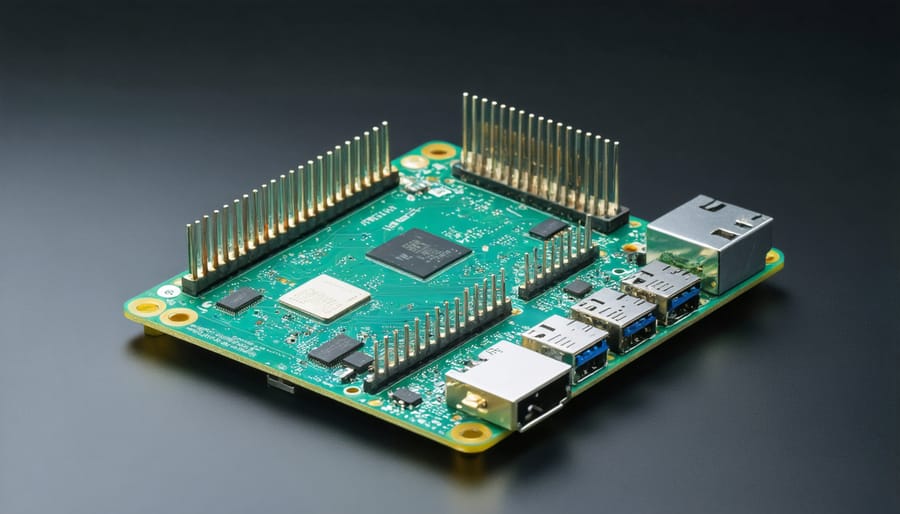
When selecting a Raspberry Pi for a communication device, several models offer unique advantages. The Raspberry Pi hardware configuration needs careful consideration to ensure optimal performance for assistive technology applications.
The Raspberry Pi 4 Model B is currently the most powerful option, with up to 8GB RAM and excellent processing capabilities, making it ideal for running sophisticated communication software and handling multiple inputs simultaneously. Its enhanced GPU also supports crisp display output, essential for symbol-based communication systems.
The Pi 3 Model B+ offers a good balance of performance and cost, making it suitable for basic to intermediate communication devices. While less powerful than the Pi 4, it’s still capable of running most communication applications smoothly.
For portable solutions, the Pi Zero W stands out with its compact size and built-in wireless connectivity. Though it has limited processing power, it’s perfect for simple communication boards and basic text-to-speech applications. Its low power consumption also means longer battery life for mobile use.
Touch Screens and Input Methods
Touch screens offer an intuitive and accessible input method for non-verbal students, with several options available for different needs and abilities. Capacitive touch screens, similar to those found in tablets, work well for students with precise motor control, while resistive touch screens can be operated with any object and are more suitable for students who may use adaptive pointing devices.
For optimal accessibility, displays should be at least 10 inches in diagonal size, providing enough space for multiple communication symbols or buttons. High-contrast displays with adjustable brightness settings help students with visual processing challenges. Anti-glare screens reduce eye strain during extended use, particularly important in varied lighting conditions common in educational settings.
Alternative input methods include switch interfaces, which can be configured for single or multiple switch access, and eye-tracking systems for students with limited motor abilities. Many modern touch screens also support multi-touch gestures, allowing for customized interaction patterns that match each student’s capabilities and communication needs.
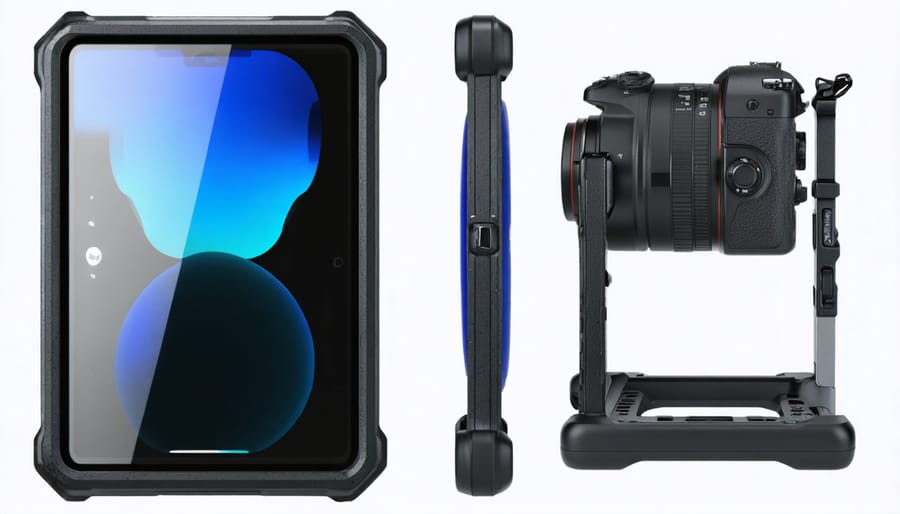
Consider mounting options that allow for easy adjustment of screen angle and height, ensuring comfortable access for students whether seated or standing. Protective cases with grip-friendly surfaces can make devices more manageable for students with motor challenges while protecting against accidental damage.
Audio Output Solutions
Quality audio output is essential for ensuring clear communication in assistive devices. External speakers provide better sound clarity than built-in options, with portable USB-powered speakers being particularly suitable for classroom environments. For more discreet solutions, consider small amplified speakers or personal audio devices that can be attached to wheelchairs or mounting systems.
When selecting speakers, prioritize models with simple volume controls and robust construction to withstand daily use. Many educators find success with water-resistant speakers, which offer additional durability against spills and cleaning. Bluetooth speakers can provide wireless convenience but ensure they maintain reliable connectivity and have sufficient battery life for full school days.
For students who need private audio feedback, lightweight headphones or single-ear monitors can be excellent alternatives to speakers, allowing for discrete communication without disturbing others in the learning environment.
Software Setup and Configuration
Operating System Installation
For this assistive technology project, we’ll use Raspberry Pi OS (formerly Raspbian) as our operating system. Begin by downloading the Raspberry Pi Imager from the official Raspberry Pi website. This tool simplifies the OS installation process significantly.
Insert your microSD card into your computer using a card reader. Launch the Pi Imager and select “Raspberry Pi OS (32-bit)” as your operating system. If you’re planning to use more demanding communication software, consider the 64-bit version for better performance.
Choose your microSD card from the storage options list. Before clicking “Write,” access the advanced options (gear icon) to pre-configure your Wi-Fi settings and enable SSH for remote access. This step saves time during initial setup.
Click “Write” and wait for the process to complete. This typically takes 5-10 minutes, depending on your card’s size and speed. Once finished, insert the microSD card into your Raspberry Pi.
On first boot, the system will automatically expand to use your entire SD card and apply any pre-configured settings. When the desktop appears, open the terminal and run ‘sudo apt update’ followed by ‘sudo apt upgrade’ to ensure your system is up to date.
Finally, navigate to Preferences > Raspberry Pi Configuration to enable any needed accessibility features and adjust display settings for optimal visibility. This creates a solid foundation for installing communication software in the next steps.
Communication Software Options
Several communication software options are available for non-verbal students, ranging from basic symbol-based systems to advanced text-to-speech applications. One popular choice is PiAAC, an open-source solution specifically designed for Raspberry Pi devices that offers customizable communication boards and voice output capabilities.
For symbol-based communication, Proloquo2Go and SymbolStix provide comprehensive libraries of icons and pictures that students can use to express themselves. These applications allow for easy categorization and organization of symbols, making it simpler for students to find and select the desired expressions.
Text-to-speech software like CoughDrop and LAMP Words for Life offer more advanced features, including word prediction, phrase banking, and natural-sounding voice output. These solutions can grow with the student, adapting to their increasing communication needs and abilities over time.
Grid 3 and TouchChat HD are particularly notable for their flexibility in creating custom communication grids and their robust vocabulary sets. They also offer cloud synchronization, allowing seamless transitions between different devices and backup of personalized settings.
For budget-conscious implementations, free options like Cboard and OpenAAC provide basic but effective communication tools. These open-source alternatives can be customized and expanded through community contributions, making them particularly suitable for DIY projects and custom solutions.
When selecting software, consider factors like ease of use, customization options, vocabulary expansion capabilities, and compatibility with your chosen hardware platform.
Customizing the Interface
Creating an effective interface for non-verbal students requires careful consideration of individual needs and abilities. When customizing accessibility features, focus on simplicity and clarity in the visual layout. Use high-contrast color schemes and clear, recognizable symbols that are meaningful to the student.
Consider implementing adjustable button sizes to accommodate different motor skill levels. Large, well-spaced buttons work better for students with limited fine motor control, while more advanced users might prefer a compact layout with more options visible at once.
Text-to-speech output should be customizable in terms of voice, speed, and volume. Many students respond better to particular voices or speech patterns, so having multiple options is crucial. Include the ability to preview sounds and adjust pronunciation for commonly used words.
Navigation should be intuitive and consistent across screens. Implement a clear home button and back function that’s always accessible. Consider adding customizable shortcuts for frequently used phrases or commands to reduce the number of steps needed for common communications.
Remember to include options for different symbol sets (like PCS, Widgit, or custom images) and allow for personalized categories and vocabulary organization. This flexibility ensures the interface can grow and adapt with the student’s communication needs over time.
Security and Data Protection
When implementing assistive technology for non-verbal students, security and data protection must be treated as top priorities. These devices often contain sensitive personal information, communication logs, and customized settings that are crucial for daily student interaction.
First, ensure all devices are password-protected with strong, unique passwords. For shared devices in educational settings, implement separate user profiles for each student to maintain individual privacy and prevent accidental changes to personalized settings. Enable two-factor authentication wherever possible, especially for cloud-based communication apps and storage services.
Regular data backup is essential to prevent loss of vital communication settings and personalized vocabulary. Create automated backups to both local storage and secure cloud services. For local backups, use encrypted external drives stored in a secure location. Cloud backups should utilize services compliant with educational privacy regulations, such as FERPA in the United States.
Keep all software and operating systems updated with the latest security patches. This includes the main communication software, any supporting apps, and the device’s operating system. Configure automatic updates to run during non-school hours to minimize disruption.
For devices used in multiple locations, enable device tracking features and implement remote wipe capabilities in case of loss or theft. Document all security measures and create clear protocols for staff members regarding device access, data sharing, and backup procedures.
Consider data privacy when sharing progress reports or communication logs with parents or therapeutic teams. Use secure channels for sharing sensitive information and ensure all parties understand and follow data protection guidelines.
Regularly audit security measures and update protocols as needed. Train all staff members who work with these devices on security best practices and emergency procedures. This includes proper handling of devices, secure storage practices, and steps to take if a security breach is suspected.
Maintenance and Troubleshooting
Regular maintenance and proactive troubleshooting are essential for keeping assistive communication devices running smoothly. Common issues include battery drainage, touchscreen responsiveness problems, and software glitches. To extend battery life, adjust screen brightness settings and close unused applications. If the touchscreen becomes unresponsive, clean it gently with a microfiber cloth and ensure there’s no moisture damage.
Software freezes can usually be resolved with a simple restart. However, if problems persist, check for available updates and install them during non-critical usage times. Keep a backup of all personalized settings, vocabulary boards, and custom configurations to prevent data loss.
For speech output devices, regularly check speaker functionality and clean any dust from ports or openings. If voice output becomes distorted or stops working, verify volume settings and test with different audio files to isolate the issue.
Physical maintenance includes keeping devices in protective cases, avoiding extreme temperatures, and storing them in dry environments. Create a monthly maintenance schedule to check for loose connections, update software, and verify all features are working correctly.
For devices using switches or alternative input methods, ensure connections are secure and test button responsiveness regularly. Keep spare parts, such as backup batteries or charging cables, readily available to minimize disruption to student communication.