

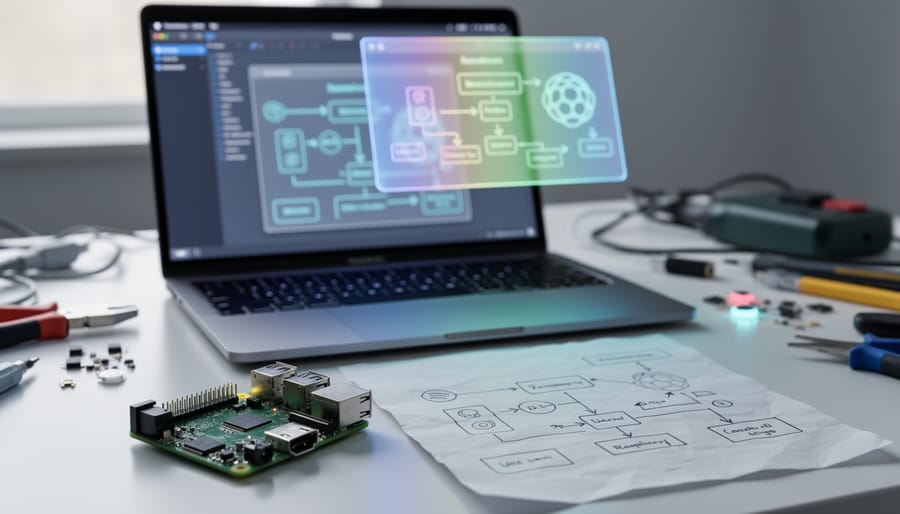
Leverage AI-powered design tools like Uizard and Galileo AI to transform rough sketches into functional UX prototypes within minutes, eliminating hours of manual wireframing work for your Raspberry Pi interface projects. These platforms use machine learning to interpret hand-drawn layouts and generate clean, responsive designs that you can immediately test with users.
Implement AI usability testing tools such as Maze or Attention Insight to analyze how users interact with your Raspberry Pi project interfaces without recruiting large test groups. These systems use predictive eye-tracking and heatmap generation to identify confusing navigation patterns, unclear labels, and design bottlenecks before you commit to final builds.
Deploy ChatGPT and similar large language models to generate user personas, journey maps, and content strategies tailored to your specific maker project. Feed the AI details about your Raspberry Pi application—whether it’s a smart home controller or educational robot—and receive detailed user profiles complete with pain points, technical skill levels, and interaction preferences that inform better design decisions.
Automate accessibility compliance checking using AI scanners like Stark or Microsoft’s Accessibility Insights to ensure your Raspberry Pi project interfaces work for users with disabilities. These tools automatically detect color contrast issues, missing alt text, and keyboard navigation problems, providing specific fixes rather than vague guidelines.
The integration of artificial intelligence into UX design workflows represents a practical evolution for makers who need professional-quality interfaces without extensive design training. By combining these AI tools with your technical skills, you can create Raspberry Pi projects that are not just functional, but genuinely enjoyable to use.
What AI-Driven UX Design Means for Raspberry Pi Projects
From Screen Design to Physical Builds
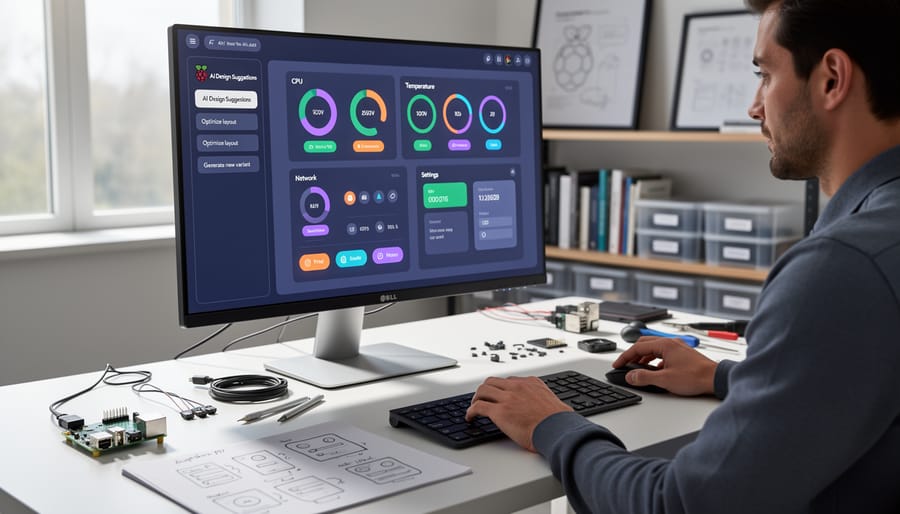
AI is revolutionizing how we move from digital designs to physical Raspberry Pi builds by automating and streamlining the entire prototyping process. Modern AI tools can generate user interface mockups that directly translate into code for touchscreen displays, automatically sizing buttons and elements for the specific screen dimensions of your Raspberry Pi setup. This eliminates hours of manual coding and testing iterations.
For projects like smart home control panels or environmental monitoring stations, AI-powered design assistants can suggest optimal layouts based on your component list and intended functionality. They analyze ergonomics and accessibility standards to ensure your physical interface is comfortable to use. Tools like GitHub Copilot and ChatGPT can even convert your UI designs into Python code compatible with libraries like Tkinter or Kivy, which work seamlessly with Raspberry Pi displays.
The real advantage appears when building IoT devices. AI can help design responsive interfaces that adapt to different screen sizes, from tiny 3.5-inch displays to larger 7-inch touchscreens. It can also generate the necessary GPIO pin configurations and sensor integration code, bridging the gap between your visual design and the physical hardware connections. This integration means you spend less time troubleshooting and more time refining your project’s functionality.
The Design Automation Advantage
One of the biggest advantages of incorporating AI design tools into your UX workflow is the dramatic acceleration of the iteration cycle. Traditional design approaches often require hours of manual adjustments, followed by test prints or cuts that consume materials and time. When a design doesn’t quite work, you’re back to square one with wasted filament or material scraps.
AI-powered automation changes this entirely. Instead of manually tweaking each parameter, you can generate multiple design variations in minutes. For Raspberry Pi makers working with 3D printers, laser cutters, or CNC machines, this means testing five or ten different enclosure designs before committing to a single print. The AI analyzes your constraints like button placement, ventilation requirements, or mounting holes and produces viable alternatives instantly.
This rapid prototyping capability is particularly valuable when designing custom cases or interface panels for your projects. You can experiment with different layouts, component arrangements, and aesthetic choices without the usual resource penalty. The result is better final designs achieved faster, leaving you more time to focus on the actual building and coding aspects of your Raspberry Pi projects.
AI Tools That Actually Work for Raspberry Pi Designers
Interface Design Assistants
AI-powered interface design tools have revolutionized how we create user-friendly displays for Raspberry Pi projects. These assistants help you build intuitive touchscreen interfaces, control panels, and dashboards without extensive design experience.
Tools like Uizard and Galileo AI allow you to generate complete interface layouts from simple text descriptions or rough sketches. For example, you can describe “a temperature monitoring dashboard with three sensor readings and a graph” and receive a polished design within seconds. These AI tools understand common UI patterns and automatically apply appropriate spacing, typography, and color schemes that work well on smaller Raspberry Pi displays.
For hands-on projects, Figma’s AI plugins streamline the process of creating custom control panels. They suggest optimal button sizes for touchscreen interaction, recommend accessible color contrasts for outdoor visibility, and even generate icon sets that match your project’s aesthetic. The AI considers screen resolution constraints typical of Raspberry Pi displays, ensuring your designs remain crisp and functional.
When designing dashboards for data visualization, tools like ChatGPT can help you structure information hierarchy and suggest which metrics deserve prominent placement. This guidance proves invaluable when displaying sensor data, system statistics, or IoT device controls on compact screens, helping you prioritize what users need to see at a glance.
Component Layout Optimizers
When building physical interfaces for your Raspberry Pi projects, the placement of components can make or break the user experience. AI-powered layout optimizers are emerging as valuable tools that analyze ergonomic principles and user behavior patterns to suggest the best positions for buttons, displays, and sensors on your project enclosure.
These tools work by processing data about human hand sizes, comfortable reach distances, and typical interaction patterns. For example, if you’re designing a control panel for a home automation system, an AI optimizer can recommend placing frequently-used buttons within easy thumb reach while positioning less-critical controls at the periphery. Some tools even analyze heatmap data from similar devices to understand where users naturally expect to find certain functions.
Getting started is straightforward. Tools like Figma with AI plugins or specialized CAD assistants can import your component list and project dimensions, then generate multiple layout options ranked by usability scores. You simply input your components (like a 7-inch touchscreen, three arcade buttons, and a rotary encoder), specify your enclosure size, and the AI suggests arrangements that minimize awkward hand positions and reduce accidental button presses.
For Raspberry Pi makers, this technology is particularly useful when prototyping controller designs, custom keyboards, or interactive kiosks where physical comfort directly impacts how people engage with your creation.
User Flow Generators
When you’re building complex Raspberry Pi applications like home automation systems, understanding how users will navigate through your interface is crucial. AI-powered user flow generators can save you hours of manual mapping by automatically creating interaction diagrams and navigation paths based on your project requirements.
Tools like Uizard and Visily use machine learning to analyze your project description and generate complete user flow diagrams in minutes. Simply describe your home automation project – for example, “control lights, thermostat, and security cameras through a dashboard” – and these tools will create visual maps showing how users move between different screens and functions. This is particularly helpful when you’re juggling multiple sensor inputs and control interfaces on your Raspberry Pi.
The real advantage comes when testing different navigation approaches. AI generators can quickly produce multiple flow variations, letting you compare whether users should access camera feeds through a main dashboard or a dedicated security tab. For beginners, these tools eliminate the steep learning curve of traditional UX mapping software while still producing professional results.
You can also use AI to identify potential bottlenecks in your interface before writing a single line of code. The generated flows highlight where users might get confused or need too many clicks to accomplish basic tasks, helping you optimize your Raspberry Pi project’s interface from the start.
Real-World Applications: Where AI Design Meets Your Workbench
Smart Home Control Panels
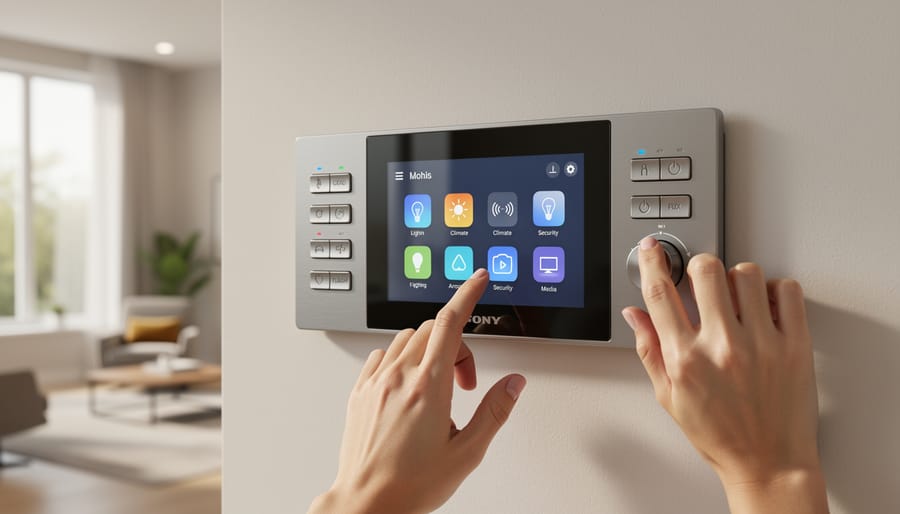
Meet Sarah, a maker who wanted to create a custom control panel for her Raspberry Pi home automation system. Instead of spending weeks sketching layouts and testing button placements, she turned to AI-powered UX design tools to streamline the process.
Using machine learning-based interface generators, Sarah input her requirements: control lights in five rooms, adjust thermostats, and monitor security cameras. The AI analyzed thousands of existing touchscreen interfaces to suggest optimal button sizes for finger taps, recommended color schemes for quick visual scanning, and even predicted which controls users would access most frequently to place them prominently.
The AI tool generated three layout variations in minutes, each optimized for different screen sizes commonly used with Raspberry Pi displays. Sarah tested these prototypes on her 7-inch touchscreen, gathering feedback from family members. The AI then refined the design based on usage patterns, enlarging frequently-used buttons and repositioning rarely-accessed settings into submenus.
The result? A polished, intuitive interface that would have taken weeks to develop manually, completed in just two days. This case demonstrates how AI democratizes professional UX design for hobbyists, making sophisticated home automation projects accessible to makers without formal design training.
Retro Gaming Cabinets
Building a retro gaming cabinet with RetroPie offers a perfect opportunity to leverage AI for creating intuitive user experiences. Traditional emulation interfaces can feel cluttered with hundreds of games and confusing navigation, but AI-powered tools are changing how we design these systems.
AI layout generators can analyze your game library and automatically organize menus based on genre, era, or play frequency. Tools like ChatGPT can help you design custom EmulationStation themes by suggesting color schemes that match your cabinet’s aesthetic while maintaining readability on different screen sizes. You can describe your vision in plain language, and the AI will generate XML configuration files and layout recommendations that you can implement directly.
For control schemes, AI assists in mapping buttons intelligently across different emulator systems. Instead of manually configuring each emulator, machine learning algorithms can study standard controller layouts and suggest optimal mappings that feel consistent whether players are launching NES games or PlayStation classics. This reduces the learning curve for users switching between systems.
Consider using AI image upscaling tools to enhance game artwork and scraped images, ensuring your menu system looks sharp on modern displays. The combination of smart organization and visual polish creates a cabinet that’s both nostalgic and user-friendly, making your retro gaming project accessible to players of all experience levels.
Educational Kits and Classroom Projects
AI-powered UX design tools are transforming how educators create engaging classroom projects and learning kits. These tools help design intuitive interfaces for student-facing applications, making complex concepts more accessible through thoughtfully arranged elements and interactive components.
When building educational Raspberry Pi projects, AI can analyze how students typically navigate learning materials and suggest optimal layouts. For example, AI tools can recommend where to place control buttons, how to organize sensor data displays, and which color schemes work best for different age groups. This is particularly valuable for educators who may not have formal design training but want to create professional-looking project interfaces.
Tools like Uizard and Galileo AI allow you to describe your educational project in plain language and generate functional interface mockups within minutes. You might input “create a weather station dashboard for middle school students” and receive a clean, age-appropriate design complete with large, readable temperature displays and simple navigation controls.
These AI-designed interfaces reduce cognitive load, helping students focus on learning core concepts rather than struggling with confusing controls. The result is more effective hands-on learning experiences where technology enhances understanding rather than creating barriers. For classroom projects involving multiple sensors or data visualization, AI can suggest information hierarchies that make complex data sets digestible for young learners.
Step-by-Step: Using AI to Design Your First Raspberry Pi Interface
Step 1: Define Your Project Requirements
Before you dive into AI-powered design tools, take time to map out exactly what your interface needs to accomplish. Start by identifying your core user tasks: Will your Raspberry Pi project require a touchscreen menu, voice commands, or perhaps a web-based control panel? Write down the specific actions users need to perform, like adjusting settings, viewing sensor data, or triggering hardware functions.
Next, consider your technical constraints. Note your display size, input methods (buttons, touchscreen, keyboard), and any accessibility requirements. If you’re building a weather station dashboard, for example, list what data needs displaying and how users will interact with it.
Document your user flow from start to finish. Sketch a simple path showing how someone moves through your interface, even if it’s just rough boxes and arrows on paper. This clarity prevents AI tools from generating beautiful but impractical designs that don’t match your hardware setup.
Finally, gather reference examples. Screenshot interfaces you admire or that solve similar problems. Having concrete examples helps you communicate effectively with AI design assistants and ensures the generated outputs align with your vision and project limitations.
Step 2: Generate Design Concepts with AI
Once you’ve gathered your user requirements, it’s time to let AI do the heavy lifting. Modern AI design tools can rapidly generate multiple interface concepts, saving you hours of manual mockup work. Tools like Uizard, Galileo AI, and Figma’s AI plugins can transform simple text descriptions or rough sketches into polished interface designs.
Start by feeding your AI tool clear prompts based on your requirements from Step 1. For example, if you’re designing a Raspberry Pi dashboard interface, describe the layout: “Create a monitoring dashboard with temperature gauges, system status indicators, and a control panel for GPIO pins.” The AI will generate several variations, giving you different approaches to consider.
These tools work particularly well for IoT and embedded system interfaces where you need functional, data-focused designs. Many can even adapt existing design systems to match your Raspberry Pi project’s aesthetic. Some advanced platforms integrate with digital twin technology, allowing you to visualize how your interface will interact with physical hardware in real-time.
Review the generated concepts critically. AI excels at creating visually coherent layouts, but you’ll need to ensure the designs align with your hardware constraints and user needs. Select the strongest concepts and note what works well in each version for refinement in the next step.
Step 3: Refine and Test Your Design
AI-generated designs are excellent starting points, but they rarely work perfectly right out of the box. Think of them as rough drafts that need your expertise to shine. Start by reviewing the AI’s output critically—does it align with your project’s actual hardware constraints? Does it consider the specific screen size and resolution of your Raspberry Pi display?
Import your AI-generated mockups into design software like Figma or even simple image editors to make necessary adjustments. Pay special attention to button sizes (they should be large enough for touch interfaces if applicable), text readability, and color contrast. Remember, what looks great on your laptop screen might be challenging to read on a smaller Raspberry Pi display.
Before diving into full development, create a simple prototype. You can use tools like HTML/CSS to build a basic version of your interface, or leverage prototyping software that exports to web formats. This step is crucial because it reveals usability issues that aren’t obvious in static mockups.
Now comes the most valuable part: testing on actual Raspberry Pi hardware. Load your prototype onto your Pi and interact with it in real-world conditions. Is the interface responsive enough? Do colors appear as expected on your specific display? Are navigation patterns intuitive when using a mouse, keyboard, or touchscreen?
Gather feedback from potential users if possible. Even informal testing with a friend or fellow maker can uncover blind spots in your design. Document what works and what doesn’t, then iterate. This cycle of refinement—adjust, test, learn, repeat—transforms AI-assisted concepts into polished, user-friendly interfaces that truly enhance your Raspberry Pi projects.
Common Pitfalls and How to Avoid Them
Over-Complicating Simple Projects
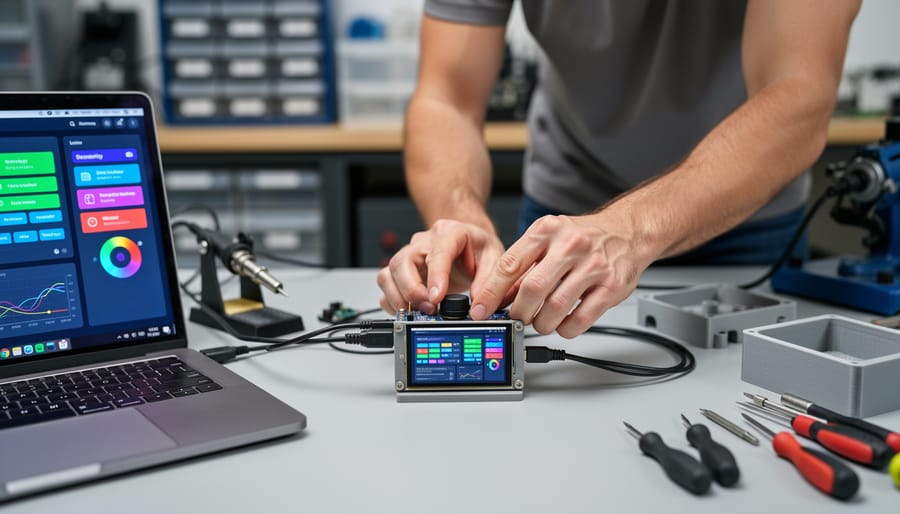
AI tools, trained on vast design portfolios, often suggest sophisticated interfaces that work beautifully for high-powered devices but can overwhelm a Raspberry Pi’s limited resources. You might request a simple sensor dashboard and receive recommendations for complex animations, multiple data visualization layers, and resource-intensive graphics that would strain your Pi’s GPU and memory.
The key is recognizing when AI suggestions don’t match your hardware constraints. When an AI recommends features like real-time 3D visualizations or elaborate transitions, ask yourself if they genuinely improve usability or just add visual flair. For Raspberry Pi projects, simpler often means better. A clean interface with clear buttons, straightforward navigation, and minimal animation typically performs better and provides a smoother user experience.
To keep AI-generated designs appropriate, set clear boundaries in your prompts. Specify your hardware limitations upfront: “Design a dashboard for Raspberry Pi 4 with 4GB RAM” or “Create a touch interface optimized for low-power devices.” Mention that you’re using sustainable project materials and emphasize efficiency alongside aesthetics.
Remember that effective UX design prioritizes function over decoration. Test AI suggestions on your actual hardware before committing to complex implementations. If loading times exceed two seconds or your Pi runs hot, simplify ruthlessly. Your users will appreciate responsive, reliable interfaces far more than flashy features that compromise performance.
Ignoring Hardware Limitations
AI design tools can generate beautiful interfaces, but they often overlook the physical constraints of Raspberry Pi hardware. Your stunning AI-created UI might look perfect on screen but fail miserably when users actually interact with it on your device.
Start by considering touchscreen accuracy. Official Raspberry Pi touchscreens and many third-party displays have varying levels of precision. If your AI generates buttons smaller than 44×44 pixels, users will struggle to tap them accurately, especially with larger fingers or when wearing gloves. Always test touch targets on the actual hardware and adjust sizing accordingly.
Button debouncing is another critical factor. Physical buttons connected to GPIO pins can register multiple presses from a single action due to mechanical bouncing. Your AI-designed interface needs to account for software debouncing delays, typically 50-200 milliseconds. This means button feedback animations and state changes should feel responsive while avoiding false triggers.
Display resolution varies widely across Raspberry Pi screens, from the official 800×480 touchscreen to larger 1920×1080 HDMI displays. AI tools might default to standard desktop resolutions that don’t match your target hardware. Before finalizing any AI-generated design, verify it renders correctly at your specific resolution and consider how UI elements scale across different screen densities.
Test early and often on actual Raspberry Pi hardware. What works in an AI preview won’t always translate to real-world performance, especially with the Pi’s limited processing power affecting animation smoothness and response times.
Incorporating AI into your Raspberry Pi design workflow isn’t just about following trends—it’s about making your projects better, faster, and more user-friendly. Whether you’re building a smart home dashboard, an educational tool, or an interactive display, AI-powered UX design tools can help you create interfaces that look professional and function intuitively, even if you’ve never taken a design course.
The beauty of these AI tools lies in their accessibility. They democratize good design by handling the technical complexities while you focus on what matters most: bringing your creative vision to life. From generating color schemes that ensure readability to suggesting layouts optimized for small screens, AI assistants act as collaborative partners in your making journey.
Now’s the perfect time to experiment with these tools on your next Raspberry Pi project. Start small—use an AI tool to refine your interface colors or generate icon sets. As you become comfortable, explore more advanced features like automated responsive layouts or AI-generated user flow diagrams. The learning curve is gentle, and the results speak for themselves.
Looking ahead, AI integration in maker communities will only deepen. We’re moving toward a future where AI doesn’t replace creativity but amplifies it, where anyone with an idea and a Raspberry Pi can create experiences that rival professionally designed products. The tools are here, they’re improving rapidly, and they’re waiting for you to put them to work. Your next great project is just an AI-assisted design session away.