

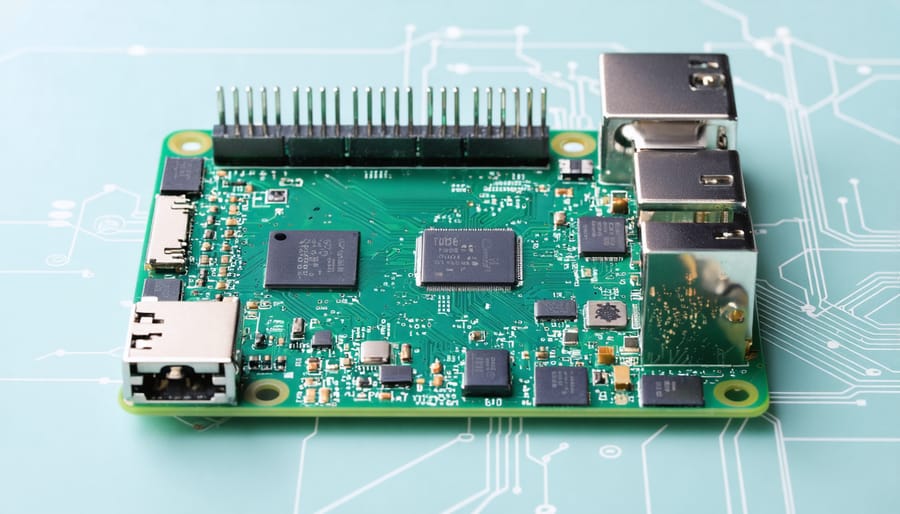
Yes, the Raspberry Pi 3 comes equipped with built-in WiFi capabilities, featuring an integrated 802.11n wireless LAN adapter that supports 2.4GHz networks. Unlike earlier models that required external USB WiFi dongles, this onboard wireless functionality makes the Pi 3 immediately ready for network connectivity out of the box. While not as advanced as newer Raspberry Pi models with dual-band WiFi, the Pi 3’s wireless capabilities prove more than sufficient for most IoT projects, home automation systems, and educational applications. The BCM43438 wireless chip provides reliable connectivity with speeds up to 150Mbps, enabling seamless internet access for everything from web browsing to remote SSH connections. This integration marked a significant milestone in the Raspberry Pi’s evolution, making it a more versatile platform for both beginners and experienced makers.
Raspberry Pi 3’s WiFi Specifications
WiFi Hardware Specs
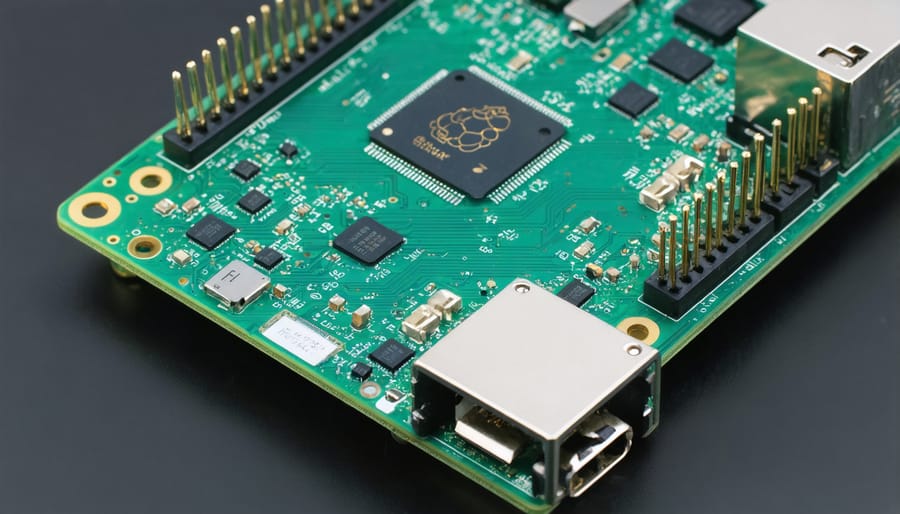
The Raspberry Pi 3 comes equipped with a BCM43438 wireless chip that provides both WiFi and Bluetooth capabilities. This integrated chip supports 802.11b/g/n wireless networking standards, enabling connection speeds up to 150 Mbps on the 2.4GHz frequency band. The wireless hardware features a built-in antenna, eliminating the need for external WiFi dongles or additional hardware.
The WiFi module is fully compatible with WPA2 encryption standards and supports various network authentication protocols, making it secure for both home and educational environments. While the single-band 2.4GHz operation might be a limitation for some users, it offers excellent range and wall penetration characteristics ideal for most household and classroom applications.
The wireless chip draws minimal power, typically consuming between 20-50mA during active use, which helps maintain the Pi’s efficient power profile. This integrated solution provides reliable wireless connectivity while keeping the board’s compact form factor intact.
Wireless Range and Performance
The Raspberry Pi 3’s built-in WiFi capability offers reliable performance within typical home and office environments. Users can expect a stable connection within 30-50 feet indoors, depending on wall materials and potential interference sources. In open spaces, the range can extend up to 100 feet, making it suitable for most project deployments.
The 802.11n WiFi supports theoretical speeds up to 150 Mbps, though real-world performance typically ranges from 20-40 Mbps. This is sufficient for most IoT projects, web servers, and media streaming applications. For users requiring broader coverage, you can extend your WiFi range using external antennas or USB WiFi adapters.
Signal strength and performance can be optimized by positioning your Raspberry Pi away from metal objects, maintaining line-of-sight where possible, and minimizing interference from other wireless devices. Regular firmware updates can also help maintain optimal WiFi performance.
Setting Up WiFi on Raspberry Pi 3

Desktop Method
Setting up WiFi on your Raspberry Pi 3 through the desktop interface is straightforward and user-friendly. First, ensure your Pi is booted into the Raspbian desktop environment. Look for the network icon in the top-right corner of your screen – it resembles either a wireless signal symbol or crossed-out wireless bars if you’re not connected.
Click on the network icon to see a list of available wireless networks in your area. Find your network’s name (SSID) in the list and click on it. If your network is hidden, you can select the “Hidden Network” option and manually enter your network details.
When prompted, enter your network password in the dialog box. Make sure to input it correctly, as passwords are case-sensitive. Check the “Remember this network” box if you want your Pi to automatically connect to this network in the future.
After entering the correct credentials, click “OK” or “Connect.” Your Pi will attempt to establish a connection, which typically takes a few seconds. Once connected, the wireless icon will change to show active signal bars.
To verify your connection, open a web browser and try accessing any website. You can also check your connection status by hovering over the network icon, which will display your current IP address and signal strength.
Command Line Method
For advanced users who prefer working with the command line, you can verify and configure your Raspberry Pi 3’s WiFi using terminal commands. First, open the terminal and type:
“`
iwconfig
“`
This command displays all wireless interfaces. You should see “wlan0″ listed, confirming your Pi 3’s wireless capability.
To scan for available networks, enter:
“`
sudo iwlist wlan0 scan
“`
To configure your WiFi connection, you’ll need to edit the wpa_supplicant configuration file:
“`
sudo nano /etc/wpa_supplicant/wpa_supplicant.conf
“`
Add your network details using this format:
“`
network={
ssid=”YourNetworkName”
psk=”YourPassword”
}
“`
Save the file using Ctrl+X, then Y, and Enter. To apply the changes, either reboot your Pi or restart the networking service with:
“`
sudo systemctl restart dhcpcd
“`
You can verify your connection status using:
“`
iwgetid
“`
This command displays your currently connected network. To check your IP address, use:
“`
ifconfig wlan0
“`
These commands give you complete control over your Pi’s wireless connectivity, perfect for headless setups or remote administration.
Troubleshooting Common WiFi Issues
Connection Problems
While the Raspberry Pi 3’s built-in WiFi capability is reliable, users may occasionally encounter connection issues. If your Pi isn’t connecting to WiFi, first verify that your country code is correctly set in the raspi-config menu, as this affects available WiFi channels. A common problem is weak signal strength, which can be resolved by repositioning your Pi closer to the router or using a USB WiFi adapter with an external antenna.
Authentication failures often occur due to incorrect network passwords or incompatible security protocols. Double-check your password and ensure your router supports WPA/WPA2 security. If you’re seeing “No wireless interfaces found” errors, try rebooting your Pi or updating your system with ‘sudo apt-get update’ followed by ‘sudo apt-get upgrade’.
For persistent issues, check if your power supply provides adequate current (minimum 2.5A recommended), as insufficient power can cause WiFi instability. Also, verify that your WiFi dongle or built-in module isn’t blocked by running ‘rfkill list’ and unblock if necessary using ‘rfkill unblock wifi’.
Performance Optimization
To maximize your Raspberry Pi 3’s WiFi performance, consider implementing these optimization strategies. Position your Pi away from metal objects and other electronics that might cause interference. For best results, maintain a clear line of sight between your Pi and the router whenever possible.
Update your Raspberry Pi’s firmware regularly through the terminal using ‘sudo apt-get update’ followed by ‘sudo apt-get upgrade’. This ensures you have the latest WiFi driver improvements and security patches.
Consider using a powered USB hub if you’re connecting multiple devices, as this can help maintain stable WiFi performance by ensuring consistent power distribution. For applications requiring remote desktop access, setting your Pi to use a static IP address can improve connection stability.
You can also optimize your WiFi performance by selecting less congested channels. Use tools like ‘iwlist wlan0 scan’ to analyze nearby networks and choose a less crowded channel through your router settings. If you’re still experiencing connectivity issues, a small USB WiFi adapter can serve as a backup or alternative to the built-in WiFi module.
The Raspberry Pi 3’s built-in WiFi capabilities open up a world of exciting possibilities for your projects. With 802.11n wireless networking and Bluetooth functionality, you can create everything from remote-controlled robots to home automation systems without the hassle of ethernet cables. Whether you’re a beginner or an experienced maker, the wireless features make it easier than ever to connect your Pi to networks, other devices, and the internet. Remember to keep your system updated and properly configured to ensure optimal wireless performance. By understanding and utilizing these wireless capabilities, you can take full advantage of what the Raspberry Pi 3 has to offer, making your projects more versatile and engaging. Don’t hesitate to explore new wireless applications and push the boundaries of what your Pi can do.