

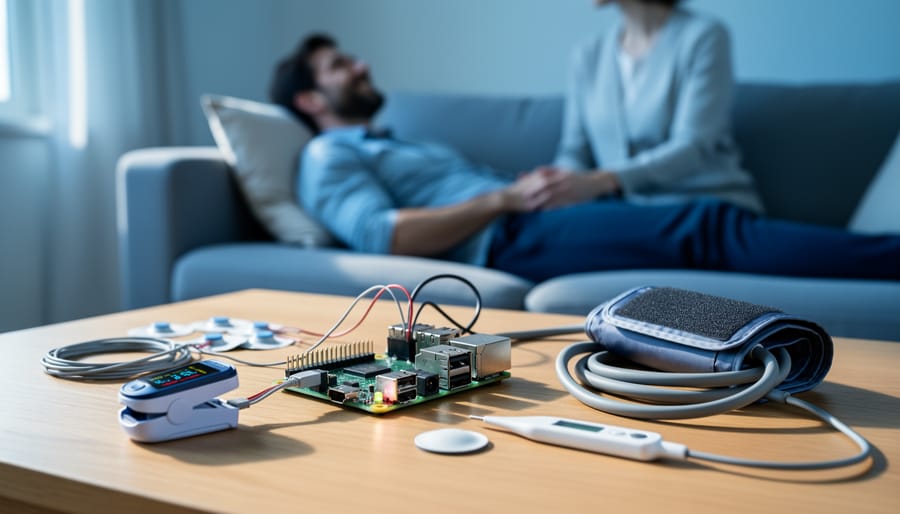
Monitor chronic conditions like diabetes and heart disease by deploying Raspberry Pi-powered glucose meters and ECG sensors that transmit real-time data to healthcare providers, reducing hospital readmissions by up to 38% according to recent studies. These affordable systems cost under $100 to build and can track vital signs continuously, making professional-grade health monitoring accessible to millions who lack regular access to medical facilities.
Transform your Raspberry Pi into a comprehensive vital signs tracker by connecting pulse oximeters, temperature sensors, and blood pressure modules through GPIO pins, then programming automated alerts when readings exceed safe thresholds. Students and hobbyists have successfully replicated these home health monitoring systems for elderly relatives, post-surgical patients, and individuals managing chronic illnesses, with data logging capabilities that create valuable health trend reports for medical professionals.
Build medication adherence monitors using Raspberry Pi cameras and weight sensors that detect when patients take prescribed doses, automatically notifying caregivers of missed medications. This practical application addresses one of healthcare’s biggest challenges, where non-adherence costs the system $300 billion annually and contributes to nearly 125,000 deaths each year in the United States alone.
Deploy environmental monitoring systems that track room temperature, humidity, and air quality for patients with respiratory conditions like asthma or COPD, using affordable sensors that cost less than $20 combined. These projects demonstrate how accessible technology can bridge the gap between hospital care and home management, empowering patients while providing clinicians with actionable data between appointments.
What Makes Raspberry Pi Perfect for Remote Patient Monitoring
Remote patient monitoring has traditionally been the domain of expensive medical equipment, but Raspberry Pi is democratizing healthcare technology in remarkable ways. This credit card-sized computer brings several compelling advantages that make it an ideal platform for building monitoring solutions, whether you’re a hobbyist exploring healthcare applications or an innovator developing affordable telehealth solutions.
The most obvious advantage is cost. While commercial medical monitoring devices can run into thousands of dollars, a Raspberry Pi 4 Model B costs under $50, with complete monitoring systems buildable for under $200. This affordability opens up possibilities for home health projects, educational demonstrations, and prototyping systems that would otherwise require significant capital investment.
Flexibility stands as another major strength. Unlike proprietary medical devices locked into specific functions, Raspberry Pi runs a full Linux operating system, giving you complete control over what you build. You can customize every aspect of your monitoring system, from which sensors to integrate to how data gets stored and transmitted. This adaptability means the same base hardware can monitor heart rate today and be repurposed for glucose tracking tomorrow.
The GPIO pins provide direct hardware interfacing capabilities that make sensor integration straightforward. Whether you’re connecting pulse oximeters, temperature sensors, or ECG modules, the 40-pin GPIO header gives you multiple options for interfacing with medical-grade sensors and custom circuits without requiring expensive intermediary hardware.
Processing power has improved dramatically across Raspberry Pi generations. The latest models feature quad-core processors capable of real-time data processing, running machine learning models, and handling multiple sensor inputs simultaneously. This computational capability means your monitoring device can analyze data locally rather than relying solely on cloud processing, improving response times and privacy.
Finally, the massive community support surrounding Raspberry Pi cannot be overstated. Thousands of developers share code libraries, tutorials, and troubleshooting advice specifically for healthcare applications. This collaborative ecosystem accelerates development and helps beginners avoid common pitfalls when building their first monitoring projects.
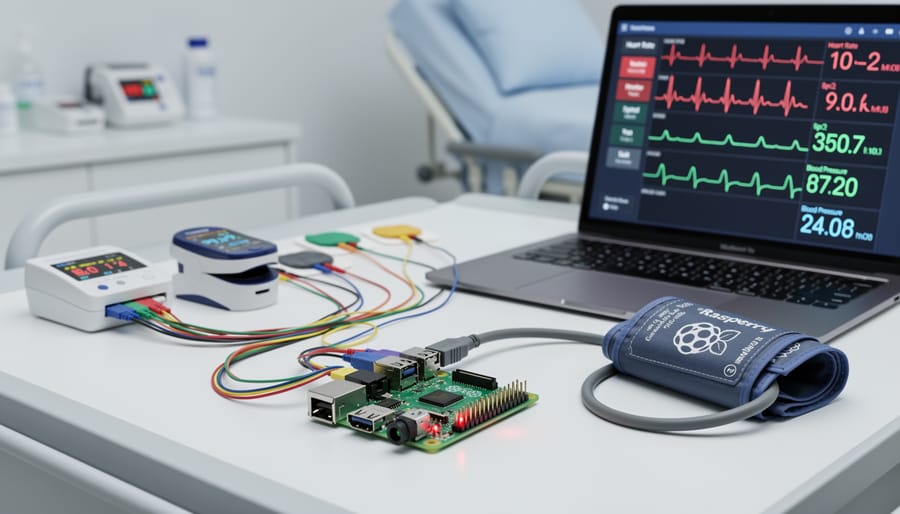
Real-World Remote Patient Monitoring Examples Using Raspberry Pi
Heart Rate and Pulse Monitoring Systems
Heart rate and pulse monitoring represents one of the most accessible entry points for building a Raspberry Pi-based remote patient monitoring system. These systems provide continuous cardiovascular data that can detect irregularities early, making them valuable for both home health applications and rehabilitation monitoring.
The MAX30102 sensor stands out as a popular choice for RPi heart rate projects. This integrated module combines a pulse oximeter and heart rate monitor using optical sensing technology. It connects to your Raspberry Pi via I2C interface, requiring only four wires: VCC, GND, SDA, and SCL. The sensor emits red and infrared light into the fingertip or earlobe, then measures the reflected light to calculate heart rate and blood oxygen saturation levels. You’ll need to enable I2C on your Pi through raspi-config and install the appropriate Python libraries to begin collecting data.
For more clinical-grade monitoring, ECG modules like the AD8232 provide detailed electrical heart activity measurements. These single-lead ECG sensors attach via electrode pads placed on the chest and connect to the Pi’s GPIO pins. While setup requires more careful positioning and signal processing, the resulting data offers much deeper insights into heart rhythm abnormalities.
Basic pulse sensors offer the simplest implementation path. These affordable modules use infrared LEDs and photodetectors to measure blood volume changes in capillaries. Connect the sensor’s signal pin to an analog-to-digital converter like the MCP3008, since Raspberry Pi lacks native analog inputs.
Once data collection begins, implement alert systems using conditional statements in your Python code. Set threshold values for abnormal heart rates (below 60 or above 100 BPM for adults) and trigger notifications via email, SMS through Twilio API, or push notifications. Store readings in a local SQLite database or cloud service for trend analysis and historical review by healthcare providers.
Blood Oxygen (SpO2) Level Tracking
Blood oxygen saturation monitoring has become increasingly vital, especially following the COVID-19 pandemic. Integrating pulse oximetry sensors with Raspberry Pi creates an affordable, real-time monitoring solution that can alert caregivers to potentially dangerous drops in SpO2 levels before they become critical.
The MAX30102 sensor is the go-to choice for DIY oximetry projects. This compact module combines red and infrared LEDs with a photodetector to measure oxygen saturation and heart rate simultaneously. It communicates via I2C protocol, making it straightforward to connect to your Raspberry Pi’s GPIO pins. You’ll need just four connections: VCC to 3.3V, GND to ground, SDA to GPIO 2, and SCL to GPIO 3.
For respiratory patients with conditions like COPD or asthma, continuous SpO2 monitoring provides crucial data about their breathing efficiency. When oxygen levels drop below 95 percent, the system can trigger alerts through email notifications, SMS messages, or even activate visual indicators like LED warnings. This early warning system gives patients and healthcare providers time to intervene before oxygen deprivation causes serious complications.
The software setup involves installing Python libraries like smbus2 and max30102 to interface with the sensor. Your Python script continuously reads sensor data, applies filtering algorithms to reduce noise from movement, and logs the measurements to a database. Adding timestamp data allows you to track patterns over days or weeks, revealing trends that might indicate deteriorating respiratory function.
For COVID-19 monitoring specifically, tracking SpO2 trends helps identify silent hypoxia, where patients experience dangerously low oxygen levels without feeling short of breath. This makes home monitoring particularly valuable for quarantined patients who need medical oversight without hospital visits.
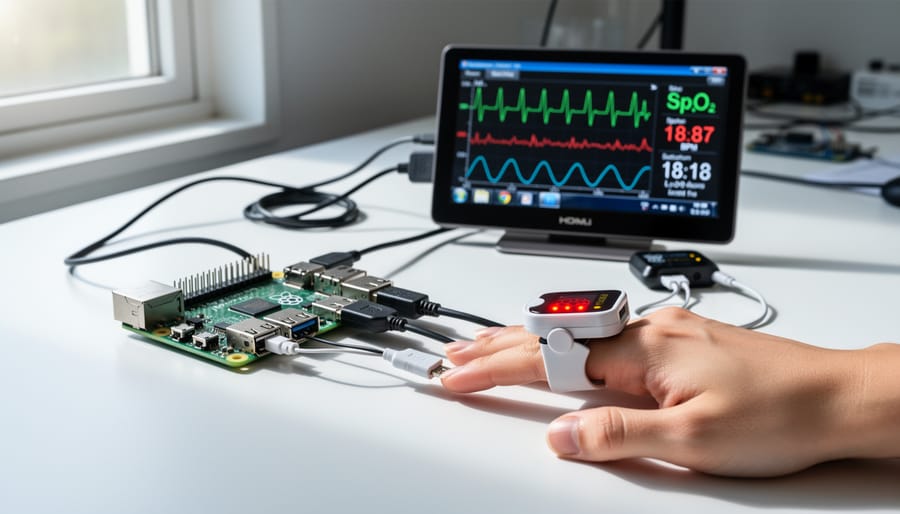
Temperature Monitoring for Fever Detection
Continuous temperature monitoring is essential for early fever detection, especially when caring for vulnerable patients or monitoring chronic conditions. With your Raspberry Pi, you can build an automated temperature tracking system using either contactless or contact-based sensors, each offering distinct advantages for different scenarios.
The MLX90614 infrared temperature sensor provides contactless measurements, making it ideal for situations where physical contact might be uncomfortable or impractical. This sensor can accurately measure body temperature from a few centimeters away, detecting infrared radiation emitted by the skin. You’ll connect it to your Raspberry Pi using the I2C protocol, requiring just four wires: VCC, GND, SDA, and SCL. The sensor works reliably in the 3.3V range that the Pi provides, and it can measure both object temperature and ambient temperature simultaneously.
For more precise readings requiring direct contact, the DS18B20 digital temperature sensor offers excellent accuracy within 0.5 degrees Celsius. This waterproof probe-style sensor uses the 1-Wire protocol, making it incredibly simple to connect—you only need three wires. Multiple DS18B20 sensors can share the same data pin, allowing you to monitor different body locations or multiple patients with a single Pi.
Your monitoring system should log temperature readings at regular intervals, storing data with timestamps in a CSV file or lightweight database. Using Python libraries like Adafruit_CircuitPython_MLX90614 for the infrared sensor or w1thermsensor for the DS18B20, you can quickly set up automated logging scripts. Implement threshold alerts that trigger notifications when temperatures exceed normal ranges, sending emails or SMS messages to caregivers when immediate attention is needed.
Blood Pressure Monitoring Stations
Hypertension affects billions worldwide, making blood pressure monitoring one of the most practical applications of Raspberry Pi in healthcare. By connecting a digital blood pressure cuff to your Raspberry Pi, you can create an automated monitoring station that tracks readings over time and identifies concerning trends before they become serious health issues.
The setup starts with a USB-enabled blood pressure monitor, which connects directly to your Raspberry Pi’s USB port. Popular models like the Omron Evolv or A&D Medical’s UA-651BLE work seamlessly with Python libraries that can extract measurement data. Your Raspberry Pi reads the systolic and diastolic values along with heart rate, then timestamps and stores this information in a local database like SQLite or sends it to cloud storage for physician access.
What makes this system valuable is the automated trend analysis. Using Python libraries like Matplotlib and Pandas, your Raspberry Pi can generate visual charts showing blood pressure patterns throughout the day. The system can identify concerning spikes that might occur at specific times, helping patients and doctors understand triggers. You can even configure email alerts when readings exceed safe thresholds, providing an early warning system for hypertensive crises.
For patients managing chronic hypertension, consistency matters more than individual readings. A Raspberry Pi-based station removes the burden of manual logging by automatically recording every measurement. Patients simply use the cuff as normal, and the data flows seamlessly into their health record. Over weeks and months, this creates a comprehensive picture of cardiovascular health that’s far more valuable than sporadic clinic visits.
The cost advantage is significant too. While commercial remote monitoring services charge monthly fees, a Raspberry Pi solution requires only the initial hardware investment, typically under $100 total, making proactive blood pressure management accessible to more patients.
Glucose Level Tracking for Diabetics
Glucose monitoring is one of the most impactful applications for Raspberry Pi-based remote patient monitoring, particularly for diabetic patients who need constant blood sugar oversight. The Raspberry Pi can transform standard glucose meters into intelligent monitoring systems that track trends, alert caregivers, and potentially prevent life-threatening situations.
The basic setup involves connecting a compatible glucose monitor to your Raspberry Pi through USB or Bluetooth connectivity. Many modern glucose meters, including continuous glucose monitors (CGMs), support data export features that the Pi can access. Using Python libraries like PyUSB or bluepy, you can extract readings automatically from devices like the Freestyle Libre or Dexcom systems. The Pi acts as a central hub, collecting readings every few minutes and logging them to a local database or cloud storage.
What makes this system powerful is the automation layer. Instead of manually checking readings and recording them in a logbook, the Raspberry Pi handles everything automatically. You can set up custom threshold alerts that trigger when glucose levels fall below 70 mg/dL (hypoglycemia) or rise above 180 mg/dL (hyperglycemia). These alerts can be sent via email, SMS, or push notifications to family members, caregivers, or healthcare providers, ensuring rapid response to dangerous fluctuations.
The data visualization component adds tremendous value. Using tools like Grafana or custom web dashboards built with Flask, you can create easy-to-read graphs showing glucose trends over hours, days, or weeks. This historical perspective helps identify patterns related to meals, medication, or physical activity, enabling better diabetes management decisions.
Fall Detection and Motion Monitoring
Fall detection systems represent one of the most impactful applications of remote patient monitoring, particularly for elderly individuals living independently. These systems use sensors to identify sudden movements or unusual patterns that indicate a fall, then automatically alert caregivers or emergency services.
The most accessible approach for hobbyists involves combining accelerometers like the MPU6050 with a Raspberry Pi. This sensor measures acceleration across three axes, detecting the characteristic signature of a fall: rapid acceleration followed by sudden impact and stillness. You can connect the MPU6050 to your Raspberry Pi’s I2C pins and write a Python script that monitors acceleration thresholds. When values exceed preset limits (typically around 2-3g for the initial fall and sudden deceleration upon impact), the system triggers an alert via email, SMS, or a dedicated mobile app.
Camera-based systems offer another dimension by analyzing movement patterns through computer vision. Using a Raspberry Pi Camera Module with OpenCV libraries, you can implement pose estimation algorithms that track body position. When the system detects a person transitioning from vertical to horizontal orientation rapidly, it flags a potential fall incident. This approach provides additional context since the video feed can be reviewed to confirm false positives.
For enhanced accuracy, combining both methods creates a more reliable system. The accelerometer provides immediate detection while the camera validates the event, reducing false alarms from dropped objects or pets. This redundancy is crucial for building trust with users and caregivers alike.
Essential Components and Sensors for Your RPM Project
Building a remote patient monitoring system with Raspberry Pi requires carefully selected components that balance functionality, reliability, and cost. Let’s break down exactly what you’ll need to get started.
At the heart of your project, you’ll want a Raspberry Pi 4 Model B (4GB RAM version, around $55 from authorized retailers like Adafruit or CanaKit). This provides ample processing power for data collection and transmission. Pair it with a quality microSD card (32GB SanDisk Ultra, approximately $8) for your operating system and data storage.
For vital sign monitoring, specific sensors make all the difference. The MAX30102 pulse oximeter and heart rate sensor module costs about $8-12 on Amazon or SparkFun. It measures both heart rate and blood oxygen saturation with reasonable accuracy for non-medical applications. For temperature monitoring, the DS18B20 waterproof digital temperature sensor runs around $5-7 and offers medical-grade precision.
If you’re monitoring multiple parameters, consider the AD8232 ECG sensor module (approximately $15-20) for heart rhythm tracking, or the MLX90614 non-contact infrared thermometer sensor ($10-15) for touchless temperature readings. Blood pressure monitoring gets trickier, but USB-compatible automatic blood pressure cuffs like certain Omron models (around $40-60) can interface with Raspberry Pi through Python libraries.
Connectivity is crucial for remote monitoring. The built-in Wi-Fi on Raspberry Pi 4 works well for home networks, but for portable solutions, consider adding a SIM7600 4G HAT (around $45-60) for cellular connectivity. Bluetooth sensors offer another option, with modules like the HM-10 BLE ($8-12) enabling wireless sensor communication.
Power management matters for reliability. A quality 5V 3A USB-C power supply costs $10-15, while for portable applications, a PiSugar battery module (approximately $40-50) provides uninterruptible power with built-in charging.
Housing your project professionally requires a suitable enclosure. Standard Raspberry Pi cases range from $8-20, but for medical environments, consider IP65-rated weatherproof cases ($15-25) that protect against dust and moisture.
Total project costs typically range from $150-300 depending on sensor selection and features. Most components are available through electronics distributors like Adafruit, SparkFun, Digi-Key, or general retailers like Amazon. Always verify sensor specifications match your monitoring requirements before purchasing.
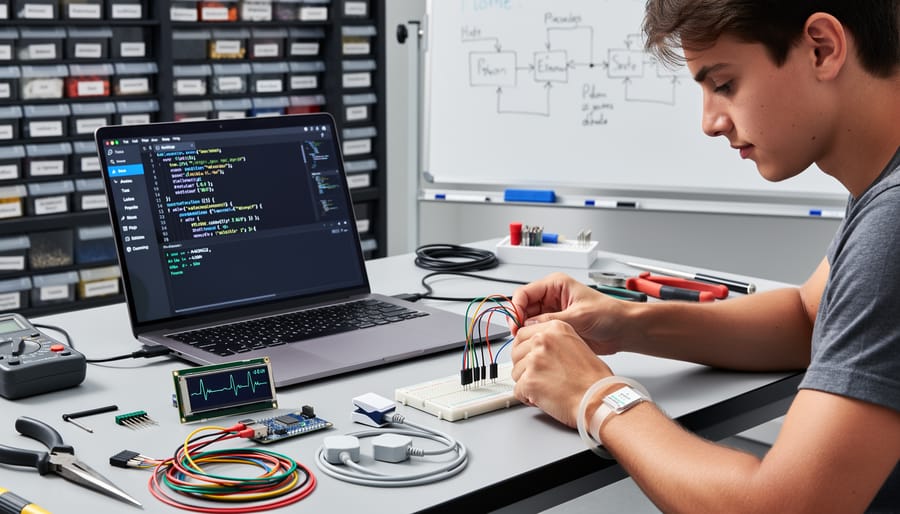
How to Build Your First Raspberry Pi Patient Monitor
Ready to build your first patient monitoring device? This beginner-friendly project will guide you through creating a functional heart rate monitor using a Raspberry Pi. By the end, you’ll have a working system that reads sensor data, displays it visually, and sends information to the cloud.
What You’ll Need
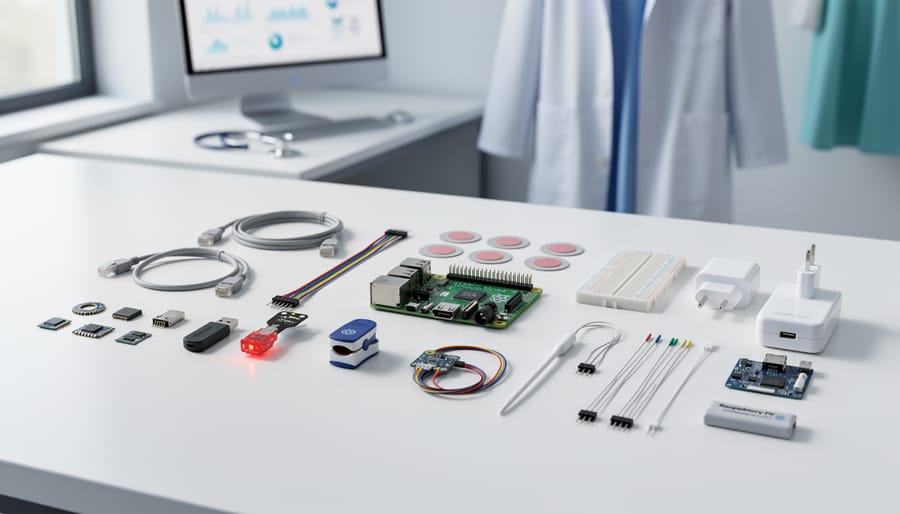
Start by gathering these components: a Raspberry Pi 4 (2GB model works fine), a MAX30102 pulse oximeter sensor module, jumper wires, a breadboard, and a microSD card with Raspberry Pi OS installed. The MAX30102 sensor costs around $5-10 and measures both heart rate and blood oxygen levels, making it perfect for learning the basics. You’ll also need a power supply for your Pi and a computer to access it initially.
Hardware Setup
Connect the MAX30102 sensor to your Raspberry Pi using the I2C interface. Wire the sensor’s VIN pin to the Pi’s 3.3V pin, GND to ground, SDA to GPIO 2, and SCL to GPIO 3. The I2C protocol allows multiple sensors to communicate using just two wires, which simplifies your setup. Once connected, power on your Pi and open the terminal. Enable I2C by running “sudo raspi-config,” navigating to Interface Options, and activating I2C. Verify the connection by typing “i2cdetect -y 1” in the terminal. You should see an address displayed, typically 0x57, confirming your sensor is recognized.
Coding the Monitor
Install the required Python libraries by opening the terminal and running “pip3 install max30102 matplotlib”. Create a new Python file called “heart_monitor.py” and start with basic sensor reading code. The script initializes the sensor, reads raw data from the photodetector, and processes it to calculate heart rate. Begin with a simple loop that prints heart rate values to the console every second. This lets you verify everything works before adding complexity. Once you see consistent readings, expand the code to calculate running averages for smoother data.
Data Visualization
Transform raw numbers into meaningful visuals using matplotlib. Add code to create a real-time graph showing heart rate over time. The visualization updates every few seconds, plotting the last 60 readings as a line chart. This gives you immediate feedback on heart rate trends and makes the monitor much more useful. You can customize colors, axis labels, and update intervals to match your preferences.
Cloud Integration
Take your project online by connecting it to ThingSpeak, a free IoT platform. Create a ThingSpeak account, set up a new channel for heart rate data, and note your API key. Install the requests library and add code to send readings to ThingSpeak every 15 seconds. Now your data is accessible from anywhere through the ThingSpeak dashboard, and you can set up alerts for abnormal readings. This step demonstrates how professional remote monitoring systems work at their core, giving you valuable experience with cloud-connected healthcare devices.
Data Security and Privacy Considerations
When building remote patient monitoring systems with Raspberry Pi, protecting sensitive health information isn’t optional—it’s essential. Even hobbyist projects used for learning must incorporate fundamental security practices, especially if they’ll ever handle real patient data or serve as prototypes for actual healthcare applications.
The Health Insurance Portability and Accountability Act (HIPAA) sets the standard for protecting patient information in the United States. While your educational Raspberry Pi project may not require full HIPAA compliance, understanding these principles will help you build responsible monitoring systems. HIPAA mandates that all patient health information must be encrypted both in transit and at rest, access must be strictly controlled, and audit trails must track who accessed what data and when.
For data encryption, implement TLS/SSL protocols when transmitting sensor readings from your Raspberry Pi to any server or database. Python libraries like pyOpenSSL make this straightforward. Never send health data over unencrypted HTTP connections. For stored data on your SD card or external storage, consider using Linux encryption tools like LUKS or eCryptfs to protect information even if your device is physically compromised.
The cloud versus local storage decision significantly impacts both security and functionality. Cloud storage offers automatic backups, accessibility from multiple locations, and professional-grade security infrastructure. However, it introduces additional points of vulnerability and raises questions about third-party data handling. Local storage on your Raspberry Pi keeps data under your direct control but requires you to implement all security measures yourself and manage backups manually.
Implement user authentication for any monitoring dashboard or data access point. Change all default passwords immediately, use strong password policies, and consider adding two-factor authentication for enhanced protection. Limit data collection to only what’s medically necessary—capturing excessive information increases both privacy risks and storage requirements.
Document your security measures thoroughly and regularly update your system software to patch known vulnerabilities. These foundational practices ensure your remote monitoring project respects patient privacy while demonstrating responsible development habits.
Raspberry Pi vs Commercial Patient Monitoring Systems
When deciding between a Raspberry Pi-based monitoring system and commercial solutions, several critical factors come into play. Understanding these differences helps you make informed decisions about which approach suits your specific needs.
Cost represents the most obvious distinction. A DIY Raspberry Pi patient monitoring setup typically costs between $100-$300 for basic implementations, including the board, sensors, display, and enclosure. Commercial FDA-approved patient monitoring systems start around $2,000 and can exceed $10,000 for advanced models. For educational purposes, prototype development, or building a pharmacy telehealth station, the Raspberry Pi offers tremendous value.
Reliability and certification differences cannot be overstated. Commercial systems undergo rigorous testing, carry FDA approval for medical use, and include warranties with technical support. Raspberry Pi solutions lack medical-grade certification and should never replace approved medical devices in critical care situations. However, they excel in non-clinical applications like wellness tracking, educational demonstrations, research prototypes, and personal health experiments.
Scalability considerations vary significantly. Commercial systems integrate seamlessly with hospital networks, electronic health records, and comply with HIPAA regulations out of the box. Raspberry Pi projects require substantial custom development for similar integration but offer unmatched flexibility for unique requirements or experimental features unavailable in commercial products.
The DIY approach makes sense when you’re learning about health monitoring technology, developing proof-of-concept prototypes, creating educational tools for classrooms, building personal wellness trackers, or exploring innovative monitoring approaches before commercialization. Commercial systems are essential for actual patient care, hospital environments, regulatory compliance requirements, or situations demanding guaranteed uptime and support.
Many successful healthcare innovations began as Raspberry Pi prototypes before evolving into commercial products. This development pathway allows innovators to test concepts affordably, gather user feedback, and refine functionality before investing in certification and manufacturing. The key is recognizing that Raspberry Pi solutions serve as powerful learning tools and development platforms rather than replacements for certified medical equipment in clinical settings.
Raspberry Pi has emerged as a game-changer in democratizing healthcare monitoring, transforming what was once expensive, enterprise-level technology into accessible solutions for hobbyists, students, and small healthcare providers. The examples we’ve explored demonstrate that you don’t need a massive budget or specialized equipment to create meaningful health monitoring systems. Whether you’re tracking vital signs, monitoring chronic conditions, or experimenting with telemedicine solutions, the barrier to entry has never been lower.
Start small with a basic project like temperature or heart rate monitoring, then gradually expand your capabilities as you gain confidence. Remember that every complex system began as a simple prototype. The beauty of Raspberry Pi projects lies in their modularity – you can always add sensors, improve data visualization, or enhance security features incrementally.
However, with this accessibility comes responsibility. Always prioritize data security, respect patient privacy, and understand the regulatory requirements if you’re deploying these systems in real healthcare settings. These projects are excellent for learning and proof-of-concept work, but professional medical applications require proper certification and oversight.
Ready to dive deeper? Explore our related healthcare tutorials to continue your journey in building innovative monitoring solutions that could genuinely improve lives.