

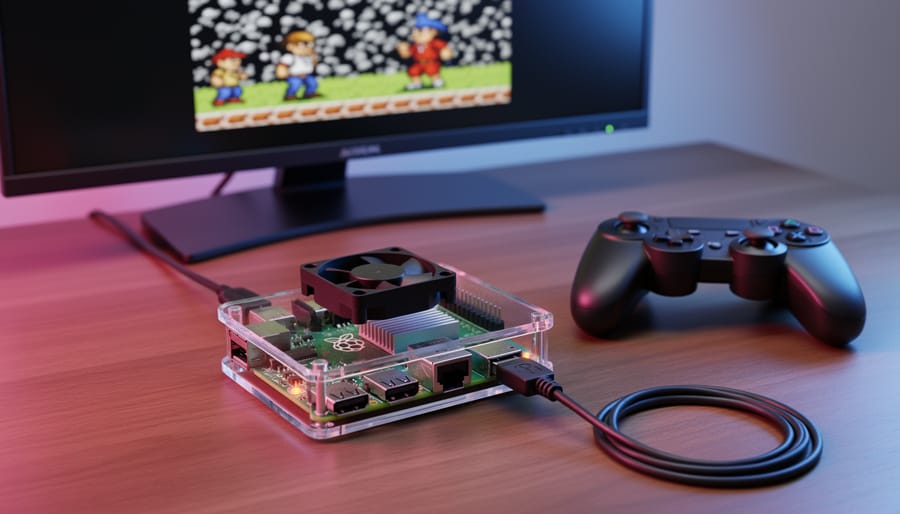
Transform your dusty Raspberry Pi 3 into a powerhouse arcade machine capable of running thousands of classic games from NES, SNES, Sega Genesis, PlayStation 1, and dozens of other vintage systems. The Pi 3’s quad-core processor and 1GB RAM handle most 8-bit and 16-bit titles flawlessly, while its compact size fits perfectly inside custom arcade cabinets or handheld builds.
Start by downloading RetroPie, the most popular retro gaming console setup software that automatically configures emulators and controllers. Flash the image to a microSD card using Etcher, connect your Pi to a display via HDMI, plug in a USB controller, and boot directly into a polished gaming interface within minutes.
Optimize performance by overclocking your Pi 3 to 1.35GHz through the config.txt file, enabling significant frame rate improvements for demanding PlayStation and N64 games. Install active cooling with a small fan to prevent thermal throttling during extended gaming sessions, keeping temperatures below 70°C even under heavy load.
Expand your library legally by transferring ROM files you own from original cartridges using dedicated dumping hardware, or explore the growing collection of homebrew games created specifically for retro platforms. Connect wireless Bluetooth controllers, add bezels for authentic arcade aesthetics, and configure shaders to recreate the characteristic scanlines of CRT televisions.
This guide walks you through every step of building your personal time machine to gaming’s golden era.
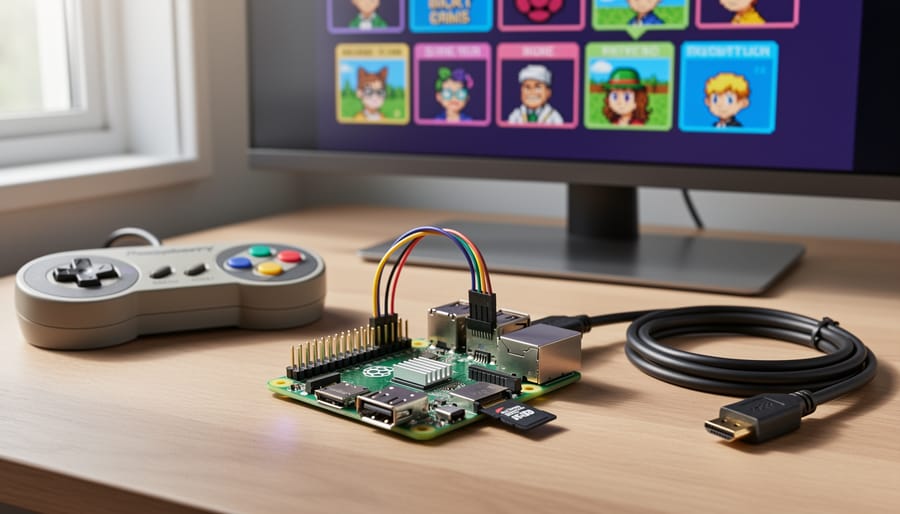
Why the Raspberry Pi 3 Works So Well for Retro Gaming
What Consoles Can You Actually Emulate?
The Raspberry Pi 3 handles a wide range of retro consoles, though performance varies significantly depending on the system’s complexity. Understanding what runs smoothly versus what struggles helps set realistic expectations for your retro gaming setup.
The Pi 3 excels with 8-bit and 16-bit systems. You’ll enjoy flawless performance with NES, SNES, Sega Genesis, Game Boy, Game Boy Color, and Game Boy Advance games. These consoles run at full speed with excellent audio quality and minimal lag. Sega Master System and Game Gear titles also perform beautifully, making these platforms ideal starting points for beginners.
Moving into more demanding territory, the original PlayStation (PS1) runs surprisingly well on the Pi 3. Most games play at acceptable frame rates, though you might encounter occasional slowdown in graphically intensive titles like racing games or 3D action adventures. Adjusting emulator settings can often smooth out these hiccups.
Arcade games through MAME present mixed results. Simpler titles from the 1980s and early 1990s run without issues, but later arcade hardware pushes the Pi 3’s limits. Neo Geo games generally perform well, though some fighting games may experience minor frame drops during action-heavy moments.
Where the Pi 3 struggles becomes apparent with N64 emulation. While some simpler titles are playable, many games suffer from severe slowdown, graphical glitches, and audio stuttering. Dreamcast, Saturn, and PSP emulation ranges from barely functional to completely unplayable, making these systems poor choices for the Pi 3.
The sweet spot for Pi 3 retro gaming lies firmly in the 8-bit and 16-bit era, with selective PS1 and arcade gaming as bonuses. This still provides access to thousands of excellent games across gaming’s golden age.
Essential Retro Gaming Software for Your Pi 3
RetroPie: The All-in-One Solution
When it comes to transforming your Raspberry Pi 3 into a retro gaming powerhouse, RetroPie stands as the undisputed champion. This free, open-source software package has earned its reputation by making classic gaming accessible to everyone, regardless of technical expertise.
RetroPie works as a frontend that combines several components into one streamlined package. At its core, it uses EmulationStation as the graphical interface, making game selection and navigation feel intuitive and polished. Behind the scenes, it includes over 50 pre-configured emulators covering systems from the Atari 2600 to the PlayStation 1, along with arcade classics through MAME and FinalBurn Neo.
What makes RetroPie particularly appealing is its installation simplicity. You can have it running on your Raspberry Pi 3 in under 30 minutes using the official disk image. Just flash it to your SD card, boot up your Pi, and follow the on-screen controller configuration. The system automatically detects your gamepad and walks you through button mapping, eliminating the guesswork that plagued earlier emulation setups.
The software truly shines in its user-friendly features. Game scraping automatically downloads cover art and metadata for your ROM collection, creating an attractive library that rivals commercial gaming interfaces. WiFi setup, Bluetooth controller pairing, and even RetroAchievements integration are all managed through the built-in menus without requiring command-line knowledge.
For those who want to dig deeper, RetroPie offers extensive customization options. You can tweak emulator settings, install additional themes, add custom shaders for authentic CRT scanline effects, and even set up Kodi for media playback. The active community provides countless tutorials, pre-made configurations, and troubleshooting support through forums and wikis.
This balance between accessibility and depth explains why RetroPie dominates the retro gaming scene. Beginners appreciate the straightforward setup process, while experienced users value the flexibility to fine-tune every aspect of their gaming experience.
Recalbox vs. Lakka: Alternative Options
While RetroPie dominates the Raspberry Pi retro gaming scene, two other distributions deserve your attention: Recalbox and Lakka. Each offers distinct advantages depending on your priorities and experience level.
Recalbox provides the most beginner-friendly experience of the three. Its setup wizard walks you through configuration step-by-step, and the sleek, modern interface makes navigation intuitive from the moment you boot up. What sets Recalbox apart is its all-in-one philosophy—everything from Kodi media center integration to built-in scrapers comes pre-configured. This makes it ideal if you want a complete entertainment system without tinkering. The interface supports multiple languages out of the box, and the included web manager lets you upload ROMs directly from your computer’s browser. However, this convenience comes with less customization flexibility than RetroPie offers.
Lakka takes a different approach entirely. Built on LibreELEC, it’s the lightest distribution available, consuming minimal system resources. The interface mimics the PlayStation 3’s XMB menu system, creating a console-like feel that some users find more authentic. Lakka excels at performance optimization—games often run slightly smoother here than on heavier distributions. It’s particularly attractive if you’re working with lower-end hardware or want maximum performance from your Pi 3. The trade-off? Configuration requires more technical knowledge, with most settings accessed through RetroArch’s menu system rather than external utilities.
Choose Recalbox if simplicity and quick setup matter most. Pick Lakka when performance is your priority and you’re comfortable with minimalist interfaces. Both handle most classic systems admirably, though RetroPie’s larger community means better troubleshooting resources when issues arise.
Setting Up Your Raspberry Pi 3 Retro Gaming Station
What You’ll Need to Get Started
Before starting your first Pi project, you’ll need to gather a few essential components and consider some optional upgrades to enhance your retro gaming experience.
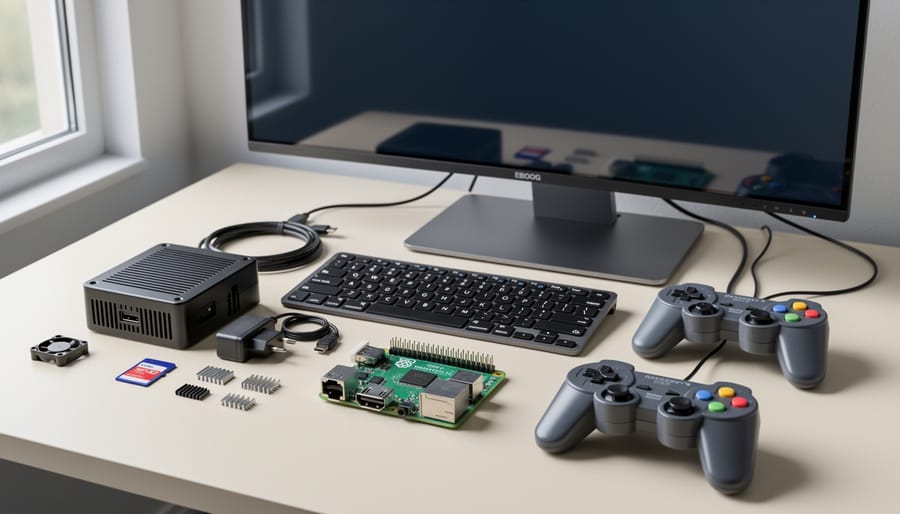
At the core, you’ll need a Raspberry Pi 3 Model B or B+ board. For storage, a quality microSD card is crucial—we recommend at least a 32GB Class 10 card from SanDisk or Samsung for reliable performance and enough space for multiple game libraries. The official Raspberry Pi 5.1V/2.5A power supply ensures stable operation during intense gaming sessions, preventing crashes and corruption.
Controllers make or break the retro gaming experience. USB versions of classic controllers work perfectly, or you can opt for wireless options like the 8BitDo SN30 Pro, which offers authentic retro styling with modern Bluetooth connectivity. Most USB and Bluetooth controllers are plug-and-play compatible with popular retro gaming software.
While not strictly necessary, a protective case keeps your Pi safe from accidental damage. The Retroflag NESPi case is a popular choice that mimics classic console designs. For extended gaming sessions, consider adding heatsinks or a small cooling fan, as the Pi 3 can get warm during demanding emulation. These typically cost under ten dollars and install in minutes.
Finally, you’ll need an HDMI cable to connect to your TV or monitor, and a keyboard for initial setup. A wired USB keyboard works best during configuration before switching to controllers for gameplay.
Installing Your Retro Gaming OS
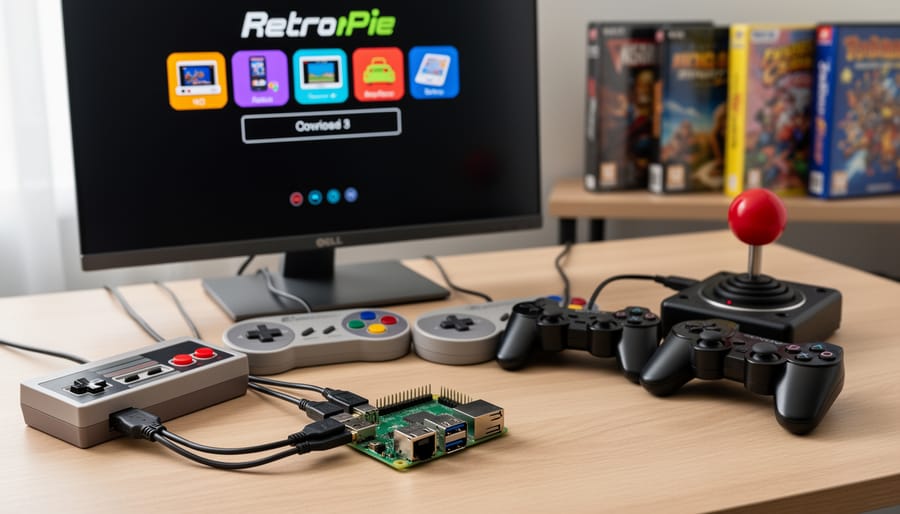
Getting your retro gaming OS up and running is easier than you might think. The most popular choice for Raspberry Pi 3 is RetroPie, a specialized distribution that bundles everything you need into one convenient package. Here’s how to get started without hitting common snags.
First, download the RetroPie image from the official website. Make sure you grab the Raspberry Pi 2/3 version specifically, as using the wrong image can cause compatibility issues. You’ll need at least an 8GB microSD card, though 32GB or larger is recommended for storing multiple games.
Next, you’ll need flashing software to write the image to your SD card. Raspberry Pi Imager is the easiest option for beginners and works on Windows, Mac, and Linux. Download and install it, then insert your microSD card into your computer. Launch the imager, select “Choose OS,” scroll down to “Emulation and Game OS,” and pick RetroPie. Select your SD card as the storage destination, then click “Write.” This process takes about 5-10 minutes.
Once flashing completes, safely eject the card and insert it into your Raspberry Pi 3. Connect your HDMI cable, keyboard, and controller before powering on. The first boot takes longer than usual as RetroPie configures itself.
When you see the controller configuration screen, hold any button on your gamepad to begin setup. Map each button as prompted. If you don’t have a certain button, like a right analog stick, hold any button to skip it. This is a common point where newcomers get stuck, so remember that skipping unmapped buttons is perfectly fine.
After configuration, you’ll reach the main EmulationStation interface. From here, you can transfer games via USB stick or network transfer. The system is now ready for your retro gaming adventure.
Adding Games and Configuring Controllers
Getting games onto your Raspberry Pi 3 and configuring controllers properly will transform your device into a fully functional retro gaming station. Let’s walk through this process step by step.
First, let’s address ROM files. The legal way to obtain ROMs is by backing up games you physically own using specialized hardware or downloading homebrew games and legally distributed titles from sites like OpenGameArt or RetroPie’s approved sources. Never download copyrighted ROMs you don’t own, as this violates copyright law. Once you have legitimate ROM files, you’ll need to transfer them to your Pi. The easiest method is using a USB drive: simply create folders matching your emulator names (like “nes” or “snes”), copy your ROM files into the appropriate folders, plug the USB into your Pi, and RetroPie will automatically detect and transfer them. Alternatively, you can use SFTP software like FileZilla to transfer files over your network, or set up remote access via VNC for a graphical interface.
Controller configuration is straightforward in RetroPie. For USB controllers, simply plug them in and EmulationStation will prompt you to configure the buttons. Press each button as prompted, and hold any button to skip unmapped controls. Bluetooth controllers require a few extra steps: navigate to RetroPie Setup menu, select Bluetooth, choose your device, and pair it following the on-screen instructions. Popular controllers like PlayStation DualShock and Xbox controllers work excellently with minimal setup.
If you need to remap controls later, access the RetroPie menu and select “Configure Input” to start fresh. For game-specific adjustments, press Select+X during gameplay to access the RetroArch quick menu where you can customize controls per-game.
Optimizing Performance on Raspberry Pi 3
Overclocking Safely for Better Emulation
Overclocking your Raspberry Pi 3 can significantly boost performance for demanding retro games, particularly PlayStation 1 and N64 titles that might otherwise experience slowdowns. However, it’s essential to approach this carefully to avoid instability or hardware damage.
Start by editing the /boot/config.txt file. For the Pi 3, conservative overclocking settings include setting arm_freq=1350 (up from the default 1200MHz) and gpu_freq=500. These modest increases provide noticeable performance improvements while maintaining stability. You can also increase over_voltage to 4, which provides the extra power needed for stable overclocking. Always make incremental changes and test thoroughly between adjustments.
Cooling is critical when overclocking. At minimum, install heatsinks on both the CPU and RAM chips. For better results, consider a case with an integrated fan or add a small 5V fan to actively cool your Pi. Without proper cooling, your system will throttle performance when it gets too hot, defeating the purpose of overclocking. You can monitor system temperatures to ensure they stay below 80°C during gaming sessions.
Test stability by running intensive games for extended periods. If you experience crashes, graphical glitches, or system freezes, reduce your settings slightly. Not all Pi 3 boards can achieve the same overclock due to manufacturing variations, so find what works for your specific unit. Remember to use a quality power supply rated at 2.5A or higher, as overclocking increases power consumption.
Video and Audio Configuration Tips
Getting the best video and audio performance from your Raspberry Pi 3 requires tweaking a few configuration settings. Start by editing the config.txt file found in the boot directory. To reduce input lag, disable overscan by setting disable_overscan=1, which prevents unnecessary frame buffering. For smoother gameplay, consider forcing HDMI mode with hdmi_drive=2 to ensure proper audio output through HDMI.
Audio crackling is a common issue that you can fix by adjusting the audio_pwm_mode setting. Adding audio_pwm_mode=2 to your config.txt often resolves popping and distortion problems. If you’re using composite video, set sdtv_mode to match your region’s video standard.
Within RetroArch settings, enable threaded video to improve performance, though this may slightly increase input lag on some systems. Adjust the video refresh rate to match your display, typically 60Hz for NTSC games and 50Hz for PAL titles. Turn on vsync to prevent screen tearing, but disable it if you notice stuttering.
For the smoothest experience, disable rewind features and reduce save state slots, as these consume precious system resources. Test different video drivers in RetroArch, switching between gl and vulkan options to find what works best for your specific games and display setup.
Enhancing Your Retro Gaming Experience
Custom Themes and Interface Customization
One of the best features of RetroPie is the ability to transform your gaming interface into a personalized masterpiece. The default Emulation Station interface is functional, but customizing it makes your retro gaming setup truly yours.
Start by exploring themes through the built-in theme downloader. Navigate to the main menu, select UI Settings, then Theme Set to browse available options. Popular choices like Carbon, Pixel, and Magazine offer distinct visual styles ranging from minimalist to vibrant arcade aesthetics. Each theme changes how your game collections appear, from simple lists to detailed grids with custom artwork.
For deeper customization, add your own artwork and scrapers. Scrapers automatically download game box art, screenshots, and metadata from online databases. Access this feature through the Start menu under Scraper, which populates your library with professional-looking visuals. You can also manually add custom images by placing them in the appropriate folders via SSH or USB transfer.
Navigation improvements make browsing your collection smoother. Enable favorites by pressing Select on any game to create quick-access lists. You can also customize controller mappings within Emulation Station for more intuitive menu navigation. For advanced users, XML configuration files allow complete interface overhauls, including custom music, video previews, and carousel layouts that showcase your collection beautifully.
Multiplayer and Network Features
Retro gaming shines brightest when shared with others. The Raspberry Pi 3 handles local multiplayer seamlessly—simply connect USB controllers (most modern controllers work plug-and-play), and RetroPie automatically detects them during configuration. You can connect up to four controllers for classic couch co-op sessions, perfect for games like Street Fighter II or Mario Kart.
For playing with friends online, RetroArch’s netplay feature lets you connect over the internet for multiplayer retro gaming sessions. You’ll need to forward port 55435 on your router and share your IP address with friends. While the Pi 3’s networking capabilities are decent, expect some latency on demanding games—stick to turn-based or slower-paced titles for the smoothest experience.
Game scraping transforms your library from plain text lists into visually appealing menus with box art, descriptions, and metadata. RetroPie includes built-in scrapers that pull information from online databases like ScreenScraper and TheGamesDB. Access the scraper through the RetroPie menu, choose your preferred source, and let it automatically download artwork and game details. This process can take time with large collections, so consider scraping overnight for extensive libraries.
Troubleshooting Common Issues
Even with proper setup, you might encounter a few hiccups when running retro games on your Raspberry Pi 3. Let’s tackle the most common issues and get you back to gaming quickly.
Performance problems like lag or stuttering typically stem from demanding emulators running on the Pi 3’s hardware. If you’re experiencing slowdowns with PlayStation 1 games or certain arcade titles, try reducing the resolution in the RetroArch settings menu. Navigate to Settings > Video and lower the output resolution to 720p or even 480p. You can also disable some visual enhancements like shaders and filters, which consume valuable processing power. For particularly demanding games, overclocking your Pi 3 can provide a noticeable boost, though remember to monitor temperatures and ensure adequate cooling.
Controller configuration issues are frustratingly common but easy to fix. If your controller isn’t responding correctly, access the RetroPie setup menu and select “Configure Input” to remap your buttons. For Bluetooth controllers that keep disconnecting, check your power supply first. The Pi 3 requires a quality 2.5A adapter to maintain stable Bluetooth connections. If problems persist, try updating your RetroPie installation or switching to a wired USB controller for more reliable performance.
Audio crackling or distortion usually indicates the Pi is struggling to keep up. Open the runcommand menu before launching a game and try different video modes or audio drivers. The OMX player option often resolves audio sync issues.
Black screens when launching games typically mean you’re missing BIOS files for certain emulators like PlayStation or Sega Saturn. Check the RetroPie documentation for your specific system’s BIOS requirements and ensure files are placed in the correct BIOS folder. Remember, you’ll need to source these legally from hardware you own.
The Raspberry Pi 3 remains a highly viable option for retro gaming enthusiasts looking to relive their favorite classic titles. While it may not handle every demanding emulator with perfect frame rates, it excels at running games from the NES, SNES, Genesis, PlayStation 1, and countless arcade classics without breaking a sweat. The combination of RetroPie’s user-friendly interface and the Pi 3’s affordable price point makes it an excellent entry point for anyone curious about building their own retro gaming setup.
If you’ve been on the fence about starting your project, there’s no better time to dive in. The community support is robust, setup guides are plentiful, and the satisfaction of playing childhood favorites on hardware you configured yourself is genuinely rewarding. For most retro gaming needs, the Pi 3 delivers exactly what you need.
That said, if you’re planning to emulate more demanding systems like N64, Dreamcast, or PSP with consistent performance, upgrading to Pi 4 or Pi 5 is worth considering. These newer models offer significantly more processing power and RAM, ensuring smoother gameplay across a broader range of platforms.