


Transform your Raspberry Pi into a powerful Z-Wave home automation hub in minutes. By combining the versatility of the Pi with Z-Wave’s robust mesh networking capabilities, you’ll unlock endless possibilities for smart home automation projects. A Z-Wave USB stick, coupled with your Raspberry Pi, creates a reliable foundation for controlling lights, sensors, locks, and thermostats throughout your home.
Setting up Z-Wave on Raspberry Pi delivers significant advantages over commercial hubs: complete control over your automation rules, enhanced privacy through local processing, and substantial cost savings compared to proprietary systems. Whether you’re a home automation beginner or an experienced maker, this powerful combination provides the perfect platform for building a customized smart home ecosystem that operates exactly as you envision.
The open-source nature of both technologies enables unlimited customization potential while maintaining enterprise-grade security through Z-Wave’s encrypted communications protocol. Get ready to discover how these two technologies work seamlessly together to create a robust, expandable home automation system that puts you in complete control.
Why Z-Wave and Raspberry Pi Are a Perfect Match
Cost-Effective Smart Home Hub
Building a Z-Wave hub with a Raspberry Pi offers significant cost savings compared to commercial alternatives. While popular smart home hubs like SmartThings or Hubitat can cost between $130-300, a complete Raspberry Pi Z-Wave setup typically runs around $60-100, including the Pi and a Z-Wave USB stick. This DIY approach not only saves money but also provides greater flexibility and customization options.
Commercial hubs often come with monthly subscription fees for advanced features, but a Raspberry Pi solution remains cost-free after the initial hardware investment. You’ll have complete control over your data and can modify the system to suit your specific needs. Popular software solutions like Home Assistant or OpenHAB are open-source and free to use.
The trade-off comes in terms of setup complexity and technical knowledge required. Commercial hubs offer plug-and-play convenience, while a Raspberry Pi solution demands more hands-on configuration. However, for tech enthusiasts and DIY enthusiasts, the learning experience and enhanced control make it a worthwhile investment, especially when considering the long-term cost benefits and freedom from subscription fees.
Flexibility and Customization
One of the most compelling advantages of using Z-Wave with Raspberry Pi is the extensive flexibility it offers for customization. Whether you’re using popular platforms like Home Assistant or OpenHAB, you can create highly personalized automation scripts and rules to control your Z-Wave devices. Python enthusiasts can leverage libraries like python-openzwave to develop custom applications, while those familiar with Node.js might prefer using zwave-js for their implementations.
The Raspberry Pi’s GPIO pins also allow for interesting hybrid solutions, combining Z-Wave with other protocols and sensors. You can create conditional triggers based on temperature readings, motion detection, or time-based events. For instance, you could program your system to automatically adjust Z-Wave-enabled thermostats based on data from external temperature sensors connected directly to the Pi.
Advanced users can even develop their own Z-Wave device handlers, modify existing protocols, or create custom interfaces for controlling their smart home network. The open-source nature of most Z-Wave implementations for Raspberry Pi means you’re not locked into any particular ecosystem or vendor’s solutions.
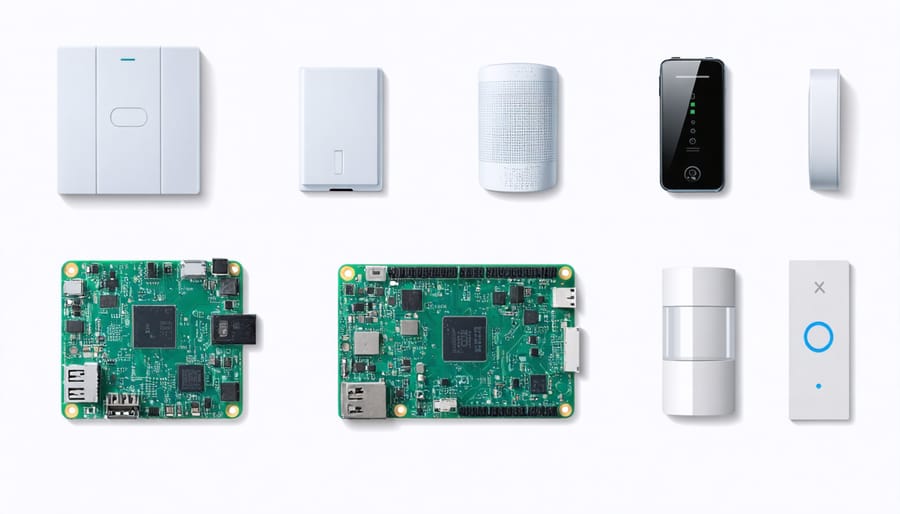
Essential Hardware Requirements
Choosing the Right Z-Wave USB Stick
Selecting the right Z-Wave USB stick is crucial for building a reliable smart home hub with your Raspberry Pi. The most popular and well-supported options include the Aeotec Z-Stick Gen5+, Silicon Labs HUSBZB-1, and Zooz ZST10 700. Each of these controllers offers different features and capabilities worth considering.
The Aeotec Z-Stick Gen5+ is widely considered the gold standard for Z-Wave controllers. It supports Z-Wave Plus, offers excellent range, and provides reliable performance with most Z-Wave devices. This stick is particularly notable for its auto-inclusion mode, making device pairing significantly easier.
The Silicon Labs HUSBZB-1 stands out as a dual-function controller, supporting both Z-Wave and Zigbee protocols. While this versatility is appealing, it’s important to note that it uses an older Z-Wave chip and doesn’t support the latest Z-Wave 700 series features.
For those seeking the newest technology, the Zooz ZST10 700 implements the latest Z-Wave 700 series chip, offering improved range and battery life for connected devices. It’s also one of the more affordable options available.
When choosing your controller, consider factors such as:
– Z-Wave chip generation (500 series vs. 700 series)
– Range requirements for your space
– Software compatibility with your planned smart home platform
– Budget constraints
– Additional protocol support needs
Most modern Z-Wave USB sticks will work seamlessly with popular smart home software like Home Assistant and OpenHAB on the Raspberry Pi.
Raspberry Pi Model Selection
When setting up a Z-Wave network with a Raspberry Pi, choosing the right model is crucial for optimal performance. The Raspberry Pi 4 Model B is the recommended choice due to its powerful processor, ample RAM options (2GB, 4GB, or 8GB), and robust USB connectivity for Z-Wave USB sticks.
For most Z-Wave applications, a 2GB RAM configuration will suffice, though opting for 4GB provides better future-proofing and smoother performance when running multiple automation tasks. The quad-core processor ensures responsive handling of Z-Wave commands and automation scripts.
While older models like the Raspberry Pi 3B+ can work with Z-Wave, they may experience limitations when managing larger networks or running resource-intensive home automation software. The improved USB 3.0 ports on the Pi 4 also provide better data throughput for Z-Wave USB controllers.
For those on a budget, the Raspberry Pi 3B+ remains a viable option for smaller Z-Wave networks (under 20 devices). However, consider that the investment in a newer model will pay off in terms of reliability and expandability.
Key specifications to look for:
– Minimum 2GB RAM
– USB 2.0 or higher ports
– Ethernet connectivity for stable network access
– Adequate power supply (3A recommended for Pi 4)
Software Setup and Configuration
Home Assistant Integration
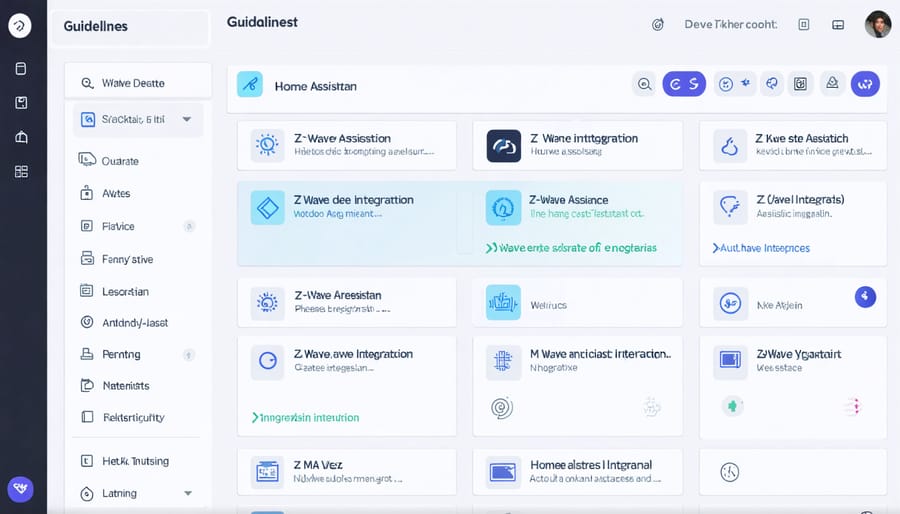
Home Assistant provides an excellent platform for integrating your Z-Wave network with other smart home devices. To get started, ensure you have Home Assistant OS installed on your Raspberry Pi and your Z-Wave controller connected via USB.
First, access your Home Assistant installation through a web browser and navigate to Configuration > Settings > Add-ons. Click on the Add-on Store and search for “Z-Wave JS.” Install this add-on, which will enable communication between Home Assistant and your Z-Wave network.
After installation, you’ll need to configure the add-on. In the Z-Wave JS configuration settings, specify the USB port where your Z-Wave controller is connected. Typically, this will be something like “/dev/ttyACM0” or “/dev/ttyUSB0”. You can verify the correct port by checking the system logs or using the command “ls /dev/tty*” in the terminal.
Once configured, start the Z-Wave JS add-on and wait for it to initialize. Navigate to Configuration > Integrations and click the “+” button to add a new integration. Search for “Z-Wave JS” and select it. Home Assistant will automatically detect your Z-Wave controller and begin the integration process.
With the integration complete, you can now start adding Z-Wave devices to your network. Press the “+” button in the Z-Wave JS interface to enter inclusion mode, then follow the pairing instructions for your specific Z-Wave device. Usually, this involves pressing a button or performing a specific action on the device.
As devices are added, they’ll automatically appear in Home Assistant’s interface. You can then incorporate them into automations, scripts, and scenes. For example, you might create an automation that turns on Z-Wave lights when motion is detected or adjust a Z-Wave thermostat based on time of day.
Remember to regularly back up your Home Assistant configuration and Z-Wave network data to prevent loss of device configurations and automation settings.
OpenZWave Configuration
After installing OpenZWave, you’ll need to configure it properly to work with your Z-Wave network. Start by ensuring your Z-Wave controller is connected to your Raspberry Pi and recognized by the system. You can verify this using essential terminal commands like ‘ls /dev/ttyACM*’ or ‘ls /dev/ttyUSB*’.
Create a configuration directory by running ‘mkdir ~/.homeassistant/ozw_config’. This directory will store your Z-Wave network configuration and device information. Next, copy the default configuration files from the OpenZWave installation directory to your newly created configuration folder.
To begin adding devices to your network, put your Z-Wave controller into inclusion mode. This is typically done through the OpenZWave Control Panel (OZWCP) interface. Access OZWCP by navigating to your Raspberry Pi’s IP address and the default port (usually 8888) in your web browser.
Follow these steps to add a new device:
1. Click “Initialize” in OZWCP to start your Z-Wave network
2. Select “Add Device” from the controller actions
3. Activate your Z-Wave device according to its manual (usually by pressing a button or switch)
4. Wait for the inclusion process to complete
Once devices are added, they’ll appear in the OZWCP interface. You can configure device parameters, assign names, and create groups for synchronized operation. Remember to save your configuration after making changes.
For optimal performance, consider these best practices:
– Position your Z-Wave controller centrally in your network
– Maintain proper distances between devices
– Use powered devices as repeaters to extend network range
– Regularly backup your configuration files
– Update device firmware when available
If you encounter issues, the OpenZWave logs (found in ~/.homeassistant/OZW_Log.txt) can help diagnose problems. Keep your network topology simple initially, adding complexity as you become more familiar with the system.
Common Challenges and Solutions
Network Connectivity Issues
When setting up your Z-Wave network with Raspberry Pi, you might encounter connectivity issues that can affect performance. Common problems include devices failing to pair, intermittent connections, or nodes dropping off the network. These issues often stem from signal interference, distance limitations, or incorrect network configuration.
To troubleshoot connectivity problems, start by checking your Z-Wave controller’s placement. Ensure it’s centrally located and away from metal objects or thick walls that could block signals. If you’re connecting multiple devices, consider using Z-Wave repeaters to extend your network’s range.
Another frequent issue is network congestion. Try removing and re-adding problematic devices to refresh their network routes. Check your Z-Wave controller’s logs for error messages that might indicate specific problems. If devices consistently fail to respond, perform a network healing operation through your Z-Wave software interface.
For persistent issues, ensure your Raspberry Pi’s GPIO pins are properly connected to the Z-Wave controller and that your power supply provides stable voltage. Regularly update your Z-Wave controller firmware and OpenZWave library to benefit from bug fixes and improvements.
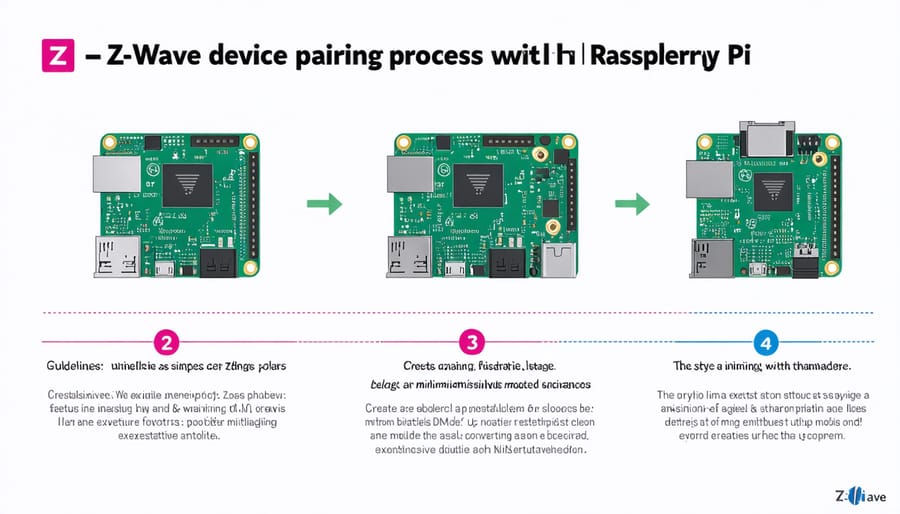
Device Pairing Problems
When pairing Z-Wave devices with your Raspberry Pi setup, positioning is crucial. Keep devices within 3-5 feet of your Z-Wave controller during the inclusion process, even if their final location will be farther away. This ensures a strong, stable connection during the critical pairing phase.
Common pairing issues often stem from interference or weak battery power. Before attempting inclusion, install fresh batteries in your Z-Wave devices and minimize potential interference sources like Wi-Fi routers or metal objects nearby.
If a device fails to pair, try performing a factory reset. Most Z-Wave devices have a specific button sequence for reset – consult your device manual for the exact procedure. After resetting, wait 30 seconds before attempting inclusion again.
For stubborn devices, try the “healing” function in your Z-Wave network controller software. This rebuilds the mesh network and can often resolve connectivity issues. Remember that some devices may require multiple attempts before successful inclusion, so patience is key.
Always verify successful pairing by testing basic device functions before mounting or finalizing installation. This saves time and prevents frustration from failed connections discovered later.
Integrating Z-Wave technology with your Raspberry Pi opens up exciting possibilities for home automation and IoT projects. Throughout this guide, we’ve explored the essential components, setup procedures, and practical applications of combining these powerful technologies. By following the steps outlined above, you can create a robust home automation hub that’s both cost-effective and highly customizable.
Remember that successful implementation requires careful attention to hardware compatibility, proper software configuration, and systematic troubleshooting when needed. Whether you’re automating lights, monitoring sensors, or controlling smart devices, your Raspberry Pi Z-Wave setup can serve as the foundation for an ever-expanding smart home ecosystem.
For those just getting started, begin with basic device connections and gradually expand your network as you become more comfortable with the system. Advanced users can explore additional features like scene creation, automation rules, and integration with other smart home protocols.
To enhance your setup further, consider joining online communities dedicated to Raspberry Pi and Z-Wave projects. These forums provide valuable support, creative project ideas, and solutions to common challenges. Don’t hesitate to experiment with different configurations and applications – the flexibility of both Raspberry Pi and Z-Wave technology allows for endless possibilities in home automation.
Start small, think big, and enjoy building your personalized smart home solution with Raspberry Pi and Z-Wave!