

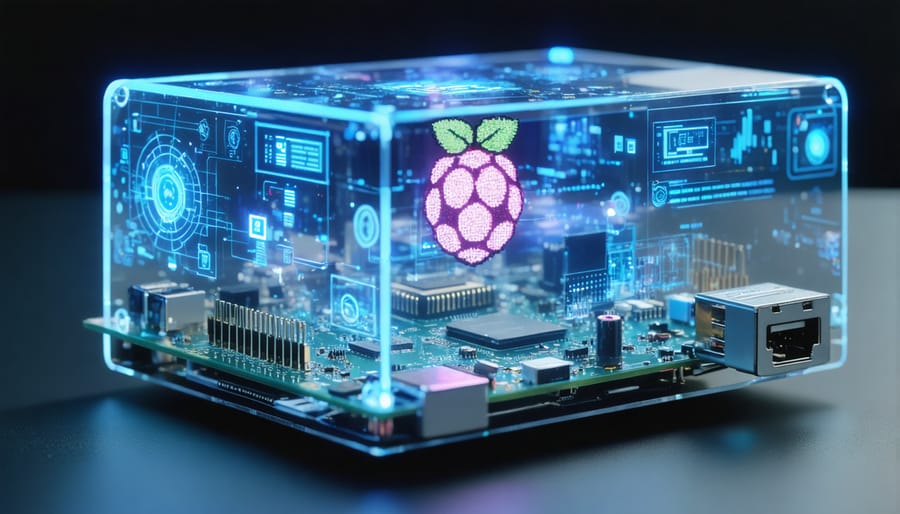
Transform your Raspberry Pi into a futuristic display system with transparent LCD technology, creating everything from interactive store windows to cutting-edge home automation interfaces. By combining a salvaged LCD panel with strategic backlighting and the Pi’s powerful GPIO capabilities, makers can build see-through displays that overlay digital content onto the physical world. The process requires basic electronics knowledge, careful disassembly of an LCD monitor, and precise configuration of the Pi’s display settings – but the result is nothing short of magical.
This guide explores the complete journey of creating your own transparent display project, from selecting compatible hardware to optimizing your setup for crystal-clear visibility. Whether you’re building an interactive mirror for your smart home or developing an attention-grabbing retail display, mastering transparent display technology with Raspberry Pi opens up countless possibilities for innovative projects. We’ll cover essential components, step-by-step assembly instructions, and practical applications that showcase the true potential of this revolutionary display technology.
Understanding Transparent Display Technology
LCD vs OLED Transparent Displays
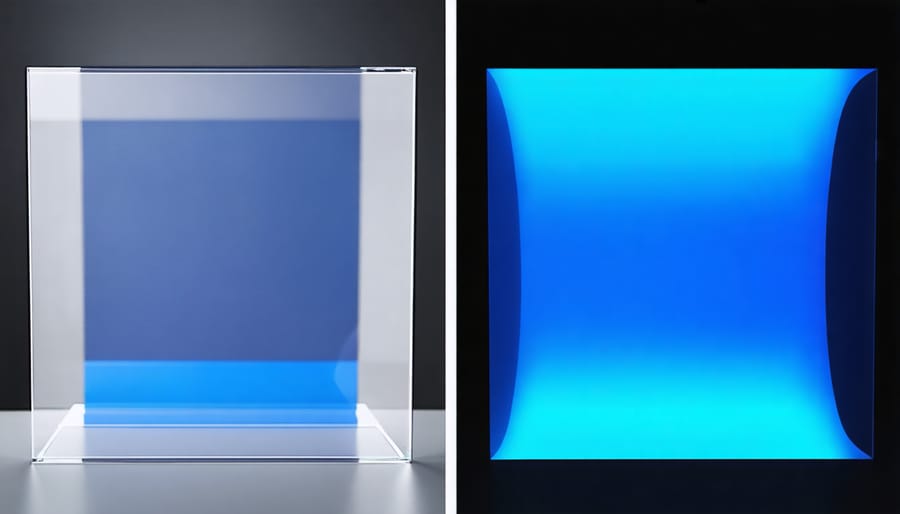
When choosing a transparent display for your Raspberry Pi project, you’ll primarily encounter two main technologies: LCD and OLED. Traditional LCD transparent displays work by removing the backlight panel, allowing light to pass through the screen while displaying content. These displays typically offer good visibility in well-lit environments and are more affordable, making them an excellent choice for beginners.
OLED transparent displays, on the other hand, use self-illuminating pixels that can be completely transparent when turned off. This technology provides superior transparency levels and better contrast ratios compared to LCD alternatives. OLED displays also offer wider viewing angles and perform better in low-light conditions, though they generally come with a higher price tag.
For Raspberry Pi projects, LCD transparent displays are more commonly available and easier to interface with, thanks to their standardized connections. However, if your project requires maximum transparency or will be viewed from various angles, an OLED display might be worth the additional investment. Consider factors like ambient lighting conditions, viewing distance, and budget when making your choice.
Compatibility with Raspberry Pi
The Raspberry Pi offers several connection options for transparent displays, making it a versatile platform for creative projects. Most transparent LCD panels are compatible with the Pi through either HDMI or DSI (Display Serial Interface) connections, similar to standard display options for Raspberry Pi. The HDMI port is the most straightforward option, supporting resolutions up to 1920×1080 on most transparent displays, while the DSI interface offers better performance for specialized panels.
When selecting a transparent display, ensure it matches your Pi’s output capabilities. Most modern Raspberry Pi models (3B+, 4B) provide both HDMI and DSI connections, but older versions may have limited options. Pay attention to the display’s power requirements as well – some panels may need additional power beyond what the Pi’s GPIO pins can provide, necessitating an external power supply.
For optimal performance, check that your display’s controller board supports the Pi’s default display modes and refresh rates. Many transparent displays come with pre-configured drivers and installation scripts specifically designed for Raspberry Pi integration.
Hardware Setup and Requirements
Essential Components
To build a transparent display project with your Raspberry Pi, you’ll need several key components. The foundation is a Raspberry Pi board (Model 3B+ or 4 recommended for optimal performance) and a compatible transparent LCD panel. These panels typically come in sizes ranging from 7 to 21 inches, with the 15-inch variant offering the best balance between visibility and practicality.
Essential hardware components include:
– Raspberry Pi board
– Transparent LCD panel
– Power supply (5V/3A minimum)
– MicroSD card (16GB or larger)
– HDMI cable
– USB keyboard and mouse for initial setup
Optional but recommended accessories:
– GPIO breakout board
– Cooling fan or heatsinks
– Custom case or mounting brackets
– Light-blocking backing material
– USB Wi-Fi adapter (if not using Pi 3/4)
– Motion sensors for interactive displays
For the best results, consider investing in a high-quality transparent LCD with good transparency (over 80%) and suitable brightness levels (minimum 250 nits). Remember to check the panel’s compatibility with your specific Raspberry Pi model before making a purchase, as some displays may require additional drivers or adapters.
Assembly Steps
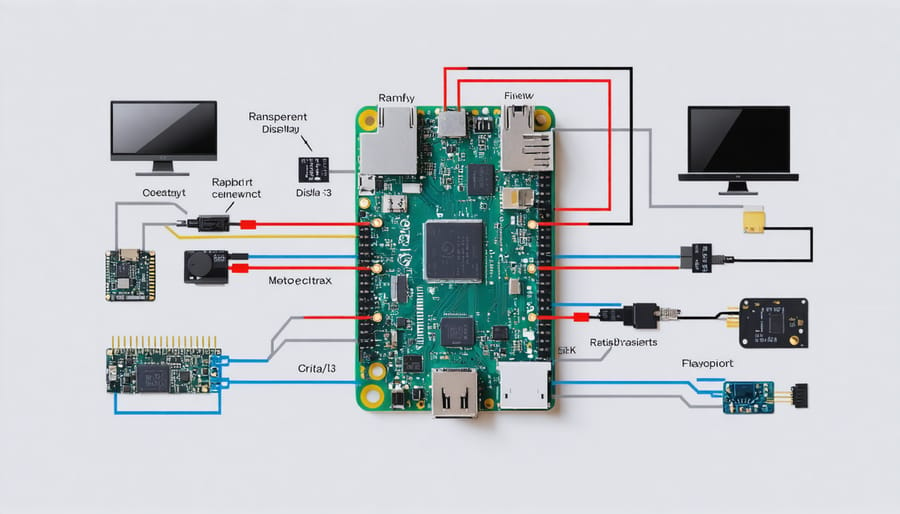
Begin by gathering all your components and ensuring you have a clean workspace. First, connect the HDMI cable to your Raspberry Pi’s HDMI port and the corresponding input on your transparent display. For power, attach the display’s power cable to a suitable power source, ensuring it matches the voltage requirements specified in your display’s documentation.
Next, connect the Raspberry Pi’s GPIO pins to the display controller board using the provided ribbon cable. Pay careful attention to pin alignment – incorrect connections could damage your components. If your display came with a separate controller board, mount it securely near the Pi, ensuring all cables can reach without strain.
For touchscreen functionality (if supported), connect the USB touch interface cable to one of the Raspberry Pi’s USB ports. Consider implementing proper case mounting solutions to protect your setup and maintain a professional appearance.
Position your transparent display in your desired location, ensuring it’s properly supported and stable. If using a custom enclosure, carefully thread all cables through appropriate openings before securing the display. Double-check all connections before powering on your system.
Finally, connect the Raspberry Pi’s power supply. It’s recommended to use an official power supply rated at 5V/3A to ensure stable operation. When powering up for the first time, watch for the boot sequence on your transparent display to confirm proper connection and functionality.
Remember to handle all components with care, avoiding static electricity and excessive pressure on the delicate display surface. If any connections feel forced, double-check your alignment before proceeding.
Software Configuration
Display Driver Installation
To enable your transparent display functionality, you’ll need to install and configure the appropriate display drivers on your Raspberry Pi. Start by updating your system to ensure compatibility:
“`bash
sudo apt update
sudo apt upgrade
“`
For most transparent displays, you’ll need to modify the config.txt file. Access it using:
“`bash
sudo nano /boot/config.txt
“`
Add these essential display parameters:
“`
dtoverlay=dpi24
enable_dpi_lcd=1
display_default_lcd=1
“`
If you’re using a custom Raspberry Pi image, ensure these settings aren’t already configured to avoid conflicts.
Some displays require specific timing parameters. Common settings include:
“`
dpi_output_format=6
dpi_group=2
dpi_mode=87
dpi_horizontal_resolution=1920
dpi_vertical_resolution=1080
“`
Adjust these values according to your display’s specifications. After making changes, save the file and reboot your Raspberry Pi:
“`bash
sudo reboot
“`
The system should now recognize your transparent display. If you encounter issues, check your display’s documentation for manufacturer-specific driver requirements or timing adjustments.
Display Settings Optimization
Once you’ve set up your transparent display, optimizing its settings is crucial for the best viewing experience. Start by adjusting the resolution through your Raspberry Pi’s config.txt file. The optimal resolution depends on your display specifications, but 1920×1080 typically works well for most transparent LCD panels.
To adjust brightness, you can use the xrandr command in the terminal:
“`
xrandr –output HDMI-1 –brightness 0.8
“`
The brightness value ranges from 0.0 to 1.0, with 0.8 being a good starting point for transparent displays. You may need to experiment to find the perfect balance between visibility and transparency.
Transparency settings can be fine-tuned using composite window managers like Compton. Create a compton.conf file in your home directory and adjust the opacity rules to achieve the desired effect. For example:
“`
opacity-rule = [
“85:class_g = ‘Terminal'”,
“90:class_g = ‘Chromium'”
];
“`
To optimize your Raspberry Pi performance while running a transparent display, consider reducing unnecessary visual effects and background processes. This helps maintain smooth operation, especially when running resource-intensive applications.
Remember to save your preferred settings in your startup configuration to maintain consistency across reboots. Regular calibration may be necessary as ambient lighting conditions change throughout the day.
Creative Applications
Interactive Displays
Creating interactive displays with your transparent Raspberry Pi setup opens up exciting possibilities for engaging user experiences. By combining touch sensors, motion detection, or gesture recognition with your transparent display, you can build dynamic and responsive projects that captivate audiences.
One popular approach is integrating capacitive touch sensors behind the transparent display. Using libraries like evdev or pygame, you can detect touch inputs and trigger corresponding actions on your display. For example, you could create an interactive storefront window where customers tap product images to view detailed information or pricing.
Motion sensors like the PIR (Passive Infrared) module can detect when someone approaches your display, automatically activating content or changing the display mode. This works particularly well for museum exhibits or promotional displays that come to life when visitors are nearby.
For more advanced interactivity, consider implementing gesture recognition using a camera module. Libraries like OpenCV enable you to detect hand movements and translate them into commands, creating a minority report-style interface. You can program specific gestures to control various aspects of your display, such as swiping to navigate between screens or pinching to zoom.
Remember to position your sensors strategically to maintain the transparent display’s clean aesthetic. Cable management becomes crucial when working with multiple interactive components, so plan your layout carefully to keep everything neat and organized.
Digital Signage Solutions
Transparent displays with Raspberry Pi offer compelling opportunities for creating eye-catching digital signage solutions. These displays enable content to float seamlessly against any background, creating an immersive visual experience that traditional screens cannot match. When combined with a Raspberry Pi’s versatility, you can create dynamic signage that captures attention while maintaining environmental transparency.
Retail environments particularly benefit from this technology, as store windows can display product information, prices, and promotions while still allowing customers to see the merchandise behind the display. Restaurants can showcase their menus and daily specials on transparent screens without blocking the view of their dining area or kitchen.
Setting up digital signage with a transparent display requires careful consideration of content design. High-contrast graphics and text work best, as they remain visible against varying backgrounds. The Raspberry Pi can be programmed to adjust content brightness based on ambient light conditions, ensuring optimal visibility throughout the day.
Popular digital signage software like Screenly and PiSignage are compatible with transparent displays, making content management straightforward. These platforms offer scheduling features, remote updates, and multi-screen synchronization capabilities. For best results, mount the display in areas with controlled lighting and consider using dark or opaque backgrounds behind critical content areas while maintaining transparency elsewhere.

Troubleshooting and Tips
When setting up your transparent display, you might encounter some common issues. If your display appears too dim, try adjusting the brightness settings in your Raspberry Pi’s config file and ensure proper power supply connection. For flickering screens, double-check your HDMI cable connections and refresh rate settings.
A frequent problem is improper image orientation. Fix this by adding display_rotate=0, 1, 2, or 3 to your config.txt file, testing each value until you achieve the correct orientation. If your display shows a black screen, verify that you’ve enabled the correct display driver and that your power supply provides sufficient amperage.
Some users experience issues with contrast against bright backgrounds. Combat this by using high-contrast colors in your interface design and considering ambient lighting conditions during setup. For optimal visibility, maintain a dark background behind the display and adjust your content’s color scheme accordingly.
Keep your transparent display clean using only microfiber cloths and avoid harsh cleaning solutions that might damage the surface. Regular maintenance and proper handling will extend your display’s lifespan and maintain optimal transparency.
Transparent displays with Raspberry Pi represent an exciting frontier in DIY technology projects, offering endless possibilities for creative applications. From interactive smart mirrors to innovative digital signage, the combination of Raspberry Pi’s versatility and transparent display technology opens up new horizons for both hobbyists and professionals. As hardware becomes more accessible and the community continues to develop new solutions, we can expect to see even more innovative applications emerge. Whether you’re building an interactive retail display, creating an augmented reality project, or simply experimenting with this fascinating technology, the foundation you’ve learned here will serve as a valuable starting point. Remember to stay active in the Raspberry Pi community, where new ideas and improvements are constantly being shared, and don’t be afraid to push the boundaries of what’s possible with your own unique projects.