

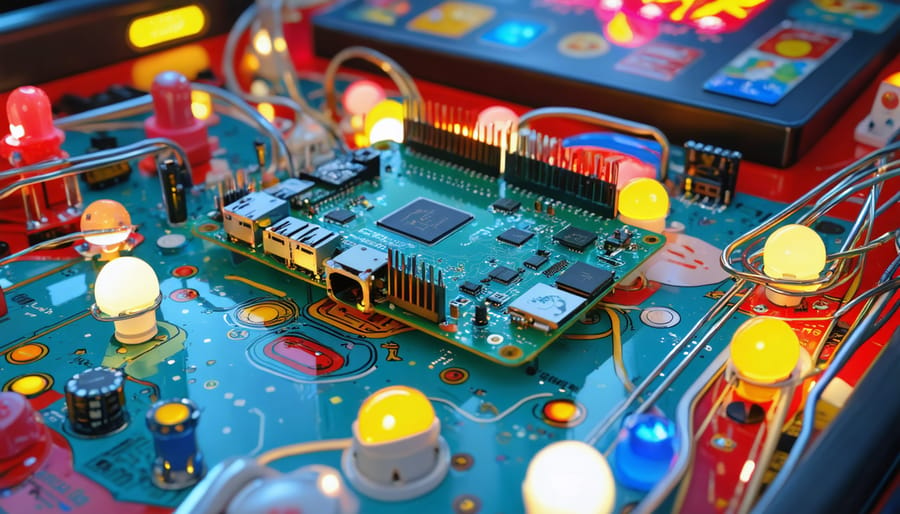
Transform your gaming room into a full-scale virtual pinball arcade using nothing more than a Raspberry Pi, a display, and some basic electronics. This innovative DIY project combines classic pinball nostalgia with modern technology, delivering an authentic arcade experience at a fraction of the commercial cost. By leveraging the Raspberry Pi’s powerful capabilities and open-source pinball emulation software like PinMAME and Visual Pinball X, enthusiasts can recreate dozens of legendary pinball tables with stunning accuracy and responsive gameplay.
Building a Raspberry Pi virtual pinball cabinet represents the perfect fusion of retro gaming preservation and cutting-edge maker technology. Whether you’re a seasoned electronics hobbyist or just starting your DIY journey, this project offers scalable complexity – from basic tabletop setups to professional-grade cabinets complete with force feedback, authentic sounds, and LED lighting. The affordability and flexibility of the Raspberry Pi platform means you can start small and gradually enhance your machine as your skills and budget allow.
Ready to dive into the world of virtual pinball? Let’s explore how to transform a humble Raspberry Pi into your personal pinball paradise, complete with authentic physics, real-time light effects, and immersive gameplay that rivals commercial machines costing thousands more.

Essential Hardware Components
Choosing the Right Raspberry Pi Model
For virtual pinball projects, the Raspberry Pi 4 Model B stands out as the best choice, offering superior processing power and graphics capabilities essential for smooth gameplay. With up to 8GB of RAM and a quad-core processor, it handles complex pinball simulations without lag. The dual micro-HDMI ports are particularly valuable, allowing you to connect both a playfield and backglass display.
While the Pi 3B+ can run basic pinball tables, it may struggle with more demanding games and dual-display setups. The Pi 400 is another viable option, sharing the Pi 4’s architecture, but its integrated keyboard design might require additional modification for cabinet installation.
For budget-conscious builders, the Pi 3B+ remains a workable choice if you’re planning to run simpler tables or use a single display. However, investing in the Pi 4 provides better long-term value and future-proofing for your virtual pinball machine, especially when running more sophisticated pinball simulation software.
Display and Cabinet Setup
For an authentic pinball experience, your display setup is crucial. The main playfield display should be a 32-inch or larger LCD monitor with a resolution of at least 1080p, mounted horizontally beneath a piece of tempered glass. For the backglass display, a 19-24 inch monitor works well, positioned vertically to show scores and artwork.
When selecting cabinet materials, 3/4-inch MDF (Medium-Density Fiberboard) is the standard choice due to its durability and smooth finish. Pre-cut cabinet kits are available, but building from scratch gives you more customization options. The typical dimensions are around 29 inches wide, 45-50 inches long, and 72 inches tall, though you can adjust these based on your space.
For controls, you’ll need arcade-quality buttons and components. Essential items include:
– 2 flipper buttons (one on each side)
– 1 plunger or launch button
– 2-4 front-mounted buttons for extra features
– 1 coin/credit button
– Accelerometer for tilt detection
Mount your buttons using standard 1-1/8 inch arcade button holes. Position the flipper buttons on the cabinet sides at a comfortable height, typically 6-8 inches from the bottom edge. Install a plunger on the right side, about midway up the cabinet length.
For optimal viewing angles, tilt the playfield display between 6-7 degrees. This slight incline creates the illusion of depth while maintaining playability. Secure all components firmly to prevent movement during gameplay, and consider adding LED strips around the cabinet edges for that classic arcade ambiance.
Software Configuration
PinballX Setup
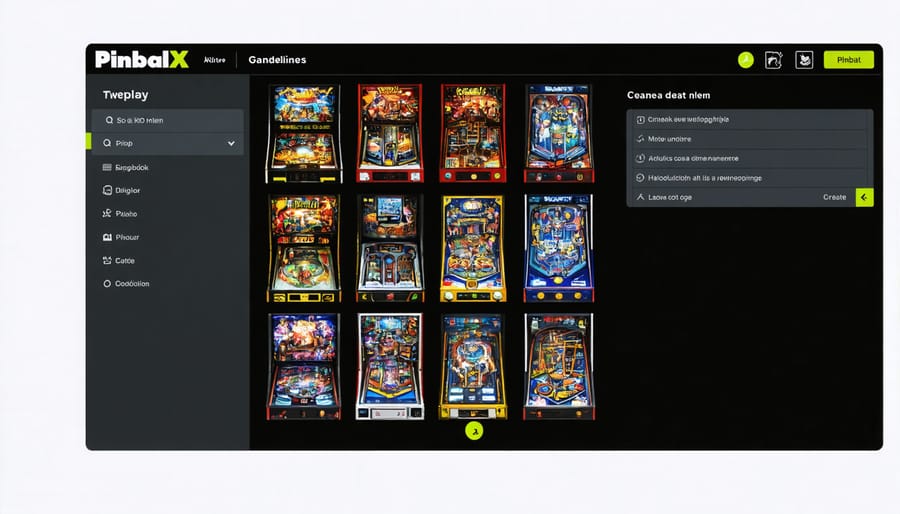
PinballX serves as an excellent frontend for your virtual pinball cabinet, similar to what you might use in a retro gaming setup. To get started, download the latest version of PinballX from their official website and transfer it to your Raspberry Pi. The installation process is straightforward – simply run the installer and follow the on-screen prompts.
Once installed, you’ll need to configure your media folders. Create separate directories for your table images, videos, and wheel art. In the PinballX configuration tool, set these paths accordingly. The system supports multiple emulators, so you’ll want to configure each one individually under the ‘Systems’ tab.
For optimal performance, adjust the display settings to match your cabinet’s screen resolution. PinballX allows for customizable layouts – you can modify the menu position, background images, and transition effects to create your perfect pinball interface.
Don’t forget to configure your controls. Map your flipper buttons, plunger, and menu navigation keys through the ‘Controls’ section. For the best experience, enable the “Hardware Accelerated Video” option if your Raspberry Pi model supports it.
Finally, test your setup thoroughly before finalizing. Launch different tables and ensure all controls respond correctly. If you experience any lag, try reducing video quality or disabling some visual effects in the settings menu.
Visual Pinball Setup
After installing the base operating system, setting up Visual Pinball (VPX) is your next crucial step. Begin by downloading the latest VPX version compatible with Raspberry Pi from the official Visual Pinball repository. Similar to a gaming server configuration, you’ll need to optimize your settings for smooth performance.
Extract the VPX files to your designated games directory and launch the setup wizard. During installation, pay special attention to the physics engine settings. For Raspberry Pi systems, it’s recommended to start with medium physics complexity and adjust based on your Pi’s performance.
Configure your display settings to match your cabinet’s screen resolution. For optimal performance, set the frame rate to 60 FPS and enable vertical sync to prevent screen tearing. If you experience lag, consider reducing the physics calculation rate or disabling real-time shadows.
To add tables, place your downloaded .vpx files in the Tables folder. Remember to include associated media files (images, sounds) in their respective directories. Test each table individually before adding more to ensure stable performance.
For better graphics, enable OpenGL rendering but keep advanced effects disabled initially. You can gradually enable features like dynamic shadows and reflection mapping while monitoring system performance. Remember to save your configuration after each successful test to maintain optimal settings.
ROM Configuration
When setting up ROMs for your virtual pinball machine, it’s crucial to address legal considerations first. Only use ROMs for games you physically own, as downloading copyrighted ROMs without ownership is illegal in most jurisdictions. Many classic pinball games are protected by copyright, even decades after their release.
For legal ROM configuration, start by creating a dedicated folder in your Raspberry Pi’s file system for your ROM files. The standard location is typically “/home/pi/PinballX/ROMs” or a similar directory structure depending on your chosen emulator. Ensure your ROM files match the exact file naming convention required by your emulator, as even slight variations can prevent games from loading properly.
Most virtual pinball setups use Visual Pinball X (VPX) tables, which consist of multiple files including table layouts, sounds, and ROM data. When configuring your ROMs, verify that all associated files are present and properly organized in their respective directories. Some emulators require specific ROM versions to function correctly, so always check compatibility documentation.
To maintain organization, consider creating separate folders for different pinball manufacturers or eras. This structure makes it easier to manage your collection and troubleshoot any issues that may arise. Remember to regularly backup your ROM configuration to prevent data loss and maintain proper file permissions for smooth operation.
Performance Optimization
Graphics Settings
To ensure smooth gameplay on your Raspberry Pi virtual pinball setup, it’s crucial to optimize gaming performance through careful graphics configuration. Start by setting your display resolution to 1080p for the best balance between visual quality and performance. If you experience lag, consider reducing it to 720p.
Enable GPU memory split in your Raspberry Pi configuration, allocating at least 256MB to the GPU for better graphics handling. This can be adjusted through raspi-config or by editing the config.txt file. For most virtual pinball tables, setting the frame rate limit to 60 FPS provides smooth gameplay while preventing unnecessary GPU strain.
Anti-aliasing should be set to 2x or 4x maximum – higher settings can significantly impact performance without noticeable visual improvements. Disable real-time reflections and complex lighting effects if you notice stuttering during gameplay. Instead, use pre-baked lighting and simplified reflection maps.
For texture settings, maintain medium quality to balance visual appeal and performance. Enable texture compression when available, as this reduces memory usage without severely impacting visual quality. If using Visual Pinball X, keep the maximum simultaneous objects setting below 3000 to prevent performance drops during intense gameplay moments.
These settings provide an optimal starting point, but feel free to adjust them based on your specific hardware configuration and performance requirements.

Input Latency Reduction
Minimizing input latency is crucial for an authentic pinball experience, and there are several effective methods to achieve this on your Raspberry Pi virtual pinball setup. Start by enabling game mode on your display, which bypasses unnecessary image processing and reduces display lag. If your monitor supports it, adjust the refresh rate to 60Hz or higher to ensure smooth gameplay.
In the software configuration, modify your PinballX or PinballFX settings to prioritize performance over visual effects. Disable vsync if you notice significant input lag, though be prepared for potential screen tearing. For button inputs, configure your GPIO pins with the highest priority using the `gpio-priority` parameter in your config.txt file.
Another effective approach is to use direct USB polling for your buttons and controls. This bypasses the standard input stack and reduces input processing time. Install the `retrogame` utility, which allows for direct GPIO reading and USB HID emulation with minimal overhead.
Overclocking your Raspberry Pi can also help reduce overall system latency, but proceed with caution and ensure proper cooling. Focus on increasing the GPU frequency rather than CPU, as this has a more direct impact on display responsiveness. Monitor your input lag using tools like input-lag-test to measure improvements as you implement these optimizations.
Remember to test each change individually to identify which methods work best for your specific setup and hardware configuration.
Troubleshooting Common Issues
When building your Raspberry Pi virtual pinball machine, you might encounter several common issues. Here’s how to address them effectively:
Display Issues:
If you notice screen tearing or stuttering, modify your config.txt file to include vsync=1 and adjust your display’s refresh rate to match your monitor’s capabilities. For dual-display setups, ensure both screens are configured with the correct orientation and resolution in your system settings.
Performance Optimization:
Running multiple tables slowly? Start by overclocking your Raspberry Pi safely – increase the GPU memory allocation to at least 512MB through raspi-config. Remove unnecessary background processes and ensure your Pi has adequate cooling, as thermal throttling can significantly impact performance.
Sound Problems:
No audio or delayed sound effects can be frustrating. Check that your audio output is correctly set in your pinball emulator’s settings. If using HDMI audio, verify that hdmi_drive=2 is set in your config.txt file. For USB audio devices, ensure they’re properly recognized in your system settings.
Controls Not Responding:
When buttons or flippers aren’t working correctly, first check all physical connections. Use the jstest command to verify your controllers are being recognized. If using GPIO buttons, confirm your pin assignments match your configuration file. Sometimes, interference from other USB devices can cause input lag – try different USB ports or a powered USB hub.
ROM Loading Errors:
If tables aren’t loading properly, verify file permissions and ensure your ROMs are in the correct format. Some emulators require specific file structures – double-check your documentation and file organization.
System Crashes:
Regular system crashes might indicate power supply issues. Use a high-quality 5V/3A power supply minimum. Monitor your system temperature and add cooling if necessary. Keep your SD card clean of unnecessary files and consider using a backup image of your working configuration.
Remember to maintain regular backups of your configuration files and ROM database. This makes troubleshooting and system recovery much more manageable if serious issues arise.
Building a Raspberry Pi virtual pinball machine is an exciting and rewarding project that combines classic gaming nostalgia with modern technology. Not only does it offer a cost-effective alternative to traditional pinball machines, but it also provides endless customization possibilities and a valuable learning experience. By following the steps outlined in this guide, you can create your own virtual pinball cabinet that rivals commercial machines at a fraction of the cost.
Whether you’re a gaming enthusiast, DIY hobbyist, or just looking for a unique weekend project, a Raspberry Pi virtual pinball machine offers the perfect blend of entertainment and technical challenge. The satisfaction of playing your first game on a machine you built yourself is truly unmatched. Don’t be intimidated by the scope of the project – start small, take it step by step, and soon you’ll have your very own virtual pinball machine to enjoy and share with others. Get started today and join the growing community of Raspberry Pi pinball enthusiasts!