

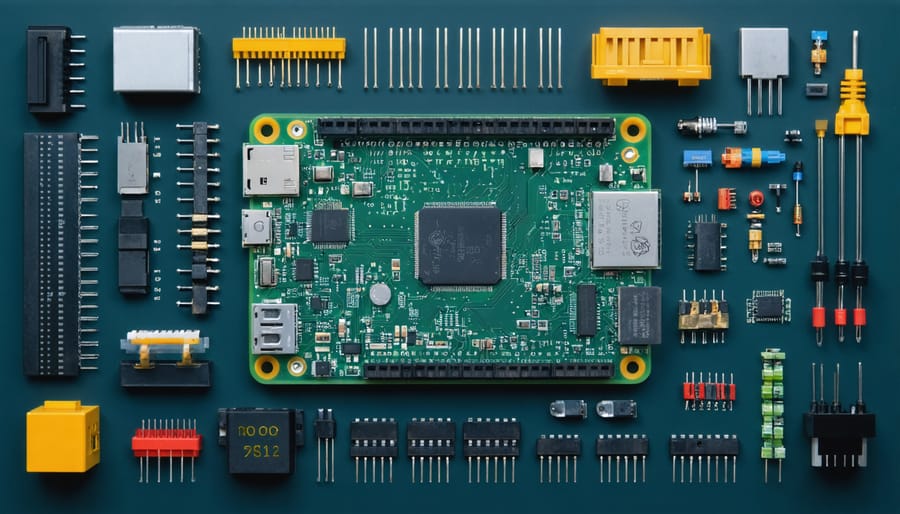
Unleash the full potential of your Raspberry Pi projects by designing custom circuit boards that perfectly match your requirements. Creating a custom Raspberry Pi board transforms standard hardware into specialized solutions, enabling features like dedicated GPIO expansion, custom power management, and specialized sensor interfaces. Whether you’re building an industrial IoT device or a unique hobby project, custom boards bridge the gap between off-the-shelf solutions and precisely engineered systems.
Today’s PCB design tools and affordable manufacturing services make custom board creation more accessible than ever. Advanced features like multi-layer designs, integrated power regulation, and specialized communication interfaces can be implemented with careful planning and the right components. From compact form factors to expanded functionality, custom boards unlock possibilities that standard HATs and expansion modules can’t match.
This comprehensive guide explores essential aspects of custom Raspberry Pi board design, from initial concept through production-ready designs. We’ll cover PCB layout best practices, component selection strategies, and critical considerations for power distribution, signal integrity, and thermal management. Whether you’re a seasoned engineer or an ambitious maker, you’ll find the practical insights needed to bring your custom board vision to life.
Why Standard Raspberry Pi Boards Might Not Cut It
Common Limitations of Standard Boards
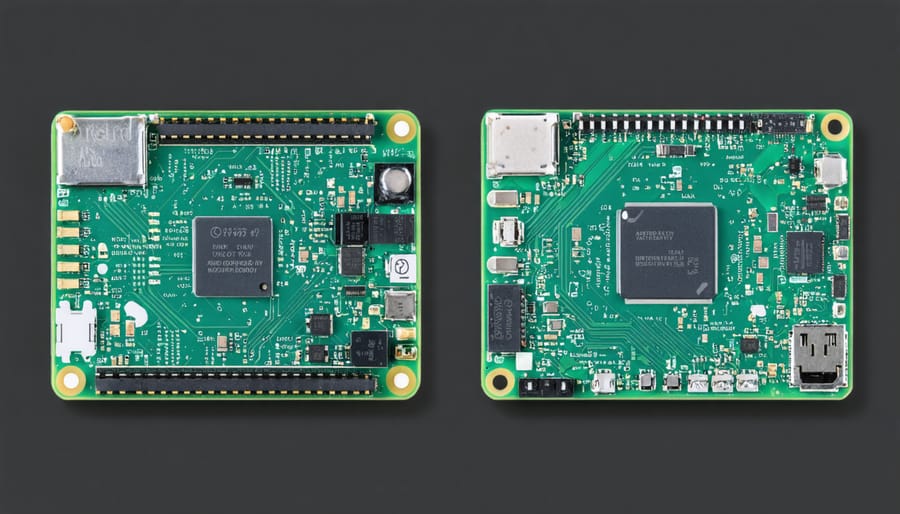
While standard Raspberry Pi boards offer impressive versatility, they come with several inherent limitations that may restrict certain project requirements. The fixed GPIO configuration, standard form factor, and pre-determined power delivery systems can pose challenges for specialized applications. Many users find that the default power management doesn’t support their specific needs, especially when implementing performance upgrades or adding power-hungry peripherals.
The standard board’s size and mounting options might not fit specialized enclosures or space-constrained projects. Additionally, the fixed placement of components like USB ports, network interfaces, and display connectors can complicate integration into custom housings. Memory constraints and the inability to modify core hardware features often necessitate workarounds that may impact project efficiency.
Thermal management presents another significant limitation, as the standard cooling solutions might not suffice for intensive applications or hostile environments. The fixed voltage regulators and power distribution network might also restrict the implementation of specialized power requirements or advanced power-saving features.
Use Cases for Custom Boards
Custom Raspberry Pi boards shine in various specialized applications where standard boards might fall short. In industrial automation, customized boards can incorporate specific interfaces and robust components to withstand harsh environments while maintaining precise control over manufacturing processes. For example, a custom board might feature additional GPIO pins, specialized power management, or industrial-grade connectors for factory floor deployment.
Education and research institutions often benefit from custom boards tailored to specific experiments or teaching requirements. These might include built-in sensors, specialized display interfaces, or custom expansion capabilities that align with curriculum needs.
IoT deployments represent another key use case, where custom boards can optimize power consumption, integrate specific wireless protocols, or include application-specific sensors. Smart home automation systems, for instance, might require custom boards with built-in relay controls and environmental monitoring capabilities.
In prototyping and product development, custom boards serve as perfect testing platforms, allowing developers to validate concepts and refine designs before moving to production. This approach saves time and resources while ensuring the final product meets all requirements.
Essential Components for Custom Pi Boards
Power Management Solutions
Power management is crucial for any custom Raspberry Pi board, as it directly impacts reliability and performance. A well-designed power delivery system should provide clean, stable power while protecting your components from voltage fluctuations and surges.
The most common approach is implementing a switching voltage regulator, which offers better efficiency than linear regulators. For custom boards, consider using the TPS563200 or similar buck converters, capable of delivering 3.3V and 5V rails with high efficiency. Adding bulk capacitors and proper PCB layout techniques helps minimize noise and ensure stable operation.
To enhance power management, incorporate monitoring circuits that can detect undervoltage conditions and safely shut down the system. Including a power LED indicator and test points for voltage measurements makes troubleshooting easier. For portable applications, consider adding battery management circuitry with charging capabilities and low-battery detection.
Protection features like reverse polarity protection diodes and resettable fuses (PTC) are essential safeguards for your custom board. These components prevent damage from common power-related issues and extend the life of your creation.
IO Expansion Options
Expanding your Raspberry Pi’s connectivity options is crucial for custom board designs, offering flexibility for various project requirements. The most common expansion method is incorporating additional GPIO headers, which can double or triple the available pins for sensors and peripherals. I2C and SPI buses can be extended through port multiplexers, allowing connection to multiple devices using the same communication lines.
For industrial applications, adding RS-232 or RS-485 interfaces enables robust communication with legacy equipment and industrial sensors. USB expansion is another valuable option, achievable through USB hub controllers or dedicated expansion chips that add multiple high-speed ports.
Consider including specialized connectors like JST headers for battery management, Grove connectors for plug-and-play sensor compatibility, or Qwiic connections for I2C devices. For wireless capabilities, dedicated headers for WiFi or Bluetooth modules provide flexibility in choosing RF solutions.
Many designers also incorporate level shifters to safely interface with 5V devices, and output buffering to protect the Pi’s GPIO pins. Adding analog inputs through ADC chips extends the Pi’s capabilities for sensing analog signals, while PWM expansion chips provide additional control outputs for motors and LED arrays.
Cooling and Environmental Considerations
Proper thermal management is crucial for any custom Raspberry Pi board design, especially when operating in challenging environments or under heavy workloads. Without adequate cooling, your board may experience throttling, reduced performance, or even permanent damage. Consider implementing effective cooling solutions such as heatsinks, active fans, or thermal pads based on your project’s requirements.
When designing your enclosure, ensure proper airflow by incorporating ventilation holes or slots strategically. For outdoor installations, implement appropriate weatherproofing measures while maintaining thermal efficiency. Consider using conformal coating to protect against moisture and dust, particularly in industrial applications.
Monitor your board’s temperature using built-in sensors or additional thermal monitoring components. Set up automatic throttling or shutdown procedures if temperatures exceed safe thresholds. For projects requiring continuous operation, implement redundant cooling systems to prevent overheating-related failures.
Remember that different components generate varying amounts of heat. Position high-heat components away from temperature-sensitive elements and ensure adequate spacing between components to facilitate proper air circulation. Consider ambient temperature conditions in your final deployment environment when selecting cooling solutions.
Design and Implementation Steps
Planning Your Custom Board
Before diving into the physical assembly of your custom Raspberry Pi board, careful planning is essential to ensure success. Start by clearly defining your project’s requirements, including power needs, connectivity options, and physical constraints. Consider whether you’ll need specific GPIO pins accessible, special power management features, or unique mounting solutions that might affect your custom case design.
Create a detailed specification document outlining your board’s essential features. This should include voltage requirements, desired form factor, operating temperature range, and any specific interfaces needed for your application. Don’t forget to account for future expansion possibilities – it’s often worth including additional headers or mounting points that might be useful later.
Component selection is crucial at this stage. Research and list compatible parts that meet your specifications while considering factors like availability, cost, and reliability. Pay special attention to power management components, as they’re critical for stable operation. If you’re planning to produce multiple boards, factor in component lead times and minimum order quantities.
Consider any regulatory requirements or certifications your board might need, especially if it’s intended for commercial use. Document your design decisions and maintain a revision history – this will prove invaluable during development and troubleshooting phases. Finally, establish a realistic timeline and budget for your project, including costs for prototyping and testing equipment.
Component Selection and Integration
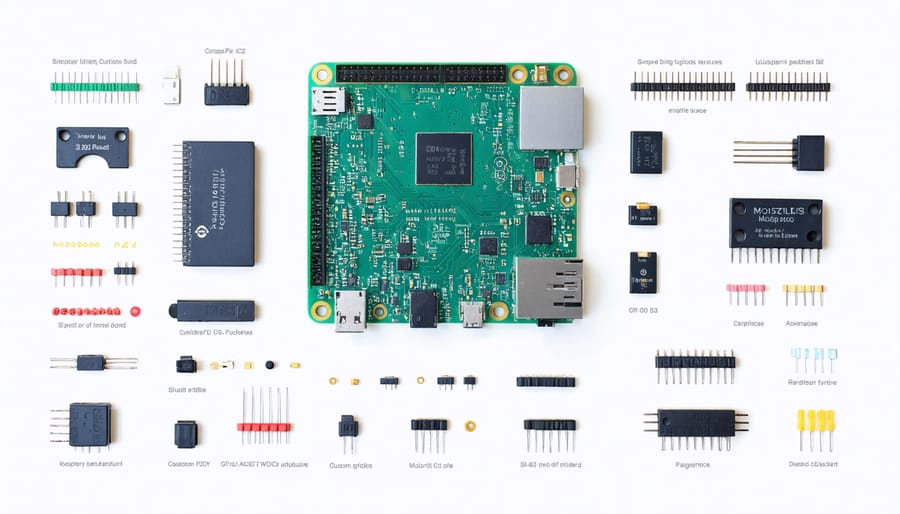
Selecting the right components for your custom Raspberry Pi board requires careful consideration of both functionality and compatibility. Start with the core components: a high-quality PCB substrate, appropriate voltage regulators, and necessary interface connectors. When choosing these elements, always verify their compatibility with your specific Raspberry Pi model and intended use case.
Power management components deserve special attention. Select voltage regulators that can handle your board’s power requirements with some headroom for stability. For projects requiring additional peripherals, include adequate power distribution circuits and protection mechanisms like polarity protection diodes and fuses.
The GPIO header selection is crucial – opt for high-quality pins that maintain solid connections over time. If your project involves customizing your Pi image and specialized I/O, consider adding level shifters to safely interface with different voltage requirements.
Integration requires methodical planning. Arrange components to minimize signal interference and optimize heat dissipation. Keep high-frequency traces short and separated from sensitive analog circuits. Consider adding mounting holes and mechanical supports for robust assembly.
Remember to include essential passive components like decoupling capacitors and pull-up resistors. These seemingly minor elements play a crucial role in ensuring stable operation. Document your component choices and their specifications for future reference and troubleshooting.
Testing and Validation
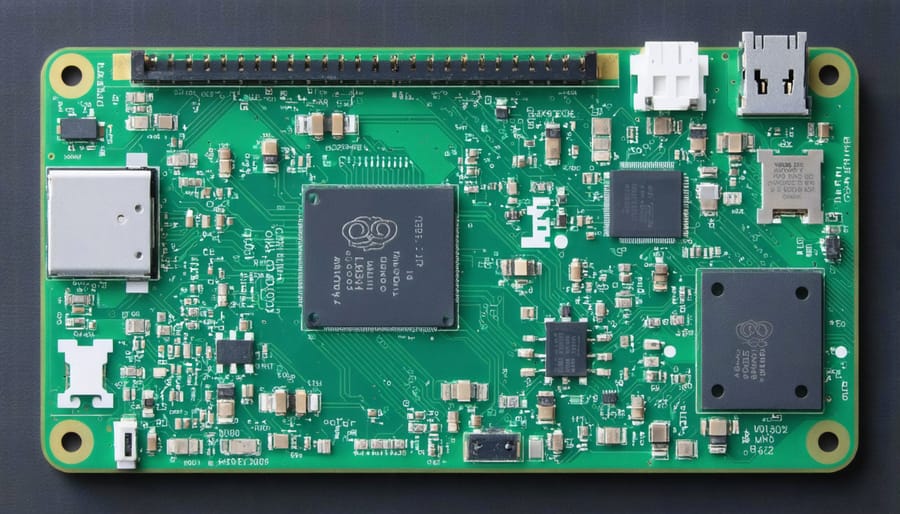
Testing and validating your custom Raspberry Pi board is crucial for ensuring reliable operation and optimal performance. Begin with a visual inspection of all solder joints, component placements, and PCB traces using a magnifying glass or digital microscope. Look for any potential shorts, cold solder joints, or misaligned components.
Power testing should be your first electrical check. Using a multimeter, verify the voltage levels at key test points before connecting your Raspberry Pi. Monitor power consumption during startup and under various load conditions to ensure your power delivery system meets specifications.
Functional testing should follow a systematic approach. Start with basic GPIO operations, testing each pin individually for both input and output functionality. Progress to testing communication interfaces like I2C, SPI, and UART if your board includes them. Document all test results and any anomalies encountered.
Temperature monitoring is essential, especially if your custom board includes additional components or modifications that might affect thermal performance. Use temperature sensors or thermal imaging to identify potential hotspots during extended operation.
For validation, run your intended applications and stress tests for several hours to ensure stability. If possible, test your board in its intended operating environment to account for real-world conditions. Remember to maintain detailed documentation of all testing procedures and results for future reference or troubleshooting.
Common Pitfalls and Solutions
Design Mistakes to Avoid
When designing your custom Raspberry Pi board, avoiding common pitfalls can save you time, money, and frustration. One frequent mistake is inadequate power supply planning – always ensure your voltage regulators can handle peak current demands and include sufficient decoupling capacitors. Don’t overlook thermal management; cramped component placement can lead to overheating issues.
Another critical error is poor connector placement. Ensure USB ports, GPIO headers, and other interfaces are accessible and don’t interfere with each other or case mounting points. Many makers also forget to include test points for debugging, making troubleshooting nearly impossible after assembly.
Watch out for signal integrity issues by keeping high-speed traces short and avoiding right-angle turns in your PCB design. Don’t skimp on ground planes or bypass capacitors, as these are crucial for stable operation. Remember to include mounting holes that align with standard Raspberry Pi cases and HATs.
Finally, avoid the temptation to add unnecessary features that increase complexity and cost. Keep your design focused on your specific needs while maintaining compatibility with existing Raspberry Pi hardware and software.
Troubleshooting Tips
When encountering issues with your custom Raspberry Pi board, start by checking all power connections and ensuring stable voltage delivery. If the board fails to boot, verify that your SD card is properly formatted and contains a valid operating system image. Common boot problems can often be resolved by reflashing the SD card.
For connectivity issues, double-check all soldered connections using a multimeter and inspect for cold joints or bridges. If specific components aren’t responding, verify pin configurations in your GPIO settings and ensure your drivers are properly installed. LED indicators not working? Confirm resistor values and polarity connections.
When dealing with performance issues, monitor your board’s temperature using built-in sensors. Overheating can cause throttling or unexpected shutdowns. Adding proper cooling solutions like heatsinks or fans can help maintain stable operation.
If custom HAT add-ons aren’t being recognized, verify your device tree overlays are correctly configured in config.txt. For debugging purposes, maintain detailed logs of your modifications and keep track of all custom configurations.
Remember to make incremental changes when troubleshooting and test each modification individually to isolate the source of problems.
Creating a custom Raspberry Pi board is an exciting journey that opens up endless possibilities for your projects. By carefully considering your requirements, selecting appropriate components, and following proper design guidelines, you can develop a board that perfectly suits your needs. Remember that while the process may seem daunting at first, breaking it down into manageable steps makes it achievable for makers of all skill levels. Whether you’re building a specialized IoT device, an educational platform, or a unique hardware solution, the knowledge and experience gained from this project will be invaluable. Start small, test thoroughly, and don’t hesitate to iterate on your design. With the right approach and attention to detail, you’ll soon have a custom board that showcases your creativity and technical expertise. Take that first step today and join the growing community of makers who are pushing the boundaries of what’s possible with Raspberry Pi customization.