

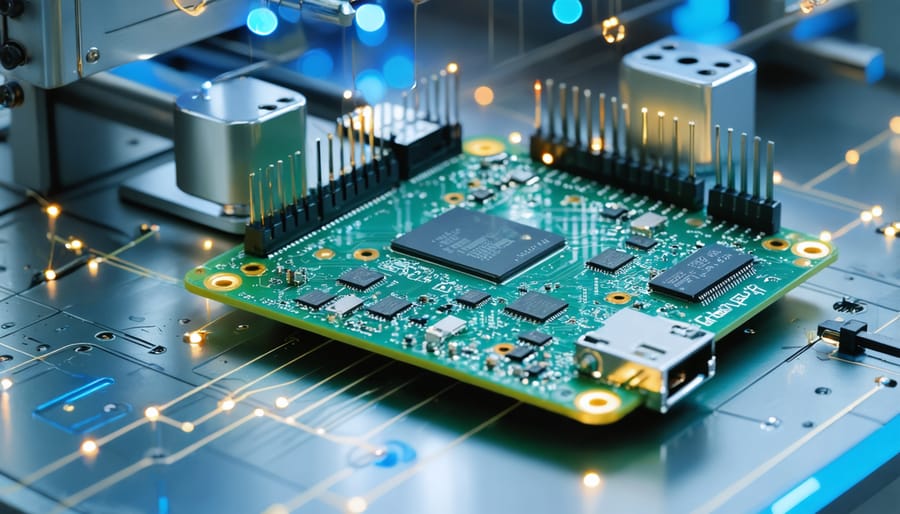
Transform your industrial operations with Raspberry Pi automation – the powerful, cost-effective solution revolutionizing manufacturing processes worldwide. This versatile single-board computer enables sophisticated control systems at a fraction of traditional automation costs, making enterprise-grade automation accessible to businesses of all sizes.
From managing assembly line operations to monitoring environmental conditions in real-time, Raspberry Pi’s combination of GPIO pins, extensive sensor compatibility, and robust programming capabilities creates endless possibilities for industrial automation. Companies implementing Pi-based solutions report up to 70% cost savings compared to traditional PLC systems, while maintaining comparable reliability and performance.
Today’s industrial landscape demands smart, scalable automation solutions that can adapt to rapidly changing production requirements. Whether you’re automating a single production line or implementing a facility-wide IoT network, Raspberry Pi provides the perfect foundation for building modern, efficient automation systems. This guide explores essential hardware configurations, software frameworks, and real-world implementation strategies to help you harness the full potential of Raspberry Pi in your industrial automation projects.
Why Raspberry Pi for Industrial Automation?
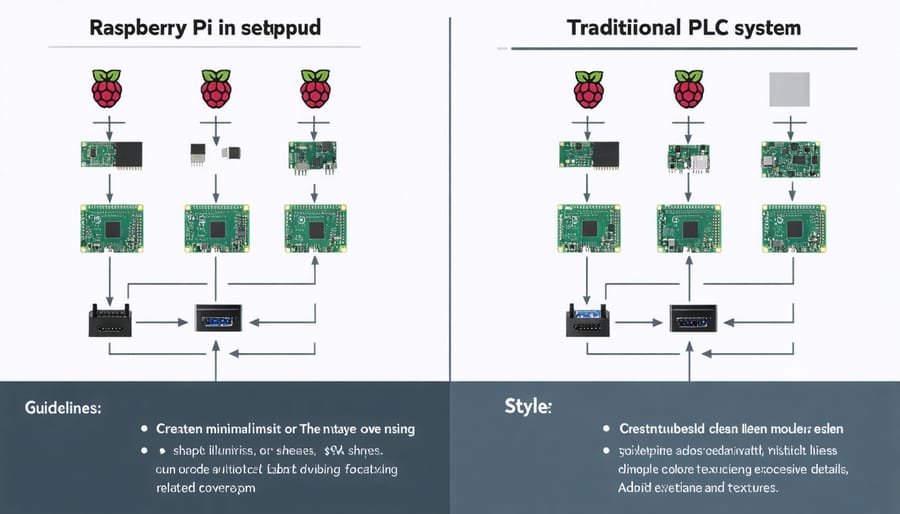
Cost Analysis: Raspberry Pi vs Traditional PLCs
When comparing Raspberry Pi and PLCs, the cost difference is substantial. A typical industrial PLC system can cost anywhere from $1,000 to $5,000 or more, while a complete Raspberry Pi setup, including the board, power supply, and basic peripherals, usually falls between $50 and $200.
For small to medium automation projects, this cost difference can result in significant savings. A Raspberry Pi 4 with 4GB RAM ($55) plus necessary components like a power supply ($10), case ($15), and SD card ($10) totals around $90. Additional costs for sensors, relays, and other automation components are comparable between both solutions.
However, it’s important to consider long-term costs. While PLCs offer industrial-grade reliability and support, Raspberry Pi solutions may require more frequent maintenance and updates. Despite this, the initial cost savings often justify choosing Raspberry Pi, especially for startups and small businesses looking to automate processes without substantial capital investment.
The return on investment typically becomes apparent within the first year, particularly in scenarios where multiple control units are needed. Many users report breaking even within 3-6 months of implementation.
Hardware Durability and Industrial Requirements
When deploying Raspberry Pi in industrial automation settings, protecting your hardware is crucial for long-term reliability. Industrial-grade cases made from aluminum or reinforced plastic offer excellent protection against dust, moisture, and physical impacts. These cases often feature DIN rail mounting options, making them compatible with standard industrial control cabinets.
Thermal management is equally important, as industrial environments can expose your Pi to extreme temperatures. Active cooling solutions, such as small fans or heat sinks, are essential for maintaining optimal operating temperatures. Some specialized cases come with built-in cooling systems, while others can be modified to accommodate additional cooling components.
For enhanced durability, consider industrial-grade SD cards rated for extended temperature ranges and higher read/write cycles. Power supply stability is crucial, so using industrial-grade power supplies with surge protection and wide input voltage ranges helps prevent system failures. Additionally, adding a UPS (Uninterruptible Power Supply) can protect against power fluctuations and ensure continuous operation.
Cable management accessories, such as strain relief connectors and industrial-grade cables, help maintain reliable connections in high-vibration environments. These components, while adding to the initial cost, significantly improve system longevity and reliability.
Essential Hardware Components
Industrial Sensors and Input Devices
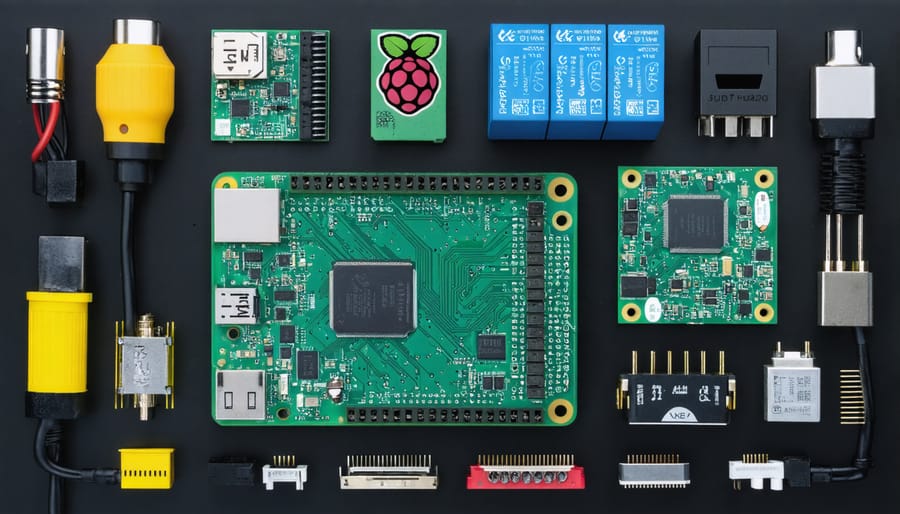
The Raspberry Pi’s versatility shines when it comes to connecting industrial sensors and input devices, making it a powerful tool for automation projects. Common industrial sensors compatible with the Pi include temperature and humidity sensors (DHT22, BME280), proximity sensors (HC-SR04, Sharp IR), pressure sensors (BMP280), and various analog sensors when paired with an ADC (Analog-to-Digital Converter).
For reliable industrial applications, consider using industrial-grade sensors with protective housings and proper shielding against electromagnetic interference. The Pi’s GPIO pins can handle digital inputs directly, while analog sensors require an ADC module like the ADS1115 or MCP3008 for accurate readings.
Motion detection can be achieved using PIR sensors, while light-dependent resistors (LDRs) and photodiodes enable light-based automation. For precise position control, rotary encoders and limit switches provide essential feedback in manufacturing processes.
The Pi also supports various communication protocols commonly used in industrial settings, including I2C, SPI, and UART, making it compatible with a wide range of industrial-grade sensors. When implementing these sensors, ensure proper voltage levels and use appropriate protection circuits to prevent damage to your Raspberry Pi.
For optimal performance, consider using pull-up or pull-down resistors where necessary, and implement software debouncing for mechanical switches and sensors.
Output Controllers and Actuators
The Raspberry Pi’s GPIO pins provide a gateway to controlling various output devices, making it a powerful platform for automation projects. Relay boards are among the most versatile output controllers, allowing you to safely switch high-voltage devices like lights, motors, and appliances. A typical 4-channel or 8-channel relay board connects directly to the Pi’s GPIO pins and can handle loads up to 250V AC or 30V DC.
For motor control applications, dedicated motor controller boards like the L298N dual H-bridge module enable precise control of DC motors and stepper motors. These controllers can manage motor speed and direction through PWM signals, making them ideal for robotics and automated machinery projects.
Servo controllers like the PCA9685 16-channel PWM board expand the Pi’s capabilities for precise position control, perfect for automated camera systems or robotic arms. For industrial applications, digital-to-analog converters (DACs) allow the Pi to generate analog voltage outputs, essential for controlling industrial equipment and legacy systems.
When implementing output controllers, always consider voltage isolation and protection circuits to prevent damage to your Raspberry Pi. Optocouplers and level shifters are recommended when interfacing with external devices operating at different voltage levels. For enhanced reliability in industrial settings, industrial-grade relay modules with built-in protection circuits are worth the additional investment.
Software Solutions and Programming
SCADA and HMI Development
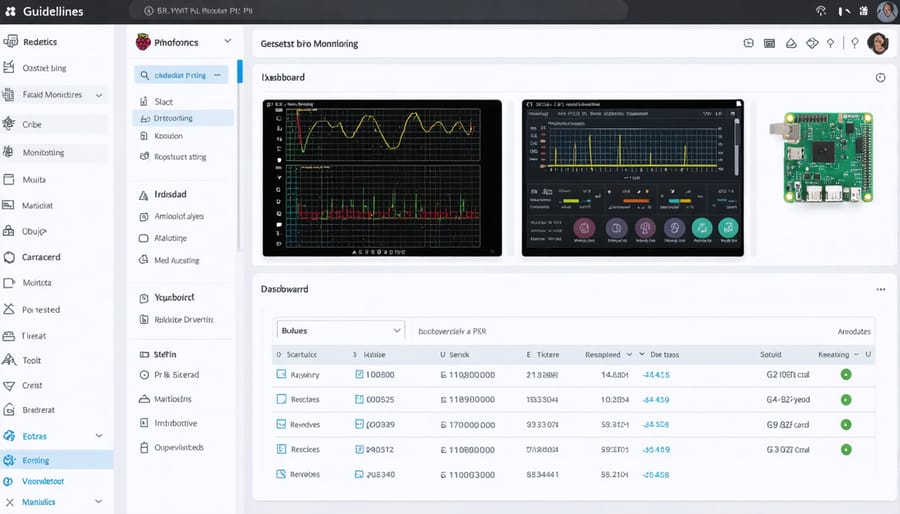
For Raspberry Pi automation projects, creating effective monitoring interfaces is crucial, and several powerful SCADA (Supervisory Control and Data Acquisition) and HMI (Human-Machine Interface) tools make this possible. OpenHAB and Node-RED are popular choices that offer intuitive drag-and-drop interfaces for building custom dashboards. These platforms allow you to visualize sensor data, control actuators, and monitor system status in real-time.
Node-RED’s flow-based programming environment is particularly well-suited for Raspberry Pi, offering pre-built nodes for common industrial protocols like Modbus and MQTT. You can create professional-looking dashboards using the Node-RED Dashboard module, which provides widgets for graphs, gauges, and control buttons.
For those seeking industrial-grade solutions, ScadaBR is an open-source alternative that runs smoothly on Raspberry Pi. It supports multiple protocols and offers features like data logging, alarm management, and trend analysis. Makers can also explore PyQT or Tkinter for creating custom HMI applications using Python, which is ideal for specific automation requirements.
A simpler option for beginners is Grafana, which excels at creating data visualization dashboards. When paired with InfluxDB for time-series data storage, it provides a robust solution for monitoring automation systems. Remember to consider your project’s specific needs when choosing a SCADA/HMI solution, as each tool offers different features and complexity levels.
Data Logging and Analysis
Data logging and analysis are crucial components of any automation system, enabling informed decision-making and process optimization. The Raspberry Pi excels in this area, serving as an effective IoT data collection system that can gather, process, and store information from various sensors and devices.
To implement data logging, you’ll need to set up appropriate sensors (temperature, humidity, pressure, etc.) connected to your Pi’s GPIO pins. Popular Python libraries like pandas and numpy make it easy to process and analyze the collected data. For storage, you can utilize local SQL databases like SQLite or MariaDB, or cloud solutions such as InfluxDB for time-series data.
Real-time monitoring and visualization can be achieved using tools like Grafana or Node-RED dashboards. These platforms allow you to create custom charts and graphs, making it easier to spot trends and anomalies in your automation system’s performance.
For more advanced analysis, consider implementing machine learning libraries like scikit-learn to predict maintenance needs or optimize processes. The Pi’s processing power is sufficient for basic ML models, though you may want to offload more complex calculations to a cloud service.
Remember to implement proper data backup procedures and consider data retention policies based on your storage capacity and regulatory requirements. Regular maintenance of your logging system ensures reliable operation and accurate insights for your automation projects.
Real-World Implementation Steps
Network Configuration and Security
Implementing a secure industrial network configuration for your Raspberry Pi automation system is crucial for maintaining operational integrity and protecting sensitive data. Start by configuring a static IP address for your Pi to ensure consistent network accessibility. This can be done by editing the /etc/dhcpcd.conf file with your desired network parameters.
For enhanced security, implement SSH key-based authentication instead of password login. Generate SSH keys using ssh-keygen and disable password authentication in the /etc/ssh/sshd_config file. Consider setting up a VPN for remote access, using solutions like OpenVPN or WireGuard, which work efficiently on the Pi’s hardware.
Firewall configuration is essential – use UFW (Uncomplicated Firewall) to restrict incoming connections to only necessary ports. Create rules that allow specific services while blocking potential security threats. For industrial applications, implement network segmentation by placing your Pi on a separate VLAN to isolate automation systems from general network traffic.
Regular security updates are vital. Set up automated updates using unattended-upgrades package, but schedule them during maintenance windows to avoid disrupting production processes. Monitor network traffic using tools like tcpdump or Wireshark to detect unusual patterns that might indicate security issues.
System Integration and Testing
When integrating your Raspberry Pi automation system with existing infrastructure, following a systematic approach ensures smooth implementation and reliable operation. Begin by creating a test environment that mirrors your production setup, allowing you to identify potential issues before deployment.
Start with basic connectivity testing between your Raspberry Pi and other system components. Verify network connections, check communication protocols, and ensure all required ports are accessible. If you’re integrating with industrial equipment, test signal inputs and outputs using multimeters or oscilloscopes to confirm proper voltage levels and timing.
Implement a staged testing procedure:
1. Unit testing: Verify individual components and scripts
2. Integration testing: Test interaction between multiple components
3. System testing: Validate the entire automation setup
4. User acceptance testing: Confirm the system meets requirements
Document all test results and create a troubleshooting guide for common issues. Set up monitoring tools to track system performance and establish alert thresholds for critical parameters. Consider implementing a rollback plan in case unexpected issues arise during integration.
For robust testing, simulate various scenarios including:
– Power outages and recovery
– Network interruptions
– Maximum load conditions
– Error handling and fail-safes
Remember to maintain separate development, testing, and production environments to prevent accidental disruptions to operational systems. Regular backup procedures and version control for your automation scripts will help manage system updates and modifications effectively.
Embarking on a Raspberry Pi automation journey opens up endless possibilities for both personal and industrial applications. Throughout this guide, we’ve explored the essential components, software solutions, and practical implementations that make the Raspberry Pi a powerful and cost-effective automation platform. From basic home automation to sophisticated industrial control systems, the versatility of this single-board computer continues to impress.
Remember to start small with basic automation projects and gradually build up to more complex implementations as your confidence grows. Focus on proper hardware selection, robust software configuration, and thorough testing to ensure reliable operation. The community-driven nature of Raspberry Pi means you’ll find extensive support and resources as you develop your projects.
Whether you’re automating your home lighting system or implementing a complete factory monitoring solution, the key to success lies in careful planning and systematic execution. Take advantage of the numerous Python libraries, GPIO capabilities, and integration options available. With the knowledge gained from this guide, you’re well-equipped to begin your automation journey with Raspberry Pi, creating efficient and innovative solutions for your specific needs.