

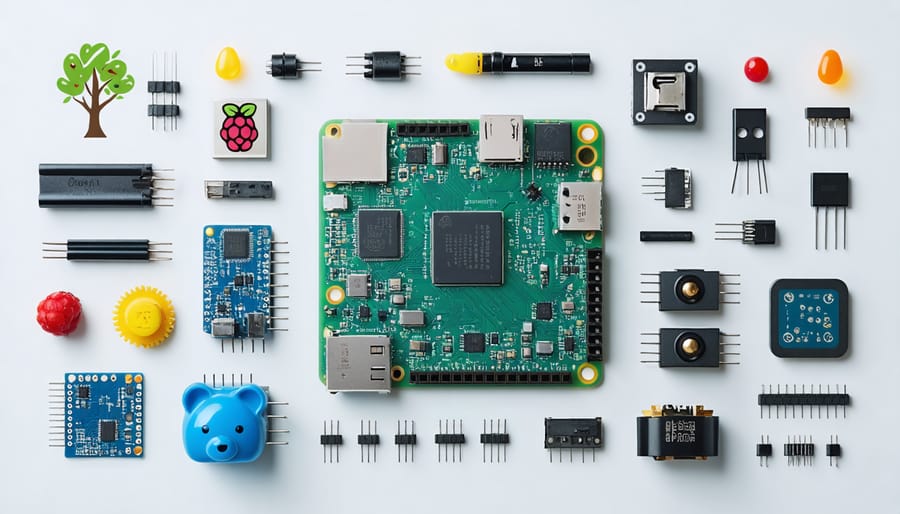
Transform your tech curiosity into hands-on innovation with the Raspberry Pi, a credit card-sized computer that powers everything from home automation systems to retro gaming consoles. This versatile $35 device packs the essential components of a full computer—processor, RAM, and ports—into a form factor that fits in your palm, making it the perfect gateway into physical computing, programming, and DIY electronics.
Unlike traditional computers, the Raspberry Pi’s exposed GPIO pins and bare-bones architecture invite you to experiment, learn, and create without fear of damaging expensive equipment. Connect sensors, control LEDs, drive motors, or set up a web server—the possibilities extend as far as your imagination. Whether you’re a student taking your first steps into coding, a hobbyist looking to automate your home, or an educator designing hands-on STEM projects, the Pi offers an accessible entry point into the world of embedded computing.
This guide will walk you through selecting your first Pi model, essential accessories, and basic setup steps, empowering you to start your journey into the exciting world of single-board computing and DIY electronics projects.
What Makes the Raspberry Pi Special?
Hardware Basics
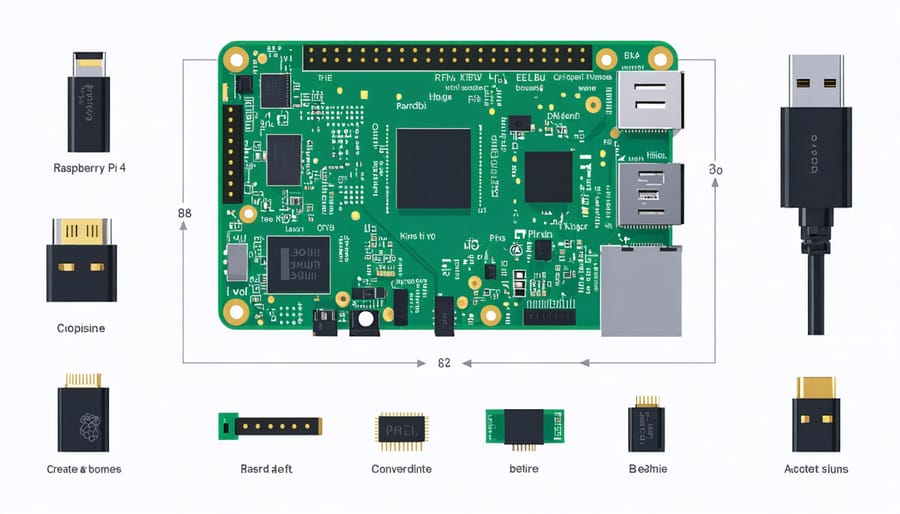
The heart of any Raspberry Pi system is its compact yet powerful single-board computer. The latest Raspberry Pi 4 Model B features a quad-core ARM processor running at 1.8GHz, with options for 2GB, 4GB, or 8GB of RAM. This impressive processing power comes in a credit card-sized package that’s perfect for various projects and learning experiences.
Essential components include the 40-pin GPIO header for connecting sensors and accessories, two micro-HDMI ports supporting dual 4K displays, two USB 3.0 ports, and two USB 2.0 ports for peripherals. The board also includes Gigabit Ethernet, built-in Wi-Fi, and Bluetooth connectivity.
Power is supplied through a USB-C port, requiring a 5V/3A power supply for optimal performance. The board also features a microSD card slot for storage, where you’ll install the operating system and store your files. Understanding these basic specifications is crucial for planning your projects and ensuring you have all the necessary components to get started.
Software Flexibility
One of the most compelling features of the Raspberry Pi is its versatile software ecosystem. The primary operating system, Raspberry Pi OS, is specifically optimized for the device and comes pre-loaded with essential programming tools and educational software. However, you’re not limited to just one operating system. You can run various Linux distributions like Ubuntu, Kali Linux, or even create a media center with LibreELEC.
The Pi’s software flexibility extends beyond operating systems. You can use it for programming in multiple languages including Python, Java, and Scratch, making it perfect for both beginners and advanced users. The device supports a wide range of applications, from web browsers and office software to specialized tools for robotics and home automation.
What’s particularly exciting is the ability to switch between different operating systems by simply swapping SD cards, essentially transforming your Pi into a completely different device within minutes. This flexibility makes it an ideal platform for learning, experimenting, and developing diverse projects.
Getting Started: Your First Setup
Essential Equipment
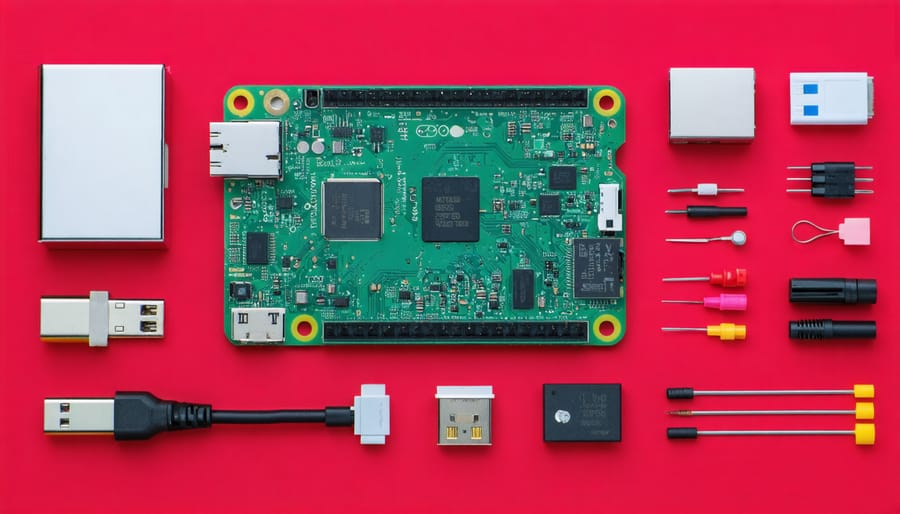
To get started with your Raspberry Pi journey, you’ll need several essential pieces of equipment. The core component is, of course, the Raspberry Pi board itself. For beginners, we recommend the latest Raspberry Pi 4 Model B, which offers excellent performance for most projects.
You’ll also need a power supply – specifically, a USB-C power adapter rated at 5V/3A for the Pi 4. Don’t skimp on this component, as an inadequate power supply can cause stability issues and unexpected behavior.
Storage is crucial – you’ll need a microSD card (minimum 8GB, but 16GB or 32GB is recommended) to serve as your Pi’s main storage. Make sure to choose a reliable, name-brand card for better performance and longevity.
For display output, you’ll need an HDMI cable. The Pi 4 uses micro-HDMI ports, so either get a micro-HDMI to HDMI cable or an adapter. You’ll also need a monitor or TV with HDMI input.
Input devices are essential – a basic USB keyboard and mouse will do fine. For networking, while the Pi 4 has built-in WiFi, an Ethernet cable can provide more stable connectivity for certain projects.
Optional but recommended items include:
– A case to protect your Pi
– A cooling fan or heatsinks
– A dedicated SD card reader
– Extra USB cables for peripherals
– A good quality USB hub if you need more ports
Initial Configuration
Getting your Raspberry Pi up and running is a straightforward process that begins with installing the operating system. The recommended OS for beginners is Raspberry Pi OS (formerly called Raspbian), which comes with essential software pre-installed.
Start by downloading the Raspberry Pi Imager tool from the official website. This user-friendly application helps you write the operating system to your microSD card. Insert a microSD card (8GB minimum, though 16GB or larger is recommended) into your computer using a card reader.
Launch the Imager tool, select Raspberry Pi OS as your operating system, and choose your microSD card as the target. The tool will handle the rest, formatting the card and writing the OS files. This process typically takes 10-15 minutes, depending on your computer’s speed and the card’s capacity.
Once complete, insert the microSD card into your Raspberry Pi. Connect a keyboard, mouse, and monitor to your Pi, then plug in the power supply. The first boot will take slightly longer than usual as the system configures itself.
During the initial setup, you’ll be prompted to:
– Set your country and timezone
– Create a password for the default ‘pi’ user
– Configure your Wi-Fi connection
– Update the system software
After completing these steps, you’ll be presented with the Raspberry Pi OS desktop environment. Take a moment to familiarize yourself with the layout – you’ll find the main menu in the top-left corner, similar to other desktop operating systems.
Remember to regularly update your system using the terminal commands ‘sudo apt update’ and ‘sudo apt upgrade’ to ensure you have the latest security patches and features.
Common First-Time Challenges
When starting with your Raspberry Pi, you might encounter some common challenges that can be easily resolved. One frequent issue is the “rainbow screen,” which typically appears when there’s insufficient power supply. Ensure you’re using a recommended power adapter with at least 2.5A output for optimal performance.
Another common hurdle is the “no signal” message on your display. Double-check that you’ve inserted the HDMI cable before powering on the Pi, and make sure you’re using the correct HDMI port on your display. If you’re still having trouble, try pressing Shift while booting to force HDMI output.
SD card problems can also occur during initial setup. If your Pi won’t boot, verify that your SD card is properly formatted and the operating system was correctly written to it. Using official Raspberry Pi Imager software can help avoid these issues.
Wi-Fi connectivity problems are also frequent. If your Pi isn’t connecting, check that your country code is correctly set in the wireless configuration, and ensure your network password was entered correctly. For older Pi models, confirm that your Wi-Fi adapter is compatible.
Remember, most setup issues have simple solutions, and the Raspberry Pi community forums are an excellent resource for troubleshooting help.
Basic Commands and Control
Terminal Basics
The terminal is your direct line of communication with your Raspberry Pi, and mastering a few essential terminal commands will help you navigate and control your system effectively. Let’s start with the basics that every Pi user should know.
First, ‘ls’ shows the contents of your current directory, while ‘cd’ lets you change directories. For example, type ‘cd Documents’ to enter the Documents folder, or ‘cd ..’ to move up one level. The ‘pwd’ command tells you your current location in the file system.
To create and manage files and folders, use ‘mkdir’ to make a new directory (folder), ‘touch’ to create an empty file, and ‘rm’ to remove files. Be careful with ‘rm’ as deleted files can’t be recovered easily. For copying and moving files, use ‘cp’ and ‘mv’ respectively.
When you need to edit text files, ‘nano’ is a beginner-friendly text editor. Simply type ‘nano filename.txt’ to create or edit a file. The ‘cat’ command displays file contents directly in the terminal.
System management commands are also important. Use ‘sudo apt update’ to refresh your package lists and ‘sudo apt upgrade’ to update your system. If you need to restart your Pi, type ‘sudo reboot’, or ‘sudo shutdown -h now’ to power it off safely.
Remember, you can always use ‘man’ followed by any command to view its manual, or add ‘–help’ after a command for quick usage instructions.
Remote Access
One of the most convenient features of the Raspberry Pi is the ability to control it remotely from another computer, tablet, or smartphone. This means you don’t need to keep a separate keyboard, mouse, and monitor connected to your Pi at all times.
The most common method for remote access is SSH (Secure Shell), which allows you to control your Pi through a command-line interface. To enable SSH, you’ll need to either create an empty file named ‘ssh’ in the boot partition of your SD card or enable it through the Raspberry Pi Configuration tool if you’re already running your system.
For those who prefer a graphical interface, VNC (Virtual Network Computing) is an excellent option. VNC creates a virtual desktop that you can access from any device with a VNC viewer installed. To set up VNC, use the command ‘sudo raspi-config’ in the terminal, navigate to Interface Options, and enable VNC.
Both methods require your Pi to be connected to the same network as your controlling device. You’ll need to know your Pi’s IP address, which you can find by typing ‘hostname -I’ in the terminal.
For beginners, there are also user-friendly remote access solutions like RealVNC Viewer and Remote.it, which simplify the connection process and provide additional features like remote access outside your local network.
Remember to change your default password before enabling remote access to maintain security. Once set up, you can manage your Pi projects from anywhere in your home or, with proper configuration, from anywhere in the world.
Next Steps and Projects
Now that you’ve got your Raspberry Pi up and running, it’s time to explore some exciting beginner-friendly Pi projects that will help you build confidence and practical skills. Here are some suggested next steps to continue your learning journey:
Start with a simple LED project to understand GPIO pins and basic electronics. Connect an LED to your Pi and write a simple Python script to make it blink. This fundamental project teaches you both hardware interaction and basic programming concepts.
Consider setting up a home media center using software like Kodi or RetroPie. This project introduces you to operating system customization while creating something practical you can use daily.
For those interested in home automation, try building a weather station. Using basic sensors, you can measure temperature, humidity, and pressure, then display the data on a small screen or web interface. This project combines hardware interfacing with data collection and visualization.
Web developers might enjoy turning their Pi into a personal web server. Host a simple website or create a file-sharing system accessible within your home network. This project teaches networking concepts and basic server administration.
To advance your skills further:
– Learn Linux command line operations in depth
– Study Python programming through online courses
– Join Raspberry Pi community forums
– Explore sensor integration and IoT concepts
– Experiment with different operating systems
Remember to back up your projects and document your progress. Start small and gradually take on more complex challenges as your confidence grows. The Raspberry Pi community is incredibly supportive, so don’t hesitate to ask questions and share your experiences with others.
As you progress, consider combining multiple skills into larger projects. For example, create an automated garden monitoring system that combines sensors, data logging, and web interfaces. The possibilities are endless, and each project builds upon your previous learning.
The Raspberry Pi opens up a world of possibilities for anyone interested in computing, programming, and DIY electronics. From setting up your first Pi to running basic commands and creating exciting projects, this versatile single-board computer serves as an excellent platform for learning and innovation. Whether you’re interested in building a retro gaming console, creating a smart home hub, or learning Python programming, the Raspberry Pi community offers extensive resources and support to help you succeed. Don’t let initial challenges discourage you – start with simple projects and gradually build your expertise. With its affordable price point, active community, and endless project possibilities, there’s never been a better time to begin your Raspberry Pi journey. Take that first step today, and join the millions of makers, learners, and innovators who are exploring the amazing world of Raspberry Pi computing.