

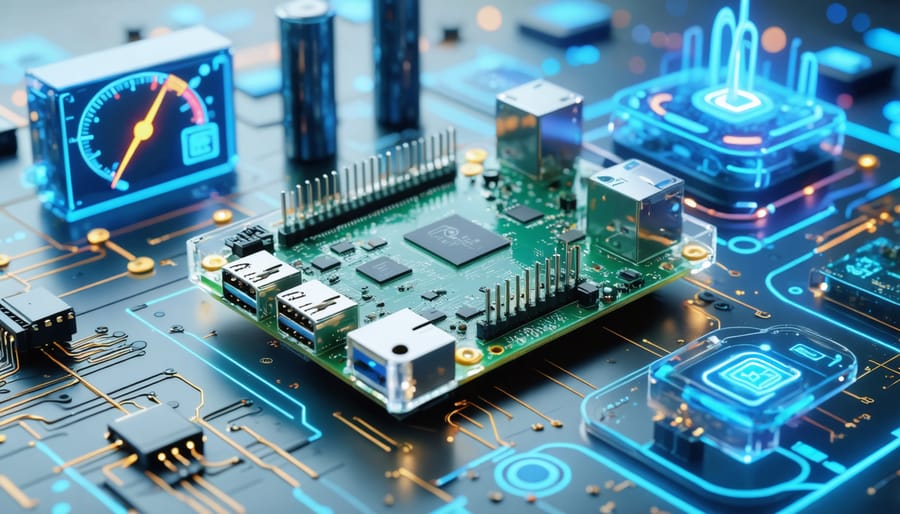
Transform your Raspberry Pi into a powerful embedded control system by mastering fundamental Raspberry Pi basics and implementing advanced power management techniques. Real-time monitoring, precise sensor control, and automated decision-making become possible through GPIO pin manipulation and strategic software deployment. The Raspberry Pi’s versatile architecture enables everything from industrial automation to smart home control systems, making it an ideal platform for embedded control applications.
Modern embedded control demands both reliability and efficiency – qualities the Pi delivers through its robust Linux foundation and extensive hardware interfaces. Whether you’re building an automated greenhouse, developing a custom PID controller, or creating an industrial monitoring system, the RPi’s combination of processing power and real-world I/O capabilities provides the perfect foundation for sophisticated control systems.
By leveraging Python libraries like RPi.GPIO and WiringPi, developers can create responsive control loops that react to environmental changes in milliseconds. This responsive architecture, combined with the Pi’s ability to handle multiple control tasks simultaneously, makes it an increasingly popular choice for professional embedded control applications.
Understanding Power Consumption in Raspberry Pi
Power Requirements and Specifications
The Raspberry Pi requires specific power configurations for reliable embedded control applications. The standard model operates on 5V DC input through its USB-C power port (or micro-USB for older models), with a recommended power supply rating of 3.0A for the Raspberry Pi 4 and 2.5A for earlier models. This ensures stable operation even under heavy processing loads.
For optimal performance, the voltage should remain within 4.8V-5.2V range. Voltage drops below 4.65V trigger the low-voltage warning indicator, while sustained operation below this threshold can cause system instability. The Pi’s various components draw different amounts of current: the CPU requires up to 1.2A under load, USB ports can draw up to 1.2A combined, and the GPIO pins can safely provide a total of 50mA distributed across all pins.
When designing embedded control systems, consider that additional hardware connected via GPIO pins will increase power consumption. It’s recommended to use a dedicated power supply rather than powering through USB from another device. For mobile or battery-powered applications, a power bank rated at least 10,000mAh with 5V/3A output capabilities will provide several hours of operation.
Common Power-Related Issues
Power-related issues are common challenges when working with Raspberry Pi in embedded control systems. One of the most frequent problems is undervoltage, indicated by a lightning bolt symbol in the top-right corner of your screen. This occurs when the power supply can’t deliver the required 5V consistently, often resulting in system instability or unexpected shutdowns.
Another prevalent issue is power fluctuations caused by peripheral devices drawing too much current. USB devices, sensors, and motors can create sudden power demands that exceed the Pi’s capabilities, leading to brownouts or system crashes. These problems typically manifest as random reboots, corrupted SD cards, or erratic behavior in connected devices.
Thermal issues can also impact power management. When the Raspberry Pi runs hot, it may throttle its performance to reduce power consumption, affecting your control system’s responsiveness. Additionally, improper power cable selection or damaged USB ports can cause intermittent connectivity problems and unreliable operation.
To identify power-related issues, watch for warning messages in system logs, monitor voltage readings using command-line tools, and pay attention to unusual behavior in your embedded system’s performance.
Implementing Power Management Controls
Software-Based Power Control
Software-based power control on the Raspberry Pi offers flexible and cost-effective solutions for managing power consumption and system behavior. The primary tool for this purpose is the Linux command line interface, which provides several powerful commands for power management.
The ‘shutdown’ command is your first line of defense for safe system power control. Using ‘sudo shutdown -h now’ ensures a clean system shutdown, while ‘sudo shutdown -r now’ performs a safe restart. These commands properly close running processes and protect your SD card from corruption.
For more granular control, the ‘cpufreq-utils’ package allows you to adjust CPU frequency scaling. By modifying the CPU governor settings, you can switch between performance modes like ‘powersave’ for maximum energy efficiency or ‘performance’ for full processing power. Install it using ‘sudo apt-get install cpufreq-utils’ and control it with ‘cpufreq-set’ commands.
Power management can also be automated using cron jobs. For example, you can schedule your Raspberry Pi to shut down during non-use hours and wake up using a RTC (Real-Time Clock) module. Create a new cron job with ‘crontab -e’ and add shutdown times using the appropriate cron syntax.
The ‘/sys/devices’ directory provides interfaces for controlling various hardware components. You can enable or disable USB ports, Wi-Fi, and Bluetooth modules by writing to their respective control files. This granular control helps reduce power consumption when these features aren’t needed.
Remember to regularly monitor power usage patterns using tools like ‘powertop’ or by reading voltage and current values directly from GPIO pins when implementing these software controls.
Hardware Power Management Solutions
When it comes to implementing robust power management solutions for your Raspberry Pi, physical modifications and add-on hardware can significantly enhance control and efficiency. The foundation of hardware-based power management starts with proper GPIO power management implementation, which can be augmented with specialized HATs (Hardware Attached on Top) and power control circuits.
Popular hardware solutions include the PiJuice HAT, which provides battery backup and intelligent power management features. This add-on board includes a real-time clock for scheduled power operations and can handle graceful shutdowns during power failures. For projects requiring precise power control, the PowerHAT offers voltage monitoring and programmable power sequencing capabilities.
For DIY enthusiasts, implementing a custom power control circuit using a combination of MOSFETs and optocouplers can provide granular control over power distribution. This approach allows you to create isolated power domains for different components of your embedded system, reducing overall power consumption and improving system reliability.
UPS (Uninterruptible Power Supply) modules designed specifically for the Raspberry Pi are another excellent addition to your power management arsenal. These modules typically feature Li-ion or LiPo batteries and intelligent charging circuits that ensure continuous operation during power interruptions.
Consider adding a power monitoring IC like the INA219 to track power consumption in real-time. This data can be invaluable for optimizing your system’s power efficiency and identifying potential issues before they become critical problems.
Writing Power Management Scripts
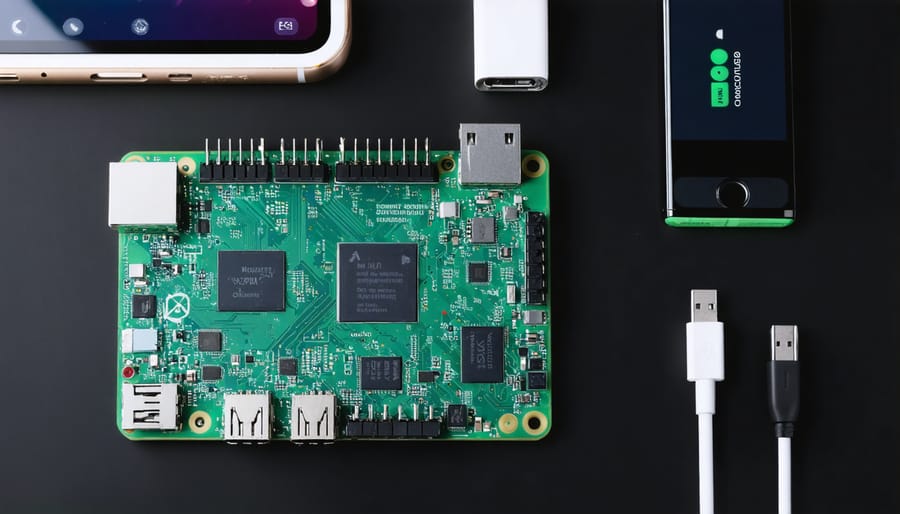
Power management is crucial for embedded Raspberry Pi projects, especially when operating in remote or battery-powered environments. Creating custom Python automation scripts can help you efficiently control power consumption and implement smart power-saving features.
Start by creating a basic power management script that monitors system resources and takes action based on predefined conditions. Here’s a practical approach:
First, implement a script that checks CPU usage and temperature. When these metrics exceed specified thresholds, your script can automatically adjust the CPU frequency or shut down unnecessary services. Include commands like vcgencmd for temperature monitoring and psutil for resource tracking.
Create scheduled tasks using cron jobs to run your power management scripts at specific intervals. For example, you might want to reduce power consumption during nighttime hours or when battery levels fall below a certain percentage.
Consider implementing these essential power management features:
– Automatic shutdown when idle for extended periods
– Dynamic CPU frequency scaling based on workload
– Peripheral power control (USB ports, GPIO pins)
– Battery level monitoring and low-power mode activation
– Graceful shutdown procedures for power loss scenarios
Remember to include error handling and logging in your scripts to track power-related events and troubleshoot issues. Store logs in a designated directory and implement log rotation to prevent storage overflow.
For battery-powered projects, add voltage monitoring through ADC sensors and create alert mechanisms for low battery conditions. This helps prevent data loss and ensures proper system shutdown before power depletion.
Test your power management scripts thoroughly in various scenarios before deploying them in production environments. Monitor their effectiveness over time and adjust thresholds and actions based on real-world performance data.
Monitoring and Optimization
Power Monitoring Tools
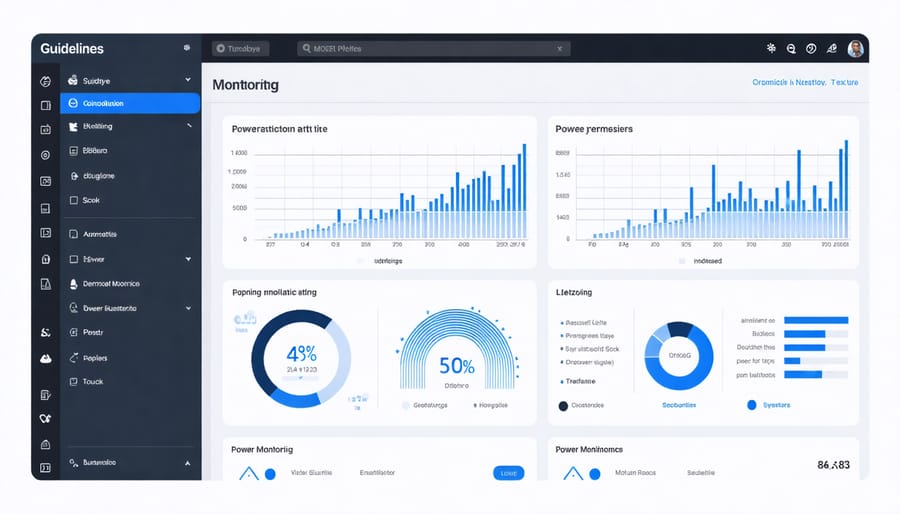
Power monitoring is crucial for embedded Raspberry Pi projects, especially when working with battery-powered or energy-efficient applications. Several system monitoring software and hardware solutions are available to help track and optimize power consumption.
For software monitoring, tools like PowerTop and iostat provide detailed insights into power usage patterns. PowerTop displays real-time power consumption data and identifies processes consuming the most energy, while iostat monitors system input/output statistics that impact power usage.
Hardware monitoring solutions offer more precise measurements. The INA219 power monitoring module is a popular choice, connecting directly to the Raspberry Pi’s I2C pins to measure voltage, current, and power consumption with high accuracy. For more advanced applications, the STPM01 power monitoring IC provides professional-grade power analysis capabilities.
A practical approach combines both software and hardware monitoring:
– Use GPIO-connected LED indicators for basic power status
– Implement USB power meters for overall consumption tracking
– Deploy voltage dividers for battery level monitoring
– Integrate power management HATs for comprehensive control
For battery-powered projects, the PiJuice HAT offers built-in power monitoring features, including battery percentage, charging status, and power consumption metrics. It also includes software APIs for programmatic access to power data.
Remember to consider sampling rates and logging intervals when implementing power monitoring solutions, as excessive monitoring can itself impact power consumption. Start with basic monitoring and scale up based on your project’s specific requirements.
Optimization Techniques
When optimizing your Raspberry Pi for embedded control applications, power consumption management is crucial for efficiency and longevity. One of the most effective techniques is CPU frequency scaling. By adjusting the processor speed based on workload demands, you can significantly reduce power usage during idle periods.
To implement CPU scaling, modify the /boot/config.txt file to set maximum and minimum frequency limits. For instance, setting arm_freq_min=600 and arm_freq_max=1200 creates a balanced power profile. Additionally, disable unnecessary hardware components through raspi-config or by editing config.txt. Common power-hungry features to consider disabling include HDMI output, USB ports, and WiFi/Bluetooth when not in use.
Implementing sleep modes is another powerful optimization strategy. Use the ‘sudo halt’ command for complete shutdown during extended inactive periods, or implement lighter sleep states through software control. For projects requiring constant operation, consider using cron jobs to schedule periodic tasks during off-peak hours.
Power consumption can be further reduced by optimizing your code. Write efficient algorithms that minimize CPU usage, and implement proper threading to avoid unnecessary processing cycles. Use hardware-specific features like GPIO power management to control external components, turning them off when idle.
Temperature management also plays a crucial role in power optimization. Keep your Pi well-ventilated and consider using a heat sink. Higher temperatures lead to increased power consumption and reduced efficiency. Monitor temperature using the vcgencmd measure_temp command and implement thermal throttling if necessary.
For battery-powered applications, implement voltage monitoring and low-power alerts to prevent unexpected shutdowns and protect your system’s integrity.
Implementing embedded control systems on the Raspberry Pi opens up a world of possibilities for automation, monitoring, and power management. Throughout this guide, we’ve explored the fundamental concepts of embedded control, from basic GPIO manipulation to advanced power management techniques. The versatility of the Raspberry Pi, combined with its robust hardware capabilities and extensive software support, makes it an ideal platform for both learning and real-world applications.
To get started with your own embedded control project, begin with simple GPIO controls and gradually incorporate more complex features like I2C communication or PWM control. Remember to properly plan your power requirements and implement appropriate safety measures, especially when working with external devices and sensors.
Key takeaways include the importance of proper pin configuration, understanding power limitations, implementing fail-safes, and maintaining code efficiency. For best results, always test your systems thoroughly in controlled environments before deploying them in production scenarios.
Next steps might include exploring advanced topics like real-time operating systems (RTOS), implementing custom HATs for specific applications, or integrating your system with cloud services for remote monitoring and control. The Raspberry Pi community offers extensive resources and support for continuing your journey in embedded control systems.
Stay current with the latest Raspberry Pi updates and best practices, as the platform continues to evolve with new features and capabilities. Whether you’re building a home automation system or an industrial control application, the principles covered here provide a solid foundation for your embedded control projects.