

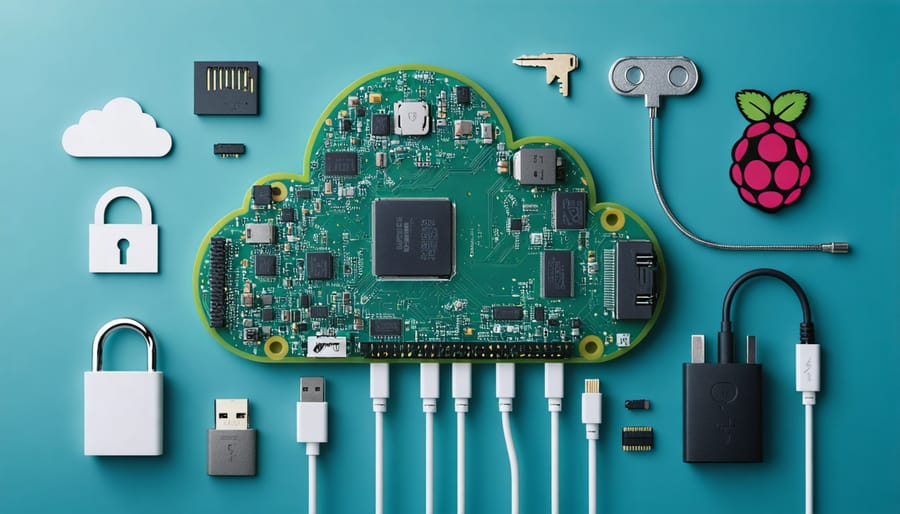
Transform your Raspberry Pi into a personal cloud storage system with OwnCloud, giving you complete control over your data while saving hundreds in subscription fees. This lightweight, open-source platform runs smoothly on even the most basic Pi models, offering enterprise-grade features like file synchronization, sharing capabilities, and automatic backup solutions.
Setting up OwnCloud on Raspberry Pi delivers military-grade encryption, seamless mobile access, and unlimited storage potential limited only by your attached drives. Unlike commercial cloud services, your data remains exclusively on your hardware, protected behind your home network’s security. The platform’s robust architecture handles multiple simultaneous users, making it perfect for families, small businesses, or educational institutions seeking a private cloud solution.
Within hours, you’ll have a fully functional cloud server that rivals commercial offerings, complete with automated backups, file versioning, and cross-platform compatibility. The combination of Raspberry Pi’s reliability and OwnCloud’s proven technology creates an unbeatable self-hosted storage solution that puts you in complete control of your digital life.
Hardware and Software Requirements
Required Hardware Components
To set up your OwnCloud server, you’ll need recommended hardware components that ensure smooth operation. The Raspberry Pi 4 Model B with at least 4GB RAM is ideal for optimal performance, though the 2GB variant can work for basic setups. For storage, use a high-quality microSD card (32GB minimum) for the operating system, and consider adding an external USB hard drive or SSD for your cloud data storage.
A reliable power supply rated at 5V/3A is essential to prevent performance issues. For network connectivity, while Wi-Fi works, an ethernet connection provides better stability and faster transfer speeds. A case with proper ventilation is recommended to protect your Pi and maintain optimal operating temperatures.
Optional but useful additions include a USB keyboard and HDMI monitor for initial setup and troubleshooting, though you can configure everything remotely once the basic installation is complete.

Software Prerequisites
Before installing ownCloud, ensure your Raspberry Pi is running the latest version of Raspberry Pi OS (formerly Raspbian) with desktop environment. You’ll need at least 32GB of storage space on your microSD card for smooth operation.
The following software packages are essential prerequisites:
– Apache2 web server
– PHP 7.4 or later
– MariaDB or MySQL database server
– PHP extensions (mbstring, curl, gd, xml, zip)
– SSL certificates for secure access
Additionally, you should have SSH enabled on your Raspberry Pi for remote administration. Make sure your system is up to date by running ‘sudo apt update’ and ‘sudo apt upgrade’ commands before beginning the installation process.
It’s recommended to set up a static IP address for your Raspberry Pi to ensure consistent access to your ownCloud server. Basic familiarity with Linux command line operations will be helpful during the setup process.
Initial Raspberry Pi Setup
Operating System Installation
To begin setting up ownCloud on your Raspberry Pi, you’ll need to install a suitable operating system. The recommended choice is Raspberry Pi OS Lite (formerly Raspbian), as it provides a lightweight foundation perfect for running a cloud server.
Start by downloading the Raspberry Pi Imager tool from the official Raspberry Pi website. This user-friendly application streamlines the OS installation process. After installing the imager on your computer, insert your microSD card (minimum 16GB recommended) into your computer using a card reader.
Launch the Pi Imager and select “Raspberry Pi OS Lite (64-bit)” from the operating system options. Choose your microSD card as the target storage device. Before writing the image, click the settings icon (gear symbol) to configure important options like hostname, SSH access, and WiFi credentials.
Enable SSH during this initial setup to allow remote access to your Pi later. Set a secure password for the default ‘pi’ user account, and configure your local WiFi network details if you’re not using an ethernet connection.
Click “Write” to begin the installation process. Once completed, safely eject the microSD card, insert it into your Raspberry Pi, and connect the power supply. Allow a few minutes for the initial boot process to complete. You can now access your Pi via SSH using the hostname and credentials you configured.
Network Configuration
For reliable access to your ownCloud server, setting up a static IP address on your Raspberry Pi is essential. This ensures your server remains accessible at the same address on your local network.
First, identify your current IP settings by running the command:
“`
ip addr show
“`
Note down your current IP address, default gateway, and network interface (usually eth0 for ethernet or wlan0 for WiFi).
To configure a static IP, edit the dhcpcd configuration file:
“`
sudo nano /etc/dhcpcd.conf
“`
Add the following lines at the bottom of the file, adjusting the values according to your network:
“`
interface eth0
static ip_address=192.168.1.100/24
static routers=192.168.1.1
static domain_name_servers=192.168.1.1 8.8.8.8
“`
Replace 192.168.1.100 with your desired static IP address, and adjust the router IP according to your network setup. After saving the changes, restart the networking service:
“`
sudo service networking restart
“`
For remote access, consider setting up port forwarding on your router to direct traffic to your Raspberry Pi. The default HTTP port for ownCloud is 80, while HTTPS uses port 443. Ensure you implement proper security measures when exposing your server to the internet.
Installing and Configuring ownCloud
Installing ownCloud Server
Now that your Raspberry Pi is configured, let’s proceed with installing ownCloud Server. First, update your system by running ‘sudo apt update && sudo apt upgrade -y’ in the terminal. This ensures you have the latest packages and security updates.
Next, install the required dependencies by executing:
‘sudo apt install apache2 mariadb-server php php-mysql php-xml php-zip php-mbstring php-gd php-curl php-intl -y’
Create a MySQL database for ownCloud:
1. Access MySQL: ‘sudo mysql -u root -p’
2. Create database: ‘CREATE DATABASE owncloud;’
3. Create user: ‘CREATE USER ‘owncloud’@’localhost’ IDENTIFIED BY ‘your_password’;’
4. Grant privileges: ‘GRANT ALL ON owncloud.* TO ‘owncloud’@’localhost’;’
5. Exit MySQL: ‘FLUSH PRIVILEGES; EXIT;’
Download and extract ownCloud:
‘wget https://download.owncloud.org/community/owncloud-latest.tar.bz2’
‘sudo tar -xjf owncloud-latest.tar.bz2 -C /var/www/’
Set proper permissions:
‘sudo chown -R www-data:www-data /var/www/owncloud’
‘sudo chmod -R 755 /var/www/owncloud’
Configure Apache by creating a new configuration file:
‘sudo nano /etc/apache2/sites-available/owncloud.conf’
Add the basic virtual host configuration, enable the site, and restart Apache:
‘sudo a2ensite owncloud’
‘sudo systemctl restart apache2’
Finally, access your ownCloud installation through a web browser by entering your Raspberry Pi’s IP address followed by /owncloud. Complete the setup wizard by entering your desired admin username, password, and database details.
Database Setup
Before installing ownCloud, we need to set up a database to store your cloud data. MariaDB is the recommended database system for Raspberry Pi, as it’s lightweight and reliable. Let’s configure it step by step.
First, install MariaDB by running:
“`
sudo apt install mariadb-server mariadb-client
“`
Once installed, secure your MariaDB installation:
“`
sudo mysql_secure_installation
“`
When prompted, press Enter for the root password (it’s blank by default), then answer ‘Y’ to all subsequent security questions. This ensures your database is properly secured.
Now, create a database and user for ownCloud:
“`
sudo mysql -u root -p
CREATE DATABASE owncloud;
CREATE USER ‘owncloud’@’localhost’ IDENTIFIED BY ‘your_password’;
GRANT ALL PRIVILEGES ON owncloud.* TO ‘owncloud’@’localhost’;
FLUSH PRIVILEGES;
EXIT;
“`
Make sure to replace ‘your_password’ with a strong, unique password. Keep these database credentials handy, as you’ll need them during the ownCloud installation process. It’s recommended to store them securely for future reference.
Finally, verify that MariaDB is running:
“`
sudo systemctl status mariadb
Initial ownCloud Configuration
After completing the installation, you’ll need to access ownCloud’s web interface to perform the initial configuration. Open your web browser and enter your Raspberry Pi’s IP address followed by /owncloud (e.g., http://192.168.1.100/owncloud). You’ll be greeted with the ownCloud setup page.
Create your administrator account by entering a username and secure password. This account will have full control over your ownCloud installation, so make sure to use a strong password and keep it safe. Below the admin credentials, you’ll find the data folder configuration. The default location (/var/www/owncloud/data) is typically suitable for most users.
Next, choose your database configuration. For a basic setup, select SQLite as your database. While MySQL offers better performance for multiple users, SQLite is perfect for personal use and requires no additional configuration. If you plan to store large amounts of data or share access with family members, consider switching to MySQL later.
Click “Finish Setup” to complete the installation. After a brief moment, you’ll be redirected to the ownCloud dashboard, where you can start uploading files, creating users, and customizing your cloud storage environment.
Security and Performance Optimization
Securing Your ownCloud Instance
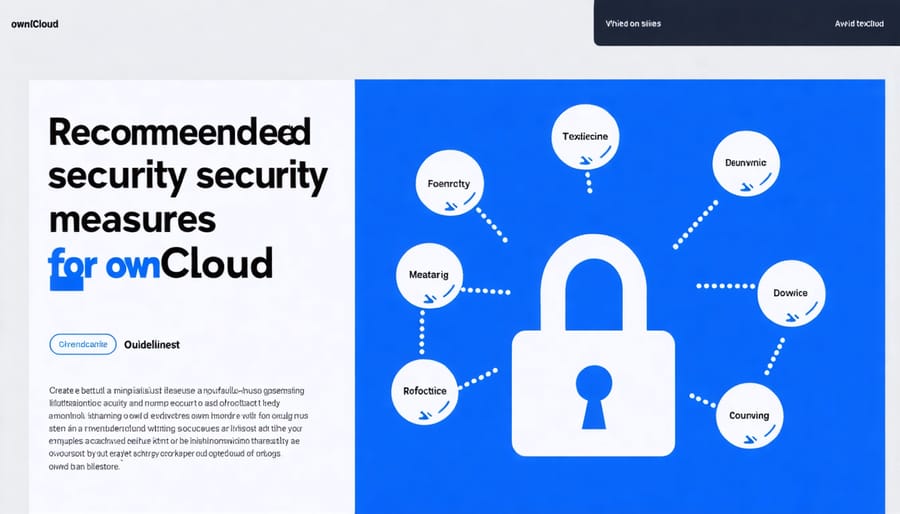
After setting up your ownCloud instance, implementing proper security measures is crucial to protect your data. Following cloud storage security best practices will help safeguard your personal files and maintain system integrity.
Start by changing the default MySQL/MariaDB root password and creating a strong administrator password for your ownCloud account. Enable HTTPS by installing an SSL certificate – Let’s Encrypt offers free certificates that can be automatically renewed. Configure your Raspberry Pi’s firewall (UFW) to allow only necessary ports: 80 (HTTP), 443 (HTTPS), and SSH (if needed).
Update the ownCloud config.php file to include trusted domains and enforce secure connections. Add the following lines to your configuration:
‘trusted_domains’ => array(‘your-domain-name’),
‘force_ssl’ => true,
Enable two-factor authentication for additional security, and regularly update both ownCloud and your Raspberry Pi’s operating system to patch security vulnerabilities. Consider setting up automatic backups of your data to an external drive.
For remote access, avoid using port forwarding directly to your Raspberry Pi. Instead, implement a reverse proxy using nginx or Apache, which adds an extra security layer. Remember to regularly monitor your system logs for any suspicious activities.
Performance Tuning
To get the best performance from your ownCloud installation on Raspberry Pi, you’ll need to optimize your cloud storage server through several key adjustments. Start by increasing PHP memory limits in the php.ini file to at least 512MB for smoother file operations. Configure Redis as a memory caching solution to reduce database load and speed up file access times.
Fine-tune your MySQL/MariaDB settings by adjusting the innodb_buffer_pool_size to about 25% of your available RAM. Enable PHP opcache to cache compiled PHP code, significantly reducing CPU usage during page loads. For better file transfer speeds, consider using an external USB 3.0 drive instead of the SD card for file storage.
Monitor your system’s performance using tools like htop and iotop to identify bottlenecks. If you’re experiencing slow uploads, try increasing the upload_max_filesize and post_max_size values in your PHP configuration. Additionally, keeping your ownCloud installation and Raspberry Pi OS updated ensures you benefit from the latest performance improvements and security patches.
Setting up OwnCloud on your Raspberry Pi opens up a world of possibilities for personal cloud storage and file management. By following this guide, you’ve learned how to create a secure, self-hosted cloud solution that puts you in complete control of your data. The combination of Raspberry Pi’s cost-effectiveness and OwnCloud’s robust features makes this an excellent alternative to commercial cloud services.
Remember that your OwnCloud server can be customized further with additional apps and plugins to suit your specific needs. Whether you’re using it for personal file storage, team collaboration, or as a backup solution, the platform’s flexibility ensures it can grow with your requirements.
To maintain optimal performance, regularly update both your OwnCloud installation and Raspberry Pi OS, monitor your storage usage, and perform periodic backups of your data. Consider implementing additional security measures like two-factor authentication and SSL certificates if you haven’t already.
For those new to self-hosted solutions, this project serves as an excellent introduction to both Raspberry Pi capabilities and personal cloud infrastructure. As you become more comfortable with the system, explore advanced features like calendar sync, contact management, and document collaboration.
The satisfaction of running your own cloud server, combined with the privacy and control it offers, makes this project well worth the initial setup effort. Start small, experiment with different configurations, and gradually expand your OwnCloud implementation as your confidence grows.