

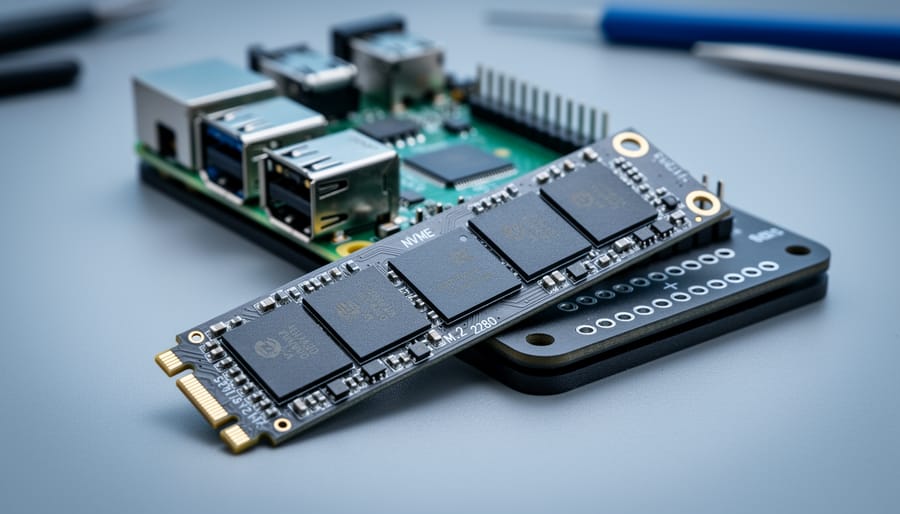
Yes, the Corsair MP700 works with a Raspberry Pi 5, but it’s a Gen5 drive running on a PCIe 2.0 connection, so you’ll only ever use a fraction of what it can do. The MP700 is a PCIe Gen5 x4 NVMe SSD in the standard M.2 2280 size, which fits the Pi 5’s M.2 HAT+ adapter. Gen5 drives are backward compatible, and they simply run at the speed of the older interface they’re plugged into. The Pi 5 supports PCIe 2.0 through that HAT+, so the drive’s headline numbers stay out of reach.
Installation is easy. Expect a 15 to 20 minute job with a screwdriver, the HAT+, and a steady hand, no soldering required. The harder question is whether it makes financial sense. The MP700 carried an MSRP of $289 USD or $369 CAD on Corsair’s site, and a 2TB model was listed at $183.88 at Canada Computers during a sale. For most Pi 5 users, a 1TB or 2TB PCIe 4.0 drive reading between 5,000 and 7,400 MB/s is the smarter buy.
Below, we’ll cover what you need, how to install it safely, how to verify it’s working, and how the cost stacks up.
Why the Corsair MP700 Is on Raspberry Pi Builders’ Radar
The Raspberry Pi 5 changed what’s possible for storage. Unlike earlier boards, it exposes a PCIe connector, which makes NVMe boot and fast storage a real option instead of a workaround. If you’re weighing that jump, our guide on Pi 5 vs Pi 4 covers the wider differences. And once NVMe is on the table, people naturally start asking about the drives they already own.
That’s how a flagship like the Corsair MP700 lands in Pi conversations. It’s a PCIe Gen5 x4 drive in the standard M.2 2280 size, and plenty of builders would rather reuse it than buy something new.
A quick plain-language primer helps here. PCIe “generations” are like road speed limits: each new generation roughly doubles how fast data can travel. “Lanes” (the x4 in Gen5 x4) are how many lanes that road has. More lanes and a newer generation mean more potential speed.
So this article is about compatibility and value, not chasing benchmark numbers. The question is whether the drive works on a Pi and whether it makes sense there.
Will a PCIe 5.0 Drive Run on a Pi 5? Compatibility and Speed Limits Explained
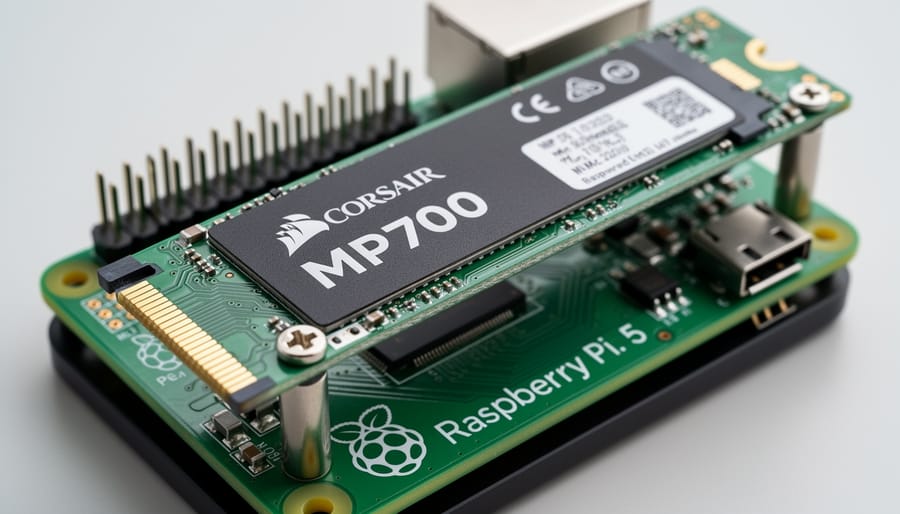
Backward Compatibility in Plain English
When you plug a PCIe 5.0 drive into a slower host, nothing breaks. The drive and the Pi’s PCIe connector “talk” at startup, agree on the fastest speed both can handle, and settle there. A Gen5 drive like the Corsair MP700 is built to the same M.2 2280 shape as older drives, and PCIe 5.0 SSDs are backward compatible with PCIe 4.0 and 3.0, so they simply run at the maximum speed of the older system.
The Raspberry Pi 5 tops out at PCIe 2.0 through the M.2 HAT+, so that’s the speed your drive will use. The MP700 is a PCIe Gen5 x4 drive, Corsair MP700 ELITE coverage shows the Gen5 headroom it was designed for, but that extra capability just sits idle on a Pi. In everyday use, you get a working, fast-feeling drive, just not a Gen5 one.
Key Details at a Glance
Here’s a quick reference for everything that matters when pairing this drive with a Pi 5. These are the verified specs, kept short so you can scan them before you buy or build.
– Drive interface: The Corsair MP700 is a PCIe Gen5 x4 NVMe SSD.
– Form factor: It uses the industry-standard M.2 2280 size, so check that your adapter accepts 2280 drives.
– Pi 5 support: The Raspberry Pi 5 supports PCIe 2.0 through its M.2 HAT+ adapter.
– Backward compatibility: PCIe 5.0 drives work in older systems, but they run at the maximum speed of the older interface.
– Practical alternative: For most Pi 5 users, a 1TB or 2TB PCIe 4.0 NVMe SSD is the best choice. These drives deliver read speeds of 5,000 to 7,400 MB/s on hardware that can take advantage of them.
The takeaway is simple. The MP700 will physically fit and can work, but the Pi’s PCIe 2.0 link decides how fast it goes, not the drive’s Gen5 rating.
What You’ll Need: Tools and Materials for an NVMe Setup on the Pi 5
Before you open any packaging, gather everything in one place. An NVMe build on the Pi 5 is simple, but a missing part halfway through is annoying. Here’s your checklist:
- Raspberry Pi 5 (the board with the PCIe connector).
- An M.2 HAT+ or a compatible PCIe-to-M.2 adapter.
- Corsair MP700, which uses the standard M.2 2280 form factor.
- The official Raspberry Pi power supply.
- A small screwdriver for the mounting screw.
- A microSD card or USB drive for the initial setup.
- Raspberry Pi Imager installed on another computer.
The one fit detail that matters most is size. The MP700 is a 2280 drive (22 mm wide, 80 mm long), so your adapter has to support that length. Some HATs and adapters are built for shorter drives, so confirm 2280 support on the product page or in the manual before you buy or mount anything.
One optional extra worth thinking about is cooling. The MP700 is a flagship Gen5 drive designed for fast desktop systems, and it can run hotter than a typical Pi-oriented SSD. A heatsink that physically fits under or on your HAT is a sensible precaution, but check clearance first, since a bulky heatsink can interfere with the board layout.
Before You Start: Safety Warnings and Power Considerations
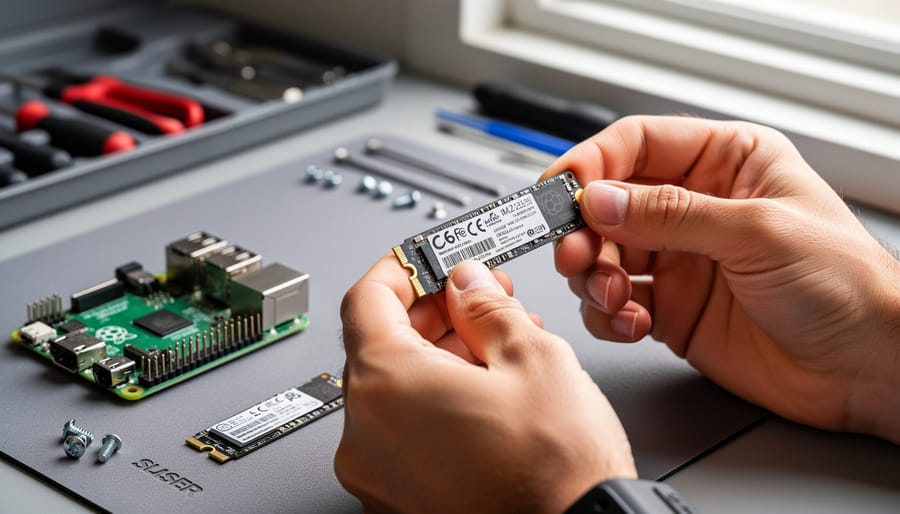
Before you touch any hardware, take a minute for a few precautions. They’re quick, and they can save you a dead drive or a corrupted install.
Start by discharging static. Touch a grounded metal object, or use an anti-static wrist strap, before handling the SSD. Hold the drive by its edges and keep your fingers off the gold contacts and chips.
The flat ribbon cable (FFC) is the fragile part of this build. Lift the connector’s latch gently, slide the cable in straight, then press the latch closed. Never force it or bend it sharply.
Power and heat deserve extra thought here. The MP700 is a Gen5 drive, and Gen5 drives can pull more power and run hotter than the budget-friendly NVMe drives most Pi builders use. That makes a quality power supply and decent airflow worth the effort, especially if you plan to run it under sustained load.
Set your stop conditions now so you’re not guessing later. If the drive isn’t detected, or the Pi acts up with random reboots, freezes, or crashes, power down completely before you troubleshoot. Don’t reseat cables on a live board.
Once everything is seated and double-checked, you’ll be ready to enable PCIe in the configuration.
Step-by-Step: Installing and Setting Up the MP700 on a Raspberry Pi 5
Check Compatibility and Mount the Drive
Before you touch a screwdriver, check that your adapter actually accepts a 2280 drive. The MP700 uses the standard M.2 2280 form factor, but some Pi 5 boards and adapters only fit shorter sticks, so confirming support first saves you from forcing a drive into a slot it was never built for. It’s also a good moment to start your 1-2-3 backup since anything already on the drive will be wiped later.
Here’s the sequence:
- Verify your M.2 HAT+ or PCIe-to-M.2 adapter lists support for 2280 drives.
- Shut down the Pi 5 and unplug the power supply.
- Slide the MP700 into the M.2 slot at a slight angle, press it flat, and secure it with the mounting screw.
- Attach the adapter and ribbon cable to the Pi 5’s PCIe connector, keeping the cable straight and fully seated.
Go gently with the ribbon cable, because its connector is delicate. Once everything feels snug, you’re ready to boot.
Enable PCIe and Prepare the Drive
Once the drive is seated and secured, power the Pi back on and boot into Raspberry Pi OS. The Pi 5’s PCIe connector is disabled by default, so you need to switch it on yourself.
Open a terminal and run `sudo raspi-config`. Go to Advanced Options, choose PCIe Speed, and enable the interface. You can also edit `/boot/firmware/config.txt` and add `dtparam=pciex1`. Reboot afterward. Keep in mind that the Pi 5 runs PCIe 2.0, so the MP700 will negotiate down to that speed.
Next, confirm the Pi sees the drive:
1. Run `lsblk` and look for an entry named `nvme0n1`.
2. If it appears, partition it with `sudo fdisk /dev/nvme0n1`.
3. Create a new partition, then format it with `sudo mkfs.ext4 /dev/nvme0n1p1`.
Want to boot from the SSD? In `raspi-config`, open Advanced Options, then Boot Order, and pick NVMe/USB Boot. That tells the Pi to look at the SSD first.
Choose Between Storage and Boot Use
Before you partition anything, decide what the drive is for, because the two paths suit different projects.
Using the MP700 as a data drive is the simpler route. Your Pi still boots from its microSD card, and the NVMe drive holds the bulk stuff: media libraries, photo archives, backups, or a classroom file share. If something goes wrong, you can swap the card and your data stays put.
Using it as a boot drive means the operating system itself lives on NVMe. That makes sense for always-on builds like a home server or a Docker host, where snappy responsiveness and fewer card failures matter. It takes a few extra setup steps, though.
For most beginners and classroom projects, start with storage. Once that works, move to boot when you’re comfortable.
Verify It Works and Know What Speeds to Expect
Once the MP700 is seated and PCIe is enabled, you’ll want proof that everything works, and a realistic sense of what “working” looks like. Because the Pi 5 supports PCIe 2.0 through the M.2 HAT+, the drive will run at the older interface’s speed, not its Gen5 rating. If you’re still weighing whether to choose the right NVMe for your build, this check will show you exactly what the Pi can use.
- Confirm the device appears: run
lsblkin the terminal and look for annvme0n1entry at roughly the drive’s capacity. - Check the negotiated link: run
sudo lspci -vvand find the NVMe controller’sLnkStaline. It should report the Pi’s PCIe 2.0 speed, not the drive’s maximum. - Run a basic read test:
sudo hdparm -t /dev/nvme0n1gives a quick sequential read figure. - Run a simple write test: copy a large file to the mounted drive with
ddor a file manager and note the time. - Compare against expectations: results should land well below what a Gen5 drive is rated for, because the Pi’s PCIe 2.0 link is the ceiling.
Don’t be disappointed by modest numbers. A lower reading isn’t a fault, it’s the Pi 5’s interface setting the pace, exactly as backward compatibility works. If the drive shows up and the link speed matches the Pi’s limit, you’re in good shape.
From here, set up automatic mounting by adding the drive to /etc/fstab so it appears at every boot. If you want to run the Pi entirely from NVMe, adjust the boot order next.
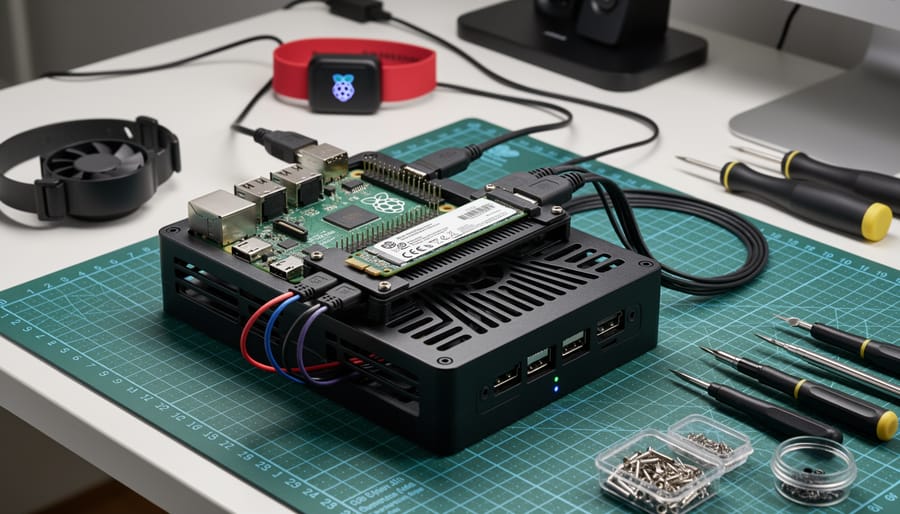
Is the MP700 Worth It on a Pi? Cost vs. a PCIe 4.0 Alternative
Here’s the honest math: a Raspberry Pi 5 talks to its drive over PCIe 2.0, and a Gen5 drive like the MP700 simply steps down to match. You’d be buying headroom the Pi can’t touch.
The price side makes that sting a little more. The MP700 launched with an MSRP of $289 USD or $369 CAD on Corsair’s site. The 2TB model was listed at $183.88 in a Canada Computers sale, which is a much friendlier number, but it’s still paying a Gen5 premium for a port that won’t use it.
Meanwhile, the sweet spot for most Pi 5 builders is a 1TB or 2TB PCIe 4.0 drive, with reads in the 5,000 to 7,400 MB/s range. Those are plenty for the Pi, and since the Pi’s link is the bottleneck either way, you won’t feel much difference day to day.
So when does the MP700 make sense on a Pi?
– You already own one. Repurposing a drive you’ve got sitting around costs nothing extra.
– It’s heading to a PC later. If you plan to move it into a Gen5-capable desktop, the Pi is a fine temporary home.
– You found it at a deep discount. A sale price can close the gap, though check what a PCIe 4.0 alternative costs first.
If none of those apply, a PCIe 4.0 drive is the smarter buy. You’ll get the same practical Pi experience for less, and you can put the savings toward a good power supply or a heatsink instead.
Corsair MP700 on a Raspberry Pi 5: Common Questions
Here are quick answers to the questions Pi builders ask most about this drive.
Can I use a PCIe Gen5 SSD with a Raspberry Pi 5?
Yes. PCIe 5.0 SSDs are backward compatible, so the MP700 will work through an M.2 HAT+ or similar adapter. It simply runs at the speed the Pi’s older interface allows.
Will the MP700 run at full speed on a Pi?
No. The Raspberry Pi 5 supports PCIe 2.0, and a Gen5 drive operates at the maximum speed of the older system it’s plugged into. The Pi’s connection, not the drive, sets the ceiling.
Do I need a special adapter for an M.2 2280 drive?
The MP700 uses the standard M.2 2280 form factor, so you need an adapter or HAT that physically supports 2280-length drives. Check the product specs before you buy, since some boards only fit shorter sizes.
What drive is best for a Pi 5?
For most people, a 1TB or 2TB PCIe 4.0 NVMe SSD is the sweet spot. These drives offer read speeds between 5,000 and 7,400 MB/s, which is plenty of headroom for the Pi.
As for reusing the MP700 in a PC later, nothing about running it on a Pi stops you from doing that. Back up and wipe the drive when you move it, and it can go back to a Gen5-capable motherboard and stretch its legs there. That makes the Pi a handy temporary home if you already own the drive, even if it isn’t the most efficient purchase for a Pi-only project.
So, can you run a Corsair MP700 on a Raspberry Pi 5? Yes. Through the M.2 HAT+ it will work, but the Pi’s PCIe 2.0 connection sets the ceiling, and the drive’s Gen5 headroom just sits idle. Unless you already own one or plan to move it to a PC later, paying extra for speed the Pi can’t use is hard to justify.
For most builders, a 1TB or 2TB PCIe 4.0 drive is the sensible pick. It’s cheaper, runs cooler, and still gives you a big jump over an SD card or USB stick. Whatever you choose, back up your data, double-check that your adapter fits a 2280 drive, and run a quick read/write test to see what your setup really delivers.
Ready for your next upgrade? Browse more Raspberry Pi NVMe and mass storage accessories here on Pidora, and tell us about your own build. Which drive did you pick, and how does it perform?