

Setting up a Raspberry Pi education kit takes about 30 minutes and requires no prior technical experience. You’ll connect the keyboard-computer hybrid to a display, attach a mouse and power supply, then follow the first-boot configuration wizard to install the operating system and create user accounts. The result is a fully functional desktop computer ready for coding lessons, classroom projects, and hands-on STEM learning.
The Raspberry Pi 400 education kit has transformed how schools and families approach computer science education since its launch. Unlike traditional computers that intimidate beginners with complex assembly and configuration, this all-in-one solution integrates a quad-core processor directly into a compact keyboard. Students can start programming in Python, building electronics projects, or exploring Linux fundamentals within the first hour. If you’re wondering What is Raspberry Pi and why it matters for education, think of it as a low-cost gateway to real computing skills that runs the same software used by professionals.
This guide walks you through the complete setup process, from identifying every component in your kit to verifying that your system boots correctly. We’ll cover essential safety considerations for classroom environments, common troubleshooting steps when displays don’t recognize the connection, and how to prepare multiple units for a computer lab. Whether you’re an educator launching a new coding curriculum or a parent exploring affordable tech education at home, you’ll have a working system configured and ready for your first project by the end of this tutorial.
What’s Inside the Raspberry Pi Education Kit
Opening a Raspberry Pi Education Kit reveals a carefully curated collection designed to transform any desk into a complete coding and computing workstation. The centrepiece of most current education kits is the Raspberry Pi 400, a compact computer built directly into a keyboard. This all-in-one design eliminates the need for a separate case and keyboard, making classroom distribution and storage significantly simpler than previous Raspberry Pi generations.
The standard kit configuration includes everything needed to begin computing projects within minutes:
- Raspberry Pi 400 computer keyboard with quad-core processor and 4GB RAM
- Official power supply with regional plug adapter appropriate for your location
- Wired optical mouse for navigation and precise control
- Micro HDMI to HDMI cable for connecting to displays or projectors
- 16GB or 32GB microSD card pre-loaded with Raspberry Pi OS and educational software
- Official Beginner’s Guide covering setup, basic projects, and programming fundamentals
- USB-C cable for power delivery to the Raspberry Pi 400
Beyond the physical hardware, the real educational value lies in the pre-configured software environment. The microSD card arrives with Raspberry Pi OS already installed, alongside programming tools like Scratch 3, Python IDLE, Thonny, and the Mu editor. You’ll find sample projects, coding tutorials, and GPIO reference materials ready to explore without downloading anything additional.
Many education kits also include access to digital curriculum resources through the Raspberry Pi Foundation’s online platforms. These range from structured lesson plans aligned with computing curricula to project-based challenges that develop problem-solving skills. Some kits bundle supplementary materials like quick-start cards, project booklets, or access codes for premium educational content, though these extras vary between suppliers and specific kit versions. The consistency across all education kits is providing a complete, classroom-ready computing platform that requires only a display to become fully operational.
Tools and Materials You’ll Need
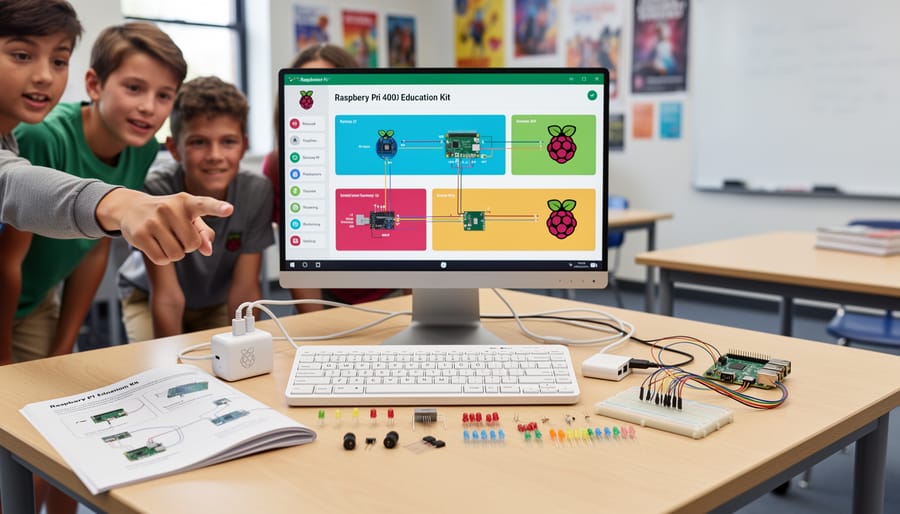
Beyond the Raspberry Pi Education Kit itself, you’ll need a few essential items to create a functional learning environment. Gathering these beforehand prevents delays and ensures students can dive straight into projects.
Display Requirements
A monitor or television with HDMI input is mandatory, the Raspberry Pi 400 won’t function without it. Look for displays between 19 and 27 inches for individual workstations, or larger screens for group demonstrations. The micro HDMI cable included in most education kits connects to standard HDMI ports, so verify your display has this input available. Resolution support up to 4K means almost any modern display works perfectly.
Internet Connectivity
A stable internet connection is crucial for downloading software updates, accessing online tutorials, and installing additional educational resources. Wi-Fi capability is built into the Raspberry Pi 400, but wired Ethernet often provides more reliable performance in classroom settings where multiple units compete for bandwidth. If your school network requires authentication, gather credentials beforehand from your IT department.
Workspace Setup
Each student station needs a flat, stable surface with access to power outlets. Allow roughly 60 centimeters of desk space to accommodate the keyboard unit, mouse, and monitor comfortably. Proper cable management prevents tripping hazards, especially important in busy classroom environments.
Optional but Recommended Peripherals
External speakers or headphones improve the multimedia experience for coding projects with sound, video tutorials, and interactive games. A powered USB hub expands connectivity for robotics kits, external storage, or additional input devices. Small portable cases protect Raspberry Pi units during storage between lessons and make classroom distribution easier.
Having these components ready transforms your Education Kit from a collection of parts into a complete, productive learning station.
Safety Warnings and Pre-Setup Considerations
Before powering on your Raspberry Pi Education Kit, take a few moments to establish safe practices that protect both students and equipment. These precautions are straightforward but essential for smooth classroom operation.
Electrical Safety
Ensure the power supply matches the specifications in your kit, typically 5V, 3A for Raspberry Pi 400 units. Use only the official power adapter provided, never substitute with phone chargers or generic USB supplies. Check that power outlets are grounded and easily accessible for quick disconnection if needed. Avoid running cables across walkways where they might create trip hazards, and keep all connections away from water sources or spill-prone areas.
Component Handling and Static Protection
While the Raspberry Pi 400’s integrated keyboard design offers more protection than exposed circuit boards, static electricity can still damage internal components. Have students touch a grounded metal surface before handling the unit, especially in dry environments with carpeted floors. Don’t open the Raspberry Pi 400 case unless absolutely necessary, these kits are designed for educational use without requiring internal access.
Keep food and drinks away from the workspace, and establish clear rules about gentle handling of keyboards, mice, and cables.
Age-Appropriate Supervision
For primary school students (ages 7-11), maintain direct adult supervision during setup and initial projects. Secondary students can work more independently but still benefit from guidance on proper connection procedures. Assign specific roles during setup to keep groups focused and reduce the risk of rushed, careless handling.
Network and Data Security
Configure your school’s network access with IT administrators before connecting Raspberry Pi units. Use separate VLANs or guest networks if available to isolate student devices from sensitive school systems. Establish a routine for backing up student projects to network drives or external storage, SD card corruption, while rare, can happen. Create a clear acceptable use policy that covers internet access, software installation permissions, and file sharing protocols appropriate for your educational setting.
Step-by-Step Setup Process
Unboxing and Initial Hardware Connections
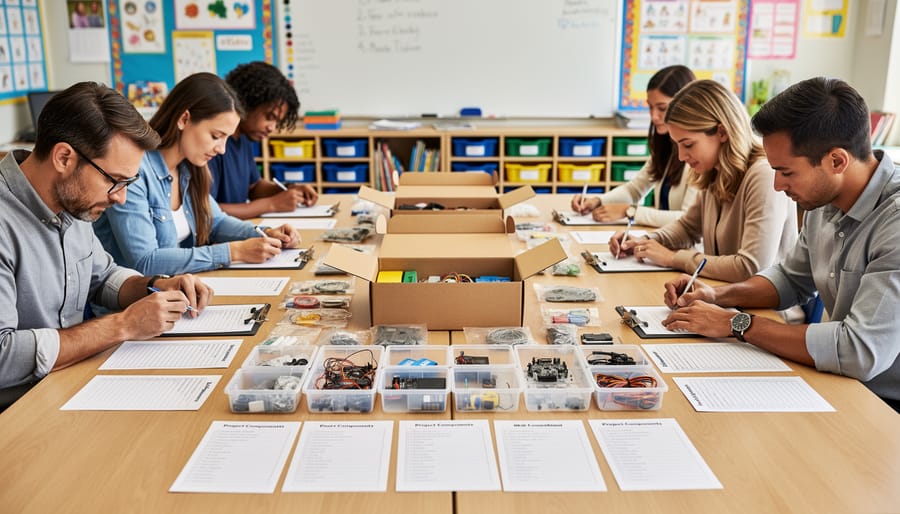
Carefully remove all components from the Raspberry Pi Education Kit packaging, keeping the protective materials until you’ve verified everything is present and undamaged. Lay out each item on a clean, static-free surface where you can easily identify what you have. A typical Raspberry Pi 400 Education Kit includes the Raspberry Pi 400 keyboard computer (the main unit with the computer built into a keyboard), an official power supply with the correct plug for your region, a mouse, a micro HDMI to HDMI cable, a beginner’s guide booklet, and typically a pre-loaded microSD card already inserted in the Raspberry Pi 400’s card slot underneath.
Before making any connections, locate the ports on the Raspberry Pi 400. On the rear edge, from left to right, you’ll find two micro HDMI ports (the video outputs), a USB-C port (for power only), two USB 3.0 ports (the blue ones), and one USB 2.0 port. On the left side is the Ethernet port for wired network connections, and a horizontal slot housing the microSD card. The GPIO header, a row of 40 metal pins for electronics projects, sits on the right side under a plastic cover.
- Connect the micro HDMI to HDMI cable to the leftmost micro HDMI port (marked HDMI0) on the Raspberry Pi 400, then attach the standard HDMI end to your monitor or display.
- Plug the included mouse into one of the USB 3.0 ports (the blue ones) on the back of the unit.
- Connect the USB-C power supply to the dedicated power port on the Raspberry Pi 400, but don’t plug it into the wall outlet yet.
- If using a wired internet connection, attach an Ethernet cable to the RJ45 port on the left side of the unit.
- Turn on your monitor and select the correct HDMI input source using your display’s controls.
- Finally, plug the power supply into a wall outlet to boot the Raspberry Pi 400 for the first time.
You should see a red LED light up near the USB ports, indicating power is flowing, and within seconds, the Raspberry Pi logo and boot sequence will appear on your screen. If nothing displays, double-check that your monitor is on the correct input and that the micro HDMI cable is firmly seated in the leftmost port.
First Boot and Operating System Configuration
Press the power button or plug in the power supply to boot your Raspberry Pi 400 for the first time. You’ll see the Raspberry Pi logo appear on screen, followed by scrolling text as the operating system loads. Within 30 to 45 seconds, the Raspberry Pi OS setup wizard launches automatically, guiding you through essential configuration.
The wizard presents a straightforward sequence that takes about five minutes to complete:
- Welcome screen explains the setup process. Click Next to begin.
- Select your country, language, and timezone from dropdown menus. The keyboard layout usually auto-detects based on your country selection, but verify it matches your actual keyboard.
- Create your user account by entering a username and password. Choose something students can remember but secure enough to protect projects. The default username “pi” is no longer used for security reasons.
- Adjust the screen borders if you see black edges around your display. Most modern monitors won’t need this step.
- Connect to your Wi-Fi network by selecting it from the available networks list and entering the password. Wired Ethernet connections work automatically if already plugged in.
- Allow the system to download and install software updates. This critical step ensures you have the latest security patches and features. It takes five to fifteen minutes depending on your internet speed.
- Restart when prompted to finalize all changes.
After rebooting, you’ll see the Raspberry Pi OS desktop with its clean interface, taskbar along the top, and the distinctive raspberry icon in the corner. The system is now configured and ready for educational software installation.
If the setup wizard doesn’t appear automatically, your SD card may have a pre-configured system. You can manually access configuration settings anytime through the Preferences menu under the raspberry icon.
Installing Educational Software and Resources
Most Raspberry Pi Education Kits ship with software already installed, but you’ll want to verify everything is current and accessible before diving into classroom projects.
Start by opening the main menu in the top-left corner of your screen. Navigate to the “Programming” category where you’ll find Scratch 3, Python IDLE, and Thonny IDE pre-installed. Launch each application briefly to confirm they open without errors. Scratch provides a visual block-based programming environment perfect for younger students, while Python IDLE and Thonny offer text-based coding interfaces suited for more advanced learners.
Next, check for pre-loaded educational resources. Open the file manager and look for folders labeled “Resources,” “Tutorials,” or “Projects.” These typically contain PDF guides, sample code, and project templates organized by difficulty level. Many kits include lesson plans aligned with computing curricula standards.
To ensure you’re running the latest versions, open a terminal window from the main menu. Type `sudo apt update` and press enter, then follow with `sudo apt upgrade` after the first command completes. This process updates all installed software packages. Depending on your internet speed and how recently the kit was prepared, updates may take 15 to 30 minutes.
For additional materials beyond what shipped with your kit, visit the Raspberry Pi Foundation website’s education section. They offer free downloadable projects, complete lesson sequences, and supplementary guides covering topics from basic computing concepts to robotics and physical computing with GPIO pins. The Projects site features hundreds of tutorials filterable by age group and subject area.
Bookmark these online resources for quick classroom access.
Configuring for Multiple Users (Classroom Setup)
Managing a classroom full of Raspberry Pi 400 units requires thoughtful user account configuration to maintain organization and security. Start by creating a master teacher account with administrative privileges, then add individual student accounts using the built-in user management tools found in the Raspberry Pi Configuration panel under “Preferences.” Each student should have their own username and password, which helps track individual progress and keeps projects separate.
For efficient classroom management, consider using a standardized naming convention for student accounts, such as “student01,” “student02,” or first-name-based logins like “alex,” “jordan.” This makes it easier to identify which device belongs to which student, especially if you’re managing multiple Pi units simultaneously. Set up a shared “Projects” folder on each device where students can save their work, and create individual subfolders within it for each user to prevent accidental file overwrites.
Establish clear permission levels to protect system files while giving students freedom to experiment. You can restrict administrative access by ensuring only the teacher account has sudo privileges, preventing students from accidentally modifying system configurations or installing unauthorized software. The Raspberry Pi OS allows you to control which applications students can access through user group settings, letting you tailor the environment to your curriculum needs.
For multi-device classrooms, label each Raspberry Pi 400 unit physically with a number or identifier that matches your digital records. This simple step saves considerable time during troubleshooting and helps students quickly locate their assigned device. Consider creating a standardized desktop background for each unit that displays the device number, making identification visible at a glance across the classroom.
Verification and Testing Your Setup
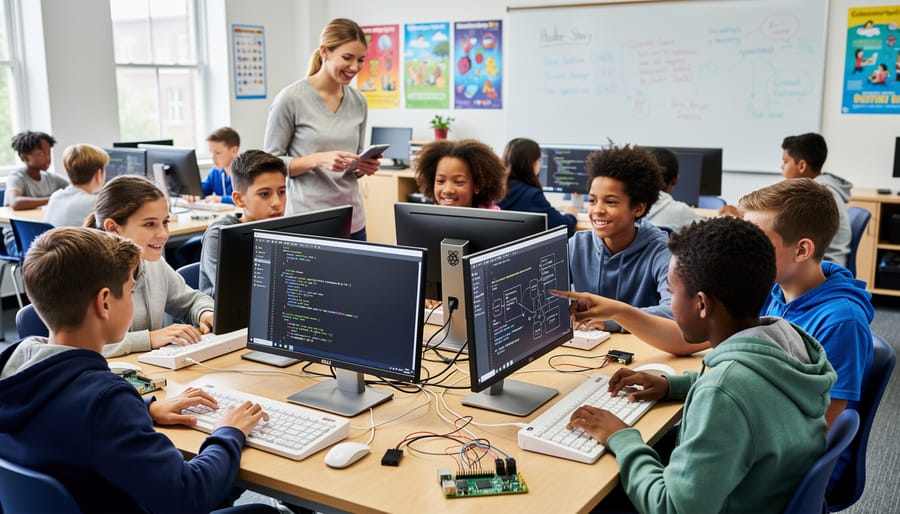
After completing the setup steps, verify that your Raspberry Pi 400 Education Kit is functioning properly before diving into classroom activities. Start by testing the keyboard responsiveness, type in the terminal or a text editor to confirm all keys register correctly. Move the mouse cursor across the screen to check tracking smoothness and click accuracy. Open the file manager and navigate through folders to ensure the system responds without lag or freezes.
Launch the pre-installed programming environments one by one. Open Scratch and create a quick sprite animation to verify the interface loads properly. Start Python IDLE or Thonny and type `print(“Hello, Classroom!”)` to confirm the interpreter executes code. Click through the help documentation and sample projects to ensure educational resources are accessible.
Test your internet connection by opening Chromium and navigating to a few websites, including the official Raspberry Pi projects page. Download a small file to confirm both browsing and file transfer work reliably. If you configured multiple user accounts, log out and back in as a different user to verify the profile system operates correctly.
Before introducing the kit to students, complete this verification checklist:
- Display shows clear, properly scaled image at correct resolution
- All keyboard keys respond accurately, including function and special characters
- Mouse pointer moves smoothly without jumping or freezing
- Audio output works through connected speakers or headphone jack
- Scratch, Python IDLE, and Thonny launch without errors
- Internet browser loads pages and streaming content reliably
- User accounts switch properly with correct permissions
- System update completes successfully without warnings
Run a simple GPIO test if your kit includes electronic components, the LED blink program confirms the hardware interface functions. Check that the SD card has adequate free space (at least 4GB recommended) for student projects. Your education kit is ready when you can comfortably navigate the system, execute programs, and access beginner project ideas without technical interruptions.
First Education Projects to Try
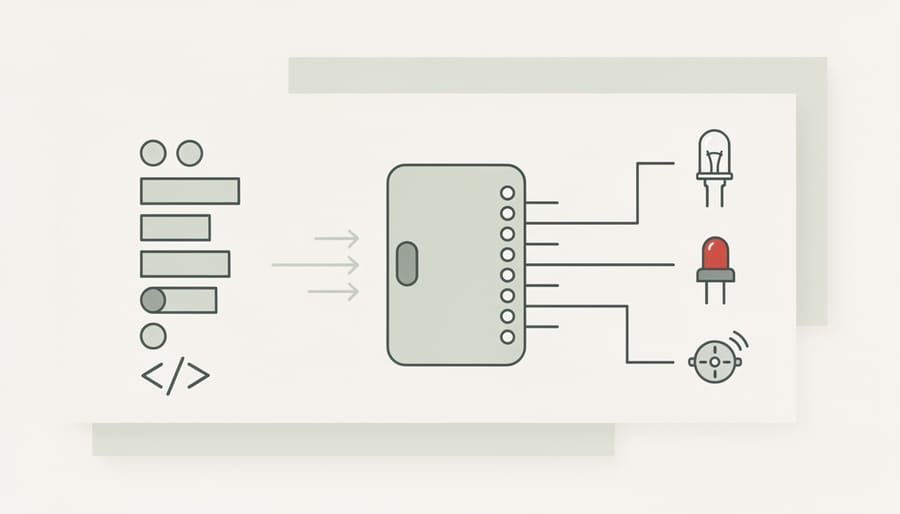
With your Raspberry Pi 400 Education Kit fully configured, you’re ready to dive into hands-on learning. The kit includes pre-loaded projects and tutorials designed specifically for beginners, making it easy to start creating immediately without hunting for resources online.
Scratch Visual Programming
Launch Scratch 3 from the programming menu to build your first interactive animation. Young learners (ages 8-12) can follow the built-in “Getting Started” tutorial to create a sprite that moves, changes costume, and responds to keyboard input. Within 20 minutes, students will have a working animation they coded themselves. The kit’s guides folder contains step-by-step Scratch projects that progress from simple animations to game creation, all accessible without internet connectivity.
Python Programming Basics
Open Thonny IDE to write your first Python program, a classic “Hello, World!” that introduces syntax and execution. The pre-installed “Introduction to Python” PDF walks through variables, loops, and functions using relatable examples like calculating scores or generating random numbers. Older students (ages 13+) can tackle the included “Python Projects Book” which builds a text-based adventure game over five lessons. These projects teach fundamental programming concepts applicable to any coding language.
GPIO Electronics Exploration
If your kit includes the GPIO starter components, the “Physical Computing with Python” guide demonstrates LED control and button input. Students learn to wire a simple circuit and write code that bridges software and hardware, watching an LED blink in response to their Python commands creates an unforgettable learning moment. Safety warnings in the guide ensure proper component handling.
Accessing Built-In Tutorials
Navigate to the Bookshelf application to find curated learning resources covering everything from basic computing to advanced network boot concepts. The “Projects” folder on the desktop organizes sample files by difficulty level, letting you match activities to student readiness.
These starter projects build confidence and foundational skills. Students who complete them gain the competence to tackle more ambitious creations, from game development to robotics, using the same Raspberry Pi 400 platform. Choose projects matching your students’ age and experience, then let their creativity guide the next steps.
Troubleshooting Common Setup Issues
Even with careful preparation, you’ll occasionally hit snags during your education kit setup. Most issues have straightforward fixes that get you back on track in minutes.
Display Not Detected
If your monitor shows no signal, first verify you’ve connected the micro HDMI cable to the correct port on the Raspberry Pi 400, it’s the one labeled HDMI0, closest to the USB-C power port. Try a different HDMI cable if available, as faulty cables are surprisingly common. Power cycle everything: unplug the Pi, wait ten seconds, then reconnect. If you’re using an adapter for different display connections, test without it to rule out adapter problems.
Keyboard or Mouse Unresponsive
The Raspberry Pi 400’s built-in keyboard occasionally fails to respond if the USB-C power supply delivers insufficient current. Confirm you’re using the official 15W power adapter included in the kit, phone chargers typically don’t provide enough power. For external mice, try different USB ports on the Pi. Remove any USB hubs temporarily and connect peripherals directly to eliminate hub-related issues.
Wi-Fi Connection Failures
Check that you’ve entered the correct network password, case sensitivity matters. School networks with enterprise authentication (WPA2-Enterprise) require additional configuration that standard setup wizards don’t handle. Contact your IT department for credentials and manual network configuration instructions. If the network doesn’t appear at all, confirm Wi-Fi isn’t disabled in the system tray and that your router broadcasts on 2.4GHz (the Raspberry Pi 400 doesn’t support 5GHz-only networks).
SD Card Issues
A corrupted or improperly imaged microSD card prevents booting entirely. Re-flash the card using Raspberry Pi Imager on another computer, selecting “Raspberry Pi OS (32-bit)” from the operating system menu. Ensure your card is at least 16GB and Class 10 speed rated. Physical card damage is rare but possible, try a different microSD card if re-imaging doesn’t resolve the issue.
Power Supply Problems
Insufficient power manifests as random freezes, the lightning bolt icon in the top-right corner, or peripherals cutting out intermittently. Use only the official 15W USB-C power supply. Avoid powering the Pi through a computer’s USB port or generic phone chargers, they lack the necessary current capacity for reliable operation.
Why does my screen show a rainbow square instead of booting?
The rainbow square indicates the Pi can’t read the SD card properly. Remove and reseat the card firmly, or re-flash the card with Raspberry Pi Imager if the problem persists.
Can I troubleshoot setup issues remotely once configured?
Yes, after initial configuration you can use VNC remote access or a remote desktop connection for diagnosis and fixes without physical access to the Pi.
What should I do if software updates fail during setup?
Verify your internet connection is stable, then retry the update from a terminal with “sudo apt update && sudo apt upgrade”. If repositories are temporarily unavailable, wait 30 minutes and attempt again.
For persistent problems that resist these fixes, the Raspberry Pi Forums and official documentation offer extensive troubleshooting resources. Document exactly what happens, error messages, LED behavior, which steps you’ve tried, before seeking help, as this detail speeds diagnosis. Most classroom setups encounter at least one of these issues; resolving them builds valuable troubleshooting skills students will use throughout their Pi projects.
Next Steps and Advanced Configuration
With your Raspberry Pi 400 Education Kit now running smoothly, you’re ready to explore the wealth of resources and capabilities that will keep your classroom engaged throughout the year. The Raspberry Pi Foundation maintains an extensive library of free curriculum materials at, featuring hundreds of structured lessons across programming, physical computing, and data science. These projects align with educational standards and include teacher guides, student worksheets, and assessment criteria.
For ongoing support and inspiration, consider these essential resources:
- Join the official Raspberry Pi Educator Network through for professional development webinars and certification programs
- Access the free Computing Curriculum pathway, which provides a complete year’s worth of sequenced lessons
- Connect with educators worldwide through the Raspberry Pi Forums and dedicated education Discord channels
- Subscribe to Hello World magazine for classroom-tested project ideas and teaching strategies
- Download the free Getting Started guides for specific subjects like Python, physical computing, and web development
Setting up VNC (Virtual Network Computing) allows you to remotely access and monitor student Raspberry Pis from your main computer, making classroom management significantly easier. Enable it through the Raspberry Pi Configuration tool under Interfaces, then install RealVNC Viewer on your device.
Plan your project progression carefully. Start with screen-based activities like Scratch animations and Python turtle graphics, then introduce physical computing with simple LED circuits around month two. By mid-year, students can handle camera module projects for stop-motion animation or time-lapse photography. The Sense HAT environmental sensor board opens advanced possibilities for data logging and scientific investigations. Keep a dedicated storage area for GPIO components, camera modules, and expansion boards, you’ll want them readily available as student confidence grows and project ambitions expand.
With your Raspberry Pi Education Kit properly configured, you’ve laid the groundwork for an exciting journey into hands-on STEM learning. The time invested in careful setup pays dividends immediately, your classroom is now equipped with a versatile platform that transforms abstract computing concepts into tangible, interactive experiences.
The beauty of the Raspberry Pi 400 education platform lies in its scalability. What begins as a simple coding exercise can evolve into robotics projects, data science investigations, or creative digital art installations. Each project builds confidence and technical skills while sparking curiosity about technology’s real-world applications.
Don’t hesitate to experiment beyond the pre-loaded tutorials. The vibrant Raspberry Pi community has created thousands of educational resources, project guides, and curriculum materials specifically designed for classroom environments. Your students will surprise you with their creativity once they grasp the fundamentals.
Consider documenting your classroom’s progress and sharing successful projects with other educators. Your experiences, both triumphs and challenges, contribute valuable insights to the global community of teachers using these kits to inspire the next generation of innovators, programmers, and problem-solvers. The foundation you’ve built today opens doors to limitless learning opportunities tomorrow.