

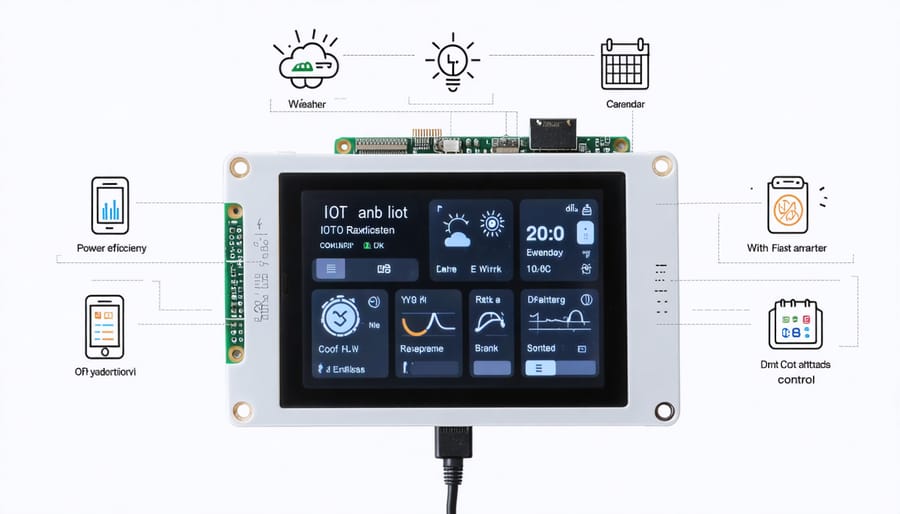
Transform your Raspberry Pi into a versatile digital paper display with an e-ink screen, combining energy efficiency with exceptional readability in any lighting condition. E-ink displays offer a unique advantage for projects requiring constant information display without battery drain, making them perfect for weather stations, scheduling boards, and IoT monitoring systems. Recent advancements in e-ink technology now enable faster refresh rates and grayscale capabilities, opening new possibilities for dynamic content display on Raspberry Pi projects.
While traditional LCD screens consume power continuously and struggle with sunlight visibility, e-ink displays only use power during image updates and maintain perfect clarity under direct sunlight. Modern e-ink modules connect directly to Raspberry Pi’s GPIO pins, supporting both SPI and I2C protocols for seamless integration. Whether you’re building a low-power information dashboard or an electronic paper artwork display, understanding the capabilities and limitations of e-ink technology is crucial for successful implementation.
This guide explores the best e-ink display options for Raspberry Pi, covering essential factors like screen size, refresh rates, color capabilities, and power consumption to help you choose the perfect display for your project.
Why E-Ink Displays Make Sense for Raspberry Pi
Power Efficiency Advantages
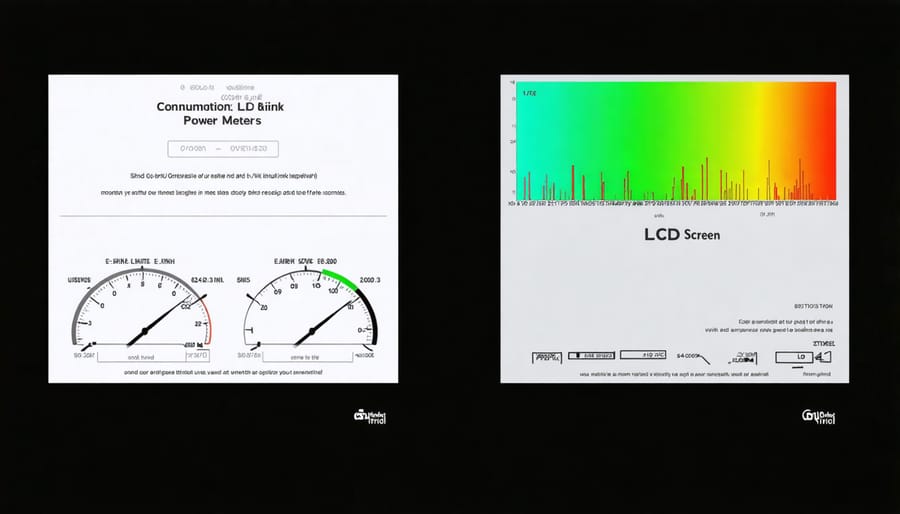
One of the most compelling advantages of e-ink displays for Raspberry Pi projects is their exceptional power efficiency. Unlike traditional LCD or LED screens that require constant power to maintain their display, e-ink screens only consume power when the content changes. This makes them ideal for battery-powered projects and remote installations where power consumption is a critical factor.
When connected through standard GPIO connectivity options, an e-ink display typically draws less than 8mA during updates and virtually zero power when displaying static content. Compared to a standard LCD screen that might consume 200-400mA continuously, the power savings are substantial.
For perspective, a Raspberry Pi project using an e-ink display could potentially run for weeks or even months on a single battery charge, depending on how frequently the display updates. This makes e-ink displays particularly suitable for outdoor information displays, weather stations, and other low-power applications where frequent screen refreshes aren’t necessary.
Perfect for Always-On Projects
E-ink displays are exceptionally well-suited for projects that require continuous operation with minimal power consumption. Their unique ability to retain images without drawing power makes them perfect for information displays that update periodically, such as weather stations, calendar displays, and home automation control panels. Unlike traditional LCD screens, e-ink displays won’t strain your eyes or disrupt sleep patterns when used in bedrooms or living spaces.
These displays excel in applications where real-time updates aren’t critical but long-term visibility is essential. Smart home dashboards that display temperature, humidity, and energy consumption data can run for weeks or even months on a single battery charge. Digital signage for retail stores or office spaces benefits from the professional appearance and excellent readability of e-ink displays, even in bright sunlight.
Environmental monitoring stations and outdoor information kiosks particularly benefit from e-ink technology, as these displays remain visible in direct sunlight and consume minimal power when solar-powered. The technology’s durability and reliability make it ideal for set-and-forget installations where regular maintenance isn’t practical.
Popular E-Ink Display Options for Raspberry Pi
Waveshare E-Paper Displays
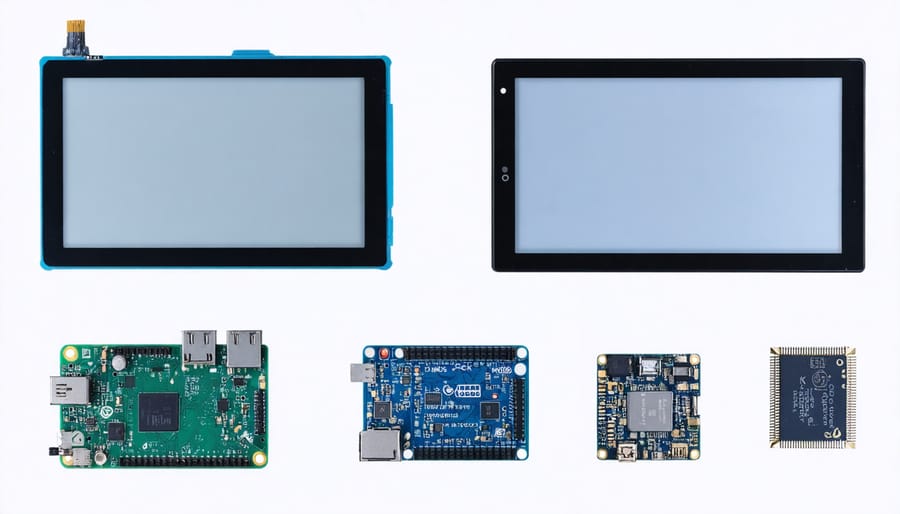
Waveshare offers one of the most comprehensive ranges of e-ink displays specifically designed for Raspberry Pi projects. Their displays come in various sizes, from compact 2.13-inch modules perfect for status displays to larger 7.5-inch screens ideal for information boards and digital signage applications.
Most Waveshare e-paper displays connect to the Raspberry Pi through the GPIO interface and communicate via SPI protocol. The displays are available in different color options, including black and white, black/white/red, and black/white/yellow variants. Their resolution ranges from 250×122 pixels for smaller displays to 800×480 pixels for larger models.
A standout feature of Waveshare displays is their excellent documentation and software support. They provide detailed Python libraries and example code, making it easier for beginners to get started. The displays also boast impressive refresh rates for e-ink technology, though they’re still slower than traditional LCD screens.
Popular models include the 2.13-inch HAT (fits directly on the Pi’s GPIO headers), the versatile 3.7-inch display, and the high-resolution 7.5-inch V2 model. These displays typically operate at 3.3V, consume minimal power, and maintain their display content without continuous power input, making them perfect for battery-powered projects.
Most Waveshare e-paper displays also feature partial refresh capability, allowing you to update specific sections of the screen without refreshing the entire display, which can be useful for real-time data applications.
Inky Displays from Pimoroni
Pimoroni offers a diverse range of e-ink displays specifically designed for the Raspberry Pi, making them a popular choice among makers and enthusiasts. Their Inky line includes several variants, each catering to different project needs and preferences.
The Inky Impression series stands out with its color capabilities, offering vibrant 7-color displays in various sizes from 4″ to 7.3″. These displays are perfect for projects requiring color visualization, such as weather stations or artistic installations. The Inky wHAT, available in red, black, and yellow variants, provides a more budget-friendly option while maintaining excellent readability.
For compact projects, the Inky pHAT series fits perfectly atop the Raspberry Pi Zero, making it ideal for portable applications. These smaller displays come in both monochrome and three-color versions, offering flexibility for different use cases.
All Pimoroni Inky displays feature user-friendly Python libraries and comprehensive documentation, making them accessible even for beginners. The displays connect directly to the Raspberry Pi’s GPIO pins and don’t require additional power sources, simplifying setup and implementation.
Notable features include wide viewing angles, excellent contrast ratios, and image persistence without power consumption. Pimoroni also provides regular firmware updates and community support through their forums, ensuring long-term reliability for your projects.
Setting Up Your E-Ink Display
Hardware Connection Guide
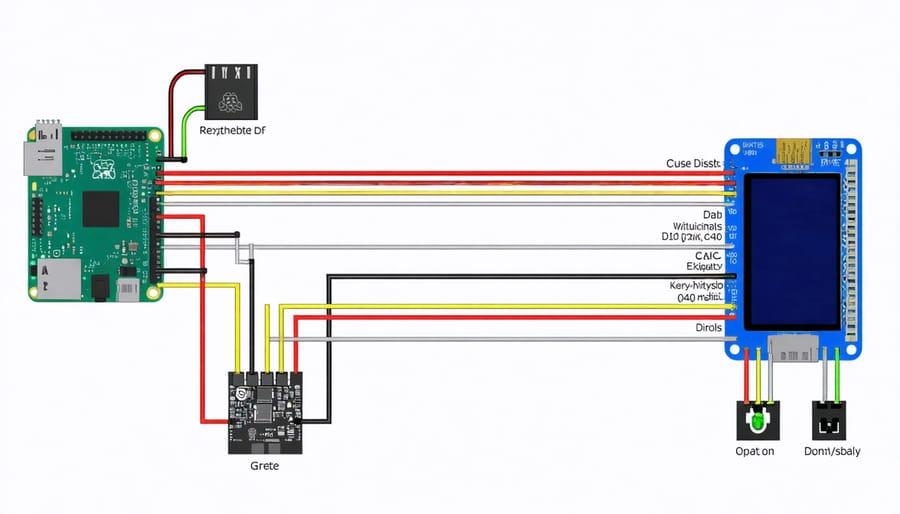
Connecting an e-ink display to your Raspberry Pi requires careful attention to detail, but don’t worry – it’s simpler than you might think. Most e-ink displays connect via the Pi’s GPIO pins, similar to other custom GPIO input devices.
Start by identifying your display’s connection type – most commonly SPI or I2C. Locate the GPIO pins on your Raspberry Pi (they’re usually along the board’s edge) and ensure your Pi is powered off before making any connections.
For SPI displays, connect these essential pins:
– VCC to 3.3V power
– GND to ground
– DIN to MOSI (GPIO 10)
– CLK to SCLK (GPIO 11)
– CS to CE0 (GPIO 8)
– DC to GPIO 25
– RST to GPIO 17
– BUSY to GPIO 24
Double-check all connections before powering on your Pi. If your display came with a ribbon cable, ensure it’s properly seated in both the display and HAT connector. Some displays might include additional pins for features like temperature sensing or touch input – consult your specific display’s documentation for these connections.
Remember to secure any loose wires with electrical tape or heat shrink tubing to prevent short circuits and ensure a stable connection.
Software Installation Steps
To get your e-ink display up and running with your Raspberry Pi, you’ll need to install several essential software components. Start by ensuring your Raspberry Pi OS is up to date by running ‘sudo apt-get update’ and ‘sudo apt-get upgrade’ commands.
For most e-ink displays, you’ll need to enable the SPI interface through ‘raspi-config.’ Navigate to “Interface Options” and select “SPI” to enable it. This is crucial for communication between your Pi and the display, similar to other hardware interface projects.
Install the required Python libraries by executing:
‘sudo apt-get install python3-pip’
‘sudo pip3 install RPi.GPIO’
‘sudo pip3 install spidev’
Most e-ink displays from Waveshare or Pimoroni come with their own Python libraries. For Waveshare displays, download and install their library:
‘sudo pip3 install waveshare-epd’
For Pimoroni displays, use:
‘curl -sSL https://get.pimoroni.com/inky | bash’
After installation, reboot your Raspberry Pi to ensure all changes take effect. Test your display by running the example scripts provided by your display manufacturer, typically found in their GitHub repositories or documentation.
Basic Programming Examples
Here’s a simple example to get your e-ink display up and running using Python. First, install the required library:
“`python
pip install waveshare-epd
“`
This basic script demonstrates how to initialize and display text on your e-ink screen:
“`python
from waveshare_epd import epd2in13_V2
import time
from PIL import Image, ImageDraw, ImageFont
# Initialize the display
epd = epd2in13_V2.EPD()
epd.init()
epd.Clear(0xFF)
# Create a new image with mode ‘1’ (1-bit pixels, black and white)
image = Image.new(‘1’, (epd.height, epd.width), 255)
draw = ImageDraw.Draw(image)
# Add some text
font = ImageFont.truetype(‘/usr/share/fonts/truetype/dejavu/DejaVuSans.ttf’, 16)
draw.text((10, 10), ‘Hello, E-ink!’, font=font, fill=0)
# Display the image
epd.display(epd.getbuffer(image))
“`
For a more dynamic example, here’s how to create a simple clock display:
“`python
while True:
image = Image.new(‘1’, (epd.height, epd.width), 255)
draw = ImageDraw.Draw(image)
draw.text((10, 10), time.strftime(“%H:%M:%S”), font=font, fill=0)
epd.display(epd.getbuffer(image))
time.sleep(60) # Update every minute
“`
Remember to properly handle display cleanup when your program exits to extend the display’s lifespan.
Common Challenges and Solutions
Refresh Rate Limitations
One of the most notable characteristics of e-ink displays is their relatively slow refresh rate compared to traditional LCD or LED screens. While modern monitors can refresh at 60Hz or higher, e-ink displays typically update at 1-5Hz, which means one to five times per second. This limitation stems from the physical process of moving electronic ink particles to create images.
When working with e-ink displays on your Raspberry Pi, you’ll notice two main refresh modes: full refresh and partial refresh. Full refresh completely clears the screen before displaying new content, resulting in a noticeable flash but ensuring the clearest possible image. Partial refresh updates only changed pixels, making it faster but potentially leaving artifacts over time.
To optimize your e-ink display’s performance, consider implementing smart refresh strategies. For static content like text or simple graphics, you can use less frequent updates. For more dynamic content, partial refresh modes can provide a better balance between update speed and image quality.
Remember that these refresh rate limitations make e-ink displays ideal for specific use cases such as digital signage, weather stations, or e-readers, where instant updates aren’t critical. However, they’re not suitable for applications requiring smooth animations or rapid screen changes.
To minimize refresh-related issues, consider using display buffering techniques and optimizing your code to batch updates whenever possible. This approach helps maintain both display quality and battery efficiency while working within the technology’s natural constraints.
Image Optimization Tips
Optimizing images for e-ink displays is crucial for achieving the best visual results and maintaining good refresh rates. Since e-ink displays typically work with limited grayscale levels, converting your images to grayscale before display is essential. Aim for a resolution that matches your display’s native resolution to prevent unnecessary scaling and potential artifacts.
For photographs, increase the contrast slightly and reduce the brightness to ensure better visibility on e-ink screens. Use image editing software to adjust the levels and curves, focusing on creating clear distinction between different elements in the image.
When creating diagrams or text-heavy content, opt for high contrast designs with clean lines. Avoid gradients and subtle shading effects, as these don’t translate well to e-ink displays. Instead, use solid fills and sharp edges for the best results.
Consider using dithering techniques to simulate different gray levels, especially when working with displays that support fewer grayscale values. This can help create the illusion of more detail while maintaining compatibility with your display’s capabilities.
For faster refresh rates, compress your images appropriately without sacrificing too much quality. PNG format works well for diagrams and text, while JPEG at 70-80% quality is suitable for photographs. Remember that smaller file sizes contribute to smoother operation and better battery life in portable projects.
To maintain consistency across your project, create a standardized image processing workflow that includes these optimization steps. This ensures all your displayed content maintains a professional and readable appearance on your e-ink display.
E-ink displays offer a unique and versatile solution for Raspberry Pi enthusiasts looking to create energy-efficient, eye-friendly projects. From digital reading devices to smart home displays and information boards, the possibilities are endless. With their excellent readability in bright light, minimal power consumption, and paper-like appearance, e-ink displays provide an elegant alternative to traditional LCD screens.
Whether you’re a beginner or an experienced maker, integrating an e-ink display with your Raspberry Pi can open up exciting new project opportunities. The initial setup may require some patience, but the reward of creating your own custom e-ink display solution makes it well worth the effort. Take the first step today by choosing a compatible display and exploring the various applications that best suit your needs. Your next innovative project awaits!