

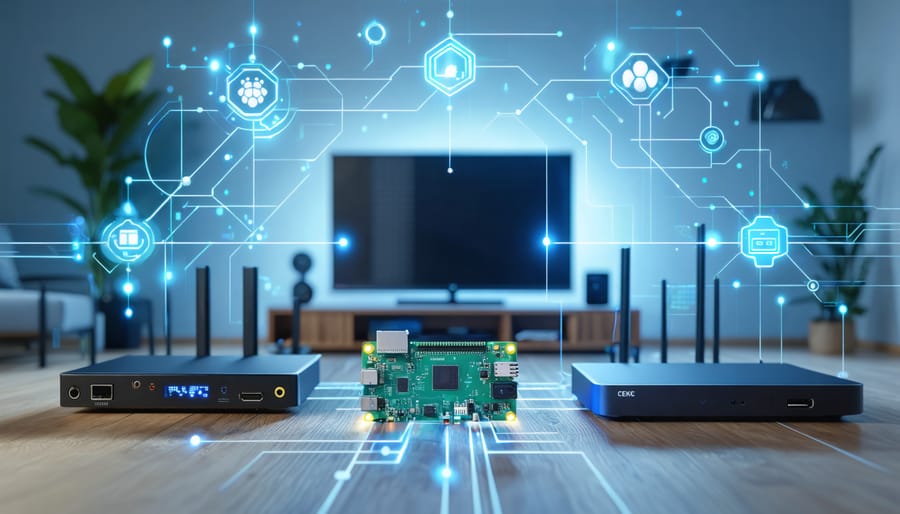
Transform your Raspberry Pi into a powerful home entertainment hub using CEC (Consumer Electronics Control) to control multiple HDMI devices with a single remote. This built-in protocol lets your Raspberry Pi communicate seamlessly with CEC-enabled TVs, receivers, and other entertainment devices, eliminating the need for multiple remotes and complex control systems. Whether you’re building a media center with LibreELEC, OSMC, or Raspbian, CEC integration offers smooth, responsive control over power states, volume, playback, and device switching. Recent improvements in the Raspberry Pi’s CEC implementation now support advanced features like automatic input switching and dynamic device discovery, making it easier than ever to create a professional-grade entertainment system on a budget. For both newcomers and experienced Pi enthusiasts, mastering CEC functionality opens up new possibilities for streamlined home theater control and automation.
What is CEC and Why It Matters
The Magic of One Remote
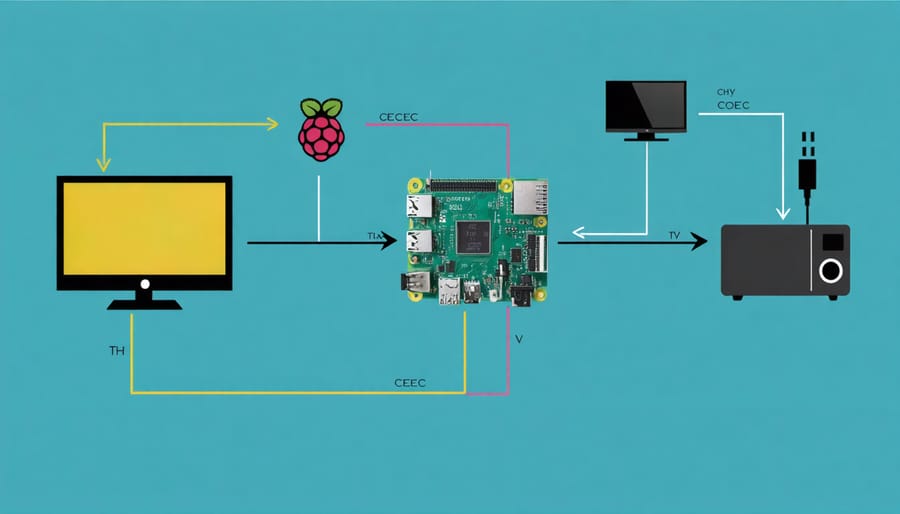
CEC (Consumer Electronics Control) transforms your entertainment setup by allowing a single remote to control multiple HDMI-connected devices. When properly configured with your Raspberry Pi, you can use your TV’s remote to navigate through media players, adjust volume, and even power your entire system on or off with one button. This seamless integration eliminates the need for multiple remotes cluttering your coffee table and simplifies your viewing experience. The magic happens through the HDMI cable, which carries CEC signals alongside video and audio data, enabling devices to communicate and respond to commands from a single source. For home theater enthusiasts, this means you can control your Raspberry Pi media center, TV, and other CEC-compatible devices without ever reaching for another remote.
CEC Compatible Devices
CEC functionality works with a wide range of HDMI-enabled devices, making it particularly versatile for Raspberry Pi setups. Modern smart TVs from major manufacturers like Samsung, LG, Sony, and Philips typically support CEC, though they may brand it differently (Anynet+, SimpLink, BRAVIA Sync, or EasyLink respectively). Most contemporary AV receivers also include CEC compatibility, allowing seamless control of audio systems.
Gaming consoles like the PlayStation 4, PlayStation 5, and Xbox Series X/S support CEC, enabling automatic input switching and power management when connected through your Raspberry Pi setup. Many Blu-ray players and media streaming devices are also CEC-compatible, creating opportunities for integrated home theater control.
For optimal compatibility, look for devices with the HDMI-CEC logo or check the manufacturer’s specifications for CEC support. Some older devices might have limited CEC functionality or require firmware updates to work properly. When connecting multiple CEC-enabled devices, ensure your TV or AV receiver can handle simultaneous CEC connections, as some models may have limitations on the number of controllable devices.
Setting Up CEC on Your Raspberry Pi
Required Hardware
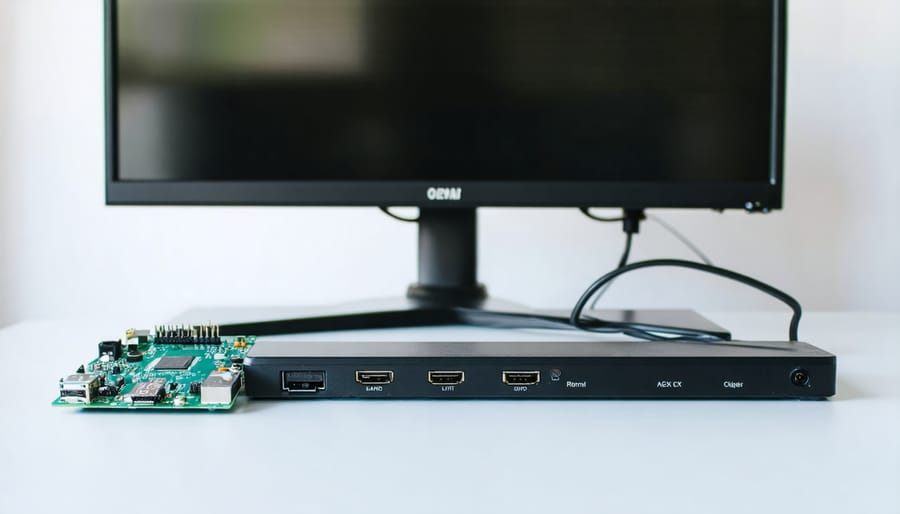
To implement CEC functionality with your Raspberry Pi, you’ll need several essential components. First and foremost, you’ll need a Raspberry Pi board (any model from Pi 2 onwards) and a compatible HDMI display that supports CEC. Most modern TVs and monitors support CEC, though they might brand it differently (like Anynet+ for Samsung or BRAVIA Sync for Sony).
You’ll also need a quality HDMI cable that supports CEC – most modern HDMI cables do, but it’s worth checking the specifications. For power, use the official Raspberry Pi power supply to ensure stable operation. If you’re planning a complete media center setup, check our display setup guide for detailed compatibility information.
Optional but recommended components include:
– A case with good ventilation
– A microSD card (16GB minimum recommended)
– An IR remote control (if your TV’s remote doesn’t support CEC)
– Ethernet cable or Wi-Fi connectivity for updates
– USB keyboard for initial setup
Ensure your TV or display is CEC-compatible by checking its manual or specifications before starting the project.
Software Configuration
To get started with CEC on your Raspberry Pi, you’ll need to install and configure the necessary software components. First, ensure your Raspberry Pi is running the latest version of Raspberry Pi OS or your preferred custom Raspberry Pi image.
Open the terminal and update your system by running:
sudo apt-get update && sudo apt-get upgrade
Install the CEC utilities package with:
sudo apt-get install cec-utils
Once installed, you can verify the CEC functionality by running:
echo ‘scan’ | cec-client -s -d 1
This command will scan for CEC-compatible devices connected to your Raspberry Pi through HDMI. The output will show a list of detected devices and their capabilities.
To enable CEC support in popular media center applications like Kodi, navigate to System > Settings > Input > Peripherals > CEC Adapter. Ensure the “Enable CEC” option is checked and configure additional settings according to your preferences.
For command-line control, you can use cec-client commands like:
echo ‘on 0’ | cec-client -s (to turn on the TV)
echo ‘standby 0’ | cec-client -s (to put the TV in standby)
Create a configuration file at ~/.config/cec/cec.conf to customize CEC behavior. Common settings include device names, HDMI port assignments, and power management preferences.
Remember to reboot your Raspberry Pi after making configuration changes to ensure all settings take effect properly.
Advanced CEC Features
Custom Commands
Creating custom CEC commands allows you to extend the functionality of your Raspberry Pi’s CEC capabilities. To create a custom command, you’ll need to use the cec-client tool with specific command syntax. For example, to send a custom power status request, you can use:
`echo “pow 0” | cec-client -s -d 1`
You can create shell scripts to combine multiple CEC commands. Here’s a basic template for a custom script:
“`bash
#!/bin/bash
echo “on 0” | cec-client -s -d 1
sleep 2
echo “as” | cec-client -s -d 1
“`
Store your scripts in a convenient location like /usr/local/bin/ and make them executable using chmod +x command. You can then trigger these scripts through cron jobs, GPIO buttons, or other automation tools.
Common custom commands include:
– Switching inputs: `tx 4F:82:10:00`
– Volume control: `tx 4F:44:41`
– Menu navigation: `tx 4F:44:XX` (XX represents direction)
Remember to test your custom commands thoroughly, as different TV manufacturers may implement CEC protocols slightly differently.
Automation Scripts
CEC automation can transform your Raspberry Pi into a powerful home theater control center. Using simple Python scripts, you can create automated actions that respond to TV power states or remote control commands. Here’s a basic example to get you started:
“`python
import cec
def tv_power_change(event):
if event == ‘on’:
# Run your custom actions here
print(“TV powered on”)
elif event == ‘standby’:
print(“TV powered off”)
cec.init()
cec.add_callback(tv_power_change)
“`
To make the most of these automation capabilities, you’ll want to optimize your Pi’s performance for smooth operation. You can create scripts that automatically adjust your media center’s volume, switch input sources, or even control multiple HDMI devices in sequence.
Consider creating a startup script that initializes CEC when your Pi boots:
“`bash
#!/bin/bash
echo ‘on 0’ | cec-client -s -d 1
“`
Store your automation scripts in /etc/init.d/ to ensure they run automatically. Remember to make them executable using chmod +x command.
Troubleshooting Common CEC Issues
When your CEC implementation isn’t working as expected, don’t worry – most issues have straightforward solutions. If your Raspberry Pi isn’t responding to TV remote commands, first verify that CEC is enabled in your TV’s settings menu (sometimes labeled as HDMI Control or Anynet+). Next, check that you’re using an HDMI port that supports CEC – not all ports do, particularly on older TVs.
If you’re experiencing connection issues, try a different HDMI cable. Some lower-quality cables don’t properly support CEC functionality. Also, ensure your Raspberry Pi’s power supply provides adequate current, as insufficient power can cause CEC communication problems.
For software-related issues, verify that cec-client is properly installed by running ‘cec-client -l’ in the terminal. If you receive error messages, reinstalling the CEC packages might help. Use the command ‘sudo apt-get install –reinstall cec-utils’ to refresh your installation.
Common compatibility problems often arise with certain TV brands. Some Samsung TVs may require enabling Anynet+ specifically, while LG TVs might need SIMPLINK activated. If your TV brand isn’t being recognized, try updating your Raspberry Pi’s firmware using ‘sudo rpi-update’.
Remember that some CEC commands might conflict with other remote control solutions you have running. If you’re using LIRC or other IR solutions, try temporarily disabling them to isolate the issue. Also, check your config.txt file for any conflicting HDMI settings that might interfere with CEC operation.
If nothing else works, try performing a complete power cycle of both your TV and Raspberry Pi – sometimes this simple step can resolve persistent CEC communication issues.
CEC functionality on the Raspberry Pi represents a powerful enhancement to any home entertainment setup, offering seamless control and communication between connected HDMI devices. By implementing CEC on your Raspberry Pi, you can streamline your media center experience, reduce remote control clutter, and create a more integrated entertainment system. The ability to control multiple devices with a single remote and automate common tasks like power management and input switching makes CEC an invaluable feature for any media center enthusiast.
Whether you’re building a simple media player or a complex home theater system, CEC implementation can significantly improve your user experience. The minimal setup requirements and broad compatibility with modern HDMI devices make it an accessible upgrade for users of all skill levels. As the Raspberry Pi community continues to grow and develop new applications, CEC functionality remains a cornerstone feature for media center projects.
Consider implementing CEC in your next Raspberry Pi project to take full advantage of these benefits. With proper configuration and troubleshooting, you’ll enjoy a more streamlined and professional entertainment setup that brings the best out of your Raspberry Pi’s capabilities.