

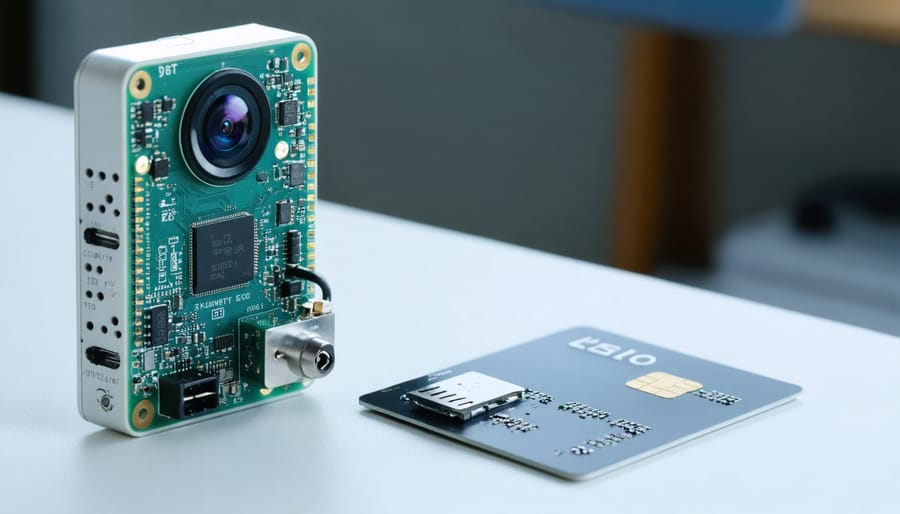
Transform your home surveillance system with a Raspberry Pi Zero W, creating a powerful yet affordable security camera that rivals commercial alternatives at a fraction of the cost. This compact powerhouse combines HD video capabilities, motion detection, and remote monitoring features into a discreet package smaller than a credit card. Before diving into the build process, secure your Raspberry Pi to protect against unauthorized access and ensure your surveillance footage remains private.
With just a Pi Zero W, camera module, and basic accessories, you’ll build a fully-featured security camera supporting real-time streaming, motion-triggered recordings, and mobile notifications. The system’s low power consumption and WiFi capabilities enable flexible placement anywhere in your home, while open-source software options like MotionEyeOS provide enterprise-grade features without subscription fees.
Whether you’re protecting your home, monitoring pets, or securing remote properties, this DIY solution delivers professional-grade surveillance capabilities while teaching valuable skills in Linux, networking, and IoT security. Let’s explore how to transform this $10 computer into a robust security system that puts you in complete control of your home monitoring needs.
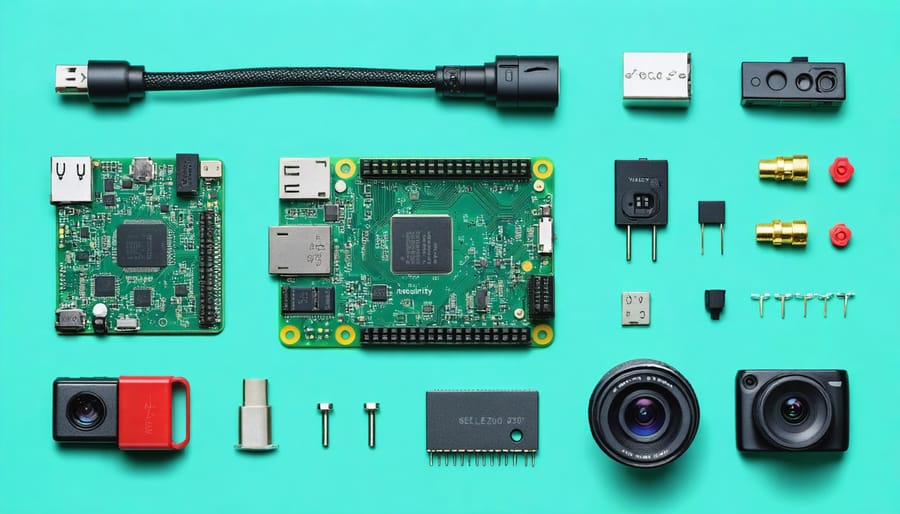
Essential Hardware Components
Choosing the Right Camera Module
When building a Raspberry Pi Zero security camera, selecting the right camera module is crucial for optimal performance. The two main options compatible with the Pi Zero are the Official Raspberry Pi Camera Module V2 and the Pi NoIR Camera V2. The standard V2 module offers excellent 8-megapixel resolution and performs well in daylight conditions, making it ideal for general surveillance. It features Sony’s IMX219 sensor, capable of 1080p video at 30fps.
The NoIR (No Infrared Filter) variant is particularly suited for night vision applications, as it can capture infrared light when paired with IR LEDs. This makes it perfect for 24/7 surveillance setups. Both modules connect via the Pi Zero’s CSI connector using a specific ribbon cable adapter designed for the Zero’s smaller form factor.
For budget-conscious makers, third-party camera modules are available, though they may offer lower image quality or require additional configuration. When choosing, consider your specific needs: indoor vs. outdoor use, lighting conditions, and desired image quality. Remember that the official modules, while pricier, offer better documentation and community support.
Power Supply Considerations
For a reliable security camera setup, powering your Raspberry Pi Zero requires careful consideration. The Pi Zero typically draws around 100-120mA during normal operation and up to 230mA with an attached camera module. A standard 5V/2A power supply will sufficiently handle these requirements.
For continuous operation, connect your Pi Zero to a wall outlet using a high-quality micro USB power supply. Look for power supplies rated at 5V with at least 2A output to ensure stable performance. Avoid using cheap chargers, as they can lead to voltage drops and system instability.
If you need a portable solution, consider using a power bank with at least 10,000mAh capacity. This will provide approximately 20-24 hours of continuous operation. To extend battery life, you can implement motion detection to activate the camera only when needed and disable unnecessary services like Bluetooth and HDMI output.
For outdoor installations, consider using a solar power setup with a battery backup. This combination provides sustainable power while ensuring your security camera remains operational during nighttime or cloudy conditions.
Security-First Setup Process
Initial OS Configuration
Begin your Raspberry Pi Zero security camera setup with a clean installation of Raspberry Pi OS Lite (formerly Raspbian), as it provides a minimal footprint ideal for security applications. After downloading the official image, use the Raspberry Pi Imager tool to flash it onto your microSD card.
Before inserting the card into your Pi Zero, create an empty file named “ssh” in the boot partition to enable SSH access. For enhanced security, also create a “wpa_supplicant.conf” file with your Wi-Fi credentials, allowing headless setup without requiring a keyboard and monitor.
Upon first boot, immediately change the default “pi” user password using the passwd command. Create a new sudo user with a strong password and disable the default “pi” user account to prevent unauthorized access. Update your system with:
“`
sudo apt update
sudo apt upgrade
“`
Enable the camera interface through raspi-config:
“`
sudo raspi-config
“`
Navigate to “Interface Options” and enable the camera.
Configure your Pi’s firewall using UFW:
“`
sudo apt install ufw
sudo ufw enable
sudo ufw allow ssh
“`
Finally, set up fail2ban to protect against brute force attacks:
“`
sudo apt install fail2ban
sudo systemctl enable fail2ban
“`
These initial configurations create a secure foundation for your security camera project while maintaining system performance.
Network Security Hardening
Securing your Raspberry Pi Zero security camera is crucial to prevent unauthorized access and protect your privacy. Start by implementing essential security hardening steps to strengthen your device’s defenses.
First, change the default password for the ‘pi’ user account using the passwd command. Create a new, strong password combining uppercase and lowercase letters, numbers, and special characters. Next, disable SSH password authentication and implement key-based authentication instead.
To establish secure network connections, configure your Pi to use HTTPS for the web interface. Install and configure SSL certificates using Let’s Encrypt for encrypted communication. Enable UFW (Uncomplicated Firewall) and configure it to allow only necessary ports for your camera’s operation.
Consider setting up a VPN server on your Pi or using an existing VPN service for secure remote access. This adds an extra layer of protection when viewing your camera feed from outside your local network. Additionally, regularly update your system packages using apt-get update and apt-get upgrade commands to patch security vulnerabilities.
Finally, implement fail2ban to protect against brute-force attacks by automatically blocking IP addresses that show suspicious activity. Monitor your system logs regularly for any unusual access attempts or behavior.
Camera Software Installation
For our security camera project, we’ll use MotionEyeOS, a specialized Linux distribution designed specifically for video surveillance systems. Begin by downloading the latest MotionEyeOS image from their official website to your computer. Using a tool like Balena Etcher, flash the image onto your microSD card.
Once the flashing is complete, insert the microSD card into your Raspberry Pi Zero and power it on. The initial boot may take a few minutes as MotionEyeOS configures itself. To access the interface, connect your Pi to your network and find its IP address using your router’s admin panel or a network scanner.
Open your web browser and enter the Pi’s IP address. You’ll be greeted with the MotionEyeOS login screen – the default username is “admin” with no password. For security, immediately change these credentials in the system settings.
Configure your camera settings through the web interface. Key security features to enable include:
– Motion detection with customizable sensitivity
– Email notifications for detected movement
– Video recording on motion events
– Password protection for video streams
– HTTPS encryption for remote access
For additional security, consider setting up port forwarding on your router if you need remote access, but always use a strong password and enable two-factor authentication when possible. Remember to regularly update MotionEyeOS to ensure you have the latest security patches.
Advanced Security Features
Motion Detection Setup
Motion detection is a crucial feature that transforms your Raspberry Pi Zero camera into an intelligent security system. To implement this, we’ll use the Python OpenCV library along with a simple yet effective motion detection algorithm.
First, install the required packages by running:
“`
sudo apt-get install python3-opencv
pip3 install numpy imutils
“`
The motion detection setup works by comparing consecutive frames from the camera feed. When significant pixel changes occur between frames, the system identifies this as motion. To reduce false positives, we’ll implement a threshold value and minimum object size.
Create a Python script with the following key components:
– Frame differential analysis
– Gaussian blur for noise reduction
– Binary thresholding
– Contour detection
Configure your alert settings by adding:
“`
MOTION_THRESHOLD = 1000
MIN_AREA = 500
“`
When motion is detected, you can trigger various actions:
– Save snapshots to local storage
– Send email notifications
– Push notifications to your phone
– Upload footage to cloud storage
Fine-tune the sensitivity by adjusting the threshold values based on your environment. For outdoor cameras, you might need higher threshold values to account for natural movement like trees swaying in the wind.
Remember to test your setup under different lighting conditions to ensure reliable detection throughout the day and night.
Encrypted Storage Solutions
Securing your security camera footage is crucial for maintaining privacy and preventing unauthorized access. For your Raspberry Pi Zero camera system, implementing encrypted storage should be a top priority. Start by creating an encrypted partition using LUKS (Linux Unified Key Setup) on your storage device, whether it’s a USB drive or microSD card.
To set up encryption, use the following approach:
1. Format your storage device with ext4 filesystem
2. Create an encrypted container using cryptsetup
3. Mount the encrypted volume automatically at boot with proper authentication
For extended storage needs, consider implementing a secure cloud storage solution alongside local storage. This provides redundancy and remote access capabilities while maintaining security.
To optimize storage usage, implement motion-based recording and automatic file rotation. Configure your system to:
– Keep footage for a specified duration (e.g., 7 days)
– Automatically delete older recordings
– Compress videos to save space while maintaining quality
– Store critical events in a separate secure partition
Remember to regularly backup encryption keys and passwords in a secure location. It’s recommended to use a combination of local encrypted storage and cloud backup to ensure your footage remains safe and accessible when needed. Test your storage solution thoroughly before deploying it in a production environment.
Remote Monitoring Configuration
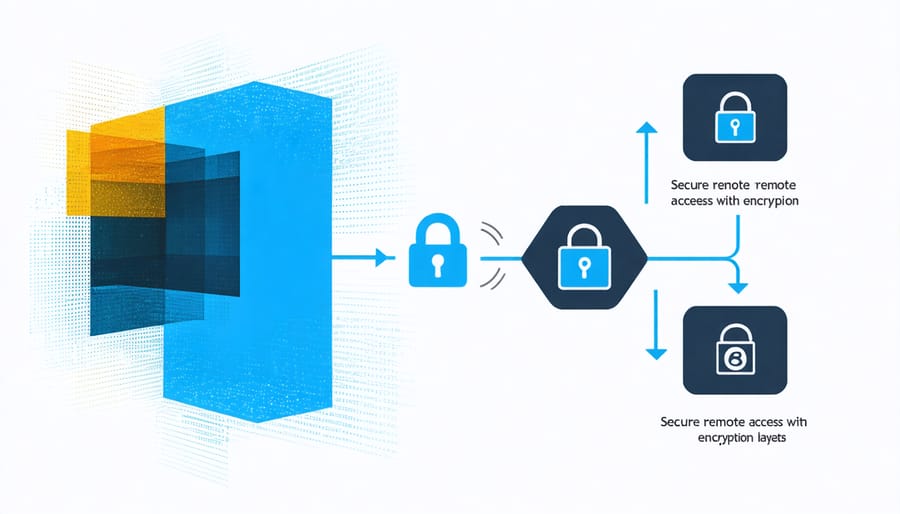
Setting up remote monitoring for your Raspberry Pi Zero security camera is essential for accessing your surveillance feed from anywhere. Start by installing VNC (Virtual Network Computing) server on your Pi using the command ‘sudo apt-get install realvnc-vnc-server’. Enable VNC through raspi-config by navigating to Interfacing Options and selecting VNC.
For secure remote access, set up port forwarding on your router to direct incoming traffic to your Pi. However, it’s crucial to implement strong security measures. Create a unique username and password combination, and consider setting up Two-Factor Authentication (2FA) for additional protection.
To enhance security while maintaining accessibility, utilize a VPN service or create your own VPN server. This ensures encrypted communication between your device and the security camera. Popular options include OpenVPN or WireGuard, which provide robust encryption protocols.
For real-time monitoring, configure motion detection alerts using Motion software. Set up email notifications or push alerts through services like Pushbullet to receive instant updates when movement is detected. You can also create a web interface using Flask or Node.js to access your camera feed through a secure HTTPS connection.
Remember to regularly update your system and security protocols to protect against potential vulnerabilities. Keep your SSH ports non-standard and implement fail2ban to prevent brute force attacks.
Maintenance and Troubleshooting
System Updates and Patches
Regular system updates and patches are crucial for maintaining a secure and reliable Raspberry Pi Zero security camera. To keep your system protected, start by updating the package lists and upgrading all installed packages using the following commands in the terminal:
sudo apt update
sudo apt upgrade
Make it a habit to run these commands at least once a month. For automated updates, you can set up unattended-upgrades by installing it with:
sudo apt install unattended-upgrades
This ensures your system receives security patches automatically, even when you’re not actively maintaining it. However, be cautious with automatic updates as they might occasionally cause compatibility issues with your camera software.
Keep your Motion or other camera software up to date by following the official documentation for your chosen solution. Additionally, monitor the Raspberry Pi security announcements through the official forums and blog for any critical updates or vulnerabilities that need immediate attention.
Create a backup of your working configuration before applying major updates. This allows you to rollback changes if something goes wrong. Store your backup on a separate device or SD card for added safety.
Remember that an outdated system is vulnerable to security threats, so maintaining regular updates is just as important as the initial security setup of your camera system.
Performance Optimization
To maintain optimal performance of your Raspberry Pi Zero security camera, start by optimizing your video settings. Lower the frame rate to 15-20 FPS and adjust the resolution based on your storage capacity – 720p offers a good balance between quality and efficiency. Enable hardware encoding using the H.264 codec to reduce CPU load significantly.
Implement a rolling storage system that automatically deletes older footage after a set period, preventing storage overflow. A 32GB microSD card typically stores about 2-3 days of continuous footage at 720p. For longer retention, consider setting up network storage or cloud backup solutions.
Monitor your Pi’s temperature regularly, as overheating can cause performance issues. If temperatures exceed 70°C (158°F), consider adding a small heatsink or improving ventilation. Use lightweight motion detection algorithms and avoid running unnecessary background processes that could impact camera performance.
Memory management is crucial – set up a daily automatic reboot schedule during low-activity periods to clear the RAM and prevent memory leaks. If using Wi-Fi for remote access, position your Pi Zero where it has a strong signal to maintain stable video streaming.
Finally, regularly update your operating system and camera software while maintaining backups of your configuration files. This ensures security patches are applied and helps prevent performance degradation over time.
Building a Raspberry Pi Zero security camera is an accessible and rewarding project that offers a cost-effective alternative to commercial surveillance solutions. Throughout this guide, we’ve explored how to transform this tiny computer into a powerful home security system that meets your specific needs.
We’ve covered essential aspects from hardware selection and initial setup to advanced features like motion detection and remote viewing capabilities. By following the steps outlined, you can create a customizable security solution that’s both reliable and secure. Remember to regularly update your system’s software, maintain strong passwords, and implement the security measures we discussed to protect your camera feed from unauthorized access.
The possibilities for expanding your DIY security camera are virtually limitless. Consider integrating additional features like night vision, automated alerts, or connecting multiple cameras to create a comprehensive surveillance network. Whether you’re securing your home, monitoring a workspace, or exploring IoT projects, the Raspberry Pi Zero provides an excellent foundation for your security needs.
Take the next step by gathering the required components and following our setup guide. With some patience and attention to detail, you’ll have a fully functional security camera that rivals commercial alternatives at a fraction of the cost.