


Transform your Raspberry Pi into a powerful 3D mapping and sensing platform by integrating LiDAR technology – the same sophisticated sensor system used in self-driving cars and advanced robotics. Modern LiDAR sensors, like the affordable TFmini or RPLiDAR A1, connect directly to the Pi’s GPIO pins or USB ports, enabling precise distance measurements up to 12 meters with millimeter accuracy. Whether you’re building an autonomous robot, creating a room-scanning system, or developing advanced security applications, combining LiDAR with Raspberry Pi offers a cost-effective way to add professional-grade spatial awareness to your projects.
By leveraging Python libraries like rplidar and numpy, you can quickly capture, process, and visualize point cloud data in real-time. The Raspberry Pi’s processing power, coupled with LiDAR’s rapid scanning capabilities (up to 4000 measurements per second), creates opportunities for sophisticated applications previously limited to industrial hardware. This guide will walk you through selecting the right LiDAR sensor, establishing reliable connections, and implementing efficient data processing algorithms to bring your spatial sensing projects to life.
Understanding LiDAR Sensors for Raspberry Pi
Popular LiDAR Sensors for Pi Projects
Several LiDAR sensors stand out as popular choices for Raspberry Pi enthusiasts, each offering unique features and price points. The RPLIDAR A1M8 is a widely-used option that offers 360-degree scanning capability and operates at 5.5Hz with a range of up to 12 meters. Its affordable price point and reliable performance make it an excellent choice for beginners.
For those seeking higher precision, the TFmini Plus is a compact alternative that provides accurate measurements up to 12 meters with a sampling rate of 100Hz. Its small form factor and straightforward integration process make it particularly suitable for robotics and drone projects.
The VL53L0X is another popular sensor, especially for close-range applications. While its range is limited to about 2 meters, it excels in accuracy and is perfect for indoor navigation projects. Its I2C interface makes it particularly easy to connect to the Raspberry Pi.
For professional-grade projects, the Garmin LIDAR-Lite v3 offers exceptional accuracy up to 40 meters. Though more expensive, it provides reliable performance and is widely supported by the maker community.
When choosing a LiDAR sensor, consider factors like scanning range, update rate, interface type (I2C, UART, or USB), and power requirements. Your project’s specific needs and budget will ultimately determine the best sensor for your application.
Key Technical Specifications
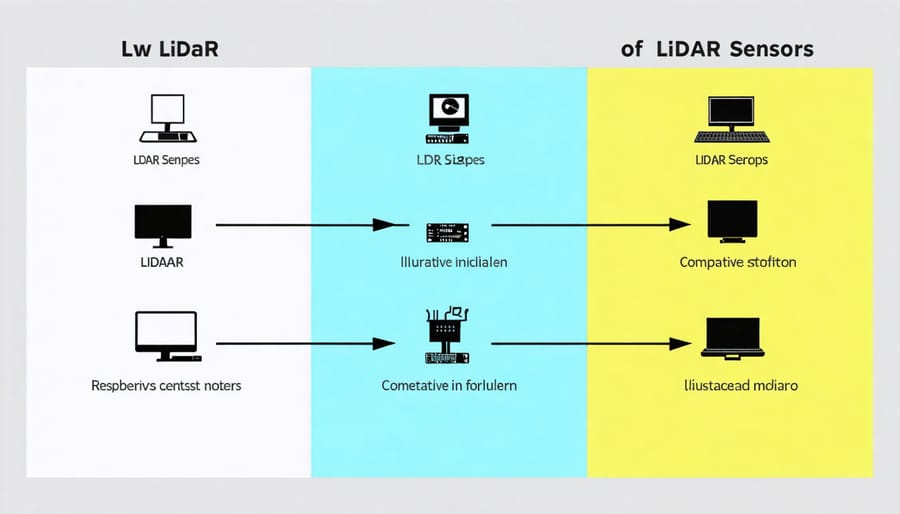
When selecting a LiDAR sensor for your Raspberry Pi project, several key specifications deserve careful consideration. The scanning range typically varies from 2 to 40 meters, with budget-friendly models offering shorter ranges suitable for indoor applications. For outdoor projects, consider sensors with ranges exceeding 20 meters and higher accuracy ratings.
Resolution is another crucial factor, usually measured in angular steps. Most affordable LiDAR sensors offer resolutions between 0.5° and 1°, while premium models can achieve up to 0.25° resolution. The sampling rate, measured in Hz or points per second, determines how quickly the sensor can gather data, with typical values ranging from 500 to 8000 Hz.
Power requirements are particularly important for Raspberry Pi compatibility. Most LiDAR sensors operate on 5V DC power, which aligns well with the Pi’s capabilities. Current draw typically ranges from 100mA to 500mA, depending on the model and operating mode.
Interface compatibility is essential – look for sensors that support either UART or I2C communication protocols, as these are natively supported by the Raspberry Pi. Some advanced models offer USB connectivity, which can simplify setup but may require additional drivers.
Environmental specifications matter too. Operating temperature ranges usually span from 0°C to 50°C, with some industrial models offering extended ranges. For outdoor applications, ensure your chosen sensor has appropriate IP ratings for dust and water resistance.
Hardware Setup and Configuration
Physical Connection and Wiring
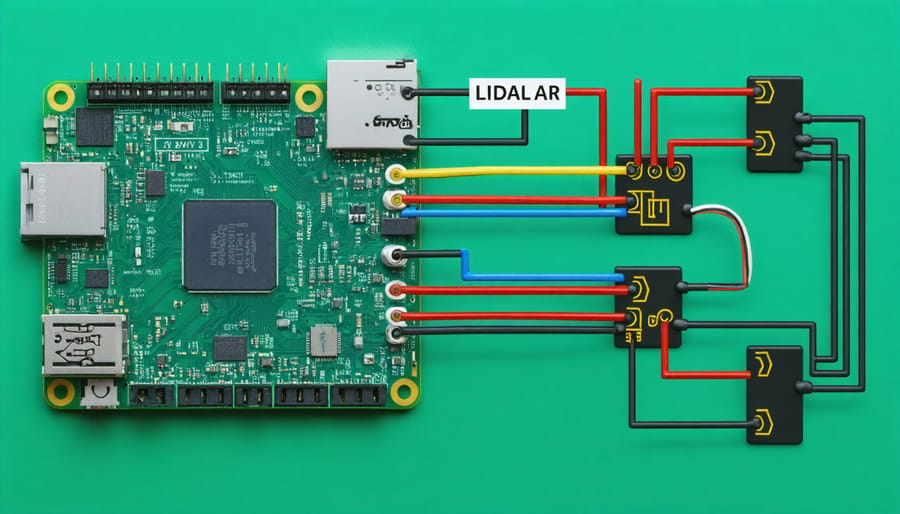
The physical connection of a LiDAR sensor to your Raspberry Pi requires careful attention to proper wiring to ensure reliable operation. Before beginning, ensure your Raspberry Pi is powered off to prevent any potential short circuits or damage to the components.
Most LiDAR sensors communicate with the Raspberry Pi using either I2C or UART protocol. For this setup, we’ll focus on the common I2C connection method. If you’re new to working with Raspberry Pi’s GPIO pins, you may want to review our comprehensive GPIO pin configuration guide first.
Follow these connection steps:
1. Connect VCC (Power) from the LiDAR sensor to the 3.3V or 5V pin on the Raspberry Pi (check your sensor’s specifications for the correct voltage requirement)
2. Connect GND (Ground) from the sensor to any ground pin on the Raspberry Pi
3. Connect SDA (Serial Data) from the sensor to GPIO2 (Pin 3) on the Raspberry Pi
4. Connect SCL (Serial Clock) from the sensor to GPIO3 (Pin 5) on the Raspberry Pi
Important considerations:
– Double-check all connections before powering on
– Use appropriate jumper wires that fit securely
– Ensure no exposed wires are touching each other
– Some LiDAR sensors may require additional connections for features like PWM control
Once the physical connections are complete, verify that the sensor is properly seated and all wires are firmly connected. Power up your Raspberry Pi and check for any LED indicators on your LiDAR sensor that might confirm proper power delivery.
If your sensor uses a different communication protocol or requires additional pins, consult your sensor’s documentation for specific wiring instructions. Many modern LiDAR sensors also include built-in voltage regulators, making them more forgiving in terms of power requirements.
Power Requirements and Considerations
Proper power management is crucial when integrating a LiDAR sensor with your Raspberry Pi. Understanding the Raspberry Pi power management requirements will ensure stable operation and prevent potential damage to your components.
Most LiDAR sensors require a stable 5V power supply, which can typically be sourced directly from the Raspberry Pi’s GPIO pins. However, it’s important to note that the combined power draw of the LiDAR sensor and other connected components shouldn’t exceed the Pi’s maximum current output capability of 500mA per GPIO pin.
For optimal performance, consider these key power-related factors:
1. Use a high-quality power supply rated at 5V/3A for your Raspberry Pi
2. Monitor the voltage drop across components using a multimeter
3. Consider adding a dedicated power supply for the LiDAR sensor if using other power-hungry peripherals
4. Install a voltage regulator to ensure stable power delivery
When working with more powerful LiDAR sensors or multiple peripherals, implementing a separate power distribution board can help prevent voltage fluctuations and ensure consistent readings. This is particularly important for projects requiring precise distance measurements.
To monitor power consumption in real-time, you can use software tools like vcgencmd or add a simple voltage monitoring circuit to your setup. If you notice unstable sensor readings or random disconnections, inadequate power supply is often the culprit.
For mobile or battery-powered projects, calculate the total power consumption of your setup and choose an appropriate battery capacity. LiDAR sensors can significantly impact battery life, so consider implementing power-saving modes when continuous scanning isn’t required.
Software Implementation
Required Libraries and Dependencies
Before working with a LiDAR sensor on your Raspberry Pi, you’ll need to set up several essential libraries and dependencies. Start by updating your Raspberry Pi’s package list and upgrading existing packages using:
“`bash
sudo apt-get update
sudo apt-get upgrade
“`
The primary libraries required for LiDAR sensor integration include:
1. Python 3.7 or higher (usually pre-installed on recent Raspberry Pi OS)
2. pip3 (Python package manager)
3. RPi.GPIO library
4. NumPy for data processing
5. PySerial for serial communication
To install these dependencies, open your terminal and run:
“`bash
sudo apt-get install python3-pip
sudo pip3 install RPi.GPIO
sudo pip3 install numpy
sudo pip3 install pyserial
“`
For specific LiDAR sensor models, you might need additional libraries. When installing Python packages, ensure you’re using the correct version compatible with your Python installation.
If you’re planning to visualize LiDAR data, consider installing these optional packages:
“`bash
sudo pip3 install matplotlib
sudo pip3 install opencv-python
“`
Some LiDAR sensors require specific drivers or SDK packages. Check your sensor’s documentation for any manufacturer-provided libraries. For USB-connected LiDAR sensors, you might need to install USB drivers:
“`bash
sudo apt-get install libusb-1.0-0-dev
“`
Remember to reboot your Raspberry Pi after installing all dependencies to ensure proper functionality:
“`bash
sudo reboot
Basic Data Collection Script
Here’s a basic Python script that demonstrates how to collect data from a LiDAR sensor connected to your Raspberry Pi. If you’re new to Python programming on Raspberry Pi, don’t worry – we’ll break down each component.
“`python
import serial
import time
import csv
# Configure serial connection
ser = serial.Serial(
port=’/dev/ttyUSB0′, # Update this based on your connection
baudrate=115200,
timeout=1
)
def collect_lidar_data(duration=60, sample_rate=10):
data_points = []
start_time = time.time()
while (time.time() – start_time) < duration:
if ser.in_waiting > 0:
try:
# Read data from sensor
reading = ser.readline().decode(‘utf-8’).strip()
distance = float(reading)
timestamp = time.time() – start_time
# Store data point
data_points.append([timestamp, distance])
# Basic output for monitoring
print(f”Time: {timestamp:.2f}s, Distance: {distance}mm”)
time.sleep(1/sample_rate)
except ValueError:
print(“Invalid reading detected”)
return data_points
# Main execution
try:
print(“Starting LiDAR data collection…”)
data = collect_lidar_data()
# Save data to CSV file
with open(‘lidar_data.csv’, ‘w’, newline=”) as file:
writer = csv.writer(file)
writer.writerow([‘Timestamp’, ‘Distance’])
writer.writerows(data)
print(“Data collection complete!”)
except KeyboardInterrupt:
print(“\nData collection interrupted by user”)
finally:
ser.close()
“`
This script establishes a serial connection with the LiDAR sensor, collects distance measurements over time, and saves the data to a CSV file. You can adjust the duration and sample rate parameters to suit your needs. Remember to install the required ‘pyserial’ package using pip before running the script.
Data Processing and Visualization
Processing LiDAR sensor data on a Raspberry Pi involves several key steps to transform raw measurements into meaningful information. The most common approach starts with data collection through Python libraries like RPLidar or VL53L0X, which handle the initial sensor communication. These libraries provide access to distance measurements, angle data, and scan frequencies.
For basic processing, you’ll want to implement noise filtering and data smoothing techniques. A simple moving average filter can help eliminate outliers and reduce measurement noise. Here’s where numpy comes in handy, offering efficient array operations for fast data processing.
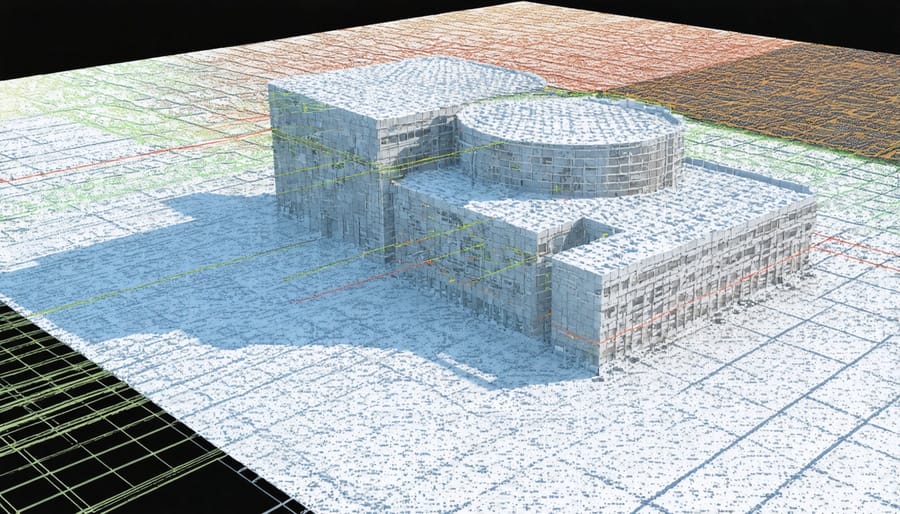
Visualization is crucial for understanding your LiDAR data. Popular Python libraries like matplotlib and OpenCV provide excellent tools for 2D plotting. For real-time visualization, pygame offers a lightweight solution that works well on the Raspberry Pi’s limited resources. More advanced 3D data visualization techniques can be achieved using libraries like Open3D or PyVista, though these may require additional processing power.
Data storage is another important consideration. For temporary storage, CSV files work well, while SQLite databases are perfect for longer-term data collection and analysis. If you’re building an autonomous system, consider implementing a circular buffer to maintain recent measurements without overwhelming storage capacity.
Remember to optimize your processing pipeline based on your specific needs. If you’re running real-time applications, focus on efficient algorithms and minimize unnecessary calculations. For mapping applications, consider implementing SLAM (Simultaneous Localization and Mapping) algorithms, though these may require more computational resources than basic distance measurements.
Troubleshooting and Optimization
When working with LiDAR sensors and Raspberry Pi, you might encounter several common issues that can affect performance. Here’s how to identify and resolve these challenges to optimize your setup.
Connection Issues:
If your LiDAR sensor isn’t being detected, first check the physical connections. Ensure all wires are properly connected and that the I2C or UART pins match your configuration. Run ‘i2cdetect -y 1’ in the terminal to verify if the sensor is recognized. If not, try cleaning the connection points or using different GPIO pins.
Data Accuracy Problems:
Inconsistent readings often result from environmental factors or setup issues. Keep the sensor clean and free from dust, as debris can affect accuracy. Consider mounting the sensor on a stable platform to minimize vibration. If readings seem erratic, try implementing a moving average filter in your code to smooth out the data.
Power-Related Challenges:
LiDAR sensors can be power-hungry, and insufficient power supply leads to unstable operation. Use a dedicated power supply for the sensor if possible, or ensure your Raspberry Pi’s power supply can handle the additional load. Monitor the voltage levels during operation to catch any drops that might affect performance.
Performance Optimization:
To improve scanning speed and efficiency, adjust the sampling rate to match your needs. Higher rates provide more detail but consume more resources. Consider implementing multi-threading to handle data processing separately from data collection. Cache frequently accessed data to reduce processing overhead.
Memory Management:
Large datasets can quickly consume available RAM. Implement data buffering and periodic cleanup of old measurements. If storing data long-term, consider writing to files in chunks rather than keeping everything in memory.
Software Debugging:
Enable debug logging in your code to track sensor behavior. Start with basic functionality and gradually add features while testing each addition. Use try-except blocks to handle potential errors gracefully and implement timeout mechanisms for sensor communications to prevent program hanging.
These troubleshooting steps and optimizations will help ensure reliable operation of your LiDAR sensor with Raspberry Pi. Remember to document any modifications you make to help with future maintenance and updates.
Integrating a LiDAR sensor with your Raspberry Pi opens up exciting possibilities for robotics, mapping, and automation projects. Throughout this guide, we’ve explored the essential aspects of LiDAR sensor implementation, from selecting the right hardware to writing basic code for data collection and visualization. The combination of Raspberry Pi’s versatility and LiDAR’s precise distance measurement capabilities creates a powerful platform for both learning and practical applications.
As you become more comfortable with the basics, consider expanding your project’s capabilities by implementing SLAM algorithms for autonomous navigation, creating 3D point cloud visualizations, or integrating multiple sensors for comprehensive environmental mapping. You might also explore real-time object detection or combine LiDAR data with other sensors like cameras for enhanced perception systems.
Remember to regularly check for software updates and community contributions, as the field of LiDAR technology is rapidly evolving. Whether you’re building a robot, creating a security system, or developing an autonomous vehicle prototype, the skills you’ve learned here provide a solid foundation for more advanced projects. Don’t hesitate to join online communities and share your experiences – collaboration often leads to innovative solutions and improved project outcomes.