
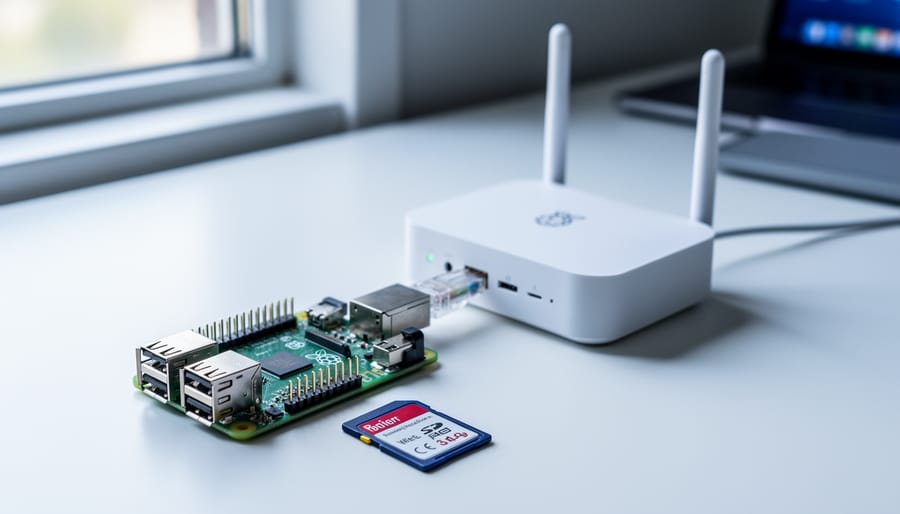
You can set up a Raspberry Pi without a monitor by configuring SSH or remote desktop access directly on the SD card before first boot, then connecting to the device over your network from another computer. The entire process takes 15 to 30 minutes and requires just a few files added to your freshly imaged SD card. No keyboard, mouse, or display needed.
This headless setup method has become the standard approach for Raspberry Pi deployments in 2026, particularly for server projects, IoT devices, and situations where you simply don’t have a spare monitor lying around. The technique works across all Raspberry Pi models, from the Pi Zero to the Pi 5, and gives you the same full control you’d have with a physical display attached.
The beauty of headless setup lies in its simplicity. By creating two small configuration files on your boot partition, you tell the Pi to enable SSH and connect to your WiFi network the moment it powers on. From there, you can access the command line through any SSH client, install VNC Server for graphical access, or configure RDP if you’re working primarily from Windows machines.
This guide walks you through each preparation step, covers all three remote access methods with clear screenshots and commands, and includes troubleshooting tips for the most common connection issues. Whether you’re setting up your first Pi or your fiftieth, you’ll have remote access configured and working before you finish your coffee.
What You’ll Need for Headless Raspberry Pi Setup
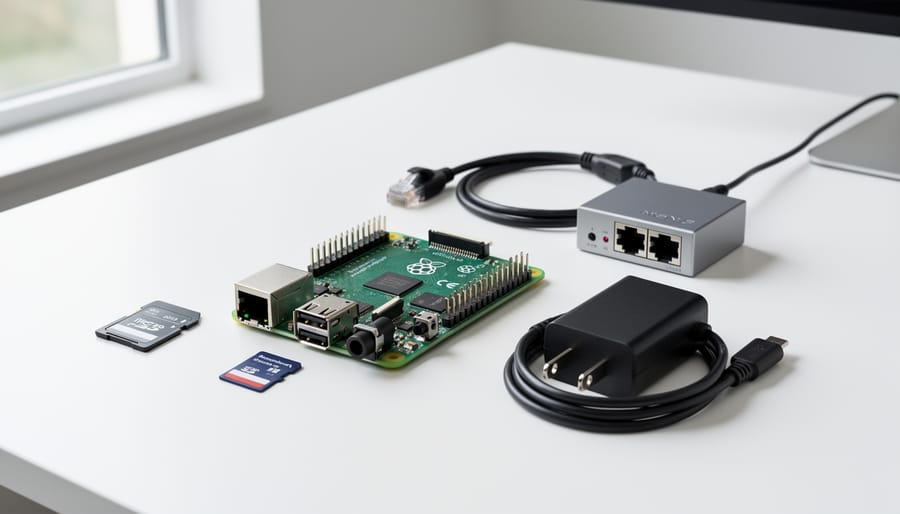
Before you begin your headless Raspberry Pi setup, gather the essential hardware and software components. Having everything ready prevents interruptions during the configuration process and ensures a smooth first boot.
Required Hardware
The foundation of your headless setup requires these core components:
- Raspberry Pi board, Model 3B, 4, or 5 recommended for best performance and compatibility with 2026 software
- microSD card, Minimum 16GB Class 10 or UHS-I rated; 32GB recommended for desktop OS and future projects
- Official Raspberry Pi power supply, 5V 3A USB-C for Pi 4/5, or 5V 2.5A micro-USB for Pi 3; generic phone chargers often cause instability
- Computer with microSD card reader, Windows, macOS, or Linux system for writing the OS image and configuration
- Network connection, Either built-in WiFi (Pi 3B+ and newer) or wired Ethernet capability
Your computer needs an SD card slot or a USB card reader adapter. Most laptops manufactured after 2020 include built-in readers, but USB 3.0 card readers work perfectly and typically write images faster than built-in slots.
Recommended Optional Items
While not strictly necessary, these items simplify the initial setup. An Ethernet cable provides the most reliable first connection, bypassing potential WiFi configuration issues entirely. If your Pi will sit near your router during setup, Ethernet eliminates a common troubleshooting step.
A protective case prevents accidental damage to the board, especially important for headless systems that might run continuously in less controlled environments. Basic plastic cases cost under $10 and provide adequate protection without blocking GPIO pins you might need later.
For Raspberry Pi 5 users, active cooling (an official case with fan or aftermarket heatsink) maintains optimal performance during extended operation, though passive cooling suffices for basic headless server tasks.
Preparing Your microSD Card
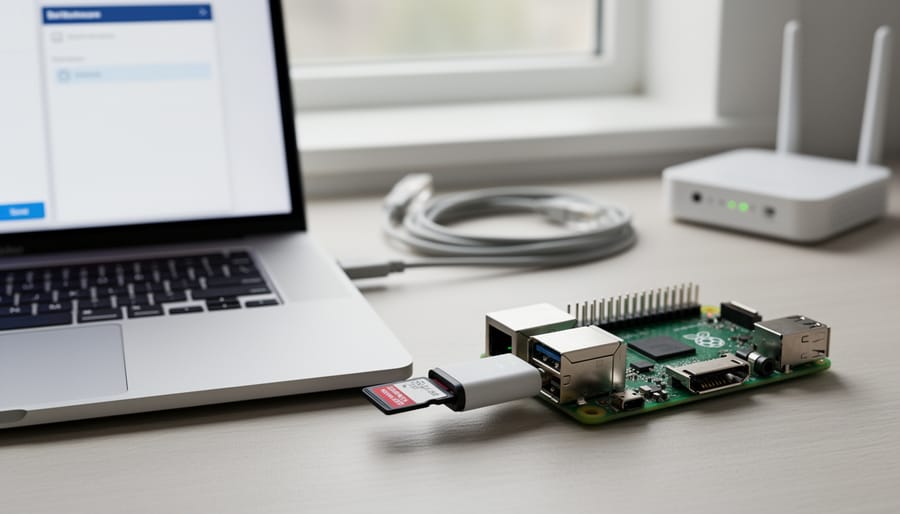
Configuring Advanced Settings Before First Boot
Before you click “Write” in Raspberry Pi Imager, you need to configure the advanced settings that eliminate the need for a monitor entirely. This is the most crucial step in a headless setup, miss it and you’ll either need to connect a display or reimage your card from scratch.
After selecting your Raspberry Pi model, operating system, and storage device in the main Imager window, look for the gear icon (⚙️) in the bottom-right corner. In newer versions of the software, you might instead see an “Edit Settings” button or be prompted automatically to customize your installation. Click this to open the advanced options menu.
The advanced settings panel contains several critical configurations. Start with the hostname, this is how your Raspberry Pi will identify itself on the network. The default is “raspberrypi.local” but change it to something unique if you’re running multiple Pis (like “piserver.local” or “homepi.local”). This makes finding your device easier later.
Next, enable SSH by checking the box labeled “Enable SSH.” Choose “Use password authentication” for your first headless setup, you can switch to key-based authentication later for better security. This SSH access is your gateway to the Pi without a monitor.
In the username and password section, set a custom username (not the old default “pi” which is deprecated in 2026) and a strong password. Write these down, you’ll need them for every SSH and remote desktop connection.
The WiFi configuration section is where many beginners stumble. Enter your wireless network’s SSID (exact name, case-sensitive) and password carefully. Select your country from the dropdown for correct WiFi frequency regulations. Double-check everything before moving on, a typo here means your Pi won’t connect.
Set the locale settings to match your timezone and keyboard layout. While not strictly necessary for headless operation, correct timezone prevents confusion with logs and scheduled tasks.
Once everything is configured, click “Save” to return to the main window, then proceed with writing the image. These settings will be baked into your Raspberry Pi OS installation, ready to work the moment it boots.
First Boot and Network Connection
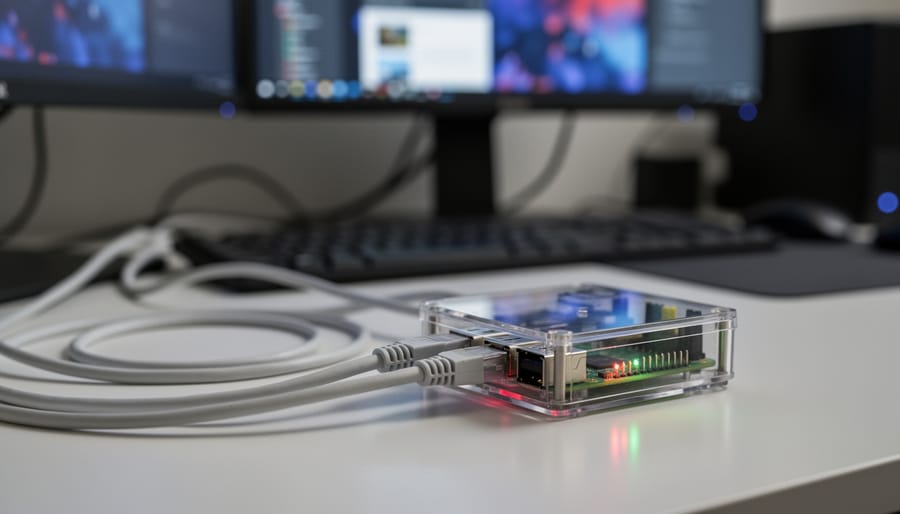
After writing your OS to the microSD card and configuring the advanced settings, safely eject the card from your computer. Don’t just pull it out, use your operating system’s eject function to ensure all data has been written properly. Any corrupted files from an improper eject can prevent your Pi from booting.
Insert the microSD card into the slot on the underside of your Raspberry Pi board, pushing it in until you hear or feel a soft click. The card should sit flush with the board. If you’re using an Ethernet connection, plug the cable into your Pi’s Ethernet port now, before applying power. Then connect your official power supply, you’ll see a red LED light up immediately, followed by a green LED that flickers during the boot process.
The first boot takes longer than subsequent starts. Expect 45 to 90 seconds while the Pi expands the filesystem, generates SSH keys, and applies your pre-configured settings. The green activity LED will flash irregularly during this time. Resist the urge to unplug and restart if it seems slow, let it complete the process.
Your connection method determines what happens next. Ethernet is genuinely plug-and-play: once the Pi finishes booting, it automatically requests an IP address from your router via DHCP and joins your network. No additional configuration needed if you’re on the same network as your computer.
WiFi requires that you correctly entered your network name (SSID) and password in the Raspberry Pi Imager’s advanced settings. The Pi will attempt to connect using those credentials during boot. If you mistyped the password, used the wrong security type, or your network uses special characters that weren’t properly encoded, the connection will fail silently, and you won’t know until you try to find the device on your network.
If your Pi doesn’t appear on the network after two minutes, the most common culprits are incorrect WiFi credentials or a 5GHz network when your Pi model only supports 2.4GHz (check your model’s specifications). Try connecting via Ethernet to verify the Pi is working, then use SSH to reconfigure the WiFi settings through the command line.
Finding Your Raspberry Pi’s IP Address
Before you can connect to your Raspberry Pi, you need to know its IP address on your network. Without a monitor, this requires using your computer or router to locate the device. Several reliable methods exist, each suited to different situations and technical comfort levels.
The simplest approach for most users is checking your router’s admin panel. This method works regardless of your computer’s operating system and requires no additional software:
- Open a web browser and enter your router’s admin address (typically, or ).
- Log in with your router credentials (often printed on the router itself if you haven’t changed them).
- Navigate to the connected devices, DHCP clients, or device list section (location varies by router brand).
- Look for an entry labeled with your configured hostname (default is “raspberrypi”) or identify it by the manufacturer name “Raspberry Pi Foundation”.
- Note the IP address shown next to your Pi’s entry.
If your router interface is difficult to navigate or you can’t access it, network scanning tools offer a faster alternative. Windows users can download Advanced IP Scanner, a free tool that displays all devices on your network with their IP addresses and hostnames in seconds. For cross-platform compatibility, Angry IP Scanner works on Windows, macOS, and Linux, scanning your subnet and identifying connected devices quickly.
Linux and macOS users comfortable with the command line can use nmap, a powerful network scanning utility. Install it through your package manager, then run “nmap -sn ” (adjusting the IP range to match your network). The scan results will list all active devices, including your Raspberry Pi.
The quickest method when it works is using mDNS (multicast DNS). If you configured a hostname during the imaging process, you can often connect directly using “hostname.local” instead of an IP address. For example, if your hostname is “raspberrypi”, try connecting to “raspberrypi.local” in your SSH client. This method works reliably on macOS and Linux, though Windows 10 and 11 also support it with some limitations. Note that mDNS requires both devices to be on the same local network and won’t work across VLANs or more complex network configurations.
Connecting via SSH (Command Line Access)
With your Raspberry Pi’s IP address in hand, you’re ready to establish your first SSH connection. SSH (Secure Shell) gives you command-line access to your Pi, letting you control it completely without a display.
For Windows Users
Windows 10 and 11 include SSH by default. Open PowerShell or Command Prompt and type:
“`
ssh pi@192.168.1.100
“`
Replace “ with your actual IP address, and use the username you configured in Raspberry Pi Imager (default is `pi` unless you changed it).
If you’re on an older Windows version without built-in SSH, download PuTTY. Enter your Pi’s IP address in the hostname field, ensure port 22 is selected, and click Open.
For macOS and Linux Users
Launch Terminal and enter the same SSH command:
“`
ssh pi@192.168.1.100
“`
Substitute your username and IP address as needed.
First Connection Process
The first time you connect, you’ll see a host key verification warning that looks like this:
“`
The authenticity of host ” can’t be established.
ECDSA key fingerprint is SHA256:…
Are you sure you want to continue connecting (yes/no)?
“`
Type `yes` and press Enter. This warning appears only once and confirms you’re connecting to the right device.
Next, enter the password you set during SD card configuration. For security, you won’t see any characters as you type. Press Enter after typing your password.
If authentication succeeds, you’ll see the Raspberry Pi command prompt:
“`
pi@raspberrypi:~ $
“`
You’re now logged into your Raspberry Pi remotely. This command-line access is essential for the next steps: updating your system, installing software, and configuring remote desktop access. Every administration task can be performed through this SSH session, making it the foundation of headless Pi management.
Test your connection by running `sudo apt update` to verify network connectivity and system responsiveness.
Setting Up Remote Desktop Access
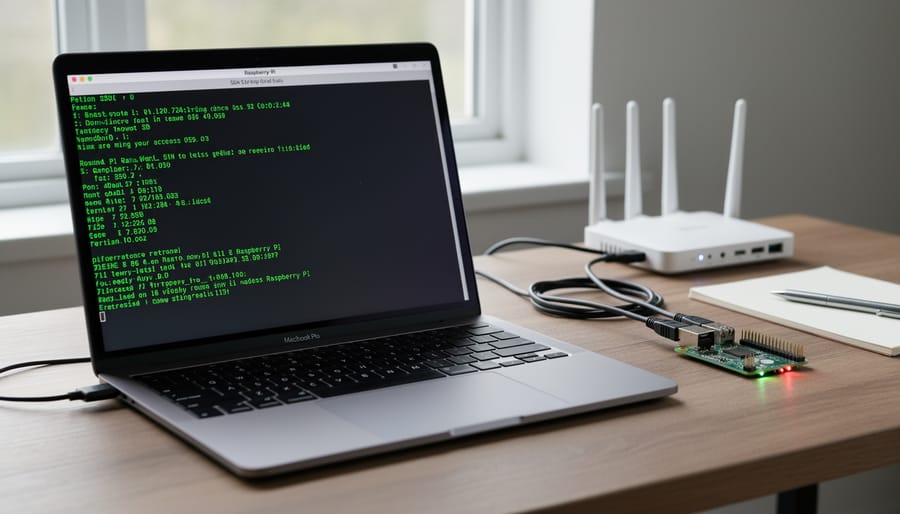
Method 1: Enabling and Configuring VNC
VNC provides native desktop access to your Raspberry Pi and works seamlessly across Windows, Mac, and Linux systems. RealVNC Server comes pre-installed on Raspberry Pi OS, so you only need to enable it and adjust a few settings to get full remote desktop functionality.
Start by connecting to your Raspberry Pi via SSH, then enable VNC through the configuration tool:
- Run
sudo raspi-configin your SSH terminal to launch the configuration utility - Navigate to Interface Options using the arrow keys and press Enter
- Select VNC from the list and choose Enable when prompted
- Go back to the main menu and select Display Options
- Choose Resolution and select a specific resolution like 1920×1080 or 1280×720 (avoid the default setting, which won’t work in headless mode)
- Select Finish and choose Yes when asked to reboot
- Download and install VNC Viewer on your computer from the RealVNC website
- Launch VNC Viewer and enter your Raspberry Pi’s IP address in the connection bar at the top
After entering the IP address and pressing Enter, you’ll see a security warning about the connection not being encrypted. Click Continue for now. The authentication window will prompt you for the username and password you configured during the SD card setup process (or the defaults if you didn’t change them).
Once authenticated, your Raspberry Pi desktop appears in the VNC Viewer window. You’ll see the full graphical interface exactly as it would appear on a physical monitor, complete with taskbar, desktop icons, and all installed applications. You can click, type, and interact with everything normally.
The VNC connection persists across sessions, meaning you can disconnect and reconnect without reconfiguring anything. VNC also handles multiple monitor setups well and allows you to adjust the quality and speed settings if you’re on a slower network connection.
One significant advantage of VNC over other remote desktop solutions is that it captures the actual framebuffer, so what you see remotely matches exactly what would display on a connected monitor. This makes it ideal for projects involving graphical applications, web browsing, or any task requiring precise visual feedback.
Method 2: Installing and Using xRDP
xRDP provides a familiar Remote Desktop Protocol connection to your Raspberry Pi, making it ideal if you already use Windows Remote Desktop Connection regularly or work in an environment with established RDP infrastructure. Unlike VNC, which requires installing separate client software, xRDP lets you connect using the built-in Remote Desktop app on Windows or readily available RDP clients on Mac and Linux.
To install xRDP, connect to your Raspberry Pi via SSH and run these commands:
“`
sudo apt update
sudo apt install xrdp -y
“`
The installation takes about two to three minutes. Once complete, xRDP starts automatically and runs on port 3389. You can verify it’s running with `sudo systemctl status xrdp`.
By default, xRDP works immediately, but you’ll get better performance with one quick configuration change. Edit the startup script to use the Raspberry Pi’s native desktop environment:
“`
echo “startlxde-pi” > ~/.xsession
“`
Now restart the xRDP service: `sudo systemctl restart xrdp`
To connect from Windows, open Remote Desktop Connection (search for “remote desktop” in the Start menu), enter your Raspberry Pi’s IP address, and click Connect. When prompted, select “Xorg” as the session type, then enter your Raspberry Pi username and password.
Mac users should install Microsoft Remote Desktop from the App Store, then add a new PC with your Pi’s IP address. Linux users can use Remmina or rdesktop from the terminal.
xRDP shines in Windows-dominated environments where IT policies already permit RDP traffic, organizational security tools monitor RDP sessions, or users are deeply familiar with Remote Desktop workflows. The consistent interface across all your remote connections simplifies training and troubleshooting. The trade-off is slightly higher resource usage compared to VNC, which matters more on older Raspberry Pi models with limited RAM.
Verifying Your Headless Setup Works
Once you’ve connected to your Raspberry Pi desktop remotely, run through a quick verification checklist to confirm everything works as expected. A properly configured headless setup should feel responsive and stable, not sluggish or prone to disconnects.
Start with these essential verification tasks:
- Desktop environment loads completely with taskbar and icons visible
- Mouse cursor moves smoothly and keyboard input registers without delay
- Can open applications like the file manager or terminal window
- Can browse the file system and create a test folder
- Can reboot the Pi and successfully reconnect after it comes back online
For performance expectations, your remote desktop should respond within a second or two of mouse clicks and keyboard input. Some lag is normal compared to a directly connected monitor, but if you’re waiting five or more seconds for simple actions, check your network connection quality. WiFi connections can introduce noticeable latency, especially if your Pi is far from the router or on a congested network. Switching to Ethernet often resolves these issues.
Test launching a lightweight application like the text editor or calculator. They should open quickly. If you experience frequent connection drops, verify that your Pi isn’t entering power-saving mode or that your router isn’t timing out idle connections. Running a continuous ping from your main computer to the Pi’s IP address can help identify network stability problems.
If you need audio output for your projects, test it through VNC’s audio forwarding feature or by connecting via RDP, which handles audio more reliably. Video playback will be choppy through remote desktop, which is expected, headless setups work best for configuration, development work, and project control rather than media consumption.
Security Best Practices for Headless Raspberry Pi
A headless Raspberry Pi running unattended is particularly vulnerable to security threats since you’re not regularly viewing its screen or monitoring its activity. Unlike a Pi connected to a monitor where suspicious behavior might catch your eye, a headless system can be compromised without any obvious warning signs. Implementing proper security from day one protects your projects, personal data, and prevents your Pi from becoming part of a botnet.
Your first action should be changing any default credentials you set during the initial configuration. Even if you already customized the password in Raspberry Pi Imager’s advanced settings, verify it’s strong: at least 12 characters mixing uppercase, lowercase, numbers, and symbols. Access your Pi via SSH and run `passwd` to update it. If you created the default “pi” username for convenience, consider creating a new user with sudo privileges and deleting the pi account entirely, attackers often target known default usernames.
SSH key authentication provides significantly stronger security than password-based access. Generate an SSH key pair on your main computer using `ssh-keygen -t ed25519 -C “your_email@example.com”`, then copy the public key to your Pi with `ssh-copy-id username@raspberrypi.local`. Once verified working, disable password authentication by editing `/etc/ssh/sshd_config` and setting `PasswordAuthentication no`, then restart SSH with `sudo systemctl restart ssh`. This prevents brute-force password attacks entirely.
Install and configure UFW (Uncomplicated Firewall) to control network access. Run `sudo apt install ufw`, then set default policies with `sudo ufw default deny incoming` and `sudo ufw default allow outgoing`. Allow only necessary services, for headless remote access, that’s typically `sudo ufw allow ssh` and `sudo ufw allow 5900/tcp` for VNC if you’re using it. Enable the firewall with `sudo ufw enable` and check status with `sudo ufw status verbose`.
Regular updates patch security vulnerabilities in the operating system and installed software. Schedule weekly updates by running `sudo apt update && sudo apt full-upgrade` via SSH, or automate this with unattended-upgrades. Review installed services with `sudo systemctl list-unit-files –type=service` and disable anything you don’t need, for example, if you’re not using Bluetooth, run `sudo systemctl disable bluetooth`. Every unnecessary service is a potential attack vector, so keep your system lean.
Common Issues and Troubleshooting
Even with careful preparation, you might encounter issues during headless setup. Most problems have straightforward solutions once you understand what’s going wrong.
If you can’t find your Pi on the network, start by checking your router’s admin panel for connected devices. Look for a device named “raspberrypi” or the custom hostname you configured. If it doesn’t appear, verify your WiFi credentials were entered correctly in the advanced settings, a single typo will prevent connection. Try connecting via Ethernet cable instead, which bypasses WiFi configuration entirely and nearly always works on first boot. Some routers also have client isolation enabled on guest networks, which prevents devices from seeing each other.
SSH connection refused errors typically mean SSH wasn’t enabled during card preparation. You’ll need to remove the microSD card, insert it back into your computer, and add an empty file named “ssh” (no extension) to the boot partition. Alternatively, reimagine the card and ensure you check the SSH option in advanced settings. Firewall software on your computer can also block SSH connections, so temporarily disable it to test.
VNC blank screen problems occur when the Pi boots without a monitor and doesn’t set a display resolution. Connect via SSH first and run “sudo raspi-config”, then navigate to Display Options and set a specific resolution like 1920×1080. After rebooting, VNC will show the desktop properly. If you continue having trouble after you set up VNC check that the VNC service actually started with “sudo systemctl status vncserver-x11-serviced”.
Connection issues after reboot usually stem from dynamic IP address changes. Your router assigns a new IP address each time the Pi restarts, breaking your saved connection. Set a static IP address through raspi-config (Network Options, then choose static IP configuration) or configure a DHCP reservation in your router settings to always assign the same IP to your Pi’s MAC address.
Remote desktop lag has several causes. High resolution settings strain the Pi’s processing power and network bandwidth, try reducing to 1280×720 if 1920×1080 is too sluggish. Check your network connection strength, especially on WiFi where distance from the router matters significantly. Close unnecessary applications running on the Pi to free resources. For persistent issues with VNC Viewer setup consider switching to xRDP which sometimes performs better on slower networks.
Why can’t I find my Pi on the network?
Check your router’s connected devices list first, then verify WiFi credentials were entered correctly during card preparation. Try Ethernet connection as a reliable alternative, and ensure you’re not on a guest network with client isolation enabled.
Why is VNC showing a blank screen?
The Pi didn’t set a display resolution because no monitor was detected. Connect via SSH, run sudo raspi-config, go to Display Options, and manually set a resolution like 1920×1080 before rebooting.
How do I fix connection refused errors?
SSH wasn’t enabled during setup. Remove the card, reinsert it into your computer, and add an empty file named “ssh” to the boot partition, or reimagine the card with SSH enabled in advanced settings.
What if my IP address keeps changing?
Configure a static IP address through raspi-config or set up a DHCP reservation in your router to always assign the same IP to your Pi’s MAC address.
Power issues can masquerade as network problems. Insufficient power supply causes the Pi to boot incompletely or behave erratically. Use the official Raspberry Pi power supply or ensure your alternative provides at least 3A for Pi 4 models. A rainbow square in the top corner of the screen indicates undervoltage, though you won’t see this headless, symptoms include random disconnections and failed boots.
For remote desktop from anywhere setups, firewall rules and port forwarding introduce additional troubleshooting layers. Start by confirming local network access works perfectly before attempting external connections. Document your configuration changes so you can systematically undo them if problems arise.
Next Steps and Advanced Options
With your Raspberry Pi successfully running headless, you can now optimize the setup and explore its full potential.
Setting a static IP address should be your first priority. This prevents your Pi from getting a new IP after router reboots, which would break your saved remote connections. Edit `/etc/dhcpcd.conf` via SSH and add your network details, or configure reservation through your router’s DHCP settings for a simpler approach.
Automatic backups protect your work from SD card failures. Tools like `rsync` can schedule regular backups to a network drive, or use `rpi-clone` to create bootable SD card images. For critical projects, consider backing up weekly at minimum.
Remote access from outside your network opens powerful possibilities. Port forwarding through your router works but exposes your Pi to the internet, pair it with SSH key authentication and change the default SSH port. VPN solutions like WireGuard or OpenVPN offer more secure alternatives. RealVNC Cloud provides the easiest option, creating encrypted connections without router configuration, though it requires a RealVNC account.
To make the most of your headless setup, consider these next steps:
- Configure static IP address to maintain consistent connections
- Set up SSH key authentication and disable password login
- Explore GPIO projects that don’t require a monitor, like sensors or automation
- Install project-specific software using `apt` commands via SSH
- Configure external access with VPN or cloud services for secure remote management
Installing software remotely is straightforward through SSH. Use `sudo apt update && sudo apt upgrade` to keep your system current, then install packages as needed. Popular starting projects include Pi-hole for network-wide ad blocking, Home Assistant for smart home control, or Plex for media serving. Each runs perfectly headless and demonstrates why monitor-free setup is ideal for dedicated server applications.
Setting up your Raspberry Pi without a monitor isn’t just possible, it’s actually the preferred method for many experienced users. By leveraging the advanced configuration options in Raspberry Pi Imager, you’ve eliminated the need for extra peripherals and streamlined your entire setup process. This headless approach saves desk space, reduces costs, and creates an ideal foundation for server projects, IoT devices, and remote management scenarios.
Whether you chose SSH for command-line control, VNC for cross-platform access, or xRDP for Windows integration, you now have the skills to manage your Pi from anywhere on your network. Don’t stop here. Experiment with different remote desktop solutions to find what suits your workflow best. Consider exploring advanced options like network boot to eliminate SD cards entirely, or dive into network powerhouse projects that showcase what your headless Pi can accomplish. Your journey with Raspberry Pi is just beginning.