
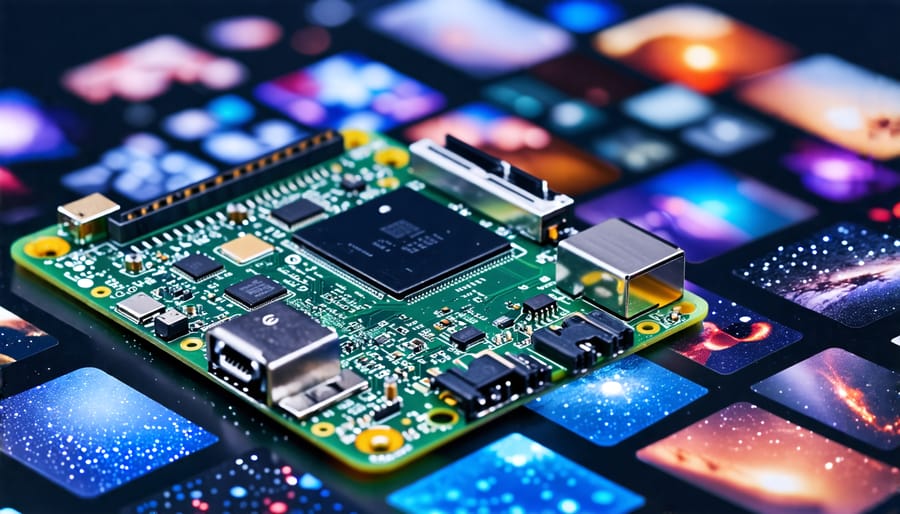
Discover the ultimate Raspberry Pi camera experience with the highest resolution options on the market. Offering unparalleled image quality, enhanced low-light performance, and seamless integration with your favorite single-board computer, these cutting-edge cameras unlock a world of possibilities for your projects. From stunning time-lapses to crisp video streaming, prepare to capture every detail with precision and clarity like never before. Whether you’re a seasoned developer or a curious hobbyist, join us as we explore the top contenders vying for the title of the highest resolution Raspberry Pi camera available today.
Top High-Res Camera Options
Official Raspberry Pi High Quality Camera
The official Raspberry Pi High Quality Camera boasts a 12.3-megapixel Sony IMX477 sensor, offering stunning image quality for your Raspberry Pi projects. With a 7.9mm diagonal sensor size and back-illuminated sensor architecture, this camera excels in low-light conditions, making it ideal for a wide range of applications. The camera supports interchangeable C- and CS-mount lenses, giving you the flexibility to choose the perfect lens for your needs.
One of the standout features of the Raspberry Pi High Quality Camera is its ability to capture 4K video at 30 frames per second, 1080p at 60 frames per second, and 720p at 120 frames per second. The high-speed video capture capabilities make it an excellent choice for slow-motion photography and videography projects.
On the downside, the official camera comes at a higher price point compared to other Raspberry Pi camera options. Additionally, the interchangeable lens system may require a bit more setup time and expertise compared to fixed-lens cameras. However, the image quality and versatility offered by this camera more than make up for these minor drawbacks, making it a top choice for those seeking the highest resolution and best overall performance in a Raspberry Pi camera.
Arducam 64MP Camera Module
The Arducam 64MP Camera Module is a game-changer for Raspberry Pi enthusiasts seeking ultra-high resolution imaging capabilities. With its Sony IMX686 sensor, this camera captures stunningly detailed photos at a resolution of 9152×6944 pixels. The module’s high-quality lens ensures sharp images with minimal distortion, making it ideal for a wide range of applications such as surveillance, aerial photography, and scientific imaging.
One of the standout features of the Arducam 64MP Camera Module is its compatibility with the Raspberry Pi’s CSI interface, allowing for seamless integration with your projects. The camera also supports various output formats, including RAW and YUV, giving you greater flexibility in post-processing and analysis.
Setting up the Arducam 64MP Camera Module is a breeze, thanks to the well-documented libraries and sample code provided by Arducam. With just a few lines of code, you can start capturing high-resolution images and videos, opening up a world of possibilities for your Raspberry Pi projects.
Whether you’re a professional photographer looking to experiment with new technology or a hobbyist eager to push the boundaries of your Raspberry Pi’s capabilities, the Arducam 64MP Camera Module is an excellent choice for achieving ultra-high resolution imaging.
Waveshare IMX477 12MP Camera
The Waveshare IMX477 12MP Camera is a standout option for those seeking a high-resolution imaging solution for their Raspberry Pi projects. Boasting a 12.3-megapixel Sony IMX477 sensor, this camera captures stunningly detailed photos and videos with impressive clarity and color accuracy. The IMX477 sensor, known for its excellent performance in Sony’s popular RX0 camera, brings professional-grade imaging capabilities to the Raspberry Pi ecosystem.
One of the key advantages of the Waveshare IMX477 camera is its compatibility with the Raspberry Pi’s CSI interface, ensuring a seamless integration process. The camera also features a back-illuminated sensor design, enhancing its low-light performance and enabling users to capture high-quality images even in challenging lighting conditions.
With support for both still images and video recording, the Waveshare IMX477 camera offers versatility for a wide range of projects. It can capture full-resolution 12.3MP stills at 10 frames per second and record video at resolutions up to 1080p at 60 frames per second. This level of performance makes it an excellent choice for applications such as surveillance systems, wildlife monitoring, or high-quality video streaming.
The Waveshare IMX477 camera comes with a compact form factor and includes a high-quality 6mm CS-mount lens, providing a suitable field of view for most applications. Users also have the option to swap out the lens for different focal lengths, allowing for customization based on specific project requirements.
Setting Up Your High-Res Camera
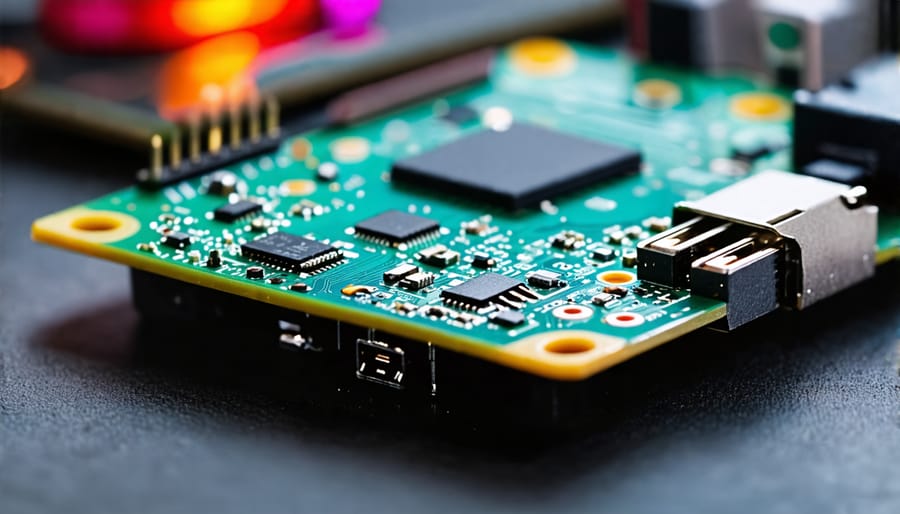
Hardware Installation
Connecting a high resolution camera to your Raspberry Pi is a straightforward process. First, locate the Camera Serial Interface (CSI) port on your Raspberry Pi board, which is typically a small connector located near the HDMI port. Gently lift the plastic clip on the CSI port and insert the ribbon cable of your camera module, ensuring the blue side of the ribbon faces the Ethernet port. Secure the connection by pushing down the plastic clip. If your camera module includes a mounting bracket, attach it to the Raspberry Pi using the provided screws or adhesive. For a stable connection, consider using a compatible case that accommodates both the Raspberry Pi and the camera module. Once the physical connection is established, you’ll need to enable the camera interface in the Raspberry Pi configuration settings and install the necessary software libraries to start capturing high resolution images and videos.
Enabling Camera Support
To enable camera support on your Raspberry Pi, start by ensuring your operating system is up to date. Open a terminal and run “sudo apt-get update” followed by “sudo apt-get upgrade”. Next, open the Raspberry Pi configuration tool by typing “sudo raspi-config”. Navigate to the “Interfacing Options” menu and select “Camera”. Choose “Yes” to enable the camera interface and reboot your Pi for the changes to take effect. You can now test the camera by running “raspistill -o image.jpg” in the terminal, which will capture a still image. For remote access to your Pi’s camera feed, consider using a tool like VNC Viewer or SSH. With these simple steps, your Raspberry Pi will be ready to capture high-quality images and videos using its camera module.
Testing Your Camera
To test your camera and ensure it’s capturing high-resolution images, simply connect it to your Raspberry Pi and run a few basic commands. Open a terminal and enter `raspistill -o test.jpg` to snap a photo. The `-o` flag specifies the output file name. To customize settings, use additional flags like `-w` and `-h` for width and height, or `-q` for quality. For example, `raspistill -o highres.jpg -w 4056 -h 3040 -q 100` captures a maximum resolution image at the highest quality. Review the captured images to verify sharpness, detail, and color accuracy. Experiment with different settings to find the optimal configuration for your needs. With a little testing, you’ll be ready to embark on your high-resolution Raspberry Pi camera projects!
High-Res Camera Projects
Ultra-Detailed Time Lapse Photography
With the highest resolution Raspberry Pi camera, you can capture mesmerizing time lapse sequences that showcase the intricate changes in a scene over hours, days, or even weeks. Whether you’re documenting the growth of a plant, the shifting shadows across a landscape, or the bustle of a city street, this camera’s superior image quality ensures that every nuance is preserved in stunning detail. By carefully selecting your interval settings and leveraging the camera’s high resolution, you can create captivating videos that compress long periods of time into a few breathtaking minutes. Experiment with different lighting conditions, compositions, and durations to unlock the full potential of ultra-detailed time lapse photography with your Raspberry Pi setup.
High-Res Surveillance System
Building a high-resolution surveillance system with your Raspberry Pi is an exciting project that combines powerful hardware with intelligent software. By connecting a high-res camera to your Pi and leveraging facial recognition algorithms, you can create a custom video monitoring solution tailored to your specific needs. This project is perfect for keeping an eye on your home, office, or any other space that requires security.
To get started, you’ll need a compatible high-resolution camera, such as the Raspberry Pi HQ Camera or ArduCam 64MP Camera Module. These cameras offer exceptional image quality and can capture detailed footage even in low-light conditions. Once you have your camera set up, you can use open-source facial recognition libraries like OpenCV and Dlib to detect and identify faces in real-time.
With some programming skills and creativity, you can extend your surveillance system’s capabilities by integrating it with other Raspberry Pi projects like running a game server, creating a smart home hub, or setting up an automated alert system. The possibilities are endless, and building your own high-res surveillance system is an excellent way to enhance your Raspberry Pi skills while creating a practical, customizable security solution.
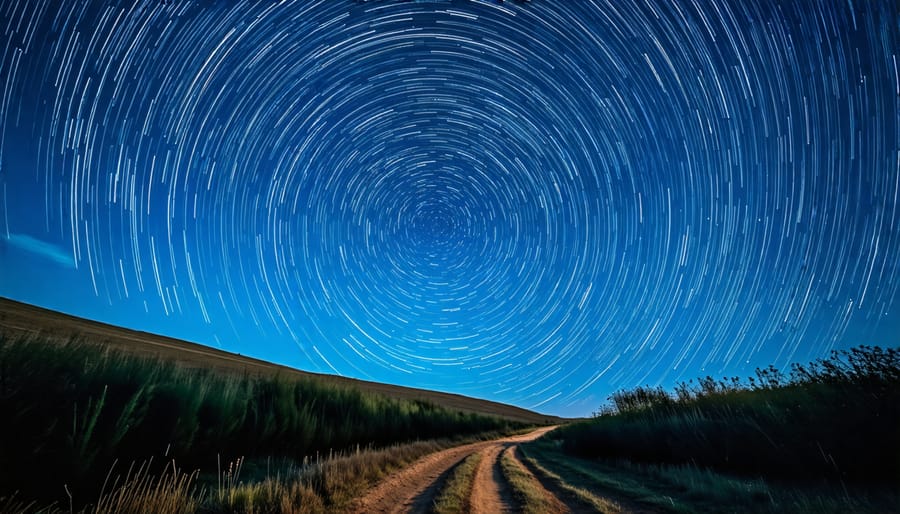
Astrophotography with Raspberry Pi
The Raspberry Pi’s high-resolution camera opens up exciting possibilities for astrophotography. With its ability to capture stunning detail, you can explore the night sky like never before. Set up your Raspberry Pi and camera on a sturdy tripod, and use a remote shutter or time-lapse software to capture long exposures of celestial objects. Experiment with different settings to find the perfect balance of ISO, aperture, and shutter speed for crisp, noise-free images. With patience and practice, you’ll soon be capturing breathtaking shots of the moon’s craters, distant galaxies, and colorful nebulae. The Raspberry Pi’s portability and low power consumption make it an ideal companion for remote astrophotography sessions, allowing you to set up your equipment in dark sky locations far from city lights.
Conclusion
In conclusion, high resolution Raspberry Pi cameras offer an exciting world of possibilities for tech enthusiasts, hobbyists, and educators alike. From capturing stunning photographs to enabling advanced computer vision applications, these powerful imaging tools provide a cost-effective and accessible way to explore the frontiers of digital photography and image processing.
With their impressive specs and user-friendly integration with the Raspberry Pi ecosystem, high-res cameras like the Raspberry Pi HQ Camera and Arducam’s offerings make it easier than ever to embark on ambitious projects that push the boundaries of what’s possible with compact, single-board computers.
Whether you’re an experienced maker looking to take your projects to the next level or a curious beginner eager to dive into the world of digital imaging, investing in a high resolution Raspberry Pi camera is sure to open up a wealth of opportunities for learning, experimentation, and innovation.
So why wait? Embrace the potential of these game-changing devices and start exploring the limitless possibilities they offer. With a little creativity and a lot of passion, there’s no telling what incredible projects you’ll be able to bring to life with the power of a high resolution Raspberry Pi camera at your fingertips.