Unlock the secrets of computer architecture with the power of Raspberry Pi. This credit card-sized wonder is more than just a toy – it’s a potent learning tool that brings abstract concepts to life.
By exploring the inner workings of the Pi’s hardware, from the CPU to memory and I/O, you’ll gain a practical understanding of how computers really function under the hood. Hands-on projects, like building a simple operating system or optimizing performance through overclocking, cement your knowledge and showcase the hacker spirit.
Whether you’re an aspiring engineer, curious tinkerer, or innovative educator, this deep dive into computer architecture with Raspberry Pi will expand your horizons. Get ready to peel back the layers and discover the elegant complexity that powers our digital world, one experiment at a time. Let’s boot up and begin this fascinating journey together.
Understanding the Basics of Computer Architecture
The Central Processing Unit (CPU)
The Central Processing Unit (CPU) is the brain of the Raspberry Pi, responsible for executing instructions and performing calculations. It consists of two main components: the Arithmetic Logic Unit (ALU) and the control unit. The ALU handles mathematical and logical operations, while the control unit manages the flow of instructions and data within the CPU.
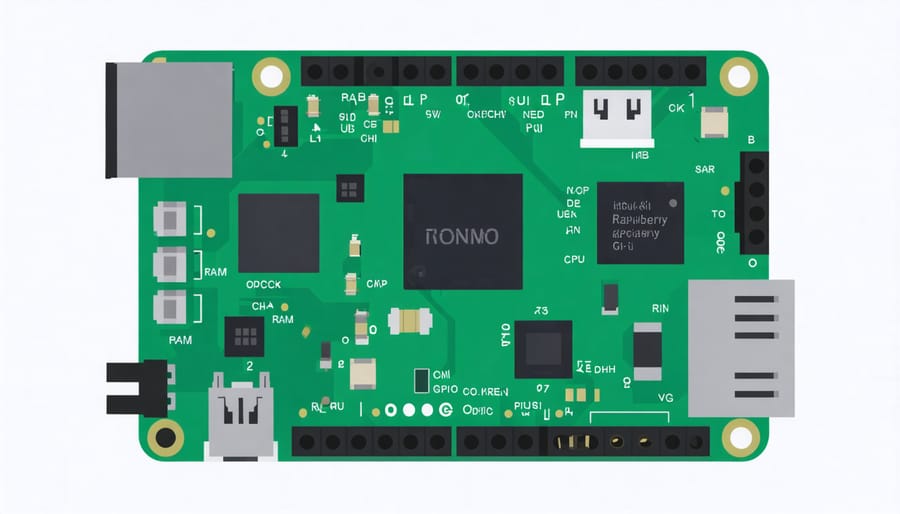
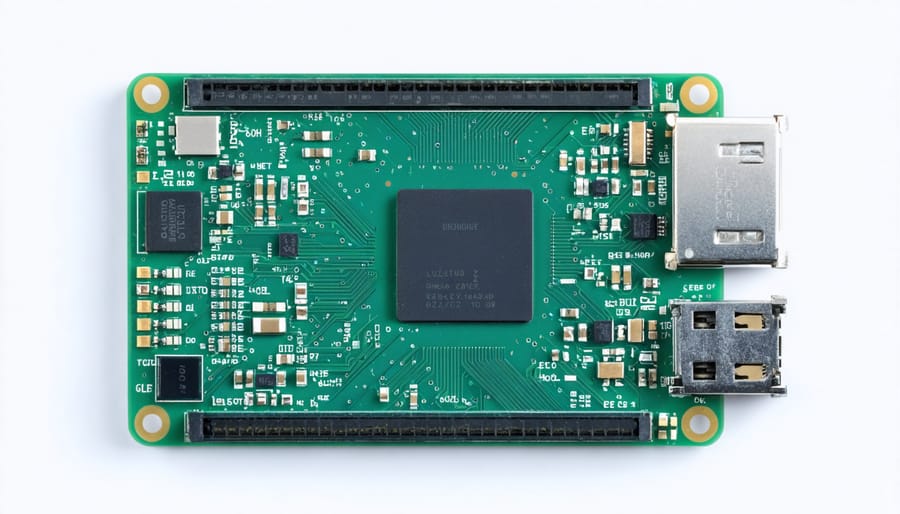
The Raspberry Pi’s CPU is a system-on-a-chip (SoC) that integrates the CPU, GPU, and RAM onto a single board. This compact design makes it an ideal platform for learning about computer architecture. By exploring the Pi’s CPU, you’ll gain insights into how instructions are fetched, decoded, and executed, as well as how data is moved between registers and memory.
Understanding the CPU’s role is crucial for optimizing code and making the most of your Raspberry Pi’s capabilities. With hands-on projects and practical examples, you’ll develop a solid grasp of how the CPU works in harmony with other components to bring your ideas to life.
Memory Hierarchy and Storage
The memory hierarchy in a Raspberry Pi consists of registers, cache, and RAM, each playing a crucial role in data storage and retrieval. Registers are the fastest and closest to the CPU, storing data for immediate use. Cache memory, like L1 and L2, sits between the registers and RAM, holding frequently accessed data for quick access. RAM, or main memory, is larger but slower than cache, storing active programs and data currently in use by the CPU. The Raspberry Pi’s RAM capacity varies by model, ranging from 256MB to 8GB.
Secondary storage, such as SD cards or USB drives, provides non-volatile storage for the operating system, files, and long-term data. While slower than RAM, secondary storage offers higher capacities and retains data even when the Pi is powered off. Understanding the memory hierarchy helps optimize performance by keeping frequently used data in faster levels of memory.
Input/Output (I/O) Operations
The Raspberry Pi communicates with peripheral devices through various I/O interfaces and buses. These include USB ports for connecting keyboards, mice, and storage devices, as well as HDMI and composite video outputs for displays. The Pi also features a 40-pin GPIO header, allowing direct connection to sensors, actuators, and other electronic components. Data is transferred between the CPU, memory, and peripherals via the system bus, which consists of an address bus for identifying devices, a data bus for transmitting information, and a control bus for managing the flow of data. By understanding these I/O concepts, you can create innovative projects that integrate the Raspberry Pi with external hardware.

Exploring Raspberry Pi Hardware Architecture
Raspberry Pi’s CPU: ARM-based Processors
The Raspberry Pi’s CPU utilizes the ARM (Advanced RISC Machine) architecture, which differs from the x86 architecture commonly found in personal computers. ARM processors are designed with a focus on power efficiency and low cost, making them ideal for embedded systems like the Raspberry Pi. The Raspberry Pi 4 Model B features a quad-core ARM Cortex-A72 processor, while the Compute Module 3+ uses a quad-core ARM Cortex-A53 processor.
Unlike x86 processors, which use a complex instruction set (CISC), ARM processors employ a reduced instruction set (RISC). This means ARM processors have a simpler and more limited set of instructions, allowing for more efficient execution and lower power consumption. ARM processors also typically have a smaller number of registers compared to x86 processors, which can impact how data is accessed and processed.
Another key difference is that ARM processors use a load-store architecture, where data must be loaded into registers before being processed, while x86 processors can perform operations directly on memory. This distinction affects how programs are compiled and optimized for each architecture.
Understanding these differences is crucial when developing software or optimizing performance on the Raspberry Pi, as code written for x86 systems may not always be directly compatible or efficient on ARM-based devices.
Memory and Storage Options
The Raspberry Pi comes with varying amounts of RAM depending on the model, ranging from 256MB to 8GB. This RAM is used for running programs and storing temporary data. Alongside RAM, the Pi utilizes an SD card for long-term storage, acting as its “hard drive.” Choosing an appropriate SD card is crucial for optimizing performance—aim for a Class 10 card with sufficient capacity for your projects.
To make the most of your Pi’s memory, consider lightweight operating systems like Raspbian Lite or DietPi, which have smaller footprints compared to full-featured distros. When running programs, close unnecessary applications and services to free up RAM. Monitoring memory usage with tools like htop can help identify resource-intensive processes. If your projects involve heavy computations or large datasets, consider using swap space on the SD card to supplement RAM, but be mindful of reduced performance due to slower read/write speeds.
GPIO Pins and Interfacing
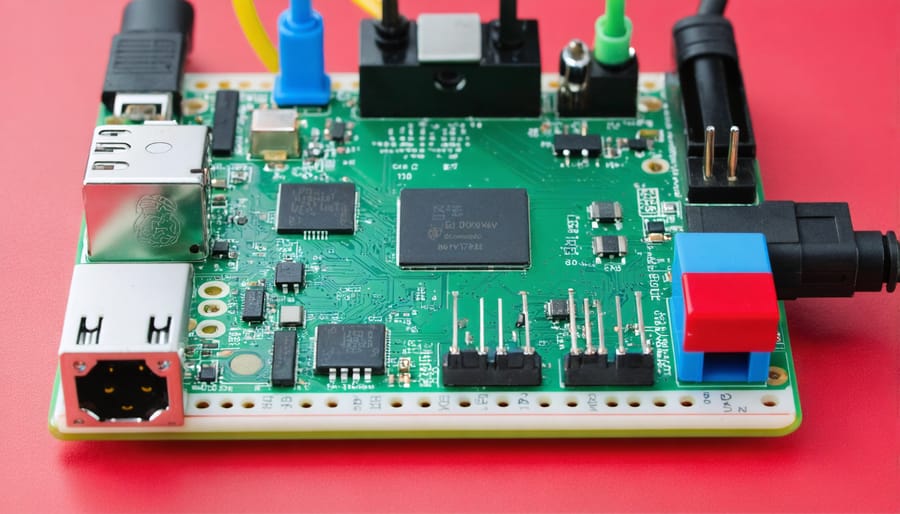
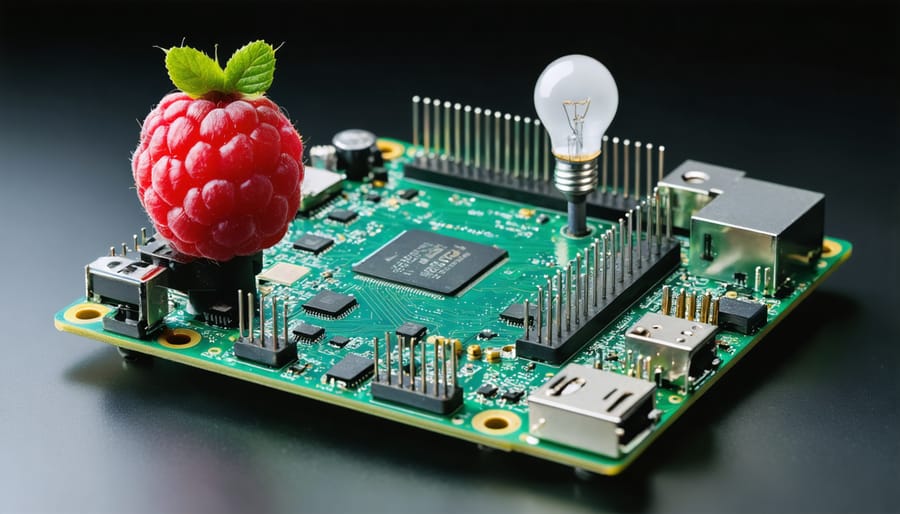
The Raspberry Pi’s GPIO (General Purpose Input/Output) pins are a key feature that enables interfacing with external components. These pins allow the Pi to communicate with and control various devices, such as LEDs, buttons, sensors, and more. By connecting components to the GPIO pins, you can create interactive projects and explore how the Pi interacts with the physical world.
The GPIO pins are located along the edge of the Raspberry Pi board and can be configured as either inputs or outputs using software. When configured as an input, the pin can read the state of a connected device, such as whether a button is pressed or not. When set as an output, the pin can send signals to control connected devices, like turning an LED on or off.
Interfacing with the GPIO pins is made easy through programming languages like Python, which provide libraries and functions specifically designed for GPIO control. By writing simple code, you can read sensor data, control actuators, and create interactive projects that bridge the gap between the digital and physical worlds.
Hands-On Projects for Learning Architecture Concepts
Building a Simple CPU Emulator
To build a simple CPU emulator using your Raspberry Pi, start by understanding the basics of how a CPU fetches, decodes, and executes instructions. Begin by creating a program that simulates a simplified instruction set architecture (ISA). Define a set of basic instructions, such as load, store, add, and jump, along with their corresponding binary opcodes.
Next, create a memory array to represent your emulated CPU’s memory. Implement functions to read from and write to this memory, simulating how a real CPU interacts with RAM. Then, develop a fetch-decode-execute loop that reads an instruction from memory, decodes its opcode and operands, and performs the corresponding operation.
To fetch an instruction, have your emulator read the binary opcode from the memory location pointed to by the program counter. Increment the program counter to prepare for the next instruction. In the decode stage, use a switch statement or a lookup table to determine which instruction corresponds to the fetched opcode. Finally, execute the instruction by performing the appropriate operation on the emulated CPU’s registers and memory.
By building this simple emulator, you’ll gain valuable insights into the inner workings of a CPU and how it processes instructions at a low level.

Exploring Memory Hierarchy with Cachegrind
Cachegrind is a powerful tool that allows you to analyze the memory usage and cache performance of programs running on your Raspberry Pi. By using Cachegrind, you can identify potential bottlenecks and optimize your code for better performance. To get started, compile your program with debugging symbols and run it through Cachegrind. The tool will generate a detailed report showing the number of cache misses, memory reads and writes, and other key metrics for each function in your code. This information can help you pinpoint areas where your program is spending significant time and resources, such as frequently accessed data structures or computationally intensive loops. With these insights, you can experiment with different optimizations, like running a game server more efficiently or improving algorithms to minimize cache misses. By iteratively analyzing and refining your code with Cachegrind, you’ll develop a deeper understanding of how memory hierarchy impacts real-world performance on the Raspberry Pi.
Interfacing with External Devices via GPIO
The Raspberry Pi’s GPIO (General Purpose Input/Output) pins offer a simple way to interface with external devices. With just a few lines of code, you can control LEDs, read button states, and gather data from sensors. To get started, connect an LED to a GPIO pin and ground, then use Python’s RPi.GPIO library to turn it on and off. Buttons work similarly – just configure the pin as an input and read its state. For more advanced projects, explore I2C and SPI communication protocols to connect complex sensors like accelerometers or temperature sensors. As you gain confidence, try combining multiple components to create interactive robotics projects or automate tasks based on environmental data. Experimenting with the GPIO pins is a fantastic way to bridge the gap between the abstract concepts of computer architecture and real-world applications.

Conclusion
Learning computer architecture with Raspberry Pi is an engaging and hands-on approach to understanding the fundamental concepts behind how computers work. By exploring the Pi’s hardware components, such as the CPU, RAM, and GPIO pins, you gain valuable insights into the inner workings of modern computing systems. The Raspberry Pi’s accessibility and versatility make it an ideal platform for beginners to dive into low-level programming, operating system concepts, and interfacing with external devices.
Throughout this article, we’ve covered essential topics like the Raspberry Pi’s system-on-a-chip design, memory hierarchy, and input/output interfaces. By working through practical projects, such as controlling LEDs, reading sensor data, and building a simple computer, you’ve had the opportunity to apply these concepts in real-world scenarios. These hands-on experiences reinforce your understanding of computer architecture principles and demonstrate how they translate to practical applications.
As you continue your journey in exploring computer architecture with Raspberry Pi, remember that this is just the beginning. There are countless more projects and concepts to discover, each building upon the foundation you’ve established. Keep experimenting, tinkering, and pushing the boundaries of what you can create with your Raspberry Pi. Join online communities, attend workshops, and collaborate with fellow enthusiasts to share knowledge and inspire one another.
To further expand your knowledge, consider exploring resources such as the official Raspberry Pi documentation, online tutorials, and books dedicated to Raspberry Pi projects and computer architecture. Stay curious, embrace challenges, and never stop learning. With the power of the Raspberry Pi at your fingertips, you have the tools to unravel the mysteries of computer architecture and create innovative solutions that make a difference in the world.


