
Explore the Raspberry Pi 1 Model A and unleash its potential in your tech projects with these steps. Start by setting up the Raspberry Pi 1 Model A with a minimal operating system to get accustomed to its capabilities in energy-efficient projects. Consider using it for basic computing tasks or lightweight servers, where it excels due to its low power consumption and simplicity. Dive into home automation by integrating it with sensors and modules, turning everyday devices intelligent and adaptive. Experiment with transforming the board into a media center by utilizing software like Kodi, which highlights its multimedia potential. For further insights, refer to Raspberry Pi 1 Model A+ to compare advancements. Each of these steps provides an engaging pathway to understanding and maximizing this pioneering mini-computer, all while encouraging innovation and creativity.
Overview of Raspberry Pi 1 Model A
Technical Specifications
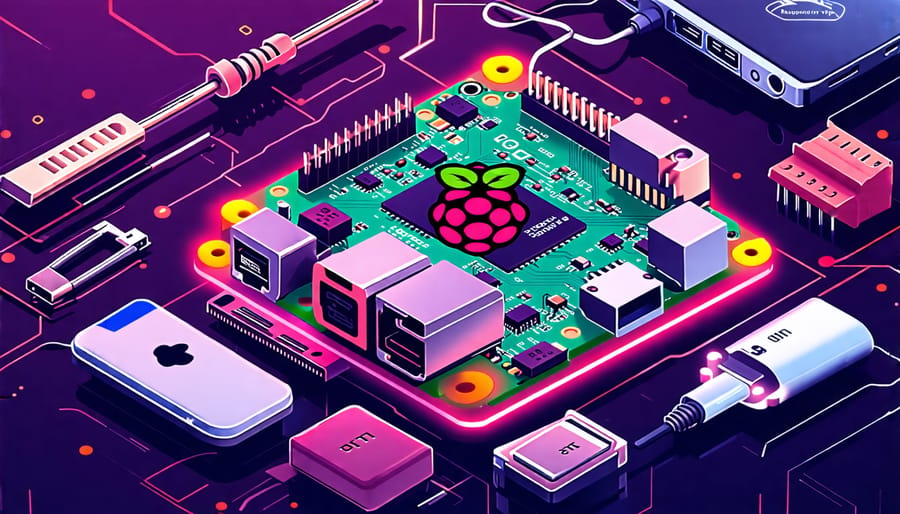
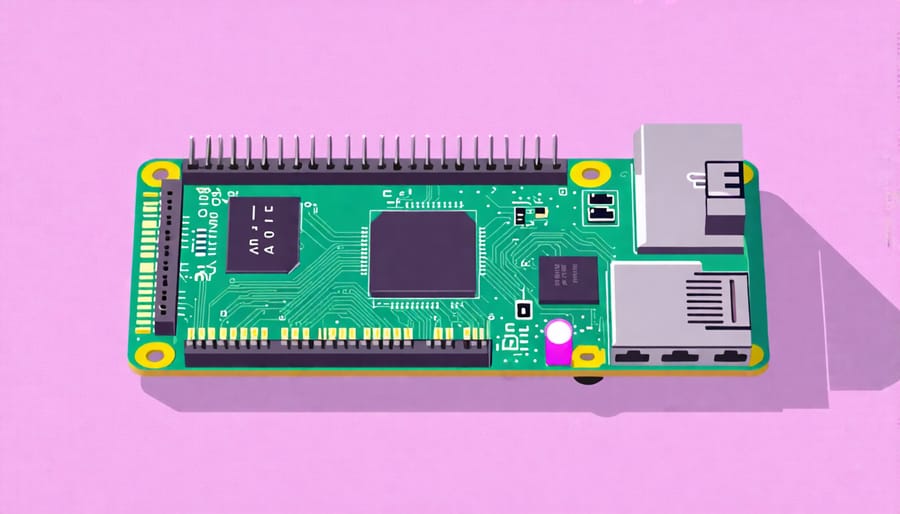
The Raspberry Pi 1 Model A is a compact and affordable computer platform designed for tech enthusiasts and educators. It features a 700 MHz single-core ARMv6 CPU, which provides enough processing power for simple computing tasks and project-based learning experiences. The Model A comes with 256 MB of RAM, offering a balance between cost and performance for lightweight applications. While modest by today’s standards, its simplicity makes it a superb choice for beginners looking to dive into the world of Raspberry Pi projects.
This model includes a set of input/output (I/O) options suitable for various DIY projects. It boasts a single USB 2.0 port for peripherals like keyboards and mice, and an HDMI port to connect the Raspberry Pi to monitors and TVs, enabling smooth media playback and display capabilities. Additionally, it has RCA and audio output jacks for older display and speaker systems. Power is supplied via a micro USB port, making it easy to integrate into small setups or portable designs.
The GPIO pins open up a world of possibilities for connecting with sensors, motors, and other components, making the Model A a favorite choice among hardware hackers and hobbyists who want to explore the physical computing realm. Its simple yet flexible architecture is perfectly suited for educational purposes and foundational project building, encouraging hands-on learning and innovation.
Unique Features
The Raspberry Pi 1 Model A stood out upon its release for a few key features that resonated with tech enthusiasts and educators alike. Its compact size made it ideal for embedding into projects where space was a premium, while its power efficiency suited applications requiring long-term sustainability. Despite being smaller than its successors, it boasted the essential capabilities for a range of digital making and educational purposes. This model was also an affordable entry point for beginners, supporting creativity and experimentation without a hefty investment. Its simplicity allowed users to explore hardware and software integration with ease, inspiring countless DIY projects and innovations.
Applications in Computer Hardware
DIY Projects
Are you eager to dive into the world of DIY tech and begin an exciting journey with your Raspberry Pi 1 Model A? Whether you’re looking to create a unique home automation system or a solar-powered Raspberry Pi, this versatile board makes it all possible. One of the most popular beginner projects is setting up a media server, allowing you to stream your favorite music and movies from anywhere in your home. Start by installing software like Kodi or Plex, turning the Raspberry Pi into your own mini entertainment hub. If you’re interested in exploring programming, try setting up a simple web server or experimenting with Python to control LEDs and sensors. For educators, creating a weather station can be both fun and educational, capturing data like temperature and humidity right in your backyard. With an array of projects at your fingertips, the Raspberry Pi 1 Model A is a fantastic entry point into the world of tech DIY.
Enhancing Existing Setups
Integrating the Raspberry Pi 1 Model A into your existing tech setup can unlock a world of new functionalities. Although compact and simple, this device is perfect for enhancing home automation systems. Consider employing it as a dedicated media player that streams music or videos to your existing sound system or TV. This is possible with software like OSMC or Kodi, which can be installed directly onto your Raspberry Pi.
For those interested in smart home technology, the Raspberry Pi 1 Model A can act as a hub for IoT devices. Use it to control lights, monitor security cameras, or even manage energy consumption through smart plugs. This setup can be expanded using add-ons like the Pi Camera Module or GPIO interfacing to interact with sensors.
Educators can find value in using the device as a learning tool, embedding it into interactive projects that demonstrate programming and electronic control in real-time. The possibilities are vast and limited only by your imagination, making the Raspberry Pi 1 Model A a valuable addition to any tech enthusiast’s toolkit.
Security Implications
Using Raspberry Pi 1 as a Security Hub
Harness the power of the Raspberry Pi 1 Model A to create an affordable security hub capable of providing peace of mind in your tech projects. Despite its modest specs, this small yet mighty device can serve as the heart of a basic security system. Connect a USB camera to monitor entrances and utilize motion detection software like MotionEyeOS to capture suspicious activity. For those with programming skills, integrating Python scripts allows for real-time alerts via email or SMS when motion is detected. With GPIO pins, you can add sensors and alarms, offering a customizable and expandable solution. Ideal for hobbyists, this project provides hands-on experience while enhancing security awareness.
Limitations and Mitigations
The Raspberry Pi 1 Model A, while versatile for many projects, has limitations in security-sensitive applications due to its hardware constraints. With only 256MB of RAM and a single USB port, it struggles under heavy processing loads or with multiple peripheral connections, which can affect encryption tasks or secure data handling. Additionally, lacking built-in network capabilities, it requires additional modules for connectivity, potentially introducing vulnerabilities. To mitigate these issues, consider optimizing software to reduce resource demand, employing lightweight security protocols, and ensuring external accessories are up-to-date and securely configured. For projects needing higher security, newer Raspberry Pi models may offer enhanced options.
Programming and Developer Software Projects
Educational Initiatives
The Raspberry Pi 1 Model A is a fantastic tool for educators aiming to teach programming and electronics through engaging, hands-on experiences. Its simplicity and affordability make it perfect for classroom settings, where introducing students to the world of computing is key. With its minimalistic design, the Model A provides enough functionality to facilitate creative exploration without overwhelming beginners. Educators can encourage students to dive into coding with languages like Python, allowing them to see immediate results in projects ranging from automating simple tasks to developing interactive applications. Furthermore, its GPIO pins enable budding engineers to experiment with electronics by linking the Raspberry Pi to external components like LEDs and sensors, instilling an understanding of physical computing. By integrating practical activities such as building sensor-based projects, educators can help demystify technology and inspire a lifelong interest in STEM fields. For those keen on starting, numerous resources, including this guide on programming and electronics, offer structured pathways to successful project completion.
Creative Software Applications
The Raspberry Pi 1 Model A opens a world of creative possibilities with an array of software applications tailored for tech enthusiasts and hobbyists. Artists can explore Sonic Pi, a simple yet powerful tool for creating music through code, transforming the Pi into a live music instrument. For those interested in digital art, GIMP is a versatile graphics editor that allows users to design intricate artworks and illustrations. Aspiring game developers can dive into Scratch, an intuitive, block-based coding platform perfect for crafting interactive stories and games. Meanwhile, educators can utilize eToys, an educational programming environment that encourages imaginative learning. With these tools, Raspberry Pi 1 Model A proves to be a fertile ground for creativity, inspiring exciting projects that combine technology and art.
Project Spotlight: Building Your Own Media Center
Setting Up the Hardware
Begin your Raspberry Pi 1 Model A adventure by gathering the essential hardware components to set up your media center. You’ll need the Raspberry Pi 1 Model A board, a micro USB power supply, an SD card (minimum 4GB) preloaded with NOOBS or your favorite operating system, an HDMI cable for video output, and a USB keyboard and mouse for initial configuration. Connect the HDMI cable from the Pi to your TV or monitor, ensuring a crystal-clear display. Insert the SD card into the slot on the underside of the Pi, then plug in the micro USB power supply to power up. As the board boots, connect the USB peripherals for easy navigation. With everything in place, you’re ready to embark on your media center project, transforming your Raspberry Pi into a versatile entertainment hub.
Installing Software and Streaming
To transform your Raspberry Pi 1 Model A into a media streaming powerhouse, start by installing Raspbian, a Debian-based operating system optimized for Raspberry Pi. Begin by downloading the Raspbian image from the official Raspberry Pi website and use a tool like Etcher to write the image onto a microSD card. Insert the card into your Raspberry Pi, connect peripherals, and power it up. Once booted, open the terminal to install media players such as VLC or Kodi by running `sudo apt-get update` followed by `sudo apt-get install vlc kodi`. Both offer extensive media library capabilities, enabling seamless streaming from local storage or the internet.
Conclusion
As we wrap up our exploration of the Raspberry Pi 1 Model A, it’s clear this compact and cost-effective device packs a powerful punch for DIY enthusiasts and educators alike. Whether you’re venturing into robotics, building a personal weather station, or experimenting with basic programming, the Model A’s versatile nature makes it an ideal starting point. Its compact design and energy efficiency make it perfect for projects where space and power are limited, while its simplicity offers a gentle learning curve for beginners venturing into the world of hardware and software development.
We encourage you to unleash your creativity and innovation by integrating the Raspberry Pi 1 Model A into your next project. Engage with online communities, explore a wide range of tutorials, and don’t hesitate to test new ideas. This journey promises not only skill development but also immense satisfaction from bringing your concepts to life. Embrace the endless possibilities that come with this tiny computing powerhouse and start building today!