

Step into the world of retro gaming with the Raspberry Pi 4, a tiny but mighty computer that unlocks a treasure trove of classic video games. With its powerful hardware, the Pi 4 breathes new life into beloved titles from the 80s, 90s, and early 2000s, allowing you to relive the nostalgia or discover these gems for the first time. This comprehensive guide will walk you through the process of setting up your own retro gaming machine, from the necessary components to software configuration and optimization tips. Whether you’re a seasoned Pi enthusiast or a curious beginner, get ready to embark on a thrilling journey through gaming history as we explore the potential of the Raspberry Pi 4 in the realm of retro gaming.
Gathering the Necessary Components
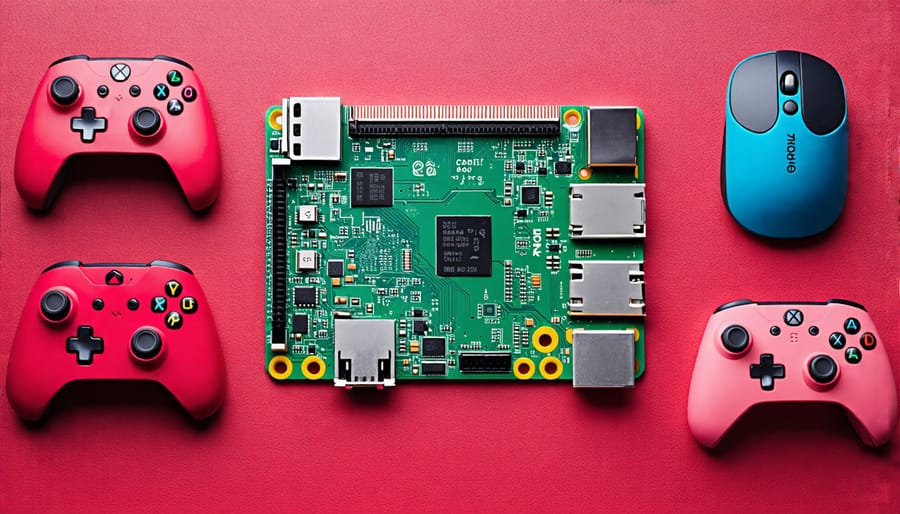
Raspberry Pi 4 Board and Case
When choosing a Raspberry Pi 4 for your retro gaming project, consider the Raspberry Pi 4 model that best suits your needs. The 2GB RAM variant is sufficient for most retro gaming purposes, but if you plan to use more demanding emulators or want to future-proof your setup, opt for the 4GB or 8GB models. To protect your Raspberry Pi 4 and give it a polished look, select a well-designed case that offers adequate ventilation and easy access to ports. Some cases even come with built-in cooling fans or heatsinks to prevent overheating during extended gaming sessions.
Controllers and Input Devices
When choosing controllers for your retro gaming Raspberry Pi 4 setup, consider compatibility, comfort, and authenticity. USB controllers, such as the 8BitDo SN30 Pro or the PlayStation DualShock 4, work seamlessly with RetroPie and offer a modern feel. For a more authentic experience, opt for USB adapters that allow you to use original controllers from consoles like the SNES, Genesis, or PlayStation. Bluetooth controllers are also an option, providing wireless freedom. Additionally, arcade-style joysticks and buttons can be connected via USB encoder boards, replicating the feel of classic arcade machines. Experiment with different input devices to find the perfect fit for your gaming preferences.
Display and Audio Options
To ensure the best retro gaming experience on your Raspberry Pi 4, connect it to a high-quality display and audio system. For visuals, use an HDMI cable to link your Pi to a monitor or TV with low input lag. Adjust display settings in the Raspberry Pi configuration menu for optimal performance. When it comes to audio, the Pi 4 offers multiple options. Connect speakers or headphones to the 3.5mm jack, or use HDMI audio output for digital sound. USB audio devices and Bluetooth speakers are also supported. Experiment with different audio settings to find the perfect balance for your gaming setup.
Setting Up the Software
Installing the Operating System
To install a retro gaming-focused operating system on your Raspberry Pi 4, you have two popular choices: RetroPie and Recalbox. Both are based on Raspbian, a Debian-derived Linux distribution optimized for the Raspberry Pi.
RetroPie is a comprehensive retro gaming suite that supports a wide range of emulators and allows for extensive customization. It features an intuitive user interface, making it easy to navigate and manage your game library. Installing RetroPie is straightforward; simply download the latest image from the official website and write it to your microSD card using a tool like Etcher.
Recalbox, on the other hand, offers a more streamlined and user-friendly experience. It comes preconfigured with a curated selection of emulators and features an attractive, console-like interface. Like RetroPie, installing Recalbox involves downloading the image and writing it to your microSD card.
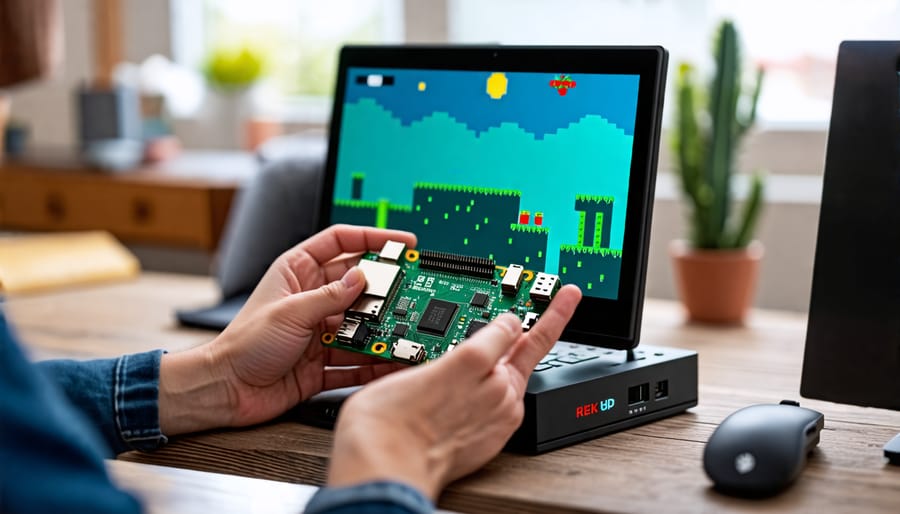
Once you have written the image to your microSD card, insert it into your Raspberry Pi 4, connect the necessary peripherals, and power it on. The operating system will boot up, and you’ll be ready to start configuring your emulators and adding your favorite retro games.
Configuring Emulators and ROMs
To configure emulators for various retro gaming systems on your Raspberry Pi 4, you’ll need to install an emulation frontend such as RetroPie or Recalbox. These user-friendly interfaces simplify the process of setting up and managing emulators for different consoles. Once you’ve installed your chosen frontend, navigate to the emulators section and select the systems you want to emulate. Popular options include NES, SNES, Game Boy, PlayStation, and Sega Genesis.
After configuring the emulators, it’s time to add ROMs to your library. ROMs are digital copies of game cartridges or discs that allow you to play retro games on your Raspberry Pi. Ensure that you only use ROMs for games you own, as downloading and sharing copyrighted ROMs is illegal. To add ROMs, create a folder for each emulated system within the designated ROMs directory on your Raspberry Pi. Then, transfer your legally obtained ROM files to their respective folders using an FTP client or USB drive. Your emulation frontend will scan these directories and add the games to your library, making them accessible through an intuitive interface. With your emulators configured and ROMs added, you’re ready to embark on a nostalgic gaming journey with your Raspberry Pi 4 retro gaming machine.
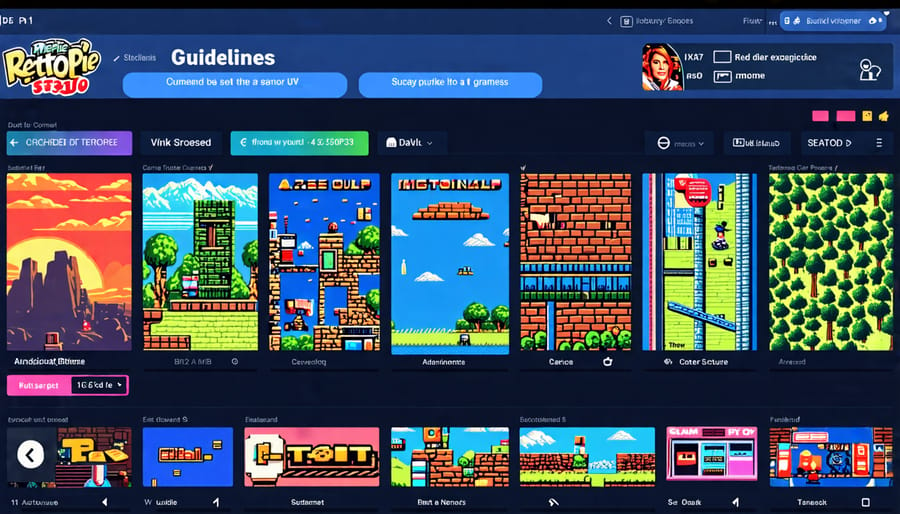
Customizing the User Interface
After setting up your retro gaming Raspberry Pi 4, it’s time to personalize the user interface to suit your style. EmulationStation, the frontend for RetroArch, offers a variety of themes to choose from. Browse through the available options and select one that appeals to you. You can further customize the theme by adjusting colors, fonts, and background images. Additionally, you can configure input settings, such as button mappings and hotkeys, to ensure a seamless gaming experience. Take some time to explore the various settings and experiment with different configurations until you find the perfect setup for your preferences. Remember, the goal is to create a personalized retro gaming experience that is both visually appealing and comfortable to play. Don’t be afraid to try out different themes and settings until you find the combination that works best for you. With a little effort, you can transform your Raspberry Pi 4 into a unique and tailored retro gaming machine.
Enhancing Your Retro Gaming Experience
Overclocking for Better Performance
Overclocking your Raspberry Pi 4 can significantly boost its performance, allowing for smoother gameplay in retro gaming emulators. To safely overclock, start by ensuring adequate cooling, such as using a heatsink or a fan. Open the config.txt file and adjust the arm_freq, gpu_freq, and over_voltage parameters. Increase the values gradually, testing stability after each change. Monitor temperatures to prevent overheating. If the system becomes unstable, reduce the overclock or increase cooling. A stable overclock of 2.0 GHz for the CPU and 600 MHz for the GPU is a good starting point. Remember to backup your data before overclocking and always prioritize stability over performance gains. With careful tuning, you can enjoy enhanced retro gaming performance on your Raspberry Pi 4.
Adding External Storage for Larger ROM Libraries
To expand your retro gaming ROM library, consider using external storage devices with your Raspberry Pi 4. USB drives and external hard drives offer an easy way to add more storage space for your growing collection. Simply format the device to a compatible file system, such as exFAT or NTFS, and connect it to your Raspberry Pi. You can then configure your emulators to search for ROMs on the external drive, allowing you to keep your microSD card free for the operating system and other essential files. With the added storage capacity, you can enjoy a wider variety of games across multiple systems without worrying about running out of space.
Multiplayer Gaming and Online Features
While most retro games were designed for single-player experiences, you can still enjoy multiplayer gaming on your Raspberry Pi 4. Some emulators support local multiplayer, allowing you to connect multiple controllers and play with friends on the same device. For online gaming, you can set up a game server on a Raspberry Pi to host multiplayer sessions. This is particularly popular for classic games like Doom and Quake. Additionally, you can create a dedicated Minecraft server on Raspberry Pi, enabling you to play with others online. Keep in mind that online multiplayer for retro games may require additional setup and configuration, and not all games are compatible. However, with the right tools and a bit of tinkering, you can relive the nostalgia of classic multiplayer gaming on your Raspberry Pi 4.
Conclusion
The Raspberry Pi 4 is an excellent choice for creating your own retro gaming console, offering a fun and rewarding experience for enthusiasts and beginners alike. With its powerful hardware, extensive software support, and vibrant community, the Raspberry Pi 4 empowers you to bring your favorite classic games back to life. By following the steps outlined in this guide, you can build a cost-effective, customizable, and feature-rich retro gaming machine that will provide hours of entertainment and nostalgia. So why not embark on your own Raspberry Pi retro gaming project today? With a little effort and creativity, you’ll soon be reliving the golden age of gaming in the comfort of your own home.
Frequently Asked Questions
Here are some frequently asked questions about setting up a retro gaming Raspberry Pi 4:
Q: What hardware components do I need?
A: You’ll need a Raspberry Pi 4, microSD card (at least 16GB), power supply, HDMI cable, gamepad or controller, and a case (optional but recommended). Make sure to choose compatible components for optimal performance.
Q: Which operating system should I use?
A: RetroArch and RetroPie are two popular options for retro gaming on Raspberry Pi. Both provide user-friendly interfaces and support a wide range of emulators. Choose the one that best suits your needs and preferences.
Q: How do I set up the software?
A: First, install the operating system on your microSD card using a tool like Etcher. Then, follow the on-screen instructions to configure your settings and connect peripherals. Finally, install your desired emulators and ROMs.
Q: Can I use any controller?
A: Most USB and Bluetooth controllers are compatible with Raspberry Pi. However, some may require additional configuration or drivers. Check the documentation for your specific controller to ensure compatibility and optimal performance.
Q: How can I optimize performance?
A: To optimize performance, use a high-quality power supply, a fast microSD card, and a heat sink or fan for cooling. You can also overclock your Raspberry Pi, but be cautious as this can generate more heat and potentially damage your device if not done properly.
Q: Is it legal to use ROMs?
A: The legality of ROMs varies by region and specific game. In general, it’s only legal to use ROMs for games you own physical copies of. Always research the laws in your area and obtain ROMs from reputable sources.