

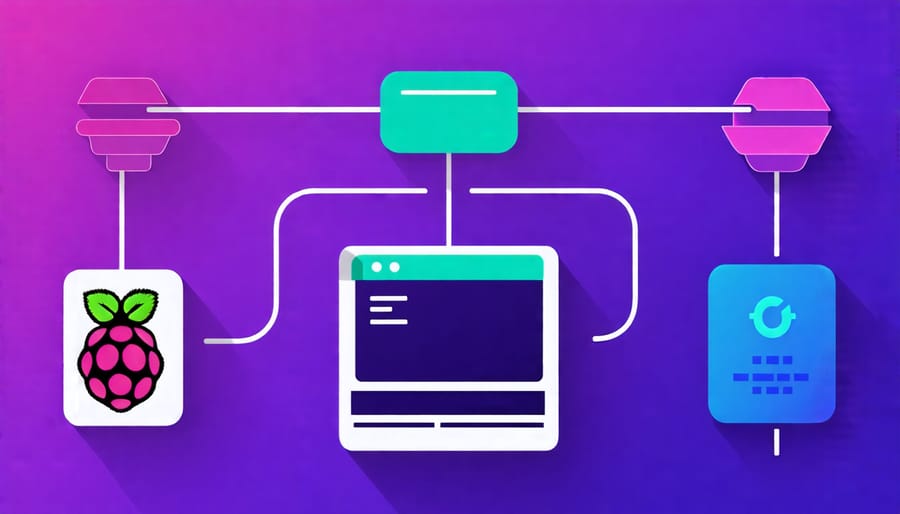
Configure your Raspberry Pi with the latest Raspbian OS and connect it to your network via Ethernet or Wi-Fi. Enable SSH and VNC interfaces using the Raspberry Pi Configuration tool or raspi-config command line utility. Run a game server or any other remote application by installing the required software packages. Download and install a VNC viewer client on your remote computer, then enter the Pi’s IP address to establish a secure connection and control the Pi’s desktop environment from anywhere.
What You’ll Need
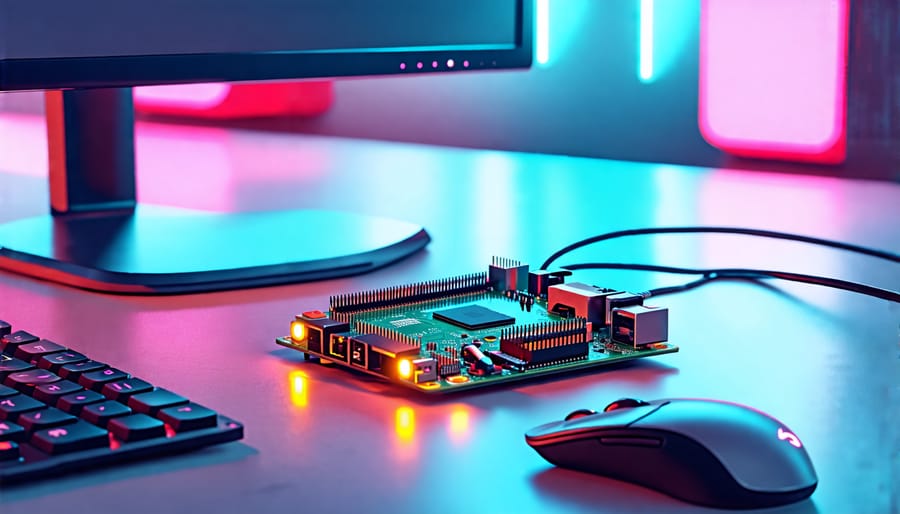
To set up VNC on your Raspberry Pi, you’ll need a Raspberry Pi 2, 3, or 4 with a power supply and microSD card (8GB or larger). Install the latest version of Raspberry Pi OS (32-bit) using the Raspberry Pi Imager. A monitor, keyboard, and mouse are required for initial setup, but can be removed once VNC is configured for Raspberry Pi Remote Desktop access. Ensure your Raspberry Pi is connected to the same network as the computer you’ll use to access it remotely. You’ll also need VNC Viewer installed on your remote computer (available for Windows, macOS, Linux, iOS, and Android).
Step 1: Setting Up Your Raspberry Pi
Install the Operating System
To install Raspberry Pi OS, download the official image from the Raspberry Pi website. Use a tool like Etcher to flash the image onto a microSD card. Insert the card into your Raspberry Pi and connect it to a monitor, keyboard, and mouse. Power on the device and follow the on-screen instructions to complete the initial setup, including setting your language, time zone, and a new password for the default “pi” user account. Alternatively, you can install other compatible operating systems like Ubuntu, Manjaro, or DietPi, depending on your specific needs and preferences. Ensure your chosen OS is compatible with your Raspberry Pi model before proceeding with the installation.
Connect Peripherals and Power On
To set up your Raspberry Pi, connect a USB mouse and keyboard to the available ports. Next, attach an HDMI cable from your monitor to the HDMI port on the Pi. If your monitor lacks an HDMI input, you may need an adapter or a different cable, such as DVI or VGA, depending on the available ports.
Once all peripherals are connected, plug the power supply into the micro USB port on the Raspberry Pi. The Pi will boot up, and you should see the Raspberry Pi OS desktop on your monitor. If the screen remains blank, verify that the cables are securely connected and the monitor is set to the correct input source.
Enable SSH
To enable SSH on your Raspberry Pi, open the terminal and run the command “sudo raspi-config”. Navigate to “Interfacing Options” and select “SSH”. Choose “Yes” to enable SSH server and press “Enter”. Select “Ok” and then “Finish” to exit the configuration tool. Your Pi is now accessible via SSH for remote access.
Step 2: Installing and Configuring VNC Server
Install VNC Server
To install the VNC server on your Raspberry Pi, simply open a terminal and run the following command:
“`
sudo apt-get install realvnc-vnc-server
“`
This command will download and install the VNC Connect package from RealVNC, which includes both the VNC server and viewer components. The installation process is straightforward and should only take a few moments. Once the installation is complete, the VNC server will be automatically started, and your Raspberry Pi will be ready for remote access. In the next section, we’ll cover how to configure the VNC server to ensure a secure and efficient remote connection.
Configure VNC Server Settings
To configure your VNC server settings, open the VNC Server Configuration window. Under “Security,” set the Authentication method to “VNC password” for a basic level of security. Choose a strong password and click “Apply.”
Next, click on “Options” and set the Resolution to match your client device for optimal viewing. You can also adjust the Color depth if needed.
Under “Troubleshooting,” enable “Try to detect if the desktop is not in use” to prevent unauthorized access when you’re actively using the Pi. This setting locks the VNC server when a keyboard or mouse is detected.
For advanced users, explore the “Users & Permissions” tab to set up multiple user accounts with different access levels. You can also configure the VNC server to start automatically on boot under “Service.”
Remember to click “Apply” after making any changes, then restart the VNC server for the new settings to take effect.
Set Up VNC to Start Automatically
To configure the VNC server to start automatically on boot, open the terminal and run:
sudo raspi-config
Navigate to “System Options” and select “VNC” to enable the VNC server at boot. Alternatively, you can manually start the VNC server on boot by adding the following line to the /etc/rc.local file (before the exit 0 line):
/usr/bin/vncserver -geometry 1280x720 :1
This command starts the VNC server with a resolution of 1280×720 on display :1. Adjust the resolution as needed. Save the file and reboot your Raspberry Pi. The VNC server will now start automatically, allowing you to connect remotely without manually starting the server each time.
Step 3: Installing and Using a VNC Viewer
Install a VNC Viewer
To access your Raspberry Pi remotely, you’ll need a VNC viewer installed on your client device. We recommend using RealVNC’s VNC Viewer, which is available for Windows, macOS, Linux, iOS, and Android. Visit the official RealVNC website and download the appropriate version for your operating system. For desktop systems, run the installer and follow the on-screen instructions to complete the installation process. On mobile devices, simply install the VNC Viewer app from the App Store or Google Play Store. Once installed, you’ll be ready to connect to your Raspberry Pi remotely using the VNC protocol.
Connect to Your Raspberry Pi
To connect to your Raspberry Pi using VNC Viewer, start by launching the application on your computer. In the address bar, enter the IP address of your Raspberry Pi, which you can find by running “hostname -I” in the terminal or using a network scanner. If you’ve enabled authentication, enter your username and password when prompted. For enhanced security, consider using a VPN or proxy to hide your IP address during the connection process. Once connected, you’ll see your Raspberry Pi’s desktop environment, allowing you to interact with it as if you were using it directly. You can now launch applications, access files, and perform various tasks remotely. If you encounter any connection issues, double-check your network settings, firewall rules, and VNC server configuration on the Raspberry Pi to ensure everything is set up correctly.
Troubleshooting Tips
If you’re having trouble connecting to your Raspberry Pi via VNC, check that both devices are on the same network and the Pi’s IP address is correct. Ensure VNC Server is running on the Pi and the VNC port (default 5900) is open on your router/firewall. If you encounter a black screen, try adjusting the Pi’s screen resolution in the VNC Server options.
Step 4: Connecting to Your Raspberry Pi Over the Internet
Set Up Port Forwarding
To set up port forwarding, log in to your router’s admin panel (usually via a web browser) using the router’s IP address and your credentials. Navigate to the port forwarding or virtual server settings, which may be under the advanced or security sections. Create a new port forwarding rule, specifying the Raspberry Pi’s local IP address and the VNC port (default: 5900). Some routers require you to enter both the external and internal port numbers. Save the settings and restart your router if prompted. This forwards incoming VNC traffic to your Raspberry Pi, allowing remote access from outside your local network. If you have a firewall enabled on your router, ensure it allows incoming connections on the VNC port. For added security, consider changing the default VNC port to a less common one and enabling SSH for secure tunneling when accessing your Pi remotely over the internet.
Configure Dynamic DNS
To access your Raspberry Pi using a domain name instead of an IP address, consider setting up a dynamic DNS service. This is especially useful if your Pi’s IP changes frequently. Services like No-IP, Dynu, or DuckDNS provide free dynamic DNS for personal use.
First, create an account with a dynamic DNS provider and set up a domain name that points to your Pi’s current IP address. Then, install the provider’s update client on your Pi using the command line. This client will periodically check your Pi’s IP and update the DNS records if it changes.
Once the dynamic DNS is configured, you can use the domain name you set up to access your Pi via VNC from anywhere, without needing to know its current IP address. This makes connecting to your Pi more convenient and reliable, especially for remote access or when sharing your Pi’s VNC connection with others.
Conclusion
Setting up VNC on your Raspberry Pi opens up a world of possibilities for remote access and control. By following the steps outlined in this guide, you can easily configure your Pi for VNC and connect to it from anywhere using another computer, tablet, or smartphone. VNC is a powerful tool that allows you to use your Raspberry Pi’s desktop environment remotely, making it ideal for headless setups, remote troubleshooting, or accessing your Pi projects on the go.
With VNC enabled, you can run applications, manage files, and interact with your Raspberry Pi as if you were sitting right in front of it. This flexibility is particularly useful for educators, hobbyists, and tech enthusiasts who want to work on their Pi projects remotely or collaborate with others. Whether you’re a beginner or an experienced user, setting up VNC on your Raspberry Pi is a valuable skill that can enhance your projects and streamline your workflow. So why not give it a try and unlock the full potential of your Raspberry Pi?