What is a Raspberry Pi Compute Module?
Hardware Specifications
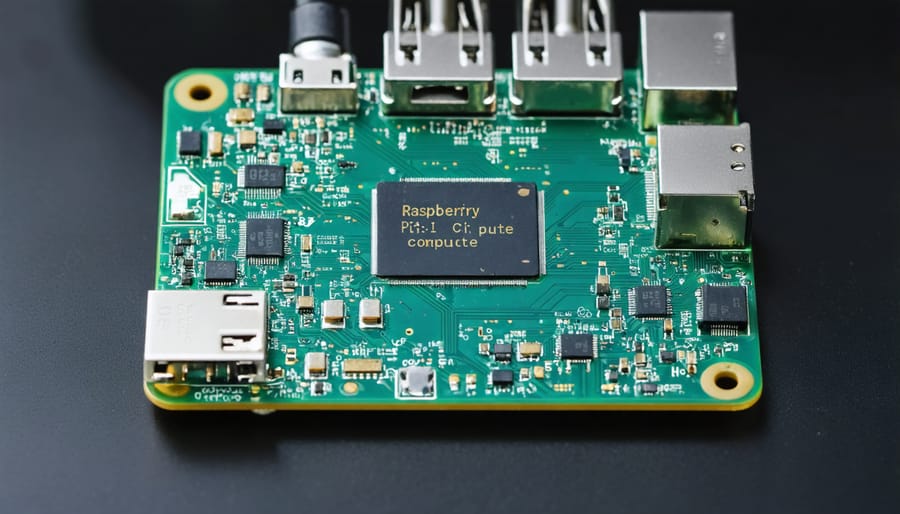
The Compute Module 4 (CM4) packs impressive hardware into a compact form factor. At its core, the CM4 features a quad-core ARM Cortex-A72 CPU, the same powerful processor found in the Raspberry Pi 4 Model B. This CPU runs at speeds up to 1.5GHz, delivering robust performance for demanding applications. The module supports up to 8GB of LPDDR4 RAM, providing ample memory for multi-tasking and resource-intensive workloads.
For storage, the CM4 offers a range of options, including onboard eMMC flash memory in capacities from 8GB to 32GB, as well as a Lite variant without eMMC for flexibility in storage configurations. The module also includes a high-speed PCI Express Gen 2 x1 interface, enabling fast data transfer and expansion capabilities. Additionally, the CM4 offers a variety of interfaces, such as HDMI, DSI display, CSI camera, USB 2.0, and Gigabit Ethernet, making it versatile for various clustering applications.

Advantages for Clustering
The compact size of compute modules allows for dense packing in cluster configurations, enabling powerful processing in a small footprint. With dimensions of just 67.6mm × 31mm for the Compute Module 3+, these modules offer unparalleled space efficiency compared to traditional single-board computers. Additionally, compute modules boast low power consumption, making them cost-effective to operate in large-scale clusters. The flexibility of compute modules further enhances their suitability for clustering, as they can be easily customized with various memory and storage options to meet specific application requirements. By leveraging these advantages, users can create high-performance, energy-efficient compute module clusters tailored to their unique needs.
Planning Your Compute Module Cluster
Determining Your Computing Needs
Before diving into your compute module cluster project, carefully assess your specific needs. Consider the processing power required for your applications, ensuring the chosen modules can handle the workload. Evaluate memory requirements, as insufficient RAM can bottleneck performance. Don’t forget storage—determine the capacity and speed necessary for your data and operating system. Balancing these factors with your budget will help you select the ideal compute modules for your cluster. Remember, it’s better to slightly overestimate your needs than to be limited by inadequate resources down the line. With a clear understanding of your requirements, you’ll be well-prepared to build a cluster that meets your unique demands.
Choosing the Right Compute Module
When selecting a compute module for your cluster, consider factors such as processing power, memory, storage, and connectivity options. The Raspberry Pi Compute Module 4 (CM4) offers a significant performance boost compared to its predecessor, the CM3+, with a faster CPU, more RAM options, and improved I/O capabilities. The CM4 is available in various configurations, allowing you to choose the right balance of performance and cost for your project.
For applications requiring high computational power, opt for the CM4 with a quad-core processor and higher RAM capacity. If storage is a priority, consider the CM4 variants with onboard eMMC flash storage. For projects with specific connectivity requirements, the CM4 offers optional wireless connectivity (Wi-Fi and Bluetooth) and a range of I/O interfaces.
If your project has more modest performance needs or you’re working with a tight budget, the older CM3+ module may still be a viable option. Ultimately, the choice depends on your specific requirements, budget, and the scalability potential of your compute module cluster.
Designing the Cluster Architecture
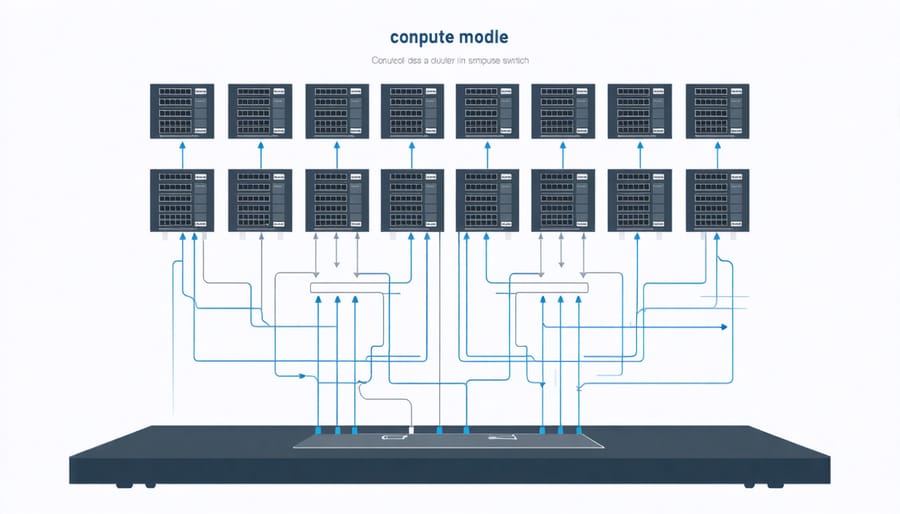
When designing a compute module cluster, architecture plays a crucial role in determining performance, scalability, and ease of maintenance. Two common configurations are blade-style and rack-mount setups. Blade-style clusters offer a compact and dense design, with multiple compute modules sharing a common enclosure and power supply. This approach minimizes cabling and simplifies management, making it ideal for space-constrained environments. However, blade-style setups may have limited expandability and higher upfront costs.
On the other hand, rack-mount clusters provide greater flexibility and scalability. Each compute module resides in its own enclosure, allowing for easy addition or removal of nodes as needed. Rack-mount setups offer better airflow and cooling, which is essential for high-performance computing. They also provide more options for customization and upgrades. However, rack-mount clusters require more physical space and can have a higher cable management overhead compared to blade-style configurations.
If you’re looking for a streamlined way to assemble your Raspberry Pi cluster, you can follow the Step-by-Step DIY Raspberry Pi Cluster Build guide.

Building and Configuring Your Cluster
Hardware Assembly
To assemble your compute module cluster, start by securely connecting each module to the cluster board using the provided connectors. Ensure that the modules are properly seated and aligned. Next, connect the power supply to the cluster board, making sure to use the correct voltage and amperage as specified in the documentation. Double-check all connections to prevent any damage to the components.
Once the power supply is connected, it’s time to set up the networking. If your cluster board has built-in Ethernet ports, simply connect Ethernet cables between the ports and your network switch or router. For boards without integrated networking, you’ll need to connect USB Ethernet adapters to each compute module and then connect them to your network infrastructure.
After all the components are physically connected, carefully organize and route the cables to keep your cluster neat and tidy. Consider using cable ties or velcro straps to bundle the wires together and prevent them from getting tangled or disconnected. A well-organized cluster not only looks better but also improves airflow and makes future maintenance easier.
Before powering on your cluster, double-check all connections and refer to the documentation provided with your specific cluster board and compute modules. Once you’re confident everything is correctly assembled, it’s time to move on to configuring the software and operating system for your compute module cluster.
Software Setup
To set up your compute module cluster, you’ll need to install an operating system, clustering software, and other essential tools on each module. Start by flashing a lightweight Linux distribution like Raspbian or Ubuntu Server onto the eMMC storage of each compute module using the Compute Module IO Board.
Next, configure the network settings to enable communication between the nodes. Assign static IP addresses or set up DHCP reservations for each module. Test connectivity by pinging each node from the others.
Install clustering software such as Kubernetes, Docker Swarm, or Apache Mesos to manage and orchestrate your cluster. These tools allow you to deploy and scale applications across multiple nodes easily. Follow the official documentation for your chosen software to set up the master node and join the worker nodes to the cluster.
Consider installing additional tools like Ansible or Puppet for configuration management and automation. These tools simplify the process of deploying and maintaining software across your cluster.
Finally, set up monitoring and logging solutions to keep track of your cluster’s health and performance. Tools like Prometheus, Grafana, and ELK stack provide valuable insights into resource utilization, application metrics, and log data.
By following these steps and leveraging the right tools, you can quickly set up a fully functional compute module cluster ready to tackle demanding workloads and applications. Don’t be afraid to experiment and customize your setup to suit your specific needs and goals.
Optimizing and Scaling Your Cluster
Performance Tuning
To optimize your compute module cluster’s performance, start by fine-tuning CPU settings. Overclock the CPU safely to boost processing power, but ensure adequate cooling to prevent thermal throttling. Allocate memory efficiently by minimizing background processes and using lightweight operating systems. Adjust memory split to dedicate more RAM to the CPU for compute-intensive tasks.
Network performance is crucial for inter-node communication. Use high-quality Ethernet cables and configure network settings for optimal throughput. Enable jumbo frames if supported by your network infrastructure. Consider using a dedicated switch for your Raspberry Pi cluster to minimize latency and network congestion.
Regularly monitor CPU temperature, memory usage, and network traffic to identify performance bottlenecks. Use tools like htop, iftop, and iperf to gather performance metrics and optimize accordingly. Experiment with different settings and configurations to find the optimal balance for your specific workload and hardware setup.
Scaling Strategies
To scale your compute module cluster, consider adding more modules incrementally as your needs grow. This modular approach allows for easy expansion without significant upfront costs. When adding modules, ensure proper power distribution and cooling to maintain optimal performance.
For larger deployments, consider implementing a centralized management system to monitor and control the cluster remotely. Tools like Ansible or Puppet can help automate configuration management and software updates across multiple nodes.
Load balancing is crucial for evenly distributing workloads among compute modules. HAProxy or Nginx can be used to distribute incoming traffic intelligently. Additionally, employing containerization technologies like Docker or Kubernetes can simplify application deployment and scaling.
As your cluster grows, network bandwidth becomes increasingly important. Consider upgrading to faster Ethernet switches or exploring InfiniBand for low-latency, high-throughput communication between nodes.
Finally, regularly monitor resource utilization, temperature, and performance metrics to identify bottlenecks and optimize your cluster’s efficiency as it scales.
Conclusion
In conclusion, building a compute module cluster with Raspberry Pi is a powerful and cost-effective solution for hobbyists, educators, and tech enthusiasts seeking to explore high-performance computing. By leveraging the compact form factor and versatility of compute modules, you can create a scalable and efficient cluster tailored to your specific needs. From parallel processing and distributed computing to machine learning, a compute module cluster opens up a world of possibilities for your projects and experiments.
As you embark on this exciting journey, remember to plan your cluster carefully, considering factors such as power consumption, cooling, and network infrastructure. With the right setup and optimization techniques, you can unlock the true potential of your compute module cluster and tackle complex computational tasks with ease. So, gather your components, follow the step-by-step guides, and let your imagination run wild as you explore the limitless applications of this innovative Raspberry Pi use case.


