
Unleash the power of your Raspberry Pi Zero with composite video output:
Connect a composite video cable to the RCA jack on the Raspberry Pi Zero and the other end to your TV or monitor’s composite input.
Edit the config.txt file in the /boot partition of your SD card, uncomment hdmi_force_hotplug=1 and add sdtv_mode=2 to enable NTSC composite output.
Optimize performance by overclocking the GPU to 250MHz in config.txt with gpu_freq=250 for smoother video playback.
Experiment with retro gaming emulation, video playback, or custom projects that leverage the simplicity and flexibility of composite video on the Raspberry Pi Zero.
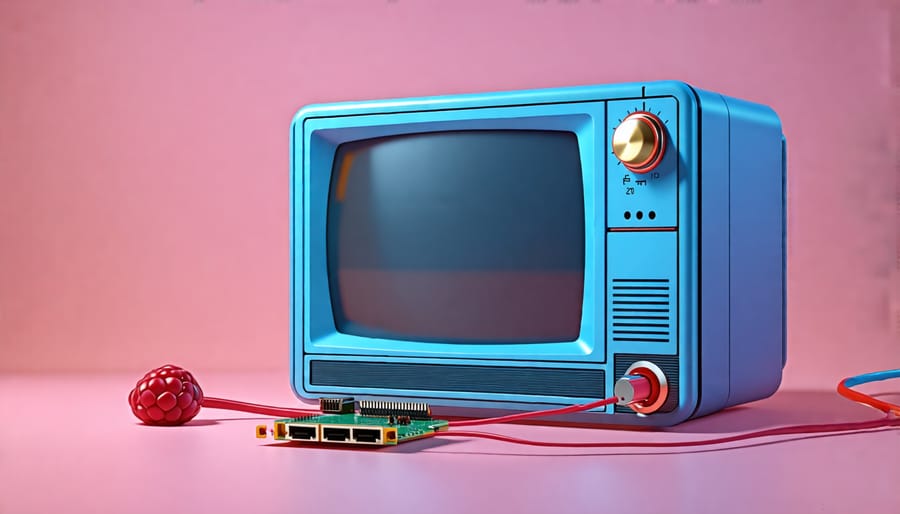
Understanding Composite Video
Video Quality and Resolution
The Raspberry Pi Zero’s composite video output provides a standard definition resolution of 720×576 pixels for PAL and 720×480 pixels for NTSC. While this is lower than modern HDMI resolutions, it is suitable for many retro gaming and video projects. The analog signal may result in some quality loss, such as color bleeding and softer edges, but this can add to the nostalgic charm for older content. However, text and fine details may appear less sharp compared to digital outputs. Despite these limitations, the composite video output remains a cost-effective and accessible option for projects that don’t require high-definition visuals. It’s essential to consider the intended use and audience when deciding if the composite video quality is sufficient for your needs. For those seeking a more authentic retro experience or working with older displays, the Raspberry Pi Zero’s composite video output offers a viable solution.
Compatibility with Retro Displays
The Raspberry Pi Zero’s composite video output is compatible with a wide range of retro displays, including old CRT TVs, analog monitors, and even some modern displays with composite input. This makes it an ideal choice for retro gaming enthusiasts and hobbyists looking to create projects that embrace the nostalgic charm of older video technologies. Composite video, while not offering the highest resolution or picture quality, is a tried-and-true standard that has been used for decades in consumer electronics. Its simplicity and widespread compatibility make it a popular choice for DIY projects and retro gaming setups. With the Raspberry Pi Zero’s composite video output, you can easily connect it to these classic displays and bring new life to old hardware, creating unique and engaging experiences that blend the past and present of technology.
Enabling Composite Video Output
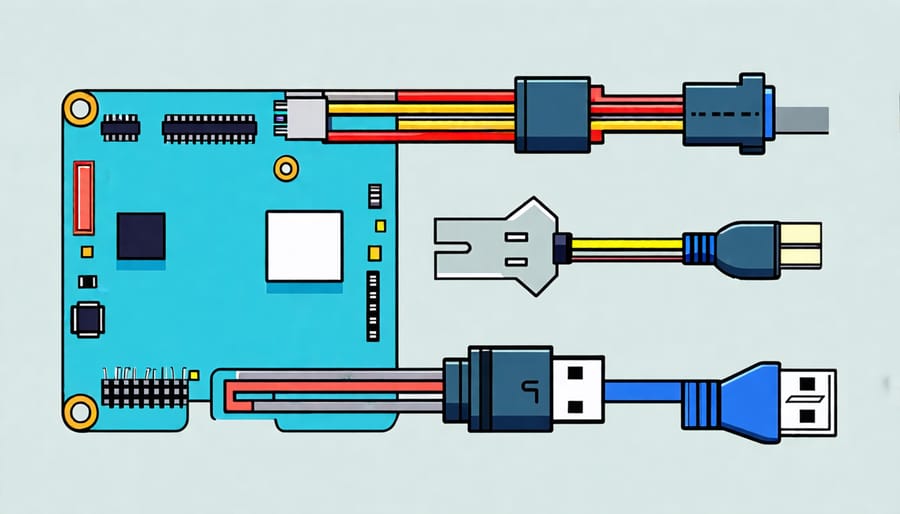
Hardware Setup
To set up composite video output on your Raspberry Pi Zero, you’ll need a few essential items: the Pi Zero board, a compatible power supply, a micro USB to USB adapter, a mini HDMI to HDMI adapter, an RCA composite video cable, and optionally, a case to protect your Pi Zero. Begin by connecting the power supply to the micro USB port on the Pi Zero using the micro USB to USB adapter. Next, attach the mini HDMI to HDMI adapter to the mini HDMI port on the Pi Zero. Plug one end of the RCA composite video cable into the yellow RCA jack on your TV or display, and the other end into the HDMI adapter. If you’re using a case, carefully place the Pi Zero inside, ensuring that all ports and connectors are accessible. Once everything is connected, power on your Raspberry Pi Zero, and you should see the boot screen appear on your TV or display via the composite video output. If you encounter any issues, double-check your connections and make sure your TV or display is set to the correct input channel. With these simple steps, you’ll be ready to explore the world of retro gaming and DIY projects using composite video on your Raspberry Pi Zero.
Software Configuration
To enable composite video output on your Raspberry Pi Zero, start by updating the system using the commands `sudo apt update` and `sudo apt upgrade`. Next, open the Raspberry Pi configuration tool with `sudo raspi-config`, navigate to “Display Options,” and select “Composite Video.” Choose “PAL” or “NTSC” depending on your region and display compatibility.
After rebooting, you can fine-tune the video settings by modifying the `config.txt` file located in the `/boot` directory. Uncomment the line `sdtv_mode=2` for PAL or `sdtv_mode=0` for NTSC. You can also adjust the aspect ratio by uncommenting and setting `sdtv_aspect=1` for 4:3 or `sdtv_aspect=2` for 16:9.
To optimize performance, consider overclocking your Raspberry Pi Zero by adding the following lines to `config.txt`:
“`
arm_freq=1000
core_freq=500
sdram_freq=500
over_voltage=6
“`
Be cautious when overclocking, as it may generate more heat and require proper cooling. Monitor your Raspberry Pi’s temperature and stability closely.
For a seamless headless setup, enable Raspberry Pi Remote Desktop access by installing the xrdp package with `sudo apt install xrdp`. This allows you to configure and control your Raspberry Pi Zero remotely, making it easier to work on projects without a dedicated display.
With these software configurations, your Raspberry Pi Zero is ready to deliver composite video output for your retro gaming emulators, video players, or custom projects. Experiment with different settings to achieve the best visual quality and performance for your specific use case.
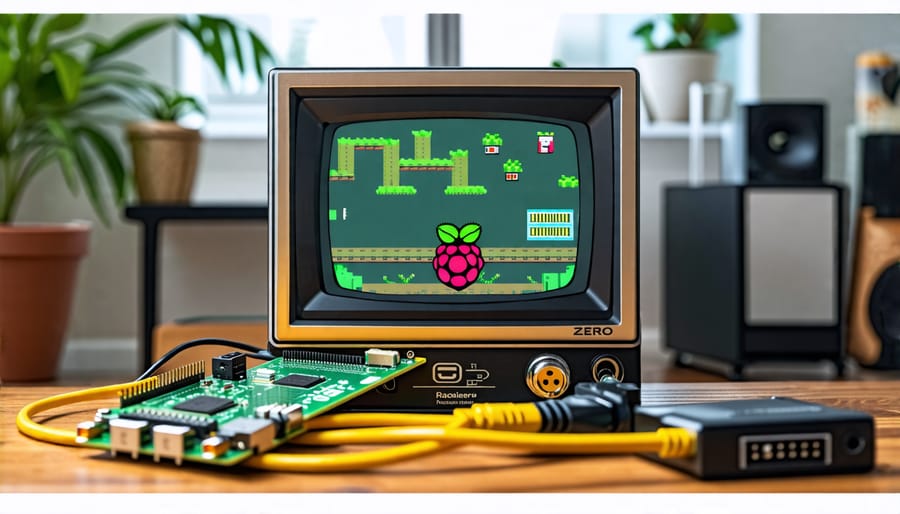
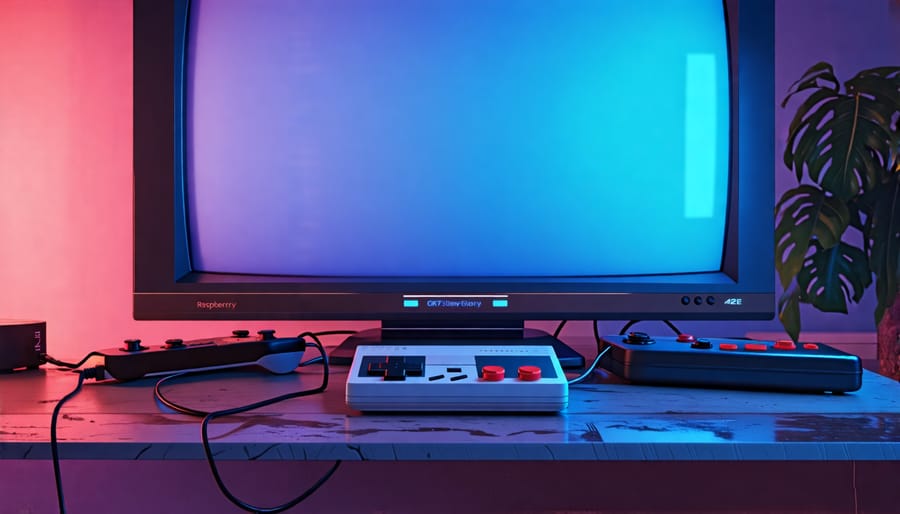
Retro Gaming with Composite Video
The Raspberry Pi Zero’s composite video output is a game-changer for retro gaming enthusiasts. By connecting the Pi Zero to a classic CRT TV or monitor via the composite video port, you can experience your favorite retro games with the authentic look and feel of the original hardware.
Setting up your Raspberry Pi Zero for retro gaming is a breeze. Start by installing a retro gaming operating system like RetroPie or Lakka on your Pi Zero’s microSD card. These specialized distributions come pre-loaded with popular emulators for various retro gaming consoles, such as the NES, SNES, Sega Genesis, and PlayStation.
Once you’ve booted into your retro gaming OS, navigate to the emulator settings and ensure that the video output is set to composite. This will ensure that the emulator outputs the correct video signal for your CRT display. You can also adjust settings like aspect ratio, scanlines, and shader effects to fine-tune the visual experience to your liking.
When it comes to performance, the Raspberry Pi Zero’s single-core 1GHz processor is more than capable of handling most 8-bit and 16-bit console emulation. For best results, overclock your Pi Zero to squeeze out some extra performance. Just be sure to use a reliable power supply and keep an eye on temperatures to avoid stability issues.
If you’re feeling adventurous, you can even use your Raspberry Pi Zero to set up a retro game server and play multiplayer games with friends over the network. The possibilities are endless when it comes to retro gaming on the Raspberry Pi Zero with composite video.
DIY Video Projects
The Raspberry Pi Zero’s composite video output opens up a world of exciting possibilities for DIY video projects. One popular application is building mini retro gaming consoles. By connecting the Pi Zero to a small LCD screen via the composite video output, you can create a portable, pocket-sized gaming device that plays classic games from the 80s and 90s. This is a great way to relive childhood memories or introduce younger generations to the joys of retro gaming.
Another fun project idea is to use the Pi Zero’s composite video output to create interactive art installations. For example, you could build a video wall by connecting multiple Pi Zeros to an array of small screens, each displaying a different part of a larger image or animation. With the help of sensors or user input, you can create dynamic, ever-changing art pieces that engage and captivate audiences.
The composite video output also enables you to turn the Pi Zero into a portable digital signage solution. By connecting it to a small display and using software like Screenly, you can create eye-catching digital signs for businesses, events, or personal use. The low cost and small size of the Pi Zero make it an ideal choice for creating affordable, customizable digital signage.
For those interested in Robotics with Raspberry Pi, the composite video output can be used to add a live video feed to your robot projects. By attaching a small camera module and connecting it to the Pi Zero’s composite output, you can stream real-time video from your robot to a display, allowing you to monitor its surroundings and navigate remotely.
These are just a few examples of the many creative ways you can use the Raspberry Pi Zero’s composite video output in your DIY video projects. With a little imagination and some basic hardware and software skills, the possibilities are endless.
Troubleshooting and FAQs
Troubleshooting composite video issues on the Raspberry Pi Zero can be frustrating, but most problems have simple solutions. If you’re not getting any video output, double-check that your cable is securely connected to both the Pi and your display. Ensure you’re using a compatible composite video cable, as some cheap cables may not work properly.
If the video quality is poor or has interference, try using a shorter cable or a higher-quality one with better shielding. Moving the cable away from other electronic devices can also help reduce interference.
Some common questions include:
Q: Can I use the composite video output and HDMI simultaneously?
A: No, the Raspberry Pi Zero can only output to one video interface at a time. You’ll need to choose either composite or HDMI.
Q: Is there a way to improve the video quality of composite output?
A: While composite video has inherent limitations, you can try tweaking the config.txt file to adjust settings like overscan and aspect ratio. Experiment with different values to find the best picture for your setup.
Q: Can I use composite video for gaming on the Pi Zero?
A: Yes, composite video works well for retro gaming emulation. Many popular emulators support composite output, allowing you to enjoy classic games on CRT TVs or monitors.
With a bit of troubleshooting and experimentation, you’ll be able to get the most out of the Raspberry Pi Zero’s composite video capabilities for your projects and gaming setup.
Conclusion
The Raspberry Pi Zero’s composite video output is a powerful feature that opens up a world of possibilities for retro gaming, DIY projects, and educational applications. By following the step-by-step setup instructions and exploring the inspiring project ideas, you can unlock the potential of this versatile single-board computer. Whether you’re a tech enthusiast, hobbyist, or educator, the Raspberry Pi Zero’s composite video capabilities provide an accessible and affordable way to dive into the world of electronics and computing. As you embark on your own projects, remember to take advantage of the extensive online resources, communities, and expert advice available to help you troubleshoot any issues and bring your ideas to life. So grab your Raspberry Pi Zero, experiment with composite video, and let your creativity run wild!