Transform your Raspberry Pi into a powerful video encoding machine with this step-by-step guide. Learn how to assemble your Raspberry Pi hardware, install the necessary software, and configure optimal settings for high-quality video encoding. By the end of this tutorial, you’ll be able to encode videos efficiently using your Raspberry Pi, opening up a world of possibilities for your multimedia projects.
Gathering Your Materials
Hardware Requirements
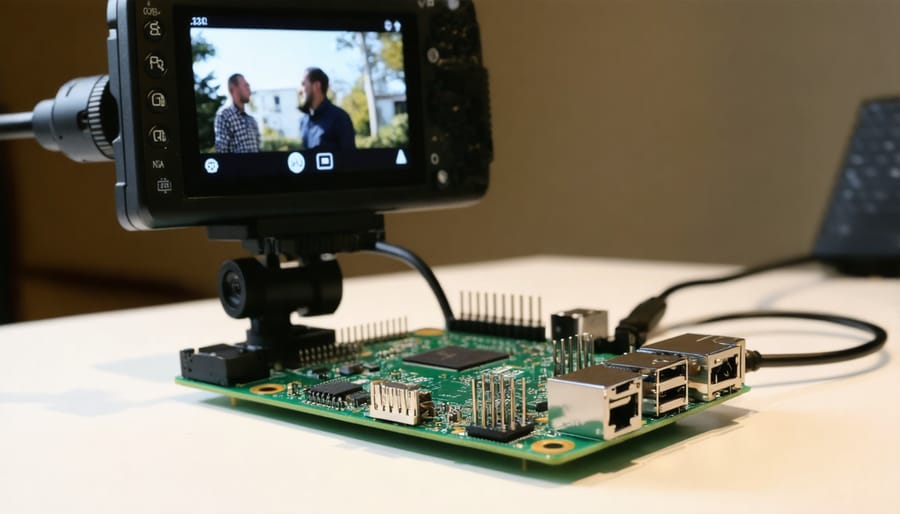
To build a Raspberry Pi video encoder, you’ll need a Raspberry Pi 4 with at least 4GB of RAM for optimal performance. The Pi 4’s powerful quad-core processor and improved GPU make it well-suited for video encoding tasks. You’ll also require a compatible camera module, such as the official High-Quality Camera Module, which offers 12.3-megapixel resolution and supports 1080p30 and 720p60 video recording. Other essential peripherals include a power supply, micro-HDMI cable, microSD card (minimum 16GB), and a case to protect your Pi. A heat sink or fan is recommended for cooling during intensive encoding sessions.

Software Requirements
To set up your Raspberry Pi video encoder, you’ll need a compatible operating system like Raspberry Pi OS (formerly Raspbian) or Ubuntu Server. These lightweight Linux distributions are optimized for the Pi’s hardware. Once your OS is installed, you’ll require video encoding software such as FFmpeg, a powerful open-source multimedia framework that supports various video and audio formats. FFmpeg can be easily installed via the command line on your Pi. With these software components in place, you’ll be ready to start encoding videos on your Raspberry Pi-based system.
Setting Up Your Raspberry Pi
Installing the Operating System
To install an operating system optimized for video encoding on your Raspberry Pi, we recommend using a specialized distribution like Raspberry Pi OS Media Center Edition or LibreELEC. These distributions come pre-configured with the necessary tools and settings for efficient video encoding.
First, download the chosen OS image and write it to a microSD card using a tool like Etcher. Insert the microSD card into your Raspberry Pi and power it on. The initial setup wizard will guide you through configuring basic settings like language, time zone, and network connection.
Once the setup is complete, update the system packages to ensure you have the latest versions of the video encoding tools. Open the terminal and run the following commands:
“`bash
sudo apt update
sudo apt upgrade
“`
Your Raspberry Pi is now ready for video encoding tasks. Depending on the specific distribution you chose, you may need to install additional encoding software or configure settings to optimize performance for your needs.
Configuring the Raspberry Pi
To configure your Raspberry Pi for video encoding, start by connecting the necessary peripherals, including a power supply, HDMI cable, keyboard, and mouse. Next, install the Raspberry Pi OS using the official Raspberry Pi Imager tool. Once booted, open the configuration menu to adjust settings like display resolution, audio output, and localization options.
Enable SSH and VNC for remote access, and consider overclocking your Pi for better performance. Install the required video encoding software, such as FFmpeg or HandBrake, using the terminal. Ensure your Pi has sufficient storage for your encoding projects, either by using a high-capacity microSD card or an external USB drive.
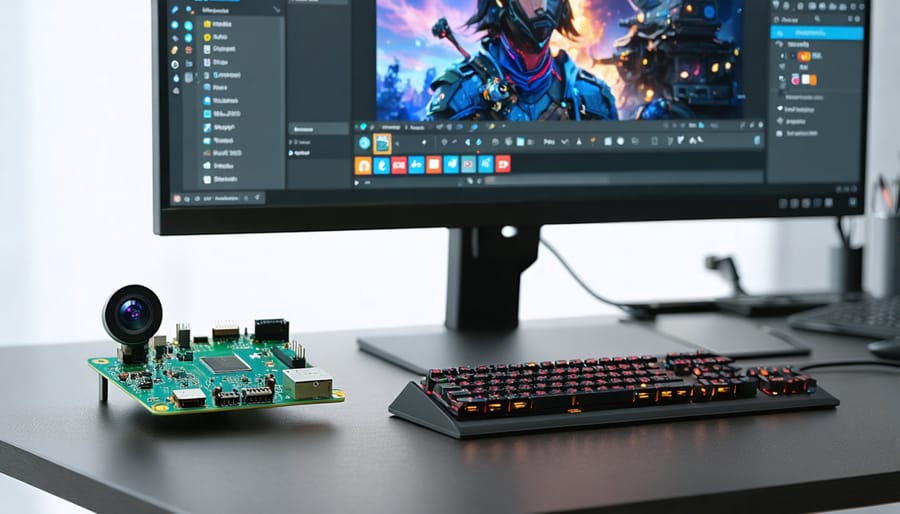
Finally, connect your video input source, such as a camera module or USB capture device, and test the connection to ensure your Raspberry Pi is ready for encoding. With these steps completed, you’ll have a fully configured Raspberry Pi video encoder. For additional remote configuration options, considering setting up Raspberry Pi VNC could be beneficial.
Installing and Configuring Video Encoding Software
Installing the Software
To install the necessary video encoding software on your Raspberry Pi, we recommend using FFmpeg. Begin by updating your Pi’s package list with the command sudo apt-get update. Next, install FFmpeg by running sudo apt-get install ffmpeg. This command will download and set up the powerful, open-source multimedia framework.
Once FFmpeg is installed, you can verify the installation by typing ffmpeg -version into the terminal. The output should display the current FFmpeg version and configuration details. With FFmpeg ready to go, your Raspberry Pi is now equipped to handle a wide range of video encoding tasks.
For more advanced users, additional encoding tools like libav-tools or HandBrake can be installed using similar apt-get install commands. These options provide extra flexibility and features for specific encoding needs. Regardless of your chosen software, always ensure you have the latest version for optimal performance and compatibility.

Configuring Encoding Settings
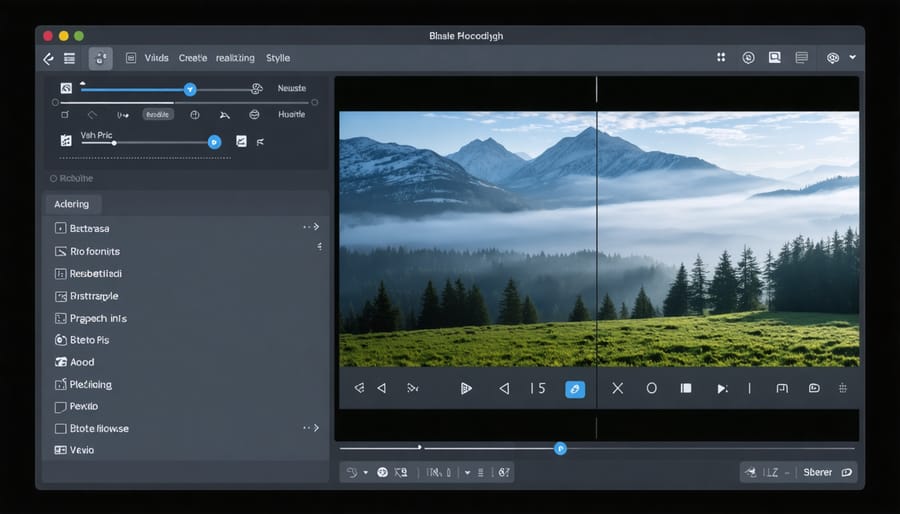
To optimize your video encoding settings on the Raspberry Pi, you’ll need to consider factors like video resolution, bitrate, codec, and container format. For resolution, common options include 720p, 1080p, and 4K, depending on your Pi model and the quality you require. Higher resolutions mean larger file sizes and more processing power.
Bitrate controls the amount of data used per second of video. Higher bitrates improve quality but increase file size. A good starting point is 2-5 Mbps for 720p, 5-8 Mbps for 1080p, and 20-40 Mbps for 4K. Adjust based on your needs and the Pi’s capabilities.
Next, choose a codec like H.264 or H.265 to compress your video efficiently. H.264 is widely compatible, while H.265 offers better compression but requires more processing power. Select a container format like MP4 or MKV to package your encoded video.
Use tools like FFmpeg or LibAV to fine-tune encoding settings. Experiment with different options to find the best balance of quality, file size, and encoding speed for your project. Remember to test your encoded videos on various devices to ensure compatibility and performance.
By carefully configuring your encoding settings, you can create high-quality videos optimized for your specific needs using the Raspberry Pi. Don’t be afraid to experiment and iterate until you find the perfect settings for your video encoding workflow.
Encoding Your First Video
Now that your Raspberry Pi video encoder is set up, it’s time to encode your first video. Start by selecting a video file you want to encode. For this example, we’ll use a short MP4 video named “sample_video.mp4”.
Open the terminal on your Raspberry Pi and navigate to the directory where your video file is located. Then, use the following command to begin encoding:
“`bash
ffmpeg -i sample_video.mp4 -c:v libx264 -preset medium -crf 23 -c:a aac -b:a 128k output_video.mp4
“`
Let’s break down the command:
– “ffmpeg” invokes the FFmpeg tool.
– “-i sample_video.mp4” specifies the input video file.
– “-c:v libx264” sets the video codec to H.264.
– “-preset medium” determines the encoding speed and compression efficiency. “medium” provides a good balance, but you can adjust it based on your needs.
– “-crf 23” sets the Constant Rate Factor, which affects video quality. Lower values result in higher quality but larger file sizes.
– “-c:a aac” sets the audio codec to AAC.
– “-b:a 128k” specifies the audio bitrate.
– “output_video.mp4” is the name of the encoded output file.
Press Enter to start the encoding process. FFmpeg will display the progress and estimated time remaining. Once completed, you’ll find the encoded video file in the same directory.
Feel free to experiment with different presets, CRF values, and bitrates to achieve your desired video quality and file size. With your Raspberry Pi video encoder up and running, you’re ready to tackle more advanced encoding tasks and explore the full potential of this powerful setup.
Conclusion
In conclusion, the Raspberry Pi video encoder is a powerful tool for anyone interested in video streaming, broadcasting, or content creation. By following the steps outlined in this guide, you can build your own affordable, compact, and efficient video encoding system. Whether you’re a beginner or an experienced Raspberry Pi user, this project offers endless possibilities for customization and experimentation.
As you explore the world of video encoding with your Raspberry Pi, consider trying out different encoding settings, experimenting with various video sources, or even building a multi-camera setup. If you’re interested in further expanding your Raspberry Pi’s capabilities, you could explore running a game server or other exciting projects. With a little creativity and technical know-how, you can create professional-quality video content using your Raspberry Pi video encoder.
So, what are you waiting for? Start building your Raspberry Pi video encoder today and unleash your inner content creator!


