Transform your Raspberry Pi 4 into a powerful retro gaming machine with these simple steps. Install a gaming-optimized operating system like Recalbox or RetroPie to unlock the Pi’s full potential. Overclock the CPU and GPU to boost performance for smooth, lag-free gameplay. Add high-quality emulators and ROMs to enjoy classic games from multiple consoles on a single, affordable device.
Gather Your Components
Essential Hardware
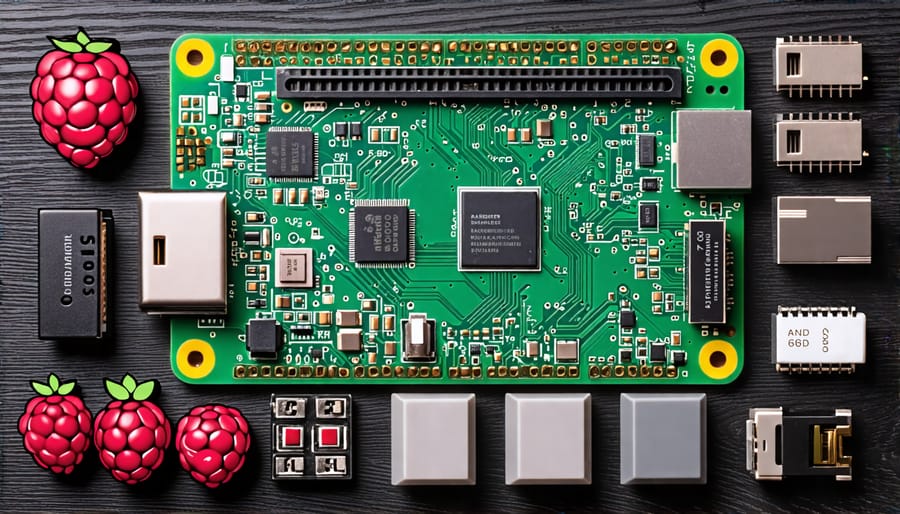
To get started with your Raspberry Pi 4 setup, you’ll need a few essential components. First and foremost, you’ll require the Raspberry Pi 4 Model B board itself. Next, procure a compatible power supply that delivers at least 3A at 5V via a USB-C connector. A high-quality microSD card (minimum 8GB, class 10) will serve as your Pi’s storage. For display, an HDMI cable is necessary to connect your Pi to a monitor. Finally, a USB keyboard and mouse will enable you to interact with your Raspberry Pi once it’s up and running.

Optional Upgrades
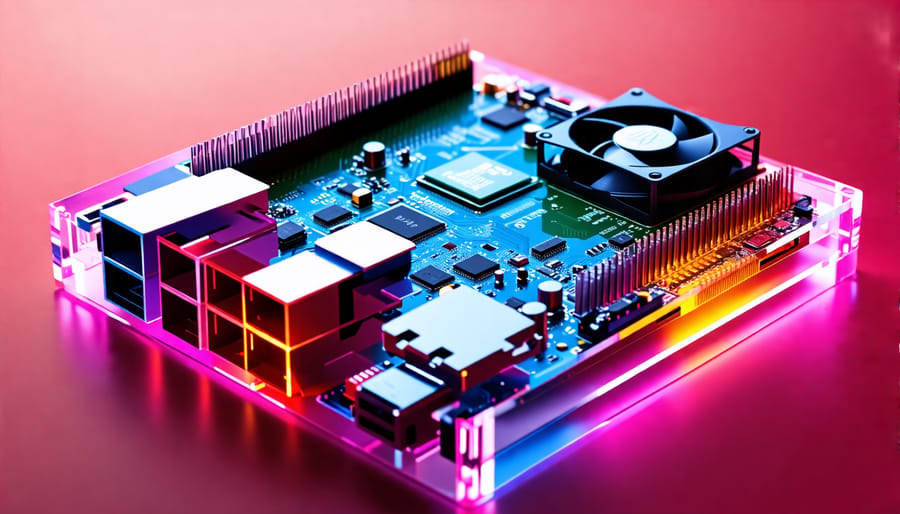
While the Raspberry Pi 4 is a capable device out of the box, several optional upgrades can enhance its functionality and performance. Consider investing in a protective case to safeguard your Pi from damage and improve its aesthetics. Heatsinks and a small fan can help dissipate heat, ensuring optimal performance during resource-intensive tasks like gaming. For a more responsive gaming experience, connect your favorite gaming controllers via USB or Bluetooth. If you require additional storage space, an external SSD can provide a significant speed boost over traditional SD cards. These upgrades can transform your Raspberry Pi 4 into a versatile and powerful gaming machine tailored to your preferences.
Flash the Operating System
Download the OS
To get started with your Raspberry Pi 4, you’ll need to choose and download an operating system. The official Raspberry Pi OS is a popular choice, offering a user-friendly desktop environment and compatibility with a wide range of software. For gaming enthusiasts, specialized distributions like RetroPie, RecalBox, and Lakka are excellent options. These OSes come preconfigured with emulators and tools to transform your Pi into a retro gaming console. Visit the official websites for each OS, select the version compatible with your Raspberry Pi 4 model, and download the image file. Once downloaded, you’ll need to write the image to a microSD card using software like Etcher or Raspberry Pi Imager, ensuring a smooth installation process.
Write the OS to the SD Card
To write the Raspberry Pi OS image to your microSD card, use a reliable flashing tool like Etcher or Raspberry Pi Imager. These user-friendly applications ensure a smooth and error-free process. Simply download your preferred software, insert your microSD card into your computer, and select the downloaded OS image file. Double-check that you’ve chosen the correct drive to avoid overwriting important data. Click “Flash” or “Write” to begin the process, which may take a few minutes. Once completed, safely eject the microSD card, and you’re ready to insert it into your Raspberry Pi 4 and start exploring its capabilities.
Boot Up and Configure
To boot up your Raspberry Pi 4, insert the prepared SD card into the slot on the underside of the board. Connect the essential peripherals, including a monitor (via HDMI), keyboard, and mouse. Optionally, attach Ethernet for internet access or use the built-in Wi-Fi. Plug in the power supply, and your Pi will spring to life!
On first boot, you’ll be greeted by the setup wizard. Follow the prompts to configure basic settings like locale, time zone, and password. Once complete, you’ll land on the desktop of your chosen OS, ready to dive into the world of Raspberry Pi gaming and beyond.
Optimize Performance
Overclock the CPU and GPU
Overclocking your Raspberry Pi 4 can boost performance for gaming and demanding tasks. The Pi 4 has built-in overclocking options in the config.txt file. To access it, open the Terminal and type “sudo nano /boot/config.txt”. Scroll down to the “Pi 4” section and uncomment the lines for arm_freq, gpu_freq, and over_voltage. Set arm_freq to 2000, gpu_freq to 600, and over_voltage to 6 for a moderate overclock. Save the file and reboot.
Monitor temperatures using the “vcgencmd measure_temp” command. If temperatures exceed 80°C, consider additional cooling or reduce overclock settings. Overclocking may impact stability, so test thoroughly and adjust as needed. With careful tuning, you can safely enhance your Pi 4’s performance for an even better gaming experience. Always prioritize stability and longevity over extreme clock speeds.
Improve Cooling
To keep your Raspberry Pi 4 running cool and prevent thermal throttling, consider adding heatsinks, fans, or a case with better airflow. Heatsinks are small, affordable aluminum or copper fins that stick to the CPU and other chips, dissipating heat more efficiently. For even better cooling, attach a small fan to your Pi’s GPIO pins or invest in a case with built-in fans. When choosing a case, look for one with ventilation holes or slots to allow for optimal airflow. By implementing these cooling solutions, you’ll ensure your Pi maintains stable performance during resource-intensive tasks like gaming or overclocking.

Allocate More RAM to the GPU
To allocate more RAM to the GPU, you’ll need to modify the Raspberry Pi’s configuration file. Start by opening the config.txt file located in the /boot directory using a text editor like nano. Look for the line that reads “gpu_mem=” and change the value to the desired amount of RAM you want to dedicate to graphics. For example, setting “gpu_mem=256” will allocate 256MB of RAM to the GPU. Keep in mind that increasing GPU memory will reduce the amount available for the CPU, so find a balance that suits your needs. Save the changes and reboot your Raspberry Pi for the new settings to take effect. This simple tweak can significantly improve graphics performance, especially when running games or using the Pi for video playback.
Install and Play Games

Emulation Station
Emulation Station, a user-friendly front end included with RetroPie, simplifies the process of playing retro games on your Raspberry Pi 4. Once you’ve loaded your ROMs onto the SD card, Emulation Station will automatically scan and organize them into a sleek, navigable interface. Using a compatible controller, you can easily browse through your game library, sorted by console or arcade system. Launch your favorite classics with a single click and immerse yourself in the nostalgia of bygone gaming eras. Emulation Station supports a wide range of retro systems, from the NES and SNES to the PlayStation and Dreamcast, making your Pi 4 a versatile retro gaming powerhouse.
Steam Link
Steam Link allows you to stream games from your gaming PC to your Raspberry Pi, turning it into a portable gaming device. To set this up, install the Steam Link app on your Pi from the Steam store. Ensure both your PC and Pi are connected to the same network. Launch Steam Link on the Pi and follow the on-screen instructions to pair it with your PC. You can then access your Steam library and play games directly on the Pi. For an even more immersive experience, consider setting up a game server on your Pi to host multiplayer games.
Native Ports and Open Source Games
The Raspberry Pi 4 can run a variety of native ports and open source games, making it a capable gaming machine. Minecraft: Pi Edition comes pre-installed on Raspberry Pi OS, allowing you to explore, build, and code within the blocky world. For classic first-person shooter action, try running Quake III Arena, which has been optimized for the Pi’s hardware. RetroArch, a popular emulation frontend, lets you play countless retro games from various consoles. You can also find open source ports of beloved titles like Doom, Duke Nukem 3D, and OpenTTD. With a bit of tinkering, your Raspberry Pi 4 can become a versatile gaming platform that celebrates both nostalgia and creativity.
In conclusion, setting up a Raspberry Pi 4 Model B as a gaming console is a simple and powerful way to enjoy your favorite games. With its affordable price point, impressive performance, and versatile capabilities, the Raspberry Pi 4 is an excellent choice for both beginners and experienced users alike. By following the step-by-step instructions provided in this guide, you can quickly transform your Raspberry Pi into a capable gaming machine that can handle a wide range of retro and modern titles. So what are you waiting for? Start building your own Raspberry Pi gaming setup today and experience the joy of gaming on this incredible single-board computer!


