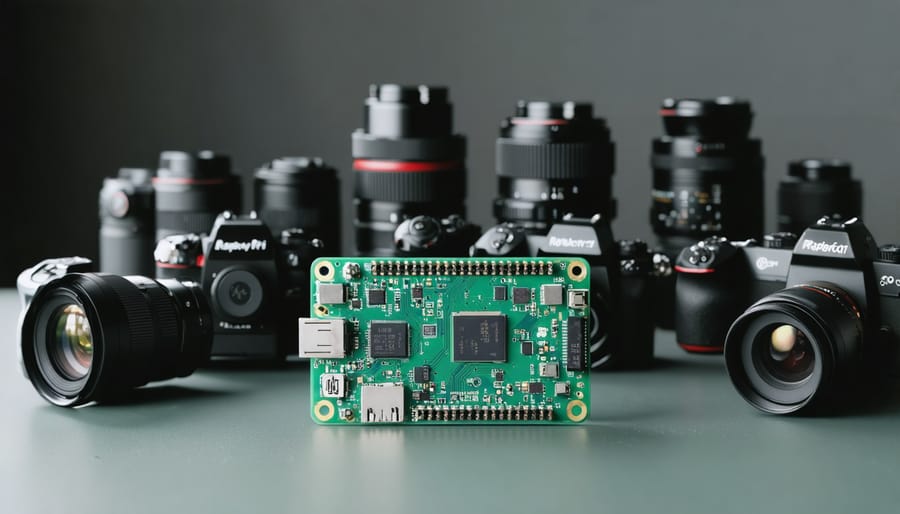
Unlock the power of high-quality photography with the Raspberry Pi High Quality Camera. This innovative camera module, combined with interchangeable lenses, empowers makers, hobbyists, and photographers to capture stunning images and videos. With a 12.3-megapixel Sony IMX477 sensor, the camera delivers exceptional detail and low-light performance. Seamlessly integrate the camera with your Raspberry Pi projects using the flexible CSI interface and powerful libraries like PiCamera. From time-lapse photography to object detection, the possibilities are endless. Dive into the world of Raspberry Pi photography and unleash your creativity with the High Quality Camera and a wide range of compatible lenses. Whether you’re a beginner or an experienced maker, this powerful combination will help you bring your vision to life and push the boundaries of what’s possible with Raspberry Pi.
Understanding the Raspberry Pi High Quality Camera
Specs and Capabilities
The Raspberry Pi High Quality Camera boasts a 12.3 megapixel Sony IMX477 sensor, capable of capturing stunning images with a resolution of 4056 x 3040 pixels. This sensor, coupled with the camera’s support for interchangeable C- and CS-mount lenses, opens up a world of possibilities for photography and videography projects. The camera can record video at 1080p30, 720p60, and VGA90 resolutions, making it suitable for a wide range of applications, from time-lapse videos to high-quality live streams. With a back focus distance of 12.5mm and adjustable back focus, the High Quality Camera ensures sharp focus across various lens types. The camera connects to the Raspberry Pi via a flexible ribbon cable, enabling easy integration into projects. For more details on maximizing your Raspberry Pi, take a look at the specifications of the Raspberry Pi 4 Model B. Whether you’re a beginner or an experienced maker, the Raspberry Pi High Quality Camera offers the specs and capabilities needed to bring your creative vision to life.
Compatibility and Requirements
The Raspberry Pi High Quality Camera is compatible with all Raspberry Pi models that have a CSI camera connector, including the Raspberry Pi 4, Raspberry Pi 3, Raspberry Pi Zero, and Raspberry Pi Compute Module. To use the camera, you’ll need a Raspberry Pi board, a power supply, and a microSD card with the Raspberry Pi operating system installed. The camera module comes with a pre-focused 6mm CS-mount lens, but you can easily swap it out for other compatible CS-mount or C-mount lenses using the included adapter. This flexibility allows you to choose the perfect lens for your specific project requirements.
Choosing the Right Lens for Your Project

Lens Types and Characteristics
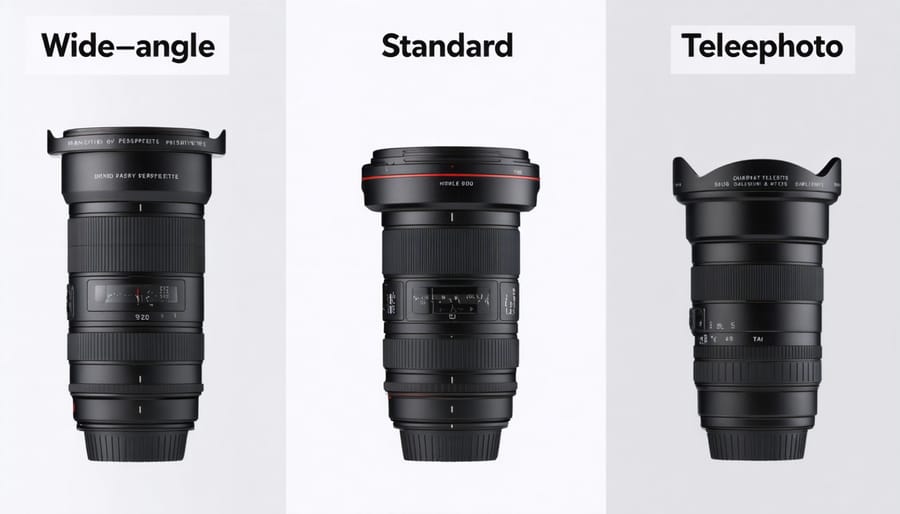
The Raspberry Pi High Quality Camera is compatible with a wide range of lens types, each with unique characteristics that affect image quality and creative possibilities. The most common lens types include standard, wide-angle, telephoto, and macro lenses. Standard lenses, typically with a focal length of around 50mm, provide a natural field of view similar to the human eye. Wide-angle lenses, with shorter focal lengths like 28mm or 35mm, capture a broader perspective and are ideal for landscapes, architecture, or confined spaces. Telephoto lenses, with longer focal lengths such as 85mm or 100mm, offer a narrower field of view and are perfect for portraits, wildlife, or sports photography. Macro lenses enable extreme close-up shots, revealing intricate details of small subjects like insects or flowers.
When selecting a lens for your Raspberry Pi High Quality Camera, consider the aperture, which affects depth of field and low-light performance. Lenses with wider maximum apertures (lower f-numbers) allow more light to enter the camera, enabling shorter exposure times and better results in dim conditions. To explore the full potential of your high-res camera guide, experiment with different lens types and settings to find the perfect combination for your project or creative vision.
Matching Lenses to Project Requirements
When selecting lenses for your Raspberry Pi High Quality Camera projects, consider the specific requirements of your application. For landscape photography, wide-angle lenses like the 6mm wide-angle lens are ideal, capturing expansive scenes with a wider field of view. If you’re interested in wildlife or sports photography, telephoto lenses, such as the 16mm telephoto lens, allow you to zoom in on distant subjects while maintaining image quality. Macro lenses, like the 6mm macro lens, are perfect for capturing intricate details in close-up shots of insects, flowers, or small objects. When shooting portraits or general-purpose photography, the versatile 6mm standard lens provides a balanced field of view and is suitable for a variety of projects. By carefully matching the lens to your project requirements, you can unlock the full potential of your Raspberry Pi High Quality Camera and create stunning visual content tailored to your specific needs.
Setting Up and Using High Quality Camera Lenses
Mounting the Lens
To mount the lens to the Raspberry Pi High Quality Camera, start by removing the protective cap from the camera board’s lens mount. Carefully take your chosen lens and align the red dot on the lens with the red dot on the camera mount. Gently insert the lens into the mount, ensuring that it’s seated properly. Once aligned, rotate the lens clockwise until you feel it click securely into place. Be cautious not to overtighten the lens, as this may damage the delicate threads. If you need to remove the lens, simply rotate it counterclockwise until it detaches from the mount. When not in use, always replace the protective cap on the camera mount to prevent dust and debris from entering the sensor area. With the lens properly mounted, you’re now ready to start capturing stunning high-quality images and videos with your Raspberry Pi High Quality Camera setup.
Configuring Camera Settings
To configure camera settings for optimal performance with your chosen lens, start by ensuring your Raspberry Pi is running the latest version of the Raspberry Pi OS. Open the Raspberry Pi Configuration tool and enable the camera module. Next, use the `raspistill` command to adjust settings like exposure time, ISO, and white balance. For example, `raspistill -t 5000 -o image.jpg -ss 10000 -ex night` sets a 10-second shutter speed and night exposure mode. To control focus, use the lens’s manual focus ring or the `raspistill` command’s `-set` flag to specify focus distance. Experiment with different settings to find the best configuration for your project’s lighting conditions and desired aesthetic. Remember to use a tripod or stable surface when capturing long-exposure shots to minimize camera shake. Learn how these settings can also play a part in other projects like using your camera for Scrabble improvements. With careful configuration, you’ll be able to capture stunning, high-quality images and videos using your Raspberry Pi and high-quality camera lens setup.

Inspiring Project Ideas
The Raspberry Pi High Quality Camera, when paired with the right lens, opens up a world of exciting project possibilities. Whether you’re interested in photography, videography, or computer vision applications, here are some inspiring ideas to get you started:
- Time-lapse Photography: Capture stunning time-lapse videos of landscapes, cityscapes, or even plant growth using the Raspberry Pi and a high-quality lens. With the right setup and programming, you can create breathtaking visual narratives.
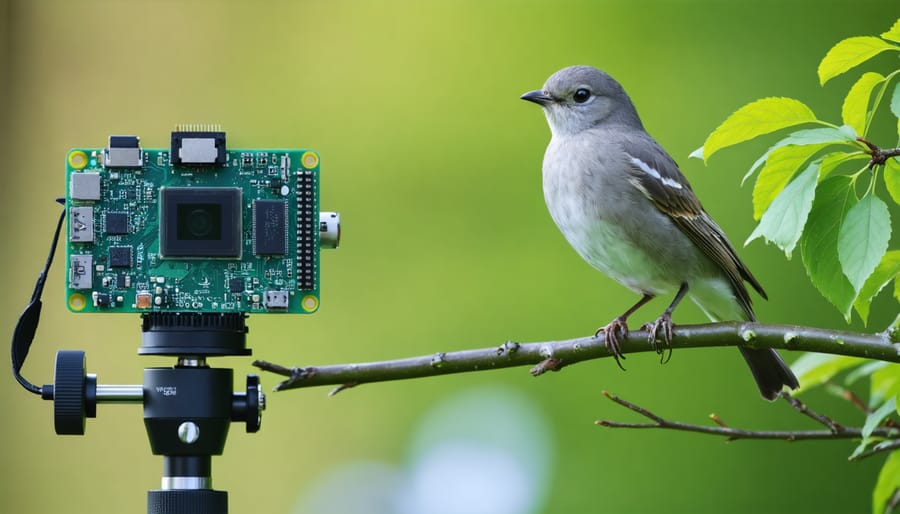
- Wildlife Monitoring: Set up a Raspberry Pi with a telephoto lens in your backyard or a nearby park to observe and record wildlife. Use motion detection algorithms to trigger the camera when animals come into view, allowing you to capture incredible footage without disturbing their natural behavior.
- Astrophotography: Point your Raspberry Pi and a high-quality lens towards the night sky to capture stunning images of stars, planets, and galaxies. With long exposure times and the right post-processing techniques, you can supercharge your projects and create awe-inspiring astrophotography.
- Microscopic Imaging: Attach a microscope lens to your Raspberry Pi High Quality Camera to explore the hidden world of microscopic organisms. Capture detailed images and videos of tiny creatures, plant cells, or even electronic components for educational or research purposes.
- 3D Scanning: Combine the Raspberry Pi High Quality Camera with a structured light or laser scanning setup to create detailed 3D models of objects. This technique has applications in fields like archaeology, product design, and even personal hobbies like figurine collecting.
These are just a few examples of the many exciting projects you can undertake with the Raspberry Pi High Quality Camera and the right lens. Let your imagination run wild and experiment with different combinations to create unique and impressive projects that showcase the power of this versatile setup.
Conclusion
The Raspberry Pi High Quality Camera, when paired with the right lens, opens up a world of possibilities for your projects. From wide-angle landscapes to macro close-ups, the versatility of interchangeable lenses allows you to capture stunning images and videos. Setting up the camera and lens is straightforward, and with a bit of experimentation, you can achieve professional-quality results. Whether you’re a beginner or an experienced maker, incorporating high-quality camera lenses into your Raspberry Pi projects can take them to the next level. So, grab your Raspberry Pi, choose a lens that suits your vision, and start exploring the exciting world of digital imaging and computer vision applications.


