Unleash your creativity and build a custom Raspberry Pi case that reflects your unique style. Follow these steps to plan and execute your DIY project:
1. Sketch your design, considering the placement of ports, ventilation, and any special features you want to incorporate.
2. Choose durable, easy-to-work-with materials like acrylic, wood, or 3D-printed PLA that complement your design aesthetic.
3. Measure your Raspberry Pi board precisely and transfer those dimensions to your chosen material, marking where to cut.
4. Use the appropriate tools to carefully cut and shape your case components, then sand edges for a professional finish.

Planning Your Raspberry Pi Case
Measuring Your Raspberry Pi
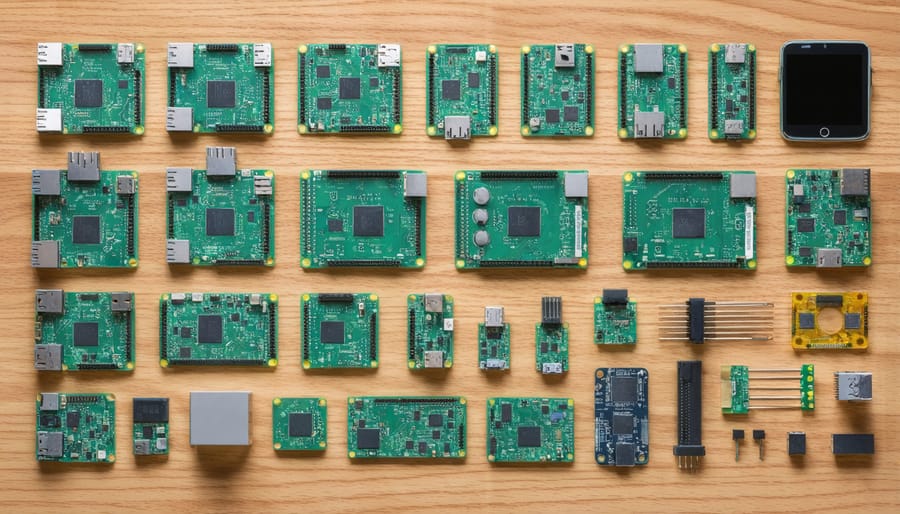
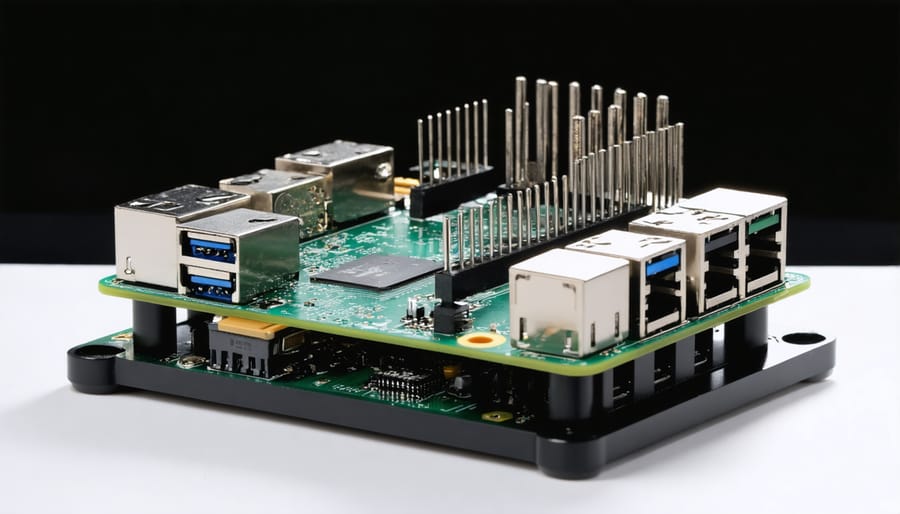
To ensure a snug fit for your DIY Raspberry Pi case, accurate measurements are essential. Start by identifying your specific model, as dimensions vary between versions. Using a digital caliper or precision ruler, carefully measure the length, width, and height of your board. Don’t forget to account for any protruding components like the GPIO pins or ports. It’s a good idea to add a couple of millimeters to each measurement for some wiggle room. Jot down these numbers and keep them handy as you plan and build your custom case. With precise measurements, you’ll be well on your way to creating a perfectly tailored enclosure for your Raspberry Pi.
Sketching Your Design
Before you start building your custom Raspberry Pi case, it’s essential to create a basic sketch or blueprint. This will help you visualize the final product and ensure you have all the necessary materials. Begin by determining the size and shape of your case based on the specific Raspberry Pi model you’re using. Consider the placement of ports, buttons, and any additional components you plan to include. Sketch out the front, back, and side views of your case, including measurements and any unique design elements. If you’re using a 3D printer, create a digital 3D model using CAD software. For those opting for traditional materials like wood or acrylic, transfer your sketches to the chosen material and mark the cutting lines. Remember to include space for ventilation to prevent your Raspberry Pi from overheating. With a clear plan in hand, you’ll be ready to bring your custom case to life.

7 Creative Raspberry Pi Case Ideas
Lego Brick Case
Building a Lego brick case for your Raspberry Pi is a fun and creative way to protect your device while expressing your personality. Start by measuring your Raspberry Pi and planning the layout of your case. Use a base plate as the foundation and build up the walls using colorful Lego bricks. Be sure to leave openings for the ports and ventilation. You can create separate compartments for the Raspberry Pi and any additional components, such as a battery or hard drive. Experiment with different brick colors and patterns to make your case truly unique. With Lego bricks, you can easily modify and expand your case as your needs change.
Wooden Enclosure
For a sleek and natural-looking Raspberry Pi case, consider crafting one from wood. Choose a hardwood like oak, maple, or walnut for durability and a beautiful grain pattern. Measure your Pi’s dimensions and design a simple box-like structure with cutouts for ports and ventilation. Use a saw to precisely cut the wood pieces, then sand them smooth. Assemble the case using wood glue and clamps, ensuring a snug fit for your Pi. For a polished look, finish the wood with a clear sealant or stain. A wooden case adds a touch of warmth and sophistication to your Raspberry Pi setup.
3D Printed Masterpiece
For a truly unique and personalized Raspberry Pi case, consider designing and 3D printing your own masterpiece. With the help of CAD software like Tinkercad or Fusion 360, you can create a custom case that perfectly fits your Pi and showcases your creativity. Start by measuring your Raspberry Pi and sketching out your design ideas. Once you have a solid plan, bring it to life in your chosen CAD program. Consider adding unique features like custom ventilation, LED light slots, or even a built-in camera mount. When your design is ready, export it as an STL file and send it to your 3D printer. Watch as your custom Raspberry Pi case comes to life, layer by layer, resulting in a one-of-a-kind enclosure that’s sure to impress.
Retro Gaming Console
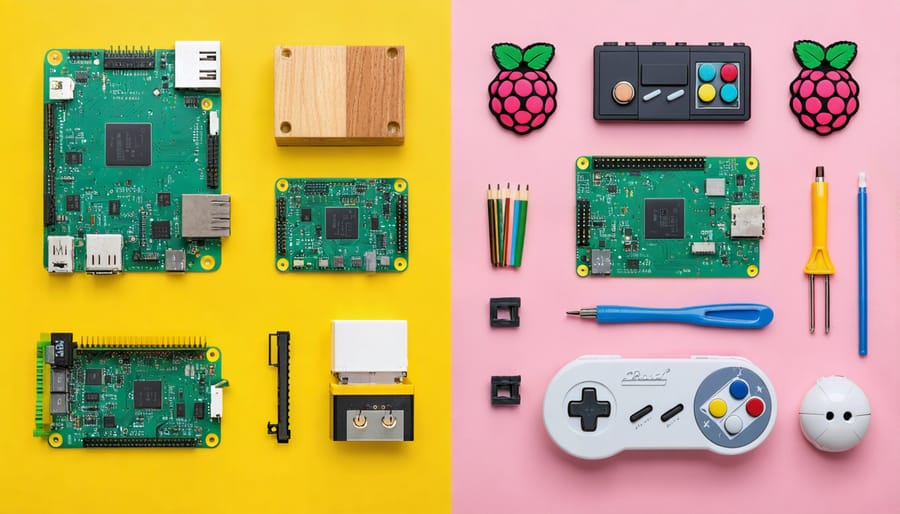
Unlock a world of nostalgic gaming by transforming your Raspberry Pi into a retro gaming machine housed in a custom-designed case. Embrace your creativity and build a case that pays homage to classic consoles like the NES, SNES, or even an arcade cabinet. Utilize 3D printing or craft materials like wood and acrylic to bring your vision to life. Incorporate functional elements such as cooling vents, controller ports, and power buttons for an authentic gaming experience. With the right case design and emulation software, your Raspberry Pi will become the ultimate retro gaming companion, allowing you to relive countless hours of pixelated adventures from your childhood.
Book Disguise
For a stealthy Raspberry Pi case, consider disguising it inside a hollowed-out book. Choose a hardcover book slightly larger than your Pi and carefully cut out the pages, creating a space for your device. Line the cavity with felt or foam to protect the Pi and secure it in place. Drill small holes in the back cover for ventilation and to route cables. When closed, your Pi will be hidden in plain sight, resembling an ordinary book on your shelf. This disguise is perfect for hiding your Pi in public spaces or creating a unique, decorative case for your home or office.
Minimalist Acrylic
For a minimalist and sleek look, consider crafting a transparent Raspberry Pi case using acrylic sheets. This approach offers protection while showcasing the Pi’s internal components. To get started, measure your Raspberry Pi and cut the acrylic sheets accordingly. Use a scoring tool or laser cutter for precise cuts. Assemble the pieces using acrylic cement or small screws, ensuring proper alignment for ports and ventilation. Sand the edges for a smooth finish. You can also add standoffs to securely mount the Pi within the case. With a few simple tools and materials, you can create a stylish and functional acrylic case that perfectly suits your Raspberry Pi.
Repurposed Electronics
Repurposing old electronic devices is a fantastic way to create unique and eco-friendly Raspberry Pi cases. Many gadgets, such as old gaming consoles, computer towers, or even vintage radios, have ample space to house your Pi and add a touch of nostalgia to your project. To start, remove any unnecessary components from the device, ensuring there’s enough room for your Raspberry Pi and any additional hardware. You may need to modify the casing or create custom mounts to secure everything in place. Remember to plan for proper ventilation and cable management to keep your Pi running smoothly. With a little creativity and elbow grease, you can give new life to old electronics while building a one-of-a-kind Raspberry Pi case.
Tips for a Successful Build
When embarking on your DIY Raspberry Pi case project, there are several tips to keep in mind for a successful build. First, carefully consider the materials you’ll be working with. Whether you opt for wood, acrylic, 3D-printed plastic, or even repurposed household items, ensure that your chosen material is compatible with your tools and suitable for housing your Raspberry Pi.
During the construction process, pay close attention to the measurements and fitment of your components. Precision is key to ensuring that your Raspberry Pi board and any additional hardware fit snugly and securely within the custom Raspberry Pi case. Don’t forget to account for cable management, as a tidy interior not only looks better but also improves airflow and prevents damage to the connections.
When designing your case, consider the placement of ports and ventilation. Ensure that your USB, HDMI, and power ports are easily accessible and that there is adequate airflow to prevent your Raspberry Pi from overheating. If you’re incorporating a fan or heatsink into your design, double-check that they fit properly and function as intended.
As you near the end of your build, take the time to thoroughly test your Raspberry Pi within its new case. Check for any loose connections, ensure that the board is securely mounted, and verify that all ports and buttons are functional. By taking these extra steps to ensure a proper fit and function, you’ll be able to enjoy a reliable and long-lasting DIY Raspberry Pi case that perfectly suits your needs.

Conclusion
Building your own custom Raspberry Pi case is a rewarding experience that allows you to express your creativity and tailor your device to your specific needs. Whether you opt for a sleek, minimalist design or a whimsical, themed enclosure, the possibilities are endless. By creating your own case, you not only protect your Raspberry Pi but also make it truly unique. Designing and constructing a case helps you develop problem-solving skills and gain a deeper understanding of your device. As you explore different materials, form factors, and assembly techniques, you’ll find yourself inspired to take on even more ambitious projects. So, embrace your inner maker, let your imagination run wild, and create a one-of-a-kind Raspberry Pi case that showcases your personality and style.


