Unleash the power of the Raspberry Pi with these innovative, hands-on projects that will take your skills to the next level. From building your own retro gaming console to creating a smart home automation system, discover the limitless possibilities of this tiny but mighty computer. Our step-by-step tutorials make it easy for beginners and experienced makers alike to dive in and start creating practical, real-world applications. Whether you’re interested in networking, media streaming, or even setting up your own home security system, we’ve got you covered with a diverse range of projects that showcase the Raspberry Pi’s incredible versatility. Get ready to transform your ideas into reality and join the growing community of Raspberry Pi enthusiasts who are pushing the boundaries of what’s possible with this remarkable device. Let’s explore some of the most exciting and practical Raspberry Pi projects you can tackle today!
1. Retro Gaming Console
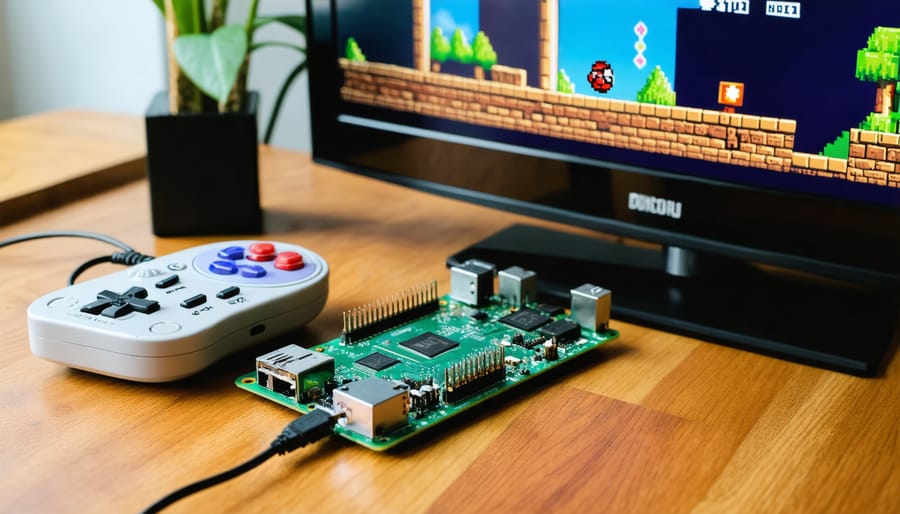
Turning your Raspberry Pi into a retro gaming console is a fun and rewarding project that lets you relive classic gaming experiences. To get started, you’ll need a Raspberry Pi board (preferably a Pi 3 or 4), a compatible power supply, a microSD card, an HDMI cable, and a USB gamepad or controller.
First, download the RetroPie image from the official website and flash it onto your microSD card using a tool like Etcher. Insert the microSD card into your Raspberry Pi, connect the HDMI cable to your TV or monitor, and power on the device.
Upon booting, RetroPie will guide you through the initial setup process, including configuring your controller. Follow the on-screen prompts to map your controller’s buttons and sticks accurately. RetroPie supports a wide range of controllers, from classic USB gamepads to wireless Bluetooth controllers.
Once the setup is complete, you can start adding your favorite ROMs (game files) to the appropriate folders within the RetroPie file system. You can transfer ROMs via USB, or use the built-in Samba share to copy files over your network.
With your ROMs in place, it’s time to dive into gaming! RetroPie supports numerous emulators for various retro gaming systems, such as NES, SNES, Genesis, PlayStation, and more. You can access these emulators and your games through the EmulationStation frontend, which provides an intuitive and customizable interface.
Tweak settings, such as video output, aspect ratio, and shaders, to achieve the perfect retro gaming experience tailored to your preferences. You can even install additional themes and mods to further customize your Ultimate Retro Gaming Machine.
With a bit of tinkering and experimentation, your Raspberry Pi will become a versatile and entertaining retro gaming console that brings back fond memories and creates new ones with friends and family.

2. Smart Home Hub
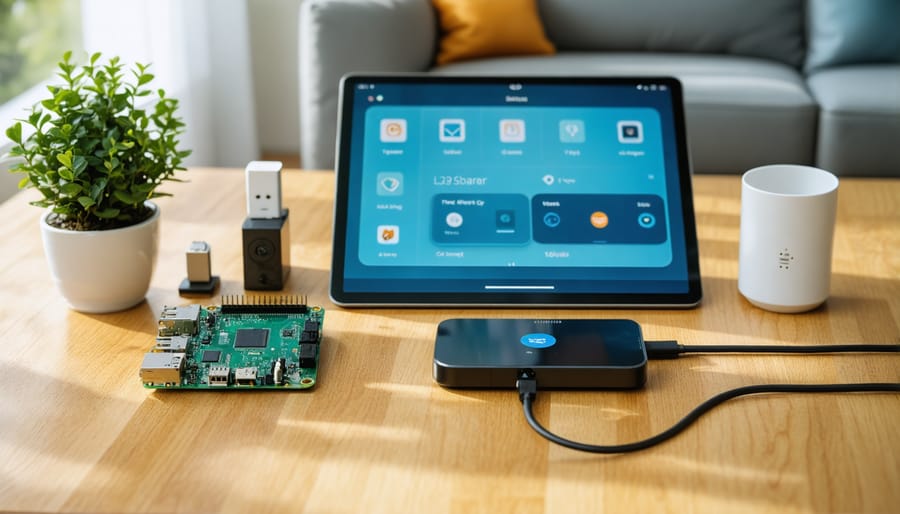
Setting up a Raspberry Pi as the central controller for your smart home devices is an innovative and cost-effective way to automate your living space. With its compact size and powerful processing capabilities, a Raspberry Pi can seamlessly integrate with various smart home devices and provide a unified control system. To get started, you’ll need to choose a suitable home assistant software, such as Home Assistant or OpenHAB, which offers a user-friendly interface and extensive device compatibility.
Once you have your software up and running on your Raspberry Pi, it’s time to integrate your smart home devices. This process typically involves adding each device to your home assistant software, configuring its settings, and creating automation rules. Popular devices that can be integrated include smart lights, thermostats, security cameras, and voice assistants like Amazon Alexa or Google Home.
The real power of a Raspberry Pi smart home hub lies in its ability to create custom automations. For example, you can set up a rule that automatically turns on your smart lights when you arrive home and turns them off when you leave. You can also create a “Good Night” scene that adjusts your thermostat, locks your doors, and dims your lights with a single command. The possibilities are endless, and you can tailor your automations to suit your specific needs and preferences.
To take your home automation projects to the next level, consider integrating sensors like motion detectors, door/window sensors, and temperature sensors. These can trigger automations based on specific conditions, such as turning on a fan when the temperature rises above a certain threshold or sending you a notification when a door is opened unexpectedly.
As you dive deeper into the world of Raspberry Pi smart home hubs, you’ll discover a thriving community of enthusiasts who share their experiences, code snippets, and creative ideas. Don’t be afraid to experiment, customize, and push the boundaries of what’s possible with your Raspberry Pi-powered smart home.

3. Network Ad-Blocker
A Raspberry Pi-based network ad-blocker, such as Pi-hole, is an excellent way to eliminate ads and trackers across your entire network. To get started, install the Pi-hole software on your Raspberry Pi by following the official installation guide. Once installed, configure your router’s DHCP settings to use the Pi-hole as the primary DNS server, ensuring that all devices on your network benefit from ad-blocking.
Pi-hole offers a user-friendly web interface for managing blocked domains, whitelisting sites, and monitoring network activity. You can customize your ad-blocking experience by adding or removing domain lists, or even creating your own. To optimize performance, consider using a lightweight operating system like DietPi or Ubuntu Server, and ensure your Pi has a stable power supply and reliable network connection.
For advanced users, Pi-hole supports additional features like DNS-over-HTTPS (DoH) and DNS-over-TLS (DoT) for enhanced security and privacy. You can also integrate Pi-hole with a VPN server to protect your network traffic and access your ad-blocking capabilities remotely.
By setting up a Pi-hole ad-blocker, you’ll enjoy faster browsing speeds, improved privacy, and a cleaner online experience across all your devices. Plus, you’ll have the satisfaction of building a powerful network tool using your Raspberry Pi.
4. Personal Cloud Storage
Setting up a personal cloud storage solution using a Raspberry Pi and Nextcloud is a fantastic way to keep your files secure, accessible, and under your control. To get started, you’ll need a Raspberry Pi (preferably a Raspberry Pi 4 for better performance), a microSD card, and an external hard drive for storage.
First, install the Raspberry Pi OS on the microSD card and configure basic settings like network connection and SSH access. Next, install the Nextcloud server software by following the official documentation or using a pre-configured image like NextCloudPi.
Once Nextcloud is up and running, access the web interface from another device on your network to set up user accounts, configure storage locations, and customize settings. Connect the external hard drive to your Raspberry Pi and mount it as the primary storage location for Nextcloud, ensuring ample space for your files.
With your Nextcloud server set up, you can access your files from anywhere using the web interface or the Nextcloud mobile apps for iOS and Android. Share files and folders with family, friends, or colleagues by creating user accounts or sharing links. Nextcloud also offers features like calendar and contact syncing, collaborative document editing, and media streaming.
To enhance security, enable SSL/TLS encryption for your Nextcloud instance using a self-signed certificate or a free SSL certificate from Let’s Encrypt. Set up regular backups of your Nextcloud data to another device or cloud service for added peace of mind.
By creating your own personal cloud storage with a Raspberry Pi and Nextcloud, you’ll have a secure, private, and customizable solution for storing and accessing your files from anywhere, without relying on third-party cloud providers.
5. Weather Station
Building a Raspberry Pi-powered weather station is an exciting project that combines hardware and software skills. To get started, you’ll need a Raspberry Pi, temperature, humidity, and pressure sensors, and a few other components. Begin by connecting the sensors to the Pi’s GPIO pins according to the manufacturer’s instructions. Next, install the necessary software libraries and dependencies to read data from the sensors.
With the hardware set up, it’s time to write a Python script that reads the sensor data at regular intervals and logs it to a file or database. You can use libraries like PySerial and Adafruit_DHT to simplify the process of reading data from the sensors. Consider using a database like SQLite or MySQL to store the data for long-term analysis and visualization.
To create a web-based dashboard, you can use a web framework like Flask or Django, along with HTML, CSS, and JavaScript. Display the current weather conditions, historical trends, and interactive graphs on the dashboard. You can even integrate external APIs to fetch additional weather data or forecasts for your location.
For a more advanced setup, consider adding a camera module to capture images of the sky or surrounding environment. You can also explore integrating your weather station with other Raspberry Pi projects, such as a Build Your Own Smart Mirror that displays the current weather conditions.
Building a Raspberry Pi weather station is a rewarding project that combines hardware, software, and data analysis skills. With a little effort and creativity, you can create a powerful tool for monitoring and understanding the weather patterns in your area.
6. Magic Mirror
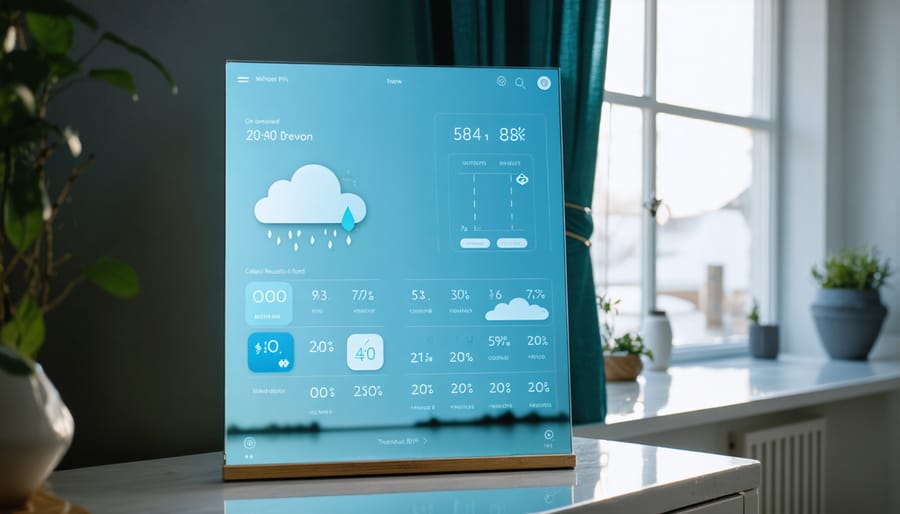
Creating a smart mirror with a Raspberry Pi is an exciting project that combines the power of technology with the convenience of a household item. To get started, you’ll need a Raspberry Pi, a monitor, a two-way mirror, and a frame to house the components. The open-source MagicMirror² platform provides the software foundation for your smart mirror, offering a wide range of customizable modules and widgets.
Begin by installing the MagicMirror² software on your Raspberry Pi and configuring the basic settings. You can then choose from a variety of pre-built modules to display information such as news headlines, weather forecasts, calendar events, and social media updates. The modular nature of the platform allows you to easily add, remove, or rearrange widgets to suit your preferences.
For a more personalized experience, you can create custom modules using HTML, CSS, and JavaScript. This allows you to display any information you desire, such as family photos, motivational quotes, or even your favorite sports team’s scores. The MagicMirror² community offers extensive documentation and support, making it easy for beginners to get started and for experienced developers to create complex custom modules.
When constructing the physical mirror, ensure that the monitor and Raspberry Pi are securely mounted behind the two-way mirror. You can use a custom-built frame or repurpose an existing picture frame to achieve a seamless, attractive design. With a bit of creativity and effort, you’ll have a functional and stylish smart mirror that impresses guests and simplifies your daily routine.

7. Media Center
Transforming your Raspberry Pi into a versatile media center is a breeze with Kodi, an open-source software that brings all your entertainment together in one place. Start by installing Kodi on your Raspberry Pi using the official installation guide. Once set up, you can easily configure Kodi to suit your preferences by navigating through the user-friendly interface.
To unleash the full potential of your Raspberry Pi media center, consider adding popular add-ons like Netflix, YouTube, and Plex. These add-ons expand your streaming options and provide access to a vast library of movies, TV shows, and music. Customize your Kodi experience further by installing themes and skins that match your style.
With Kodi, you can also enjoy your personal media collection by setting up network shares or connecting external storage devices. Organize your movies, TV shows, music, and photos into dedicated libraries for easy access and seamless playback.
For the ultimate home theater experience, pair your Raspberry Pi with a compatible remote control or use the Kodi mobile app to navigate your media center from the comfort of your couch. You can even enhance your setup with a USB TV tuner to watch and record live TV directly through Kodi.
By following these steps and exploring the extensive customization options, you’ll transform your Raspberry Pi into a powerful, all-in-one media center that caters to all your entertainment needs. Get ready to indulge in endless streaming and enjoy your favorite content like never before.
8. Network Monitoring Tool
Monitoring your network and servers is crucial for maintaining a secure and efficient system. With a Raspberry Pi and Nagios, an open-source monitoring tool, you can easily keep track of your devices’ performance and receive alerts when issues arise. Begin by installing Nagios on your Raspberry Pi and configuring it to monitor your desired devices and services, such as routers, switches, servers, and websites. Set up custom alerts via email or SMS to be notified immediately when problems are detected. Nagios provides a user-friendly web interface where you can access real-time status updates, performance graphs, and reports. Customize the dashboard to display the most critical information at a glance. With this powerful monitoring tool, you can proactively identify and resolve network issues before they cause significant downtime or disruptions. Whether you manage a small home network or a larger enterprise setup, a Raspberry Pi-based Nagios monitoring system offers an affordable and effective solution for ensuring the health and reliability of your infrastructure.
9. Voice-Controlled Assistant
Setting up a voice-controlled digital assistant using your Raspberry Pi is an exciting project that showcases the device’s versatility. To get started, you’ll need to install Jasper, an open-source platform for developing voice-controlled applications. Begin by updating your Pi’s package list and installing the necessary dependencies, including Git, Python, and various libraries. Next, clone the Jasper repository from GitHub and run the install script.
With Jasper installed, it’s time to configure your microphone and speakers. Connect a USB microphone and speakers to your Pi, then test them using the `arecord` and `aplay` commands. Adjust the volume and input levels as needed. Jasper supports various speech-to-text engines, such as PocketSphinx and Google Speech API. Choose the one that best suits your needs and configure it according to the documentation.
Now comes the fun part: customizing your voice commands. Jasper uses a configuration file to define the commands and their corresponding actions. You can create custom modules for tasks like playing music, setting reminders, or controlling smart home devices. The possibilities are endless, especially when you combine Jasper with other Raspberry Pi hacking projects.
To activate your voice assistant, simply run the Jasper script and speak your command. With a little creativity and experimentation, you’ll soon have a powerful, personalized digital assistant at your fingertips. As you dive deeper into the world of voice-controlled projects, you’ll discover new ways to automate tasks and make your life easier using your Raspberry Pi.
10. Portable Hacking Tool
Transform your Raspberry Pi into a powerful, portable hacking tool with a custom-built gadget designed for network scanning, vulnerability analysis, and penetration testing. This compact device is perfect for ethical hackers, security researchers, and enthusiasts looking to enhance their skills and test network security on the go.
To create your portable hacking tool, start by setting up a Raspberry Pi with a lightweight Linux distribution like Kali Linux or Parrot OS, which come pre-loaded with essential security tools. Equip your Pi with a high-capacity battery pack and a small screen for portability and easy access to your tools.
Next, configure your device with a range of powerful open-source tools, such as Nmap for network scanning, Wireshark for packet analysis, and Metasploit for exploiting vulnerabilities. Add wireless network adapters to enable packet sniffing and wireless attacks, and consider including a USB Rubber Ducky for automating keystroke injection attacks.
To enhance the functionality of your hacking tool, create custom scripts and programs tailored to your specific needs. Develop scripts for automating common tasks, such as network enumeration or brute-force attacks, and integrate them seamlessly into your workflow.
Ensure your portable hacking tool is secure by implementing strong authentication methods, encrypting sensitive data, and regularly updating your software and tools to stay ahead of emerging threats. With your Raspberry Pi-based hacking gadget, you’ll have a powerful, customizable, and portable tool for testing network security and expanding your ethical hacking skills wherever you go.
Conclusion
In conclusion, the 10 practical Raspberry Pi projects showcased in this article demonstrate the incredible versatility and potential of this tiny computer. From building a retro gaming console and creating a smart home hub to setting up a personal VPN server and developing a custom surveillance system, these projects cater to a wide range of interests and skill levels. By following the step-by-step tutorials and exploring the vast Raspberry Pi ecosystem, you can unleash your creativity and bring your ideas to life. Whether you’re a beginner or an experienced maker, these projects serve as a starting point for your own innovations. So, grab your Raspberry Pi, gather the necessary components, and embark on an exciting journey of discovery and creation. The possibilities are endless, and the only limit is your imagination.


