
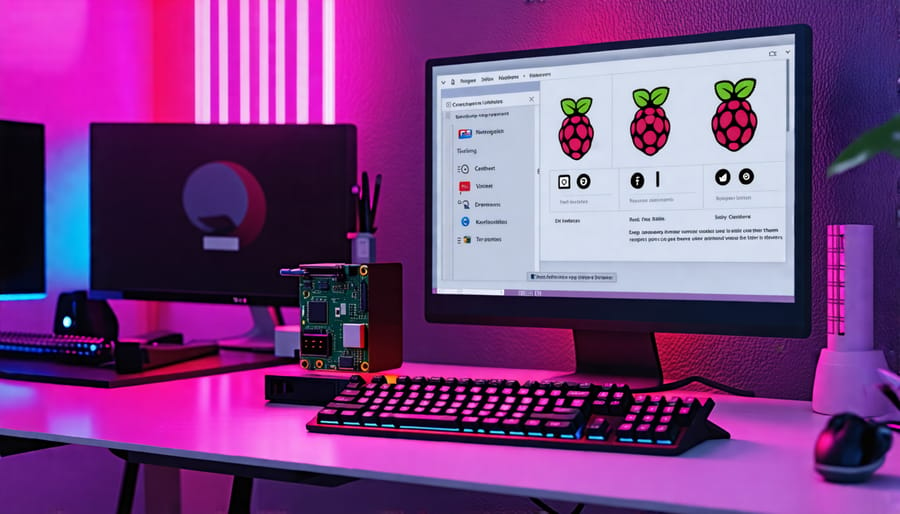
Configure your Raspberry Pi for a Norwegian keyboard layout by using the specially designed Raspberry Pi Keyboards Available Now for Norway. Alternatively, edit the /etc/default/keyboard file, change XKBLAYOUT to “no”, and reboot your Pi. For a graphical setup, open Raspberry Pi Configuration from the Preferences menu, navigate to Localisation tab, select “Set Keyboard…” and choose your desired Norwegian layout. Verify the @ and $ keys produce Å and $ respectively to confirm the layout is properly configured. With these simple steps, you’ll be typing in Norwegian on your Raspberry Pi in no time!
Norwegian Keyboard Layouts
Norwegian
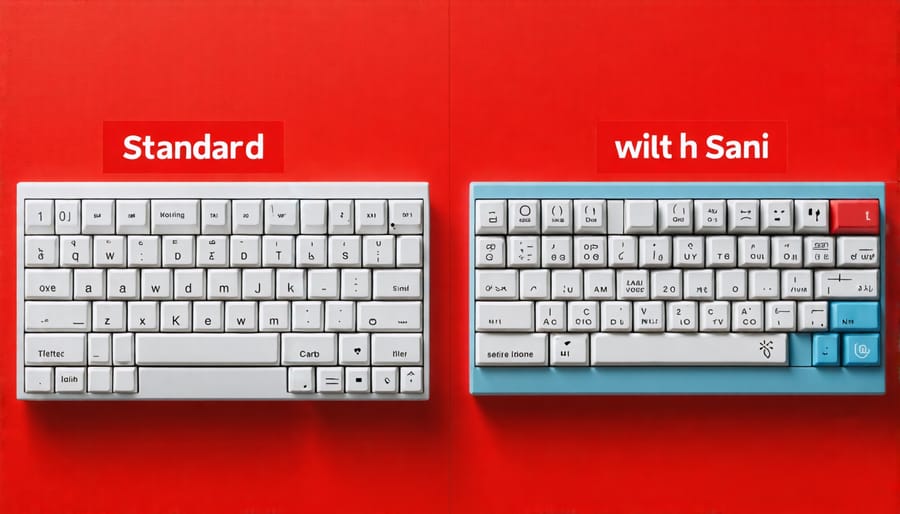
The standard Norwegian keyboard layout for Raspberry Pi closely resembles a physical Norwegian keyboard. It includes all the necessary keys and characters specific to the Norwegian language, such as Æ, Ø, and Å. This layout is designed to make typing in Norwegian as seamless and efficient as possible.
To activate the Norwegian keyboard layout on your Raspberry Pi, you can easily select it from the Raspberry Pi Configuration tool or by modifying the keyboard configuration file. Once enabled, you’ll have access to all the unique Norwegian characters and key placements.
The Norwegian keyboard layout on Raspberry Pi also supports alternative key combinations for typing special characters. For example, you can use “Alt Gr + 8” to type the Ø character or “Alt Gr + 9” for the Å character. These shortcuts make it convenient to input Norwegian-specific characters without having to switch between different layouts.
By using the standard Norwegian keyboard layout on your Raspberry Pi, you can create projects, write documents, and communicate effectively in the Norwegian language. It provides a familiar and comfortable typing experience for Norwegian users, ensuring that language-specific needs are met when working with the Raspberry Pi.
Norwegian with Sami
The Norwegian with Sami keyboard layout is designed for users who require support for both Norwegian and Sami language characters. This layout includes all the standard Norwegian characters, as well as additional Sami-specific letters such as Á, Č, Đ, Ŋ, Š, Ŧ, and Ž. By selecting this layout, your Raspberry Pi will be configured to recognize and display these unique characters, making it easier to work with Sami language content. To set up the Norwegian with Sami layout, simply follow the same steps as the standard Norwegian layout, but choose the “Norwegian with Sami” option instead. Once configured, you’ll be able to seamlessly type in both Norwegian and Sami, expanding the versatility of your Raspberry Pi for multilingual projects and applications.
Dvorak Norwegian
The Dvorak Norwegian keyboard layout is an ergonomic alternative optimized for typing in Norwegian. Developed by Håkon Hallingstad, it places the most commonly used Norwegian letters on the home row for increased typing efficiency and reduced finger strain. The layout maintains the standard Dvorak hand alternation and follows the same principles of putting vowels on the left and consonants on the right. While less popular than QWERTY, the Dvorak Norwegian layout can significantly improve typing speed and comfort for those willing to learn it. To set up Dvorak Norwegian on your Raspberry Pi, follow the same steps as for the standard Norwegian layout but select “Norwegian Dvorak” instead.
Setting the Keyboard Layout
Using Raspberry Pi OS
Setting the keyboard layout to Norwegian using the graphical Raspberry Pi OS is a straightforward process. Begin by clicking on the Raspberry Pi icon in the top-left corner of the screen to open the main menu. Navigate to the “Preferences” submenu and select “Raspberry Pi Configuration.”
In the Raspberry Pi Configuration window, switch to the “Localisation” tab. Under the “Keyboard” section, click on the “Set Keyboard…” button. A new window will appear, displaying a list of available keyboard layouts. Scroll through the list until you find the “Norwegian” option. Select it and click “OK” to confirm your choice.
Next, you’ll be asked to choose a specific Norwegian keyboard variant. The most common options are “Norwegian” for a standard layout and “Norwegian with Sami” for a layout that includes Sami language characters. Select the appropriate variant for your needs and click “OK.”
The system will then prompt you to reboot for the changes to take effect. Click “Yes” to restart your Raspberry Pi. Once the device has rebooted, your keyboard layout will be set to Norwegian, allowing you to easily type Norwegian-specific characters and diacritics.
If you encounter any issues or need to make further adjustments, you can always revisit the Raspberry Pi Configuration tool and fine-tune your keyboard settings as needed. With just a few clicks, you’ll be ready to use your Raspberry Pi with a Norwegian keyboard layout, making it more convenient to work on projects or communicate in your native language.
Using the Command Line
For those comfortable with the command line, changing the Raspberry Pi’s keyboard layout via terminal commands is a quick and efficient method. To get started, open a terminal window on your Raspberry Pi. Use the command “sudo raspi-config” to access the configuration tool. Navigate to the “Localisation Options” menu and select “Keyboard Layout.” From there, choose the appropriate Norwegian layout, such as “Norwegian” or “Norwegian with Sami.” Save your changes and exit the configuration tool. Alternatively, you can directly edit the keyboard configuration file using a text editor like nano. Open the file with the command “sudo nano /etc/default/keyboard” and modify the “XKBLAYOUT” line to “no” for the standard Norwegian layout. Save the file and reboot your Raspberry Pi for the changes to take effect. With these simple terminal commands, you’ll be typing away in Norwegian in no time. Remember, if you encounter any issues, you can always revert the changes by following the same steps and selecting the default keyboard layout option.
Permanently Saving Keyboard Settings
To ensure your Norwegian keyboard layout persists after rebooting your Raspberry Pi, you’ll need to make a few permanent changes. First, open the `/etc/default/keyboard` file using a text editor with sudo privileges, such as nano: `sudo nano /etc/default/keyboard`. Find the line that starts with `XKBLAYOUT` and change the value to `”no”`. This sets the default keyboard layout to Norwegian.
Next, locate the line beginning with `XKBVARIANT` and set its value to `”,”`. Save the changes and exit the text editor. Finally, reboot your Raspberry Pi with the command `sudo reboot`. Upon restart, your Norwegian keyboard layout should be active by default, ensuring you can easily type Norwegian-specific characters without reconfiguring your settings each time. With these simple steps, you’ll have a persistent Norwegian keyboard layout on your Raspberry Pi, making it more convenient to work on projects or communicate in your preferred language.
Troubleshooting
When setting up a Norwegian keyboard layout on your Raspberry Pi, you may encounter a few common issues. If some keys produce unexpected characters or symbols, double-check that you’ve selected the correct Norwegian layout variant in the Raspberry Pi configuration settings. Another problem could be that the keyboard layout reverts to the default after a reboot. To fix this, ensure that you’ve saved the changes and updated the locale settings in the “raspi-config” utility.
If you’re using a third-party keyboard and experiencing input lag or unresponsive keys, try connecting the keyboard directly to the Raspberry Pi’s USB ports instead of using a hub. Some keyboards may require additional drivers or firmware updates to function properly with the Raspberry Pi.
In case you’ve accidentally changed the keyboard layout and can’t navigate the menus to switch it back, connect via SSH from another computer and use the “raspi-config” utility to reset the layout remotely. Alternatively, you can attach a spare keyboard with a standard US or UK layout to regain control and reconfigure the Norwegian settings.
If you encounter any persistent issues or peculiarities with the Norwegian special characters, consider creating a custom keyboard layout file. This allows you to fine-tune the key mappings and create shortcuts for frequently used symbols. Online resources and Raspberry Pi community forums can provide guidance and examples for crafting your own custom layout.
Remember, troubleshooting is a natural part of the learning process when working with Raspberry Pi projects. With patience and a methodical approach, you’ll soon have your Norwegian keyboard layout functioning seamlessly on your Raspberry Pi.
Using a Norwegian keyboard layout on your Raspberry Pi offers several benefits for users in Norway or those working with Norwegian language content. By configuring your Raspberry Pi to use a Norwegian layout, you can easily type Norwegian-specific characters, such as æ, ø, and å, without the need for cumbersome key combinations or manual character insertion. This streamlines your workflow and enhances productivity when writing in Norwegian. Additionally, using a familiar keyboard layout reduces the learning curve and makes your Raspberry Pi feel more user-friendly and tailored to your needs. With the step-by-step instructions provided in this guide, you can confidently set up and enjoy the convenience of a Norwegian keyboard layout on your Raspberry Pi, empowering you to create and engage with Norwegian content effortlessly.