
Harness the power of computer vision with Raspberry Pi, the affordable single-board computer that has captivated Raspberry Pi enthusiasts worldwide. Unleash your creativity and turn your ideas into reality by leveraging the Pi’s capabilities, extensive library support, and vibrant community resources. Discover how this credit card-sized device can revolutionize the way you interact with the visual world, from object detection and facial recognition to augmented reality experiences. Dive into a world of endless possibilities as we explore the exciting intersection of computer vision and Raspberry Pi in this comprehensive guide tailored for beginners and experienced makers alike.
What You’ll Need to Get Started
Hardware Essentials
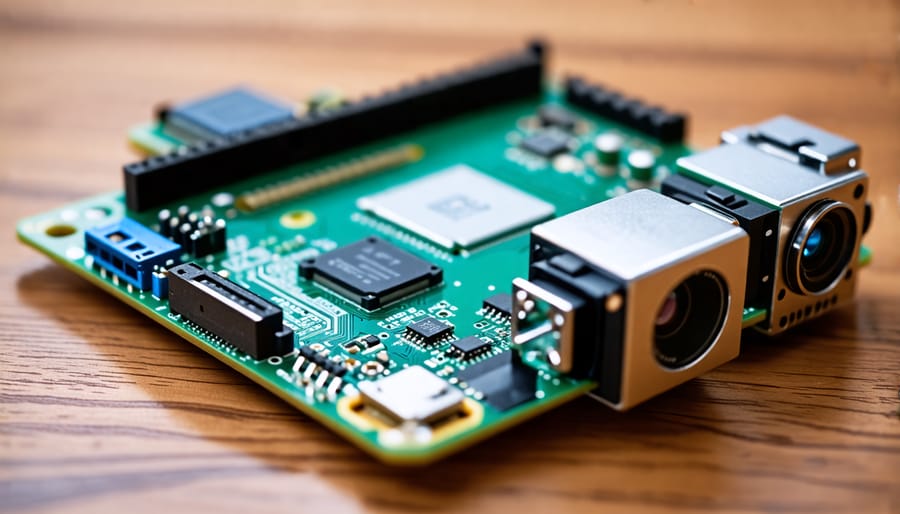
To get started with computer vision on Raspberry Pi, you’ll need a few essential hardware components. First, choose a suitable Raspberry Pi model, such as the Raspberry Pi 4 or Raspberry Pi Zero W, depending on your performance requirements and budget. Next, you’ll need a compatible camera module, like the Raspberry Pi Camera Module V2 or the High Quality Camera. These modules connect directly to the Raspberry Pi’s camera serial interface (CSI) port. Additionally, consider purchasing a camera mount or case to secure your camera in place. You’ll also need a microSD card (at least 8GB) to install the operating system and store your projects. Finally, ensure you have a stable power supply, such as the official Raspberry Pi power adapter, to keep your setup running smoothly.
Software Requirements
To run computer vision applications on your Raspberry Pi, you’ll need to install some essential software components. Start by setting up the Raspbian operating system on your Pi. Next, install OpenCV, an open-source library for computer vision and machine learning. You can follow this tutorial to compile OpenCV from source or use pre-built binaries for faster installation. Python is the preferred programming language for computer vision projects on Raspberry Pi. Ensure you have Python 3 installed, along with pip for managing packages. You’ll also need NumPy for numerical computing and SciPy for scientific computing. Install these dependencies using pip. Other useful libraries include TensorFlow and Keras for deep learning, picamera for accessing the Raspberry Pi camera module, and matplotlib for data visualization. With these software components in place, you’ll be ready to start exploring the exciting world of computer vision on your Raspberry Pi.
Setting Up Your Raspberry Pi for Computer Vision
Installing the Operating System
To get started with computer vision on your Raspberry Pi, you’ll need to install a compatible Raspberry Pi OS. We recommend using Raspberry Pi OS (formerly Raspbian), which is the official operating system for Raspberry Pi. Download the latest version from the official Raspberry Pi website and write it to an SD card using a tool like Etcher. Once the OS is installed, boot up your Raspberry Pi and follow the on-screen instructions to set up your language, time zone, and Wi-Fi connection. Update your system packages to ensure you have the latest software versions by running “sudo apt update” and “sudo apt upgrade” in the terminal. With your Raspberry Pi OS up and running, you’re ready to dive into the exciting world of computer vision!
Enabling the Camera Interface
To enable the camera interface on your Raspberry Pi, start by launching the Raspberry Pi Configuration tool from the main menu. Navigate to the Interfaces tab and locate the Camera option. Click on the radio button next to “Enabled” to activate the camera interface. After enabling the camera, reboot your Raspberry Pi for the changes to take effect. Once your Pi has restarted, you can verify that the camera is working by opening a terminal and running the command raspistill -o test.jpg. This command will capture a still image from the camera and save it as “test.jpg” in your current directory.
Installing Required Libraries and Frameworks
To get started with computer vision on your Raspberry Pi, you’ll need to install a few essential libraries and frameworks. Begin by updating your system with sudo apt update && sudo apt upgrade. Next, install OpenCV, a powerful open-source computer vision library, by running sudo apt install libopencv-dev python3-opencv. This command installs both the C++ and Python bindings for OpenCV. If you plan on using deep learning models for your projects, you’ll also want to install TensorFlow. While the full version of TensorFlow can be resource-intensive for the Raspberry Pi, you can install TensorFlow Lite, which is optimized for edge devices. Run pip3 install https://dl.google.com/coral/python/tflite_runtime-2.1.0.post1-cp37-cp37m-linux_armv7l.whl to install TensorFlow Lite. Finally, consider installing NumPy for efficient numerical computing and matplotlib for data visualization. Use pip3 install numpy matplotlib to install both packages. With these libraries and frameworks set up, you’re ready to start exploring the exciting world of computer vision on your Raspberry Pi!
Beginner-Friendly Computer Vision Projects
Project 1: Object Detection
Building an object detection system using the Raspberry Pi and a camera module is a fantastic way to explore the world of computer vision. To get started, you’ll need a Raspberry Pi board (preferably 3B+ or 4), a compatible camera module, and a power supply. Begin by setting up your Raspberry Pi with the latest version of Raspbian OS and connecting the camera module to the designated CSI port. Next, install the necessary software libraries, such as OpenCV and TensorFlow, which provide powerful tools for image processing and machine learning. You can use pre-trained object detection models, like MobileNet SSD or YOLO, to detect and classify objects in real-time video streams or still images captured by the camera. Dive into the world of object detection by experimenting with different models and adjusting their parameters to suit your specific use case. You can train your own custom object detection model using tools like LabelImg to annotate images and TensorFlow’s Object Detection API to train and deploy the model on your Raspberry Pi. With your object detection system up and running, you can explore various applications, such as security systems, wildlife monitoring, or even creating your own autonomous robot that can navigate based on visual cues. The possibilities are endless, and building an object detection system with the Raspberry Pi is an excellent way to learn and apply computer vision concepts in a hands-on manner.
Project 2: Face Recognition
In this face recognition project, we’ll use the Raspberry Pi and the OpenCV library to create a system that can detect and identify faces in real-time. To get started, connect a camera module to your Raspberry Pi and install the necessary dependencies, including OpenCV and the face_recognition library. Once set up, capture a few images of the faces you want to recognize and label them accordingly. Next, write a Python script that uses OpenCV to capture video frames from the camera. For each frame, use the face_recognition library to detect faces and compare them against the pre-labeled images. If a match is found, display the person’s name on the screen or trigger a specific action, such as sending a notification or unlocking a door. To enhance the project, consider adding features like face tracking, emotion detection, or even a web interface for remote monitoring. You can also explore advanced techniques like face verification for added security or implement a face recognition-based attendance system. With the power of the Raspberry Pi and the versatility of computer vision, the possibilities are endless!
Project 3: Motion Detection and Tracking
Motion detection and tracking is an exciting application of computer vision that can be easily implemented using a Raspberry Pi. To get started, you’ll need a Raspberry Pi with a camera module and the OpenCV library installed. Begin by setting up the camera and enabling it in the Raspberry Pi configuration settings. Next, write a Python script that captures video frames from the camera and applies motion detection algorithms, such as background subtraction or frame differencing, to identify moving objects. Once motion is detected, you can track the object’s movement by drawing bounding boxes or tracking points on the video feed. Experiment with different motion detection techniques and adjust parameters to optimize performance based on your specific use case. You can also incorporate additional features, such as sending alerts or triggering actions when motion is detected. With a little creativity, you can build powerful motion detection and tracking systems using your Raspberry Pi, perfect for applications like security monitoring, wildlife observation, or interactive art installations. Remember to test your system thoroughly and fine-tune it for optimal results. By mastering motion detection and tracking, you’ll open up a world of possibilities for your computer vision projects.
Advanced Computer Vision Techniques

Deep Learning for Computer Vision
Deep learning has revolutionized computer vision, enabling powerful capabilities like object detection, image segmentation, and facial recognition. With a Raspberry Pi, you can harness these techniques to create impressive vision-based projects. Popular deep learning frameworks like TensorFlow and PyTorch offer pre-trained models that can be deployed on the Pi, allowing you to leverage state-of-the-art algorithms without extensive training. These models can recognize objects, detect faces, and even interpret human poses in real-time. By combining deep learning with the Pi’s camera module and processing power, you can build intelligent systems that understand and interact with the visual world. Whether you’re creating a smart security camera, a gesture-controlled robot, or an autonomous vehicle, deep learning on the Raspberry Pi opens up a world of possibilities for computer vision applications. Dive into the exciting field of deep learning and unlock the potential of your Raspberry Pi in perceiving and analyzing the visual realm.
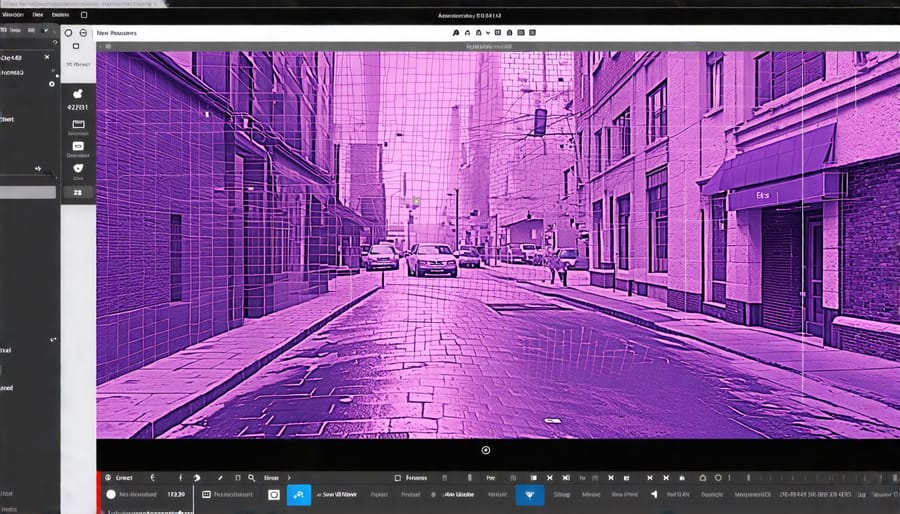
Real-Time Video Analysis
Real-time video analysis is a powerful application of computer vision on the Raspberry Pi. By leveraging the Pi’s processing capabilities and connecting a camera module, you can create systems that analyze video feeds in real-time. OpenCV, a popular computer vision library, provides a wide range of algorithms for tasks such as object detection, face recognition, and motion tracking. With a few lines of Python code, you can access the camera stream, apply computer vision techniques, and visualize the results on the Raspberry Pi’s display or stream them over a network. Real-time video analysis opens up possibilities for projects like surveillance systems, gesture-controlled interfaces, and autonomous vehicles. By optimizing your code and using lightweight models, you can achieve impressive performance on the Raspberry Pi. Whether you’re a beginner or an experienced developer, real-time video analysis with the Raspberry Pi is an exciting area to explore in the world of computer vision.