
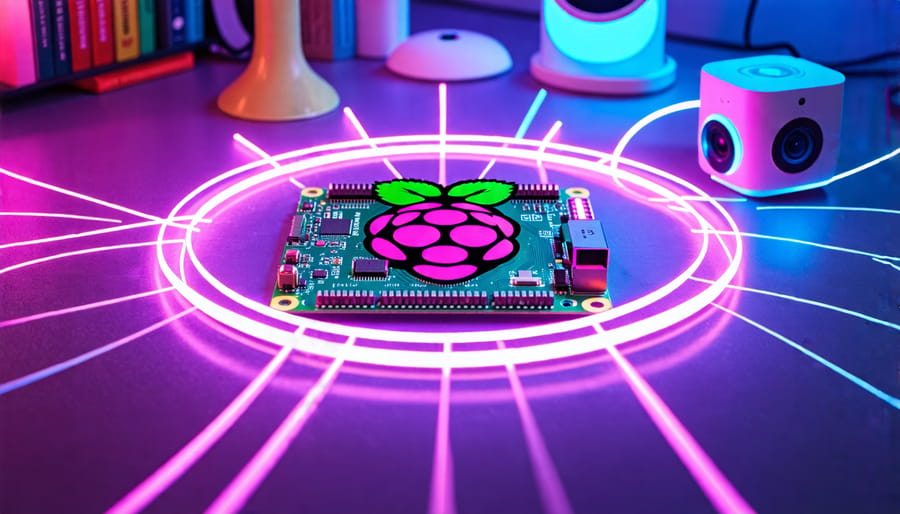
Transform your home into a smart, automated haven with Raspberry Pi. This tiny but mighty computer unlocks endless possibilities for creating custom home automation systems that simplify your life and elevate your living space. From voice-controlled lights to intelligent security setups, Raspberry Pi empowers you to bring your wildest home automation dreams to life. Get ready to dive into a world of exciting projects as we explore how Raspberry Pi can revolutionize the way you interact with your home.
Setting Up Your Raspberry Pi for Home Automation
Before diving into your home automation projects, you’ll need to set up your Raspberry Pi. Start by installing the Raspberry Pi OS on a microSD card using the official Raspberry Pi Imager tool. This user-friendly software will guide you through the process, allowing you to select the OS version and configure basic settings like SSH, Wi-Fi, and locale.
Once the OS is installed, insert the microSD card into your Raspberry Pi and connect the necessary peripherals, including a power supply, monitor, keyboard, and mouse. If you plan to use your Raspberry Pi headless (without a monitor), you can enable SSH during the OS installation process or by creating an empty file named “ssh” (without any extension) in the boot partition of the microSD card.
Power on your Raspberry Pi and wait for it to boot up. If you’re using a monitor, you’ll see the desktop environment. Open the terminal and run the following command to update your system:
sudo apt update && sudo apt upgrade -y
This ensures your Raspberry Pi has the latest software and security patches. Next, configure your Wi-Fi connection if you haven’t done so during the OS installation. You can do this using the desktop GUI or by editing the wpa_supplicant.conf file in the terminal.
Finally, familiarize yourself with the Raspberry Pi’s GPIO (General Purpose Input/Output) pins, as these will be essential for connecting sensors and devices in your home automation projects. You can refer to the official Raspberry Pi GPIO pinout diagram to understand the layout and functions of each pin.
With your Raspberry Pi set up and updated, you’re now ready to start exploring the exciting world of home automation projects!

Smart Lighting Control
Controlling your home’s lighting system with a Raspberry Pi is an exciting and rewarding project. To get started, you’ll need a Raspberry Pi board, a smart bulb or LED strip that supports Wi-Fi or Bluetooth, and the necessary software libraries.
First, connect your Raspberry Pi to your home network and install the required libraries, such as the Philips Hue API for Hue bulbs or the LIFX Python library for LIFX bulbs. Next, discover the IP address of your smart bulb and authenticate your Raspberry Pi with the bulb’s API.
Once connected, you can use Python scripts to control your smart bulb’s color, brightness, and power state. For example, to turn on a Hue bulb and set it to a warm white color, you’d use commands like `light.on()` and `light.color = [0.4578, 0.4100]`.
To create a custom lighting system, consider adding sensors or buttons to trigger specific lighting scenes. A PIR motion sensor can turn lights on when someone enters a room, while a push button can cycle through preset color schemes. You can also set up scheduled routines or integrate with voice assistants like Alexa or Google Home.
For a more advanced setup, consider setting up remote access to your Raspberry Pi, allowing you to control your lights from anywhere using a web interface or mobile app. This can be especially handy for setting the perfect ambiance before arriving home or adjusting your lights while away on vacation.
With a little creativity and experimentation, you can create a personalized smart lighting system that enhances your home’s comfort, convenience, and energy efficiency.

Home Security with Raspberry Pi
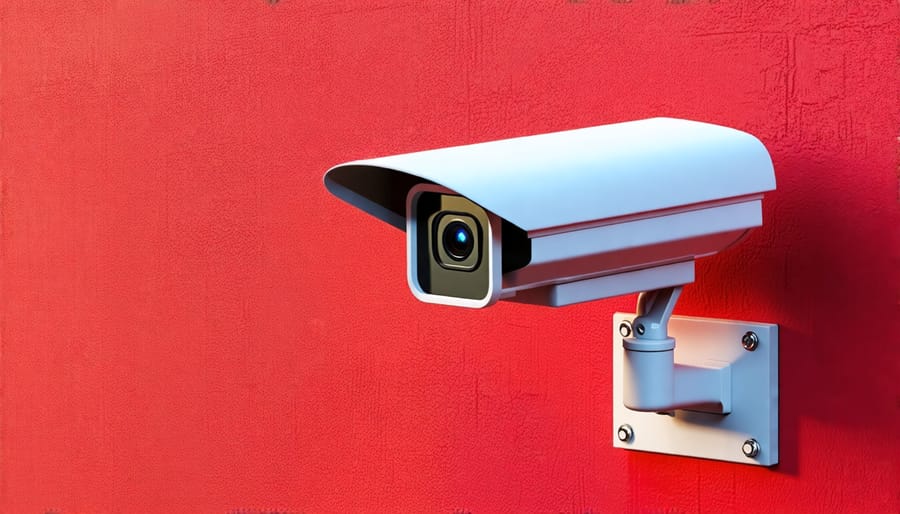
Raspberry Pi Security Camera
Setting up a Raspberry Pi security camera is a fun and practical project for monitoring your home. To get started, you’ll need a Raspberry Pi board (3B+ or newer), a compatible camera module, a power supply, and an SD card with the Raspberry Pi OS installed. Begin by connecting the camera module to the Pi’s camera serial interface (CSI) port and ensuring it’s securely fastened.
Next, configure the Raspberry Pi by enabling the camera interface in the Raspberry Pi Configuration tool. Open a terminal and install the required software, such as Motion, a popular open-source motion detection software. Configure Motion by editing its configuration file, specifying parameters like the camera resolution, frame rate, and motion detection settings.
To access the camera feed remotely, set up a dynamic DNS service and configure port forwarding on your router. This allows you to securely view the camera stream from anywhere using a web browser or a mobile app. Consider using SSL/TLS encryption to protect the transmitted data.
For added functionality, you can integrate the security camera with other home automation systems like smart lighting or voice control. For example, configure the camera to trigger lights when motion is detected or use voice commands to activate the camera feed on a smart display.
With a little effort, your Raspberry Pi security camera will be up and running, providing an affordable and customizable solution for home surveillance. Experiment with different camera placements, motion detection settings, and integration options to create a tailored security setup that meets your needs.
Smart Door Lock with Raspberry Pi
Creating a smart door lock with Raspberry Pi is an exciting project that enhances home security and convenience. To get started, you’ll need a Raspberry Pi, a servo motor, a door lock, jumper wires, and a power supply. Begin by connecting the servo motor to the Raspberry Pi’s GPIO pins, ensuring proper wiring for power, ground, and control signals. Next, mount the servo motor securely to your door lock mechanism, allowing it to control the lock’s movement. On the software side, install the necessary libraries and write a Python script to control the servo motor based on user input or remote commands. You can integrate additional features like RFID card readers, keypads, or smartphone apps to trigger the lock. With careful wiring and programming, your Raspberry Pi-powered smart door lock will provide a cutting-edge security solution for your home.
Voice-Controlled Home Automation
Integrating your Raspberry Pi with popular voice assistants like Alexa or Google Assistant opens up exciting possibilities for hands-free home control. By setting up your Pi as a smart home hub, you can use voice commands to effortlessly manage various devices and automate tasks. To get started, you’ll need to install the appropriate software on your Raspberry Pi, such as the Alexa Voice Service (AVS) or the Google Assistant SDK. These tools provide the necessary libraries and APIs to communicate with the voice assistants. Once set up, you can create custom skills or actions that respond to specific voice commands, allowing you to control smart lights, thermostats, and other connected devices. For example, you could say, “Alexa, turn on the living room lights,” or “Hey Google, set the temperature to 72 degrees.” With the help of the Raspberry Pi Commander, you can streamline the setup process and easily manage your voice-controlled home automation system. As you dive deeper into this project, you’ll discover endless ways to customize and expand your voice-controlled home, making your daily life more convenient and enjoyable.
Energy Monitoring and Management
Energy monitoring and management is a crucial aspect of home automation, and Raspberry Pi offers an affordable and powerful platform for implementing energy-saving solutions. One popular project is creating a smart thermostat using a Raspberry Pi, temperature sensors, and a relay module to control your heating and cooling systems. By programming the Pi to optimize temperature settings based on occupancy, time of day, and weather conditions, you can significantly reduce energy waste and costs.
Another valuable energy management project is building an energy usage dashboard with a Raspberry Pi. By integrating the Pi with smart plugs and energy monitoring sensors, you can track the power consumption of individual appliances and your entire home in real-time. Visualizing this data through a web-based dashboard allows you to identify energy-hungry devices, monitor trends, and make informed decisions to optimize your energy usage. With a Raspberry Pi and a few additional components, you can gain valuable insights into your home’s energy consumption and take steps towards a more efficient and eco-friendly lifestyle.