
Dive into the exciting world of machine learning with Raspberry Pi, the credit card-sized computer that’s revolutionizing the way we approach AI projects. With its low cost, high performance, and versatile capabilities, Raspberry Pi is the perfect platform for hobbyists, educators, and professionals alike to explore the vast potential of machine learning. From object detection and facial recognition to smart home automation and robotics, the possibilities are endless. Get ready to unleash your creativity, learn cutting-edge techniques, and build groundbreaking projects that showcase the true power of Raspberry Pi and machine learning. Let’s embark on this thrilling journey together and discover how you can transform the world, one project at a time.
Setting Up Your Raspberry Pi for Machine Learning
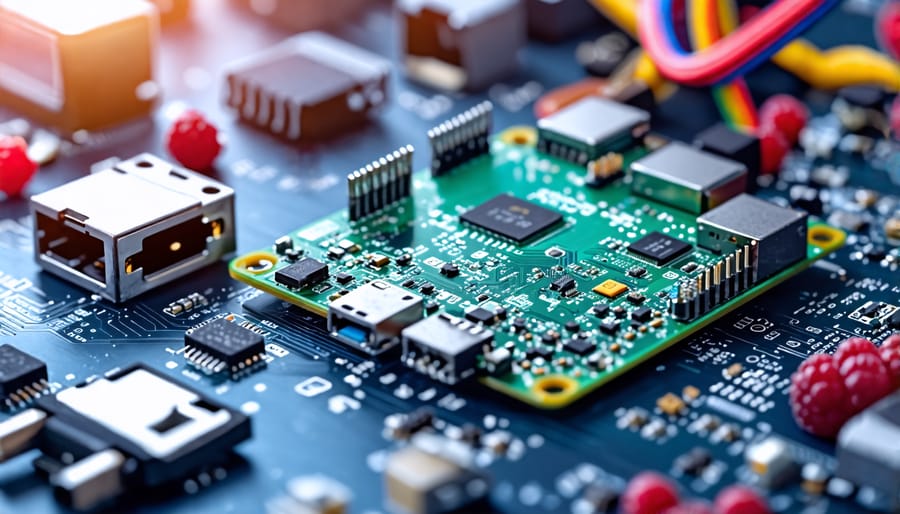
Hardware Requirements
When embarking on your Raspberry Pi machine learning journey, it’s essential to choose the right hardware to ensure optimal performance and smooth execution of your projects. While most Raspberry Pi models can handle basic ML tasks, opting for a more powerful model with increased memory and storage will enhance your experience and allow for more complex projects. Recommended RPi models for machine learning include the Raspberry Pi 4B with at least 4GB of RAM and the Raspberry Pi 400, which offers a complete desktop computer experience. These models provide the necessary processing power and memory to handle larger datasets and more intensive computations. In terms of storage, using a high-speed microSD card with a minimum capacity of 32GB is advised to store your operating system, libraries, and project files. Alternatively, you can connect an external SSD for even faster read/write speeds and expanded storage options.
Installing the Operating System
When choosing an operating system for your Raspberry Pi machine learning projects, consider a lightweight, optimized OS that supports popular ML frameworks. Raspbian, the official Raspberry Pi OS, is a great choice as it comes pre-installed with Python and supports TensorFlow and PyTorch. Other options include Ubuntu Server or a specialized ML OS like DietPi.
To install Raspbian, download the image from the official Raspberry Pi website and write it to an SD card using a tool like Etcher. Insert the SD card into your Raspberry Pi, connect peripherals, and power it on. Follow the setup wizard to configure basic settings like timezone and password.
Once your OS is set up, update the system packages and install any necessary dependencies for your ML projects. This may include libraries like NumPy, SciPy, and Pandas. With your Raspberry Pi now equipped with a suitable OS, you’re ready to dive into the exciting world of machine learning projects.
Essential Libraries and Packages
To get started with machine learning on your Raspberry Pi, you’ll need to install several essential libraries and packages. Begin by setting up Python and pip, which will allow you to easily install the required dependencies. Next, install NumPy for efficient numerical computing and Pandas for data manipulation and analysis. For machine learning algorithms, scikit-learn is a must-have library that provides a wide range of tools for classification, regression, and clustering. To work with neural networks and deep learning, consider installing TensorFlow or PyTorch, both of which have Raspberry Pi-compatible versions. Lastly, don’t forget to install OpenCV for computer vision tasks and Matplotlib for data visualization.
Beginner-Friendly Machine Learning Projects

Handwritten Digit Recognition
Handwritten digit recognition is an exciting application of machine learning that you can easily implement using your Raspberry Pi. By training a model on a dataset of handwritten numbers, such as the famous MNIST dataset, you can create a system that accurately classifies digits drawn by hand.
To get started, you’ll need to set up your Raspberry Pi with the necessary dependencies, such as TensorFlow or PyTorch. Next, download the MNIST dataset, which contains thousands of labeled images of handwritten digits. Preprocess the data by normalizing pixel values and splitting it into training and testing sets.
Choose an appropriate model architecture, such as a convolutional neural network (CNN), which excels at image classification tasks. Define the model’s layers, including convolutional, pooling, and fully connected layers. Compile the model with an optimizer and loss function suitable for multi-class classification, such as categorical cross-entropy.
Train the model on the preprocessed data, using techniques like data augmentation to improve its robustness. Monitor the training progress and adjust hyperparameters as needed to achieve optimal performance. Once training is complete, evaluate the model’s accuracy on the testing set to gauge its effectiveness.
Finally, create a user-friendly interface that allows users to draw digits on the Raspberry Pi’s touchscreen or capture them via a connected camera. Use the trained model to predict the drawn digit in real-time, displaying the result on the screen. With this project, you’ll gain hands-on experience in building and deploying machine learning models on embedded devices like the Raspberry Pi.
Sentiment Analysis of Movie Reviews
Sentiment analysis is a fascinating application of machine learning that involves determining the emotional tone behind a piece of text. With a Raspberry Pi, you can build your own sentiment analysis project to analyze movie reviews and gain insights into audience reception. By training a machine learning model on a dataset of labeled movie reviews, you can teach your Raspberry Pi to classify new reviews as positive, negative, or neutral. This project is an excellent introduction to natural language processing (NLP) and can be extended to analyze sentiment in various contexts, such as social media posts or customer feedback. To get started, you’ll need to collect a dataset of movie reviews, preprocess the text data, and train a suitable machine learning algorithm like Naive Bayes or Support Vector Machines (SVM). With some coding skills and a passion for movies, you can create a powerful sentiment analysis tool that provides valuable insights into the world of cinema. Whether you’re a movie buff or simply curious about the potential of machine learning, this project is sure to be an engaging and rewarding experience.
Weather Prediction
Weather prediction is a fascinating application of machine learning, and with a Raspberry Pi, you can create your own weather forecasting model. By collecting data from sensors like temperature, humidity, and barometric pressure, you can train an ML model to recognize patterns and make predictions about future weather conditions.
To get started, you’ll need a Raspberry Pi, a compatible weather sensor (such as the BME280), and a way to collect and store the data (like a database or CSV file). You’ll also need to install the necessary libraries for data analysis and machine learning, such as NumPy, Pandas, and scikit-learn.
Once you have your data collected, you can preprocess it by cleaning, normalizing, and splitting it into training and testing sets. Then, you can experiment with different ML algorithms, such as linear regression, decision trees, or neural networks, to find the best model for your data.
After training your model, you can use it to make predictions based on new sensor data. You can even create a web application or dashboard to display your weather predictions in real-time, making it a fun and practical project for anyone interested in meteorology and machine learning.
With a Raspberry Pi and some creativity, you can build your own weather prediction system and gain valuable experience in applying machine learning to real-world problems.
Intermediate Machine Learning Projects
Face Recognition Door Lock
Imagine a door lock that recognizes your face and grants you entry. With a Raspberry Pi, a camera module, and some machine learning magic, you can build your own facial recognition door lock system. By training a machine learning model on a dataset of authorized faces, the Raspberry Pi can analyze the camera feed in real-time and determine whether the person in front of the door is allowed to enter.
To create this project, you’ll need to set up the Raspberry Pi with the camera module and install the necessary libraries for face detection and recognition, such as OpenCV and face_recognition. Capture images of authorized individuals and train the model to recognize their faces. Then, write a script that continuously captures frames from the camera, detects faces, and compares them against the trained model. If a match is found, the Raspberry Pi can send a signal to unlock the door using a relay or servo motor.
This project not only showcases the power of machine learning on the Raspberry Pi but also provides a practical application for enhancing home security. With the ability to customize and expand the system, you can add features like logging entry attempts, sending notifications, or integrating with other smart home devices. Embark on this exciting project and create a cutting-edge door lock that recognizes you and your loved ones, making your home smarter and more secure.
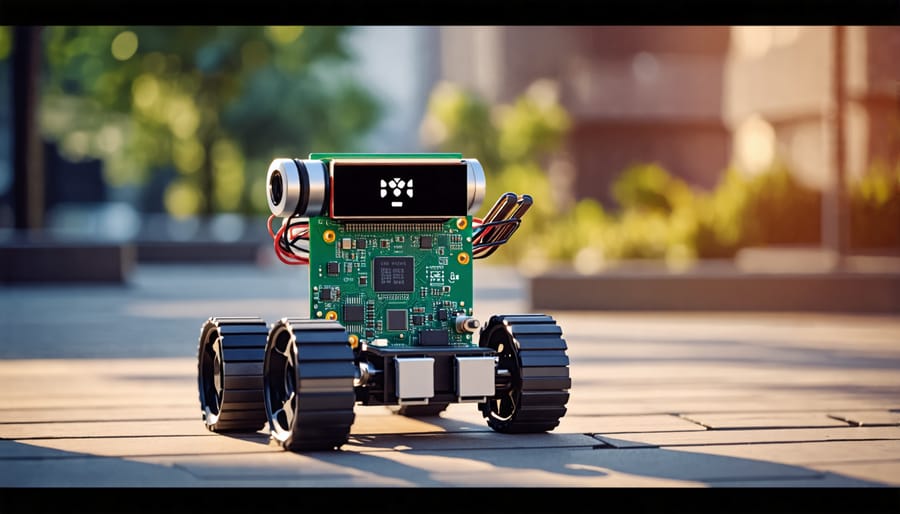
Object Detection for Robotics
Object detection is a crucial aspect of robotics, enabling machines to perceive and interact with their environment. By combining the power of machine learning with the versatility of Raspberry Pi, you can create RPi robots capable of real-time object detection. This section will guide you through the process of implementing object detection for your Raspberry Pi-powered robots.
To get started, you’ll need a Raspberry Pi board, a camera module, and a pre-trained object detection model. Popular models like YOLO (You Only Look Once) and SSD (Single Shot MultiBox Detector) are well-suited for this task. These models have been trained on vast datasets and can detect a wide range of objects with high accuracy.
Once you have the necessary hardware and software set up, you can begin integrating the object detection model into your robot’s control system. Using Python and libraries like OpenCV, you can capture real-time video from the camera module and feed it into the object detection model. The model will analyze each frame, identifying and localizing objects within the scene.
The detected objects can be used to guide your robot’s behavior. For example, if your robot detects a specific object, it can navigate towards it, avoid obstacles, or perform a predefined action. You can program your robot to respond differently based on the type and location of the detected objects, creating intelligent and interactive behaviors.
To optimize performance, you may need to fine-tune the object detection model for your specific use case. This involves retraining the model with a dataset relevant to your robot’s operating environment. By focusing on the objects and scenarios your robot is likely to encounter, you can improve detection accuracy and reduce false positives.
Implementing real-time object detection on a Raspberry Pi robot requires careful consideration of computational resources. The Raspberry Pi has limited processing power compared to larger machines, so you’ll need to balance detection accuracy with real-time performance. Techniques like model compression, quantization, and hardware acceleration can help optimize the object detection pipeline for the Raspberry Pi.
With real-time object detection, your Raspberry Pi robot can perceive and understand its surroundings, opening up a world of possibilities for autonomous navigation, intelligent interaction, and advanced robotics applications. By combining machine learning and Raspberry Pi, you can create powerful and innovative robotic systems that push the boundaries of what’s possible with affordable, accessible hardware.
Stock Price Prediction
Predicting stock prices using machine learning has become an increasingly popular project for Raspberry Pi enthusiasts. By harnessing the power of historical data and ML algorithms, you can build a model that forecasts future stock prices with reasonable accuracy. To get started, gather a dataset containing historical stock prices, trading volumes, and other relevant features. Preprocess the data by handling missing values, normalizing the features, and splitting the dataset into training and testing sets.
Next, choose an appropriate ML algorithm for time series forecasting, such as Long Short-Term Memory (LSTM) neural networks or Random Forests. Train your chosen model on the prepared dataset, fine-tuning the hyperparameters to optimize performance. Once trained, evaluate the model’s accuracy using metrics like Mean Absolute Error (MAE) or Root Mean Squared Error (RMSE) on the testing set.
To deploy your stock price prediction model on a Raspberry Pi, ensure you have the necessary dependencies installed, such as TensorFlow or scikit-learn. Load the trained model onto your Raspberry Pi and create a script that fetches real-time stock data from financial APIs. Feed this data into your model to generate predictions, which can be displayed on a web interface or sent as alerts via email or SMS.
Remember that stock price prediction is a complex task, and no model can guarantee perfect accuracy. However, this project provides an excellent opportunity to learn about time series forecasting, data preprocessing, and model deployment on a Raspberry Pi. As you gain experience, you can experiment with more advanced techniques like ensemble models or deep learning architectures to improve your predictions and gain valuable insights into financial markets.
Advanced Machine Learning Projects
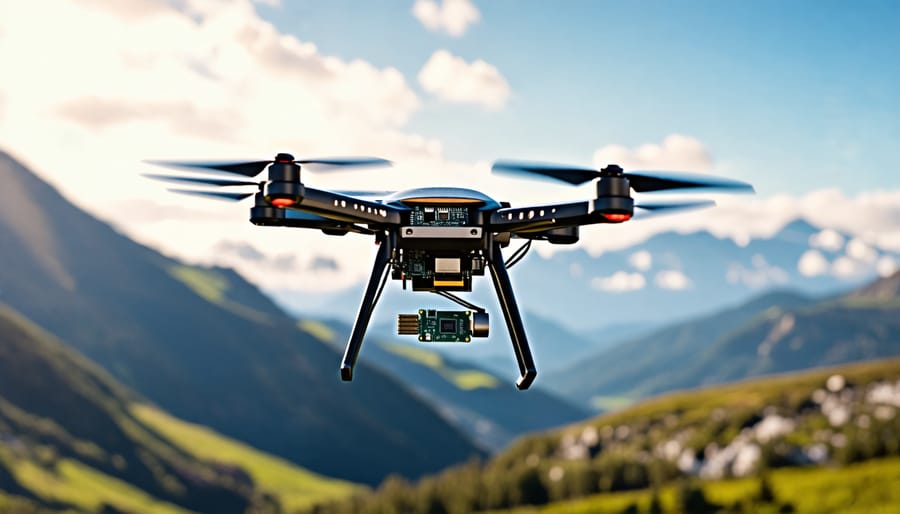
Autonomous Drone Navigation
Autonomous drone navigation using Raspberry Pi and machine learning is a fascinating area of development, enabling drones to fly independently without human intervention. By leveraging the power of the Raspberry Pi and various sensors, developers can create intelligent drones capable of navigating complex environments and performing a wide range of tasks.
To achieve autonomous flight, RPi drones rely on a combination of computer vision, sensor fusion, and machine learning algorithms. The Raspberry Pi acts as the brain of the drone, processing data from cameras, ultrasonic sensors, and inertial measurement units (IMUs) to perceive its surroundings and make real-time decisions.
One key aspect of autonomous navigation is obstacle avoidance. By training machine learning models on large datasets of images and sensor data, the Raspberry Pi can learn to recognize and avoid obstacles in its path. Techniques such as deep learning and convolutional neural networks (CNNs) have proven highly effective in enabling drones to detect and navigate around objects.
Another crucial component is localization and mapping. Using simultaneous localization and mapping (SLAM) algorithms, the Raspberry Pi can construct a 3D map of its environment while simultaneously determining its position within that map. This allows the drone to navigate through unknown spaces, explore new areas, and even plan efficient routes to reach its destination.
Implementing autonomous navigation on a Raspberry Pi drone requires a solid understanding of Python programming, as well as familiarity with libraries such as OpenCV for computer vision and TensorFlow or PyTorch for machine learning. Hobbyists and researchers can experiment with open-source frameworks like PX4 or ArduPilot, which provide a foundation for building autonomous drone systems.
As the field of autonomous drone navigation continues to evolve, the possibilities are endless. From search and rescue missions to agricultural monitoring and package delivery, Raspberry Pi-powered drones equipped with machine learning capabilities have the potential to revolutionize various industries and improve our daily lives.
Real-Time Language Translation
Harnessing the power of machine learning, you can transform your Raspberry Pi into a real-time language translator, bridging communication gaps and fostering cultural understanding. By leveraging pre-trained models and open-source libraries, such as TensorFlow and OpenNMT, you can create a powerful translation system capable of handling multiple languages with impressive accuracy.
To embark on this exciting project, start by setting up your Raspberry Pi with the necessary dependencies and libraries. Dive into the world of natural language processing (NLP) and explore techniques like tokenization, word embeddings, and sequence-to-sequence models. These foundational concepts will help you understand the inner workings of language translation systems.
Next, gather parallel corpora—large datasets containing text in both the source and target languages. Preprocess the data by cleaning, tokenizing, and aligning the sentences. This step is crucial for training your translation model effectively. Utilize tools like Moses or Sockeye to streamline the data preparation process.
With your data ready, it’s time to train your translation model. Experiment with different architectures, such as recurrent neural networks (RNNs) or transformer models, to find the best fit for your project. Fine-tune the model’s hyperparameters and employ techniques like batch normalization and dropout to optimize performance and prevent overfitting.
Once your model is trained, integrate it into a user-friendly interface on your Raspberry Pi. Develop a web application or create a standalone device that accepts speech or text input, translates it in real-time, and displays or speaks the translated output. You can even incorporate speech recognition and text-to-speech modules to create a fully voice-controlled translation system.
The possibilities are endless with a Raspberry Pi-powered language translator. From facilitating international business meetings to enabling seamless communication during travel, your project has the potential to break down language barriers and connect people across the globe. Embrace the power of machine learning and embark on a journey to create a truly transformative translation solution.