
Unlock the full potential of your Raspberry Pi with these advanced projects that push the boundaries of what’s possible with this tiny, yet powerful computer. From setting up a Raspberry Pi 4 Model B as a web server to creating a custom smart home hub, these projects will challenge your skills and inspire your creativity. Build a network-attached storage (NAS) device to centralize and access your files from anywhere, or dive into the world of machine learning by training your own AI models. Transform your Raspberry Pi into a retro gaming console and relive the classics, or develop a custom weather station that monitors and analyzes environmental data. With step-by-step tutorials and expert insights, you’ll gain the knowledge and confidence to tackle even the most complex projects and unleash the true capabilities of your Raspberry Pi.
Build a Personal Web Server

Hardware Requirements
To tackle advanced Raspberry Pi projects, you’ll need a Raspberry Pi board (3B+ or 4 recommended), a power supply, and a microSD card (8GB+). Depending on the project, additional components may include a case, GPIO breakout board, sensors, actuators, and peripherals like a camera module or touchscreen display. Don’t forget essentials like an HDMI cable, keyboard, mouse, and Ethernet cable or Wi-Fi adapter. For specific projects, you might need specialized hardware such as a real-time clock module, IR receiver, or motor driver. Check each project’s requirements and gather the necessary components before getting started.
Software Installation and Setup
To set up a web server on your Raspberry Pi, start by installing the Apache web server software. Open a terminal and run the command `sudo apt-get install apache2`. Once installed, the default web page will be accessible at `http://localhost/` on your Pi’s web browser.
Next, configure your Apache server by editing the `apache2.conf` file located in `/etc/apache2/`. Use the command `sudo nano /etc/apache2/apache2.conf` to open the file in the Nano text editor. Scroll down to the `Directory` section and adjust the settings according to your preferences, such as enabling `.htaccess` files or setting the `AllowOverride` directive.
To host your website files, navigate to the `/var/www/html/` directory using `cd /var/www/html/`. This is the default location where Apache looks for web pages. Create a new file named `index.html` using `sudo nano index.html` and add your HTML content. Save the file and exit the editor.
If you want to host multiple websites on your Raspberry Pi, you can create virtual hosts. Start by creating a new directory for your website within the `/var/www/` directory, such as `/var/www/mywebsite/`. Then, create a new configuration file in `/etc/apache2/sites-available/` using a command like `sudo nano /etc/apache2/sites-available/mywebsite.conf`. Configure the virtual host by specifying the `ServerName`, `DocumentRoot`, and other relevant directives.
Enable the virtual host using `sudo a2ensite mywebsite.conf` and disable the default site with `sudo a2dissite 000-default.conf`. Finally, restart the Apache service using `sudo service apache2 restart` for the changes to take effect. Your Raspberry Pi web server is now set up and ready to host your websites.
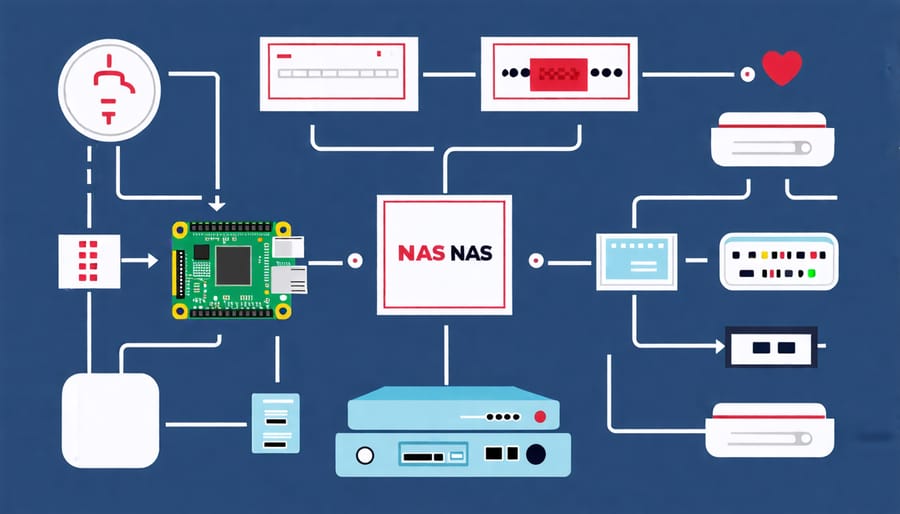
Create a Network-Attached Storage (NAS) Device
Creating a Network-Attached Storage (NAS) device with your Raspberry Pi is an excellent way to centralize your file storage and backup needs. To get started, you’ll need a Raspberry Pi board (preferably a Pi 4 for better performance), a USB external hard drive or SSD, and an Ethernet cable for a wired connection.
First, install a lightweight operating system like OpenMediaVault or Nextcloud on your Raspberry Pi. These open-source solutions provide user-friendly web interfaces for managing your NAS, setting up user accounts, and configuring shared folders.
Once your NAS software is set up, connect your external storage device to the Raspberry Pi’s USB port and format it using the web interface. Create shared folders for different types of files (e.g., documents, photos, videos) and set appropriate user permissions for access control.
To ensure data integrity, consider enabling RAID (Redundant Array of Independent Disks) if you have multiple storage devices. RAID allows for data redundancy and can protect against drive failures.
Finally, configure your other devices (computers, smartphones, tablets) to access the shared folders on your Raspberry Pi NAS. You can use SMB (Server Message Block) or NFS (Network File System) protocols for file sharing, depending on your client devices’ operating systems.
With your Raspberry Pi NAS up and running, you can easily store, access, and back up your files from any device connected to your home network. This centralized storage solution not only simplifies data management but also provides a cost-effective alternative to cloud storage subscriptions.
Develop a Smart Home Hub
Transform your Raspberry Pi into the ultimate smart home hub with this exciting project! By leveraging the power of your Pi and open-source home automation software like Home Assistant or OpenHAB, you can create a centralized controller for all your smart devices. Imagine being able to manage your lights, thermostats, security cameras, and more from a single, user-friendly interface.
To get started, you’ll need to install your chosen home automation software on your Raspberry Pi. This typically involves downloading the software image and writing it to an SD card. Once your Pi is up and running, you can begin integrating your smart devices. Many popular smart home products, such as Philips Hue lights and Nest thermostats, offer easy integration with home automation platforms.
One of the key advantages of using a Raspberry Pi as your smart home hub is the ability to customize and expand its functionality. With a little coding knowledge, you can create custom automations and scenes that fit your unique needs. For example, you could set your lights to turn on automatically when you arrive home or have your thermostat adjust based on the weather forecast.
Another great feature of a Raspberry Pi smart home hub is the ability to access and control your devices remotely. By setting up remote access, you can manage your smart home from anywhere with an internet connection. This is particularly useful when you’re away on vacation or need to check in on your home while at work.
As you dive deeper into the world of smart home automation, you’ll discover endless possibilities for making your home more efficient, secure, and convenient. With a Raspberry Pi at the helm, you’ll have a powerful and flexible tool for bringing your smart home vision to life.
Implement a VPN Server
To set up a Raspberry Pi as a VPN server, begin by installing a lightweight operating system like Raspberry Pi OS Lite. Update the system and install the necessary VPN server software, such as OpenVPN or WireGuard. Generate the required encryption keys and certificates for secure connections.
Configure the VPN server settings, including the port, protocol, and authentication method. Set up port forwarding on your router to allow incoming connections to the VPN server. Create client configuration files for each device that will connect to the VPN.
Test the VPN connection by connecting from a client device using the generated configuration file. Ensure that all traffic is routed through the VPN tunnel and that you can access resources on your home network securely.
To enhance security, consider implementing additional measures such as using strong authentication methods, enabling log monitoring, and applying firewall rules. Remember to keep your Raspberry Pi VPN server updated with the latest security patches and software versions.
With a Raspberry Pi VPN server, you can enjoy secure remote access to your home network, protect your online privacy, and even run a game server without exposing it directly to the internet.
Build a Retro Gaming Console
Building a retro gaming console with a Raspberry Pi is an exciting project that allows you to relive classic video game experiences. To get started, you’ll need a Raspberry Pi board, a compatible case, a power supply, an HDMI cable, and a microSD card. Begin by installing an operating system like RetroPie or Recalbox on the microSD card. These OS options come pre-configured with emulators for various retro gaming systems, such as NES, SNES, PlayStation, and Arcade.
Once the OS is installed, connect your Raspberry Pi to a display, keyboard, and gamepad. Configure the input devices and customize the settings to your preferences. Next, transfer your legally-obtained ROMs to the appropriate folders on the microSD card. The emulators will scan these directories and add the games to your library.
With everything set up, you can now browse your game collection and start playing your favorite retro titles. Experiment with different emulators and settings to optimize performance and enhance your gaming experience. You can also add themes and modify the user interface to personalize your retro gaming console.
For an authentic feel, consider using USB game controllers that resemble classic gamepads. You can even build a custom arcade cabinet or use a 3D-printed case to house your Raspberry Pi, creating a unique and nostalgic gaming machine. With a Raspberry Pi retro gaming console, you’ll have access to a vast library of classic games, allowing you to relive childhood memories or discover new favorites from gaming history.

Create a Network Ad-Blocker
Setting up a Pi-hole on your Raspberry Pi is an excellent way to block ads and trackers across your entire network, enhancing your online privacy and improving browsing speeds. To get started, install the Raspberry Pi OS on your device and ensure it has a static IP address. Next, open the terminal and run the Pi-hole installation command, which will guide you through the setup process. During the installation, you’ll configure your network settings, choose your DNS provider, and set your admin password. Once the installation is complete, you can access the Pi-hole web interface to customize your ad-blocking settings, whitelist specific domains, and monitor your network’s activity. It’s essential to follow best practices for Raspberry Pi security to protect your Pi-hole from potential threats. With your Pi-hole up and running, you’ll enjoy a cleaner, faster, and more secure browsing experience on all devices connected to your network, without the need for individual ad-blockers on each device. The Pi-hole project is actively maintained and regularly updated, ensuring you have access to the latest ad-blocking capabilities and features.
Conclusion
The Raspberry Pi has proven to be an incredibly versatile and powerful tool for creating advanced projects that push the boundaries of what is possible with a single-board computer. From web servers and NAS devices to smart home hubs and retro gaming consoles, the Raspberry Pi has opened up a world of possibilities for tech enthusiasts, hobbyists, and educators alike.
As you have seen throughout this article, the Raspberry Pi is capable of handling a wide range of advanced projects, each with its own unique set of challenges and rewards. Whether you are interested in building your own custom smart home solution or creating a powerful media server for your home network, the Raspberry Pi has the potential to make your ideas a reality.
We encourage you to take the knowledge and inspiration gained from these advanced projects and experiment with your own ideas. The Raspberry Pi community is a wealth of resources and support, and there is no limit to what you can create with this amazing little device. So go ahead, let your imagination run wild, and see what incredible projects you can bring to life with your Raspberry Pi!