

Secure your home with these powerful Raspberry Pi projects that put you in control. From intelligent surveillance systems that detect and alert you to suspicious activity, to smart locks and access control that give you complete command over who enters your property, the Raspberry Pi’s versatility makes it the perfect platform for DIY security solutions. Learn how to set up remote monitoring, create an integrated alarm system that works with sensors and cameras, and even build a facial recognition system to authorize trusted individuals. With step-by-step guides for projects at every skill level, you’ll soon have a fully customized security setup that watches over your home 24/7. Discover how to leverage the Raspberry Pi’s capabilities to encrypt your home network, detect intrusions, and respond swiftly. Dive in now and take your home’s defenses to the next level with the power of Raspberry Pi.
Project 1: Raspberry Pi Security Camera System

Hardware Components
The essential hardware components for Raspberry Pi security projects include the Raspberry Pi board itself, which serves as the central processing unit. You’ll also need a power supply, microSD card for storage, and peripherals like a mouse and keyboard for initial setup. Depending on the project, additional components may be required, such as a camera module for surveillance, PIR sensors for motion detection, or a touchscreen display for user interaction. Don’t forget to consider accessories like cases, mounting brackets, and cables. With remote access capabilities, you can monitor and control your Raspberry Pi security system from anywhere.
Software Configuration
To set up the software for your Raspberry Pi security camera system, start by installing the latest version of Raspberry Pi OS using the official Raspberry Pi Imager. Once installed, open the terminal and update the system packages with the commands “sudo apt update” and “sudo apt upgrade”.
Next, install the required dependencies by running “sudo apt install python3-pip python3-dev libssl-dev libcurl4-openssl-dev libjpeg-dev”. This ensures you have the necessary libraries for the camera software.
Install the popular motion detection software, Motion, with “sudo apt install motion”. Configure the settings in the motion.conf file located at “/etc/motion/motion.conf”. Adjust parameters like camera resolution, frame rate, and motion detection sensitivity to suit your needs.
To enable remote access and live streaming, consider setting up a web server like Apache or Nginx. Install the chosen web server and configure it to serve the camera feed. You can also explore using a dedicated surveillance software like ZoneMinder or Shinobi for advanced features and multiple camera support.
Finally, automate the camera software to start on boot by adding the necessary commands to the “/etc/rc.local” file. Test your setup and make any final adjustments to ensure smooth operation of your Raspberry Pi security camera system.
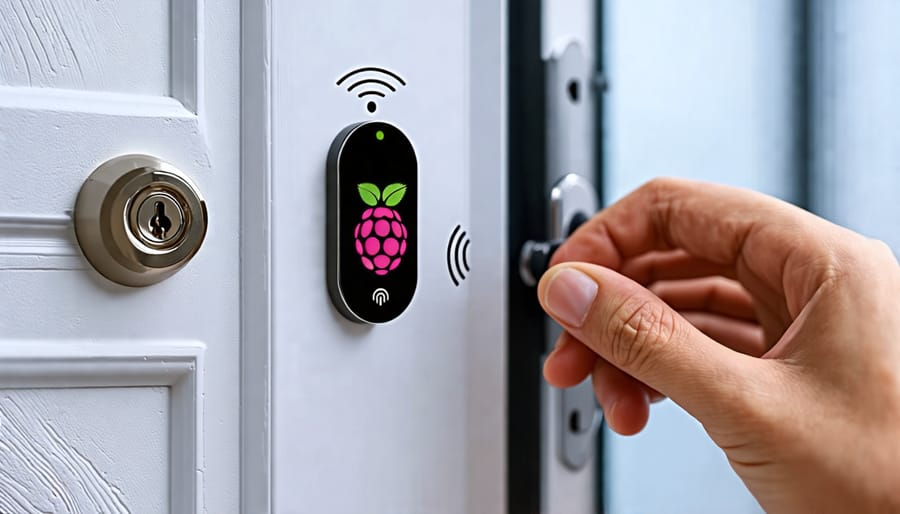
Project 2: Smart Door Lock with Raspberry Pi
To create a smart door lock with Raspberry Pi, you’ll need a servo motor, RFID reader, and RFID tags. Connect the servo to the Pi’s GPIO pins and the RFID reader via USB. Install the necessary libraries, such as RPi.GPIO and MFRC522. Write a Python script that listens for RFID tag scans and checks them against a list of authorized tags. If a valid tag is detected, the script should activate the servo to unlock the door for a set duration before re-locking. You can also add logging functionality to keep track of access attempts and send notifications via email or SMS. Securely mount the servo on your door and route the wires to your Raspberry Pi. Test the system thoroughly to ensure reliable operation. With this project, you’ll enhance your home’s security while learning valuable skills in programming, electronics, and integration.
Project 3: Raspberry Pi Home Alarm System
Building a customizable home alarm system with a Raspberry Pi is an exciting project that combines hardware and software skills. Start by gathering the necessary components, including a Raspberry Pi, PIR motion sensor, magnetic door sensor, buzzer, and jumper wires. Connect the sensors and buzzer to the Pi’s GPIO pins according to a wiring diagram.
Next, install the required libraries and dependencies on your Raspberry Pi, such as Python and the RPi.GPIO library. Write a Python script that monitors the sensors and triggers the buzzer when motion or door opening is detected. Customize the script to include adjustable settings like alarm duration, sensitivity, and optional email or SMS notifications.
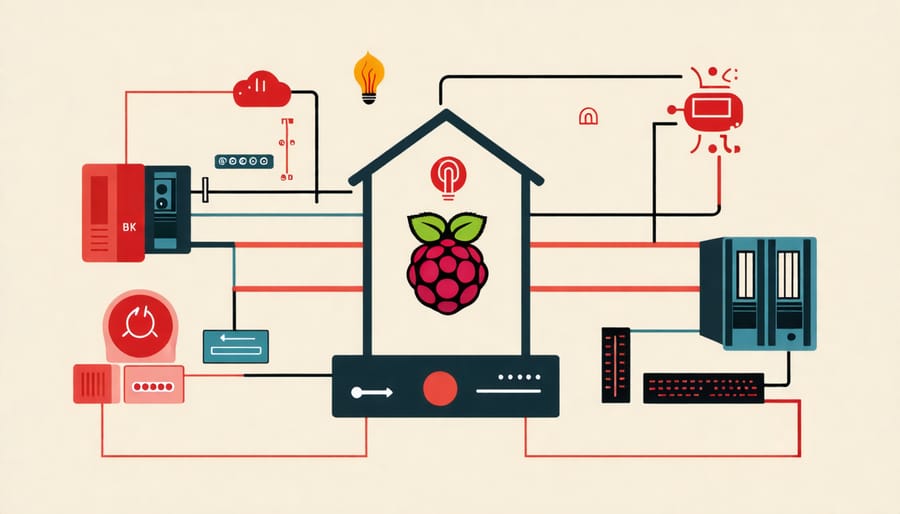
To enhance the functionality of your alarm system, consider integrating it with smart home platforms like Home Assistant or openHAB. These platforms allow you to control and monitor your alarm system remotely, as well as integrate it with other smart devices in your home.
Test your alarm system thoroughly to ensure proper functionality and make any necessary adjustments. You can expand the system by adding more sensors, such as smoke detectors or glass break sensors, to provide comprehensive coverage. With a Raspberry Pi-based home alarm system, you have the flexibility to tailor the setup to your specific needs and preferences, creating a personalized security solution for your home.
Project 4: Raspberry Pi Firewall and Network Monitor
Transforming your Raspberry Pi into a powerful firewall and network monitor is an excellent way to bolster your home network security. Start by installing a firewall software like UFW (Uncomplicated Firewall) or IPtables, which allow you to configure rules for incoming and outgoing network traffic. These tools help you block suspicious connections and prevent unauthorized access to your network.
Next, set up a network monitoring tool such as Nagios or Icinga to keep track of your network’s health and performance. These tools provide real-time alerts and notifications when unusual activity or potential security threats are detected. You can also use packet analyzers like Wireshark or tcpdump to capture and inspect network traffic, helping you identify and investigate any suspicious packets or connections.
To further enhance your Raspberry Pi firewall and network monitor, consider implementing additional security measures such as intrusion detection systems (IDS) like Snort or Suricata. These tools analyze network traffic patterns and signatures to detect and alert you of potential security breaches or attacks.
By configuring your Raspberry Pi as a firewall and network monitor, you can create an effective first line of defense for your home network, ensuring that your connected devices and personal data remain secure from potential threats.
Project 5: Secure Remote Access with Raspberry Pi VPN Server
Setting up a VPN server on your Raspberry Pi is an excellent way to enable secure remote access to your home network. To get started, install a VPN server software like OpenVPN or WireGuard on your Raspberry Pi. Configure the server settings, including the port, protocol, and encryption method. Generate server and client certificates for authentication and secure connections.
Next, set up port forwarding on your router to allow incoming VPN connections to reach your Raspberry Pi. Configure firewall rules on the Pi to only allow traffic from the VPN interface. Create client configuration files for each device you want to connect to the VPN.
When connecting remotely, use strong passwords and keep the client software updated. Consider enabling two-factor authentication for an extra layer of security. Regularly monitor VPN logs for any suspicious activity or connection attempts.
By following these steps and best practices, you can create a secure and reliable VPN server on your Raspberry Pi, giving you peace of mind when accessing your home network remotely. Whether you’re traveling, working from a coffee shop, or simply want to enhance your online privacy, a Raspberry Pi VPN server is a powerful tool to have in your security arsenal.
Conclusion
In conclusion, Raspberry Pi offers a versatile and cost-effective platform for creating custom home security projects. By leveraging the power of this tiny computer, you can build surveillance systems, access control solutions, alarm systems, and network security tools tailored to your specific needs. These projects not only provide an extra layer of protection for your home but also offer a fun and educational experience for tech enthusiasts and hobbyists.
As you embark on your Raspberry Pi security project journey, remember that the possibilities are endless. Don’t be afraid to experiment, customize, and combine different features to create a system that works best for you. With a little creativity and technical know-how, you can transform your Raspberry Pi into a powerful tool for enhancing your home’s security.
So, dive in, explore the vast array of resources available online, and start building your own Raspberry Pi-powered security projects today!