
Connect your Raspberry Pi keyboard, ensuring it’s compatible with Portugal’s layout. Go to Preferences > Raspberry Pi Configuration > Localisation and set Keyboard to Portuguese. Customize key mappings by editing /etc/default/keyboard. Raspberry Pi keyboards for Portugal utilize PT layouts for optimal productivity. Master shortcuts, tweak repeat rates, and remap keys for a personalized, efficient setup tailored to your needs in Portugal.
Mastering Portuguese Keyboard Layouts
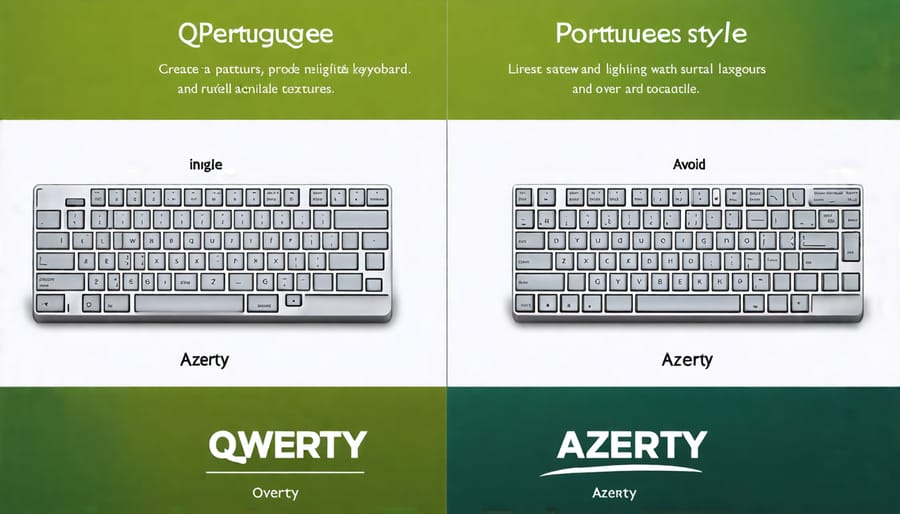
QWERTY vs. AZERTY
In Portugal, the two main keyboard layouts for the Raspberry Pi are QWERTY and AZERTY. QWERTY, the more widely used layout, is similar to the standard US keyboard arrangement. It offers familiarity for those accustomed to English keyboards and is generally easier to learn for beginners. However, it may not provide the most efficient typing experience for Portuguese-specific characters and accents.
On the other hand, the AZERTY layout is designed specifically for the Portuguese language. It places commonly used accented characters and symbols in more accessible positions, allowing for faster and more intuitive typing in Portuguese. The trade-off is that it may take some time to adjust to the different key placements, especially for users who are used to the QWERTY layout.
Ultimately, the choice between QWERTY and AZERTY depends on your typing preferences and the primary language you’ll be using on your Raspberry Pi. If you frequently type in English and value familiarity, QWERTY might be the better choice. However, if you primarily work with Portuguese text and want a layout optimized for the language, AZERTY could be the way to go. Experiment with both layouts to determine which one suits your needs best, and remember that you can always switch between them in the Raspberry Pi’s keyboard settings.
Accented Characters and Diacritics
To type accented characters and diacritics commonly used in Portuguese on your Raspberry Pi keyboard, you can use a combination of keys. For grave accents (à, è, ì, ò, ù), press AltGr + ` (backtick), followed by the desired vowel. Acute accents (á, é, í, ó, ú) are created by pressing AltGr + ' (apostrophe), then the vowel. Circumflex accents (â, ê, î, ô, û) require AltGr + ^ (caret) before the vowel. For tilde (ã, õ, ñ), use AltGr + ~ (tilde), then the letter. To input a cedilla (ç), press AltGr + , (comma), followed by c. These key combinations work seamlessly with the default Portuguese keyboard layout on Raspberry Pi. With a bit of practice, typing accented characters will become second nature, allowing you to effortlessly create content in Portuguese on your Raspberry Pi. Remember, you can always refer to an online Portuguese keyboard layout guide or print a physical reference sheet to keep nearby while you familiarize yourself with these key combinations. Mastering accented characters is an essential skill for anyone using a Raspberry Pi in a Portuguese-speaking environment.
Keyboard Shortcuts for Productivity
Mastering keyboard shortcuts on your Raspberry Pi can significantly boost your productivity and streamline your workflow. To navigate your Raspberry Pi like a pro, familiarize yourself with these essential shortcuts:
Ctrl + Alt + T: Open a new terminal window to execute commands and run scripts efficiently.
Ctrl + Shift + T: Open a new tab within the current terminal window, perfect for multitasking and organizing your work.
Ctrl + C: Terminate the current process running in the terminal, saving you time when you need to stop a command or script.
Alt + Tab: Quickly switch between open applications, allowing you to seamlessly navigate your Raspberry Pi environment.
Ctrl + Alt + F1-F6: Access virtual console terminals, providing a convenient way to troubleshoot or perform system-level tasks.
Ctrl + Alt + F7: Return to the graphical desktop environment from a virtual console.
Ctrl + Alt + Del: Reboot your Raspberry Pi gracefully, ensuring a clean restart when necessary.
Ctrl + Alt + Backspace: Restart the graphical desktop environment, which can be useful if you encounter display issues or need to refresh the UI.
Learning these shortcuts will help you navigate your Raspberry Pi more efficiently, saving valuable time and effort. For even more advanced control, consider using tools like the Raspberry Pi Commander, which offers a comprehensive set of commands and features to streamline your Raspberry Pi experience. By incorporating these shortcuts into your daily routine, you’ll be well on your way to mastering your Raspberry Pi and boosting your productivity in Portugal and beyond.
Troubleshooting Keyboard Issues
Unresponsive Keys
If you encounter unresponsive or stuck keys on your Raspberry Pi keyboard, don’t worry – it’s a common issue with simple solutions. First, try gently wiggling the affected key to dislodge any debris that may be causing it to stick. If that doesn’t work, carefully remove the keycap using a keycap puller or a small flathead screwdriver, and clean the switch underneath with compressed air or a soft brush. For more stubborn issues, you may need to replace the individual key switch. This process involves desoldering the old switch and soldering in a new one, which can be done with basic tools and a steady hand. If multiple keys are unresponsive, it’s possible there’s a loose connection between the keyboard and the Raspberry Pi. Check that the keyboard cable is securely connected to the USB port and try a different cable if the issue persists.
Incorrect Characters
If you’re experiencing issues with incorrect characters appearing when typing on your Raspberry Pi with a Portuguese keyboard layout, don’t worry – it’s a common problem with a simple solution. The issue usually arises from a mismatch between the keyboard layout configured in the operating system and the actual physical layout of your keyboard.
To resolve this, first ensure that you have selected the correct Portuguese keyboard layout in your Raspberry Pi’s settings. If the issue persists, you may need to modify the keyboard configuration file manually. Open the file using a text editor and look for the section defining the keyboard layout. Ensure that it matches your physical keyboard, save the changes, and reboot your Raspberry Pi.
If you’re still having trouble, consider using a keyboard mapping tool to create a custom layout that matches your specific keyboard. With a little bit of tweaking, you’ll be typing smoothly in no time, allowing you to focus on your exciting Raspberry Pi projects without any frustrating keyboard mishaps.
Keyboard Customization and Enhancements
Keycaps and Stickers
To personalize your Raspberry Pi keyboard for use in Portugal, consider replacing the standard keycaps with custom ones featuring Portuguese characters. Alternatively, you can apply language stickers to the existing keys. These stickers are designed to fit over the original keycaps and provide a visual guide for typing in Portuguese. They are easy to apply and remove without damaging the keyboard. Customizing your keycaps or adding language stickers can make typing in Portuguese more intuitive and efficient, especially if you are new to the layout.
Mechanical Keyboards
Using a mechanical keyboard with your Raspberry Pi in Portugal offers several benefits. The tactile feedback and satisfying key clicks can enhance your typing experience. Mechanical keyboards are also highly durable and customizable. When choosing a mechanical keyboard for your Raspberry Pi 4 Model B or other models, consider factors such as switch type, layout compatibility, and connectivity options. Keep in mind that some mechanical keyboards may require additional configuration to work seamlessly with your Raspberry Pi setup in Portugal.