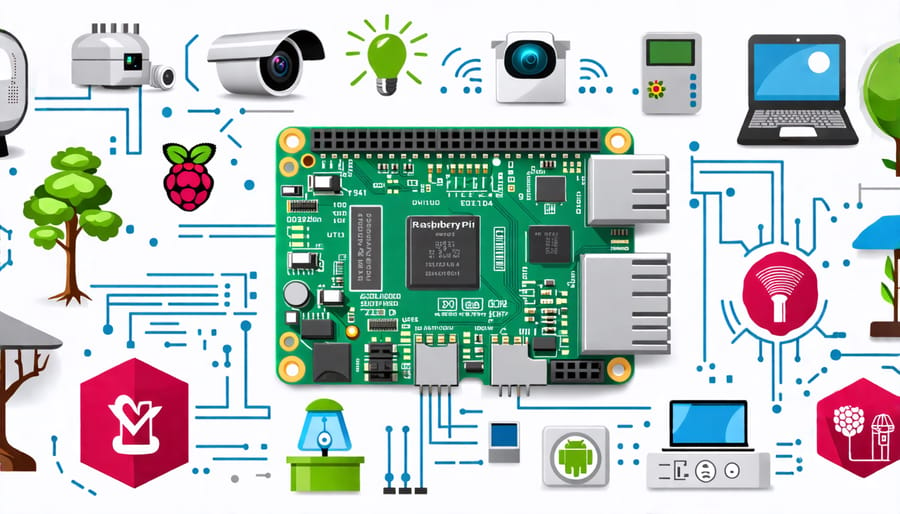
Transform your home into a smart, automated haven with a Raspberry Pi. 10 mind-blowing projects await, from voice-controlled lights to intelligent security systems. Harness the power of this credit card-sized computer to create a network of interconnected devices that simplify your life. Dive into the world of sensors, relays, and Python scripts to build custom solutions tailored to your needs. Whether you’re a seasoned developer or a curious beginner, the Raspberry Pi offers limitless possibilities for automating your living space. Embrace the future of home automation and embark on an exciting journey of innovation and convenience.
Setting Up Your Raspberry Pi for Home Automation
Hardware Requirements
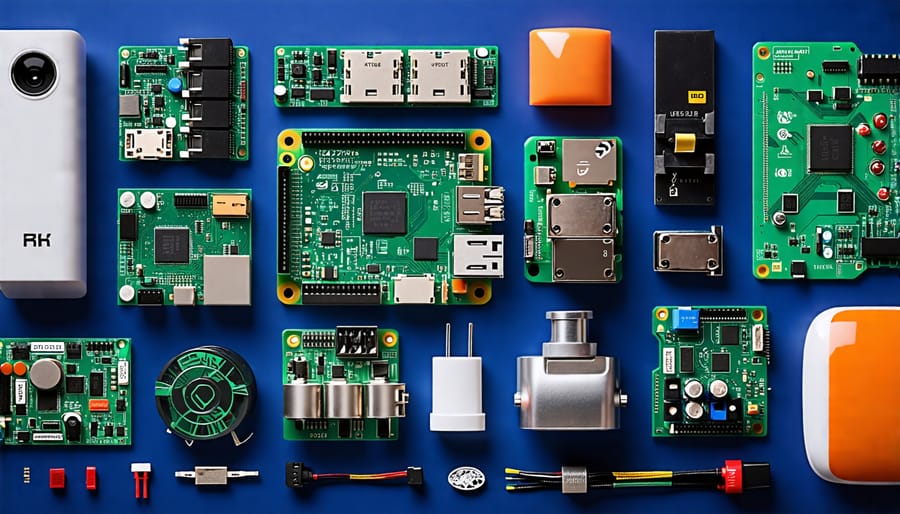
To get started with your Raspberry Pi home automation project, you’ll need a few essential hardware components. First, you’ll require a Raspberry Pi board, such as the Raspberry Pi 4 Model B, which offers excellent performance and connectivity options. You’ll also need a power supply, such as the official Raspberry Pi power adapter or a solar-powered alternative for off-grid applications. A microSD card (at least 8GB) is necessary for storing the operating system and your home automation software. Depending on your project requirements, you might need additional accessories like a case, GPIO headers, sensors (e.g., temperature, motion), relays, and breadboards for prototyping. Don’t forget to gather any necessary cables, such as HDMI, Ethernet, or USB, to connect your Raspberry Pi to peripherals like a monitor, keyboard, and mouse during the initial setup.

Software Setup
To set up your Raspberry Pi for home automation, start by installing the Raspberry Pi OS using the official Raspberry Pi Imager. Once installed, connect your Pi to your network via Ethernet or Wi-Fi. Next, update your system by running “sudo apt update” and “sudo apt upgrade” in the terminal.
Install the necessary software for your specific home automation projects, such as Node-RED for creating automation flows or MQTT for communication between devices. Many tutorials are available online to guide you through setting up these tools.
Depending on your project, you may need to configure additional settings or install device-specific libraries. Refer to the Raspberry Pi 4 pinout guide to ensure proper wiring and compatibility with your chosen sensors and actuators.
Finally, test your setup and make any necessary adjustments to ensure smooth operation of your Raspberry Pi home automation system.
7 Exciting Home Automation Projects
1. Smart Lighting Control
Setting up your Raspberry Pi to control smart bulbs or LED strips is a fun and rewarding project. Start by connecting your Pi to the same network as your smart lights. Next, install the necessary software, such as the Python library for your specific smart bulbs (e.g., LIFX or Philips Hue). Write a Python script that uses the library to discover and control your lights. You can then set up a web interface or use voice commands to control your lights remotely. For LED strips, connect them to your Pi’s GPIO pins and use a library like rpi_ws281x to control them. With a few lines of code, you can create custom lighting effects and automate your lights based on schedules or sensor data. Experiment with different colors, brightness levels, and animations to personalize your smart lighting setup. The possibilities are endless when you combine the power of Raspberry Pi with smart lighting technology.
2. Automated Plant Watering System
Creating an automated plant watering system with Raspberry Pi is a fun and practical project. Start by connecting a moisture sensor to your Pi to detect soil dryness. Next, attach a water pump to the GPIO pins, ensuring it’s powered separately. Write a Python script that reads the moisture sensor data and activates the pump when the soil is too dry. You can also add a relay module to control the pump’s power supply. For a more advanced setup, incorporate a real-time clock module to schedule watering times and an LCD display to monitor the system’s status. With a bit of coding and hardware tinkering, you’ll have a reliable, self-watering system that keeps your plants thriving even when you’re away. This project is perfect for beginners looking to explore the practical applications of Raspberry Pi in home automation.
3. Voice-Controlled Home Assistant
Integrating your Raspberry Pi with voice assistants like Alexa or Google Assistant takes your home automation setup to the next level. By using the Alexa Voice Service (AVS) or Google Assistant SDK, you can create custom voice commands to control your smart home devices through your Raspberry Pi.
To get started, set up your Raspberry Pi with the necessary software and APIs for your chosen voice assistant. Follow the official documentation to configure the integration and define your custom voice commands. For example, you can create commands to turn lights on or off, adjust thermostats, or even trigger custom scripts on your Raspberry Pi.
With voice control, you can easily manage your home automation system hands-free, making it more convenient and accessible. Impress your friends and family by showcasing the power of your voice-controlled Raspberry Pi home assistant, and explore the endless possibilities of custom voice commands tailored to your specific needs.
4. Smart Doorbell with Camera
Building a Raspberry Pi-powered video doorbell is a fun and practical project. Start by connecting a camera module and a button to your Raspberry Pi. When the button is pressed, the camera captures an image or video and sends it to your smartphone or email using a Python script. You can also set up motion detection to trigger recordings automatically.
For two-way communication, add a microphone and speaker to your setup. Use a VoIP service like Asterisk or a chat application to enable real-time audio communication. Customize your doorbell with a 3D-printed enclosure or mount it in an existing doorbell housing for a sleek look.
With a little coding knowledge and some affordable components, you can create a smart doorbell that enhances your home’s security and convenience. Experiment with different features and integrations to make your doorbell truly unique.

5. Energy Monitoring Dashboard
Monitoring your home’s energy usage with a Raspberry Pi is a great way to identify areas for savings and track your consumption over time. By connecting energy sensors to your Pi, you can collect real-time data on your electricity usage and display it on a user-friendly dashboard. Start by setting up a current sensor, such as the SCT-013, to measure the current flowing through your main power line. Connect the sensor to your Pi using an analog-to-digital converter like the MCP3008. Then, install the necessary software libraries and write a Python script to read the sensor data and calculate the power consumption. Finally, create a web-based dashboard using tools like Flask or Django to visualize your energy data in graphs and charts. With this energy monitoring system in place, you’ll gain valuable insights into your home’s energy usage patterns and be able to make informed decisions to reduce your consumption and save money on your utility bills.
6. Automated Window Blinds
Automate your window blinds with a Raspberry Pi for effortless control and energy efficiency. By connecting a motor to your blinds and using a Raspberry Pi to control it, you can open and close your blinds on a schedule or remotely using your smartphone. Start by attaching a motor to your blinds’ mechanism, then connect it to your Raspberry Pi using a motor driver. Install the necessary software libraries and create a Python script to control the motor based on your preferences. You can set up a web interface or use a mobile app to remotely control your blinds from anywhere. Additionally, you can integrate light sensors to automatically adjust the blinds based on the amount of natural light in the room. With automated window blinds, you can save energy by optimizing natural light and maintain a comfortable environment in your home without manual intervention.
7. Smart Thermostat Control
Creating a smart thermostat system with Raspberry Pi allows you to control your home’s temperature remotely and efficiently. Start by connecting a temperature sensor, such as the DS18B20, to your Raspberry Pi’s GPIO pins. Install the necessary libraries, like the “w1thermsensor” package, to read temperature data from the sensor. Next, set up a relay module to control your HVAC system based on the temperature readings. Use Python to write a script that constantly monitors the temperature and triggers the relay to turn the heating or cooling on or off as needed. You can also create a web interface or mobile app using frameworks like Flask or React Native to allow remote control and monitoring of your smart thermostat. Additionally, consider integrating your smart thermostat with other home automation systems, such as voice assistants or smart hubs, for a more seamless and convenient experience.

Conclusion
In conclusion, the Raspberry Pi offers a powerful, versatile, and cost-effective platform for creating a wide array of home automation projects. From voice-controlled lights and smart thermostats to automated plant watering systems and remote-controlled appliances, the possibilities are virtually endless. By leveraging the Pi’s GPIO pins, built-in Wi-Fi, and compatibility with various sensors and actuators, you can transform your home into a smart, efficient, and personalized living space.
Whether you’re a seasoned developer or a curious beginner, the Raspberry Pi community offers a wealth of resources, tutorials, and support to help you bring your home automation ideas to life. With a little creativity and some basic programming skills, you can start with simple projects and gradually work your way up to more complex and game-changing projects.
So, what are you waiting for? Grab your Raspberry Pi, dive into the exciting world of home automation, and start building the smart home of your dreams today. As you explore and experiment with different projects, you’ll not only enhance your living space but also develop valuable skills in programming, electronics, and problem-solving. Happy automating!


