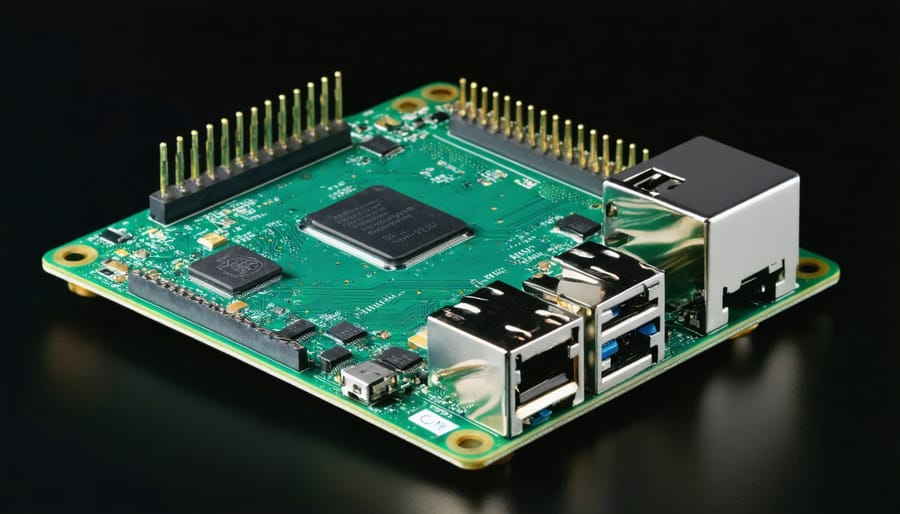
Transform your Raspberry Pi 4 into a versatile computing powerhouse by selecting the perfect operating system from an extensive ecosystem of options. With Raspberry Pi 4 performance capabilities reaching desktop-level computing, choosing the right OS has become crucial for maximizing your board’s potential. From Raspberry Pi OS (formerly Raspbian) offering optimized performance for everyday computing to Ubuntu Server providing robust networking capabilities, and specialized distributions like RetroPie for gaming enthusiasts, each operating system unlocks unique possibilities. Whether you’re building a home media center, developing IoT projects, or setting up a learning environment, understanding the strengths and requirements of different operating systems will ensure your Raspberry Pi 4 performs exactly as needed. This guide explores the most powerful and popular operating system options, helping you make an informed decision based on your specific project requirements and technical expertise.
Raspberry Pi OS (Previously Raspbian)
Desktop vs. Lite Version
When choosing a Raspberry Pi operating system, you’ll often encounter both desktop and lite versions. The desktop variant comes with a full graphical user interface (GUI), making it ideal for users getting started with Raspberry Pi OS or those who prefer a visual computing environment. It includes pre-installed applications, a web browser, and productivity tools, but requires more system resources and storage space.
The lite version, on the other hand, is command-line only and runs without a GUI. This makes it significantly lighter on system resources, perfect for headless applications (running without a monitor) or server projects. It boots faster, consumes less RAM, and offers better performance for specific tasks like hosting a web server or running automation scripts.
Choose the desktop version if you’re new to Linux or plan to use your Pi as a desktop computer. Opt for the lite version when maximizing performance is crucial or when working on projects that don’t require a graphical interface.

Key Features and Performance
The Raspberry Pi 4 supports a wide range of operating systems, each optimized for different performance aspects. Raspberry Pi OS (formerly Raspbian) leads the pack with its lightweight design and efficient resource management, typically booting in under 30 seconds and consuming less than 200MB of RAM at idle. Ubuntu offers robust performance with its 64-bit architecture, making full use of the Pi 4’s quad-core processor and enabling smooth multitasking capabilities.
For media center applications, LibreELEC stands out with its ability to handle 4K video playback at 60fps, while consuming minimal system resources. RetroPie leverages the Pi 4’s enhanced GPU capabilities to emulate classic gaming consoles with notably improved performance over previous Pi models. If you’re specifically interested in running a game server, you might find the guide on how to run a game server on a Raspberry Pi particularly useful.
Storage management varies significantly across operating systems, with Raspberry Pi OS offering the most efficient file system optimization for SD card longevity. Ubuntu and Manjaro ARM provide better support for USB boot options and external storage devices, allowing for faster data transfer rates and improved system responsiveness.
Memory management is particularly important, with most modern Pi 4 operating systems now supporting the full 8GB RAM configuration, enabling more demanding applications and simultaneous processes.
Ubuntu for Raspberry Pi
Ubuntu Server vs. Desktop
Ubuntu offers two distinct variants for the Raspberry Pi 4: Desktop and Server editions. The Desktop version provides a full graphical user interface (GUI) and comes pre-installed with everyday applications like LibreOffice and Firefox, making it ideal for users who prefer a traditional computer experience. However, it requires more system resources and may run slower on the Pi 4.
The Server edition, on the other hand, is command-line based and significantly lighter on resources. It’s perfect for hosting services, running headless applications, or setting up a home server. While it lacks a GUI, it offers better performance and leaves more resources available for your applications and services. For those interested in running intensive tasks efficiently, there’s great insight on the benefits of using Raspberry Pi clusters for enhanced computing power.
Choose Desktop if you need a familiar interface and plan to use your Pi as a regular computer. Opt for Server if you’re comfortable with command-line operations and want to maximize performance for hosting services or running background tasks.

Performance Considerations
When running an operating system on your Raspberry Pi 4, resource management is crucial for optimal performance. The Pi 4’s quad-core processor and up to 8GB RAM offer significant power, but different operating systems utilize these resources differently. For best performance, consider using a lightweight desktop environment or running headless if a GUI isn’t necessary. Regular system maintenance, including removing unused packages and clearing cache files, helps maintain smooth operation.
To optimize performance, disable unnecessary background services and adjust swap file settings based on your RAM configuration. For media centers or gaming systems, enabling GPU memory split of 256MB or higher can improve graphics performance. Temperature management is also essential – ensure proper cooling, especially when overclocking, as thermal throttling can significantly impact system performance.
If running resource-intensive applications, consider using operating systems specifically optimized for the Pi 4’s architecture, rather than general-purpose distributions. Monitor system resources using tools like top or htop to identify and address performance bottlenecks.
Specialized Operating Systems

RetroPie for Gaming
RetroPie transforms your Raspberry Pi 4 into a powerful retro gaming console, making it a popular choice for vintage gaming enthusiasts. This specialized operating system combines EmulationStation’s user-friendly interface with RetroArch’s extensive emulation capabilities, creating the perfect platform for retro gaming on Raspberry Pi. With support for multiple gaming systems including NES, SNES, PlayStation 1, and SEGA Genesis, RetroPie delivers an impressive gaming experience.
The Pi 4’s enhanced processing power enables smooth gameplay even for more demanding games, while the built-in Bluetooth support allows easy connection of wireless controllers. Installation is straightforward, requiring only a microSD card and basic configuration. RetroPie also includes additional features like automatic game scraping for metadata and artwork, shader support for authentic retro visual effects, and save state functionality for convenient gaming sessions.
Kali Linux for Security
Kali Linux stands out as the premier choice for security professionals and ethical hackers using the Raspberry Pi 4. This specialized distribution comes pre-loaded with over 600 penetration testing and security auditing tools, making it perfect for network security assessments and vulnerability testing. The Raspberry Pi 4’s enhanced processing power handles Kali’s demanding tools efficiently, including popular utilities like Metasploit, Wireshark, and Aircrack-ng.
The ARM-optimized version runs smoothly on the Pi 4, offering a full security testing environment in a compact, portable package. Users can perform wireless network analysis, password attacks, and forensic investigations directly from their Pi. While it requires more technical expertise than standard distributions, Kali Linux’s documentation and active community support make it accessible for security enthusiasts looking to learn ethical hacking skills.
Remember that Kali Linux should only be used for legitimate security testing with proper authorization, as its tools can be powerful and potentially dangerous in the wrong hands.
LibreELEC for Media Centers
LibreELEC is a streamlined operating system specifically designed for transforming your Raspberry Pi 4 into a powerful media center. Built on the popular Kodi media player platform, it boots directly into the media center interface, offering a seamless entertainment experience. The system is incredibly lightweight, using minimal system resources while providing smooth playback of various media formats, including 4K content.
What sets LibreELEC apart is its plug-and-play nature. The OS comes pre-configured with essential media playback features and automatically recognizes most external storage devices. Users can easily expand functionality through Kodi add-ons, enabling access to streaming services, podcasts, and local media libraries.
The system supports a wide range of audio formats and provides excellent HDMI-CEC compatibility, allowing you to control your media center using your TV’s remote control. Regular updates ensure optimal performance and security, while the active community offers extensive support for troubleshooting and customization.
For those primarily interested in creating a dedicated media center, LibreELEC offers the perfect balance of simplicity and functionality, making it an excellent choice for home theater enthusiasts.
Installation and Setup Tips
Getting started with your Raspberry Pi 4’s operating system doesn’t have to be complicated. Follow this step-by-step OS installation guide to ensure a smooth setup process.
First, download the Raspberry Pi Imager from the official website – it’s the easiest tool for installing any supported operating system. Insert your microSD card (minimum 8GB recommended) into your computer using an appropriate adapter.
Launch the Raspberry Pi Imager and select your chosen operating system from the list. The tool offers multiple options, including Raspberry Pi OS (formerly Raspbian), Ubuntu, and other specialized distributions. Click ‘Choose Storage’ and select your microSD card.
Before writing the image, click the settings gear icon to configure important options like hostname, WiFi credentials, and SSH access. This saves time during the initial boot. Click ‘Write’ and wait for the process to complete – this typically takes 5-15 minutes depending on your SD card speed.
Once finished, safely eject the card and insert it into your Raspberry Pi 4. Connect your peripherals (keyboard, mouse, monitor) and power up the device. The first boot might take a few minutes as the OS configures itself. Follow any on-screen prompts to complete the initial setup, including language preferences and system updates.
Remember to change the default password for security, and you’re ready to start exploring your newly installed operating system!
The Raspberry Pi 4 offers remarkable versatility through its diverse operating system options. For everyday desktop computing and educational purposes, Raspberry Pi OS remains the most reliable choice, offering optimized performance and extensive community support. Ubuntu and other Linux distributions excel for users seeking a familiar desktop environment or specific software compatibility. Those interested in media centers will find LibreELEC ideal, while RetroPie creates the perfect foundation for retro gaming enthusiasts. Advanced users exploring server applications should consider Ubuntu Server or DietPi for their lightweight and efficient operation. When selecting an operating system, consider your technical expertise, project requirements, and available resources. Remember that most operating systems can be easily tested using different SD cards, allowing you to experiment until you find the perfect match for your Raspberry Pi 4 project.


