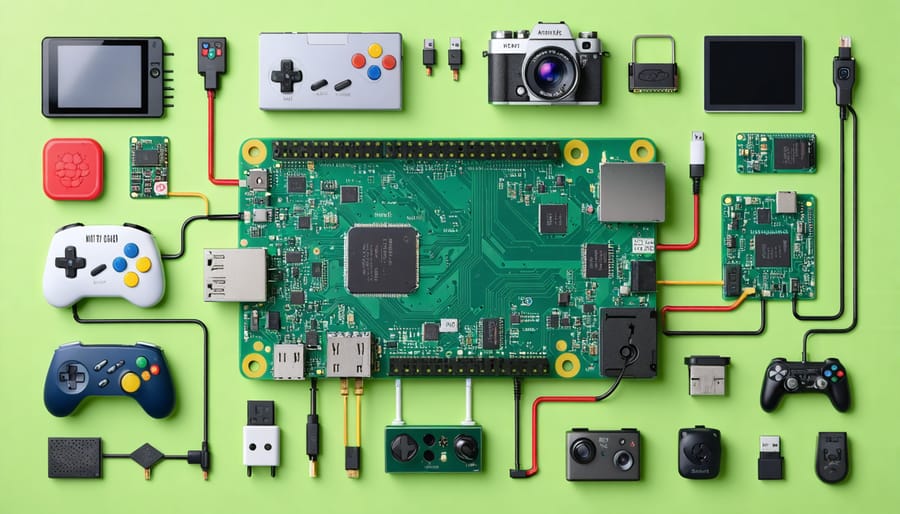
Unleash your inner maker with the Raspberry Pi Zero, a tiny yet mighty computer that puts the power of invention in your hands. This introduction will ignite your imagination and empower you to create awe-inspiring projects, even if you’re starting from scratch. Get ready to:
1. Set up your Pi Zero in minutes with our beginner-friendly guide
2. Dive into hands-on tutorials for building a retro gaming console, smart security camera, and more
3. Discover the limitless potential of this $5 wonder and bring your wildest ideas to life
Whether you’re a tinkerer, hobbyist, or educator, the Raspberry Pi Zero is your gateway to a world of innovation. Let’s embark on an exciting journey together and unlock the secrets of this pocket-sized powerhouse. Are you ready to transform the ordinary into the extraordinary? Let’s get started!
Setting Up Your Raspberry Pi Zero
Setting up your Raspberry Pi Zero is a straightforward process that requires a few essential components and some basic configuration. To get started, you’ll need a Raspberry Pi Zero board, a microSD card (at least 8GB), a USB OTG cable, a micro USB power supply, and an HDMI cable if you plan to connect your Pi Zero to a monitor.
Begin by downloading the latest version of Raspbian, the official operating system for Raspberry Pi, from the Raspberry Pi website. You can use the Raspberry Pi Imager tool to easily flash the Raspbian image onto your microSD card. Once the flashing process is complete, insert the microSD card into your Raspberry Pi Zero.
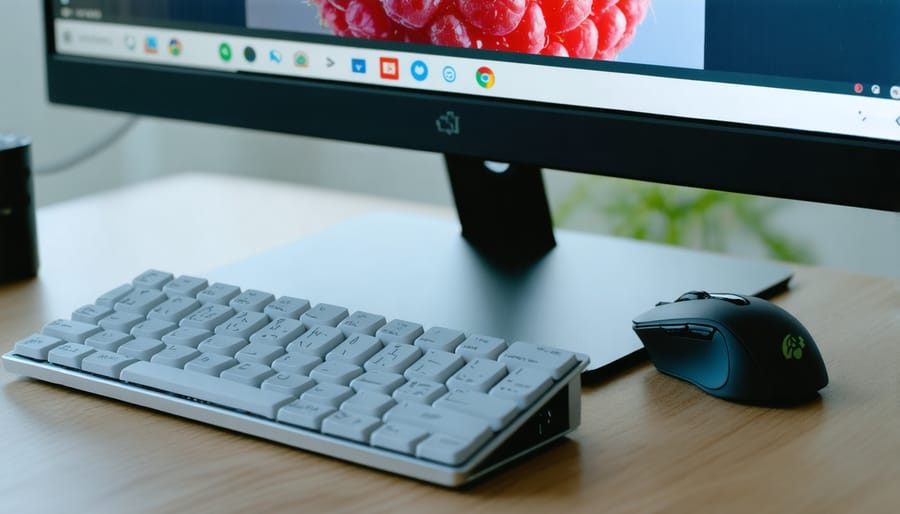
Next, connect your Raspberry Pi Zero to a power source using the micro USB power supply. If you want to use a monitor, connect the HDMI cable to your Pi Zero and the display. To interact with your Pi Zero, you can either connect a USB hub and plug in a keyboard and mouse or set up a headless connection using SSH.
If you opt for a headless setup, create an empty file named “ssh” (without any extension) on the boot partition of the microSD card before powering on your Pi Zero. This will enable SSH access by default. You can then connect to your Pi Zero using an SSH client like PuTTY on Windows or the terminal on macOS and Linux.
Once you’ve logged in to your Raspberry Pi Zero, it’s essential to perform some basic configuration. Run the “sudo raspi-config” command to access the configuration tool. Here, you can change your password, set up your Wi-Fi connection, and adjust other settings like the time zone and keyboard layout.
After completing the initial configuration, update your Raspberry Pi Zero’s software by running “sudo apt update” followed by “sudo apt upgrade”. This ensures that you have the latest versions of all installed packages and security patches. To dive deeper into the setup, consider a 5-Step Foolproof Guide to Setting Up Raspberry Pi OS.
With your Raspberry Pi Zero now set up and updated, you’re ready to dive into the exciting world of projects tailored for this tiny, yet powerful single-board computer.

Project 1: Digital Picture Frame
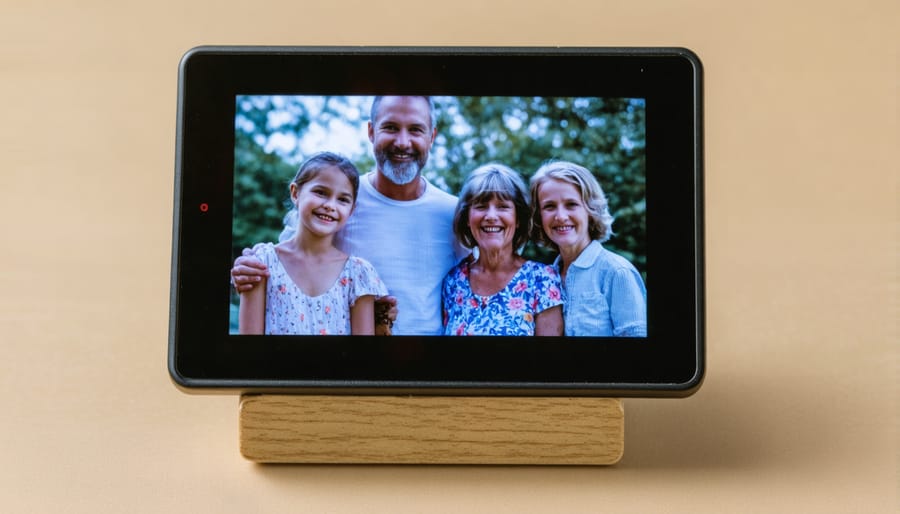
The Raspberry Pi Zero is a perfect device for creating a digital picture frame. To get started, you’ll need a Raspberry Pi Zero, a compatible display, a USB drive, and a power supply. First, set up your Raspberry Pi Zero with the latest version of Raspberry Pi OS and connect it to your display. Next, install the feh image viewer using the command line. Feh allows you to display images and create slideshows easily.
Once feh is installed, create a folder on your USB drive to store your photos. Insert the USB drive into your Raspberry Pi Zero and mount it. Use the feh command to display your photos as a slideshow, adjusting options like slide duration and transition effects to your liking. You can even configure your Raspberry Pi Zero to automatically start the slideshow on boot, so your digital picture frame is always ready to go.
For an added touch, consider using a service like Google Photos or Dropbox to sync your photos online. This way, you can easily update your digital picture frame’s photos remotely without having to physically transfer files to the USB drive. With a little creativity and customization, your Raspberry Pi Zero digital picture frame will be a unique and eye-catching addition to your home or office. Explore more on how to scan your old photos to add to your collection.

Project 2: Retro Gaming Console
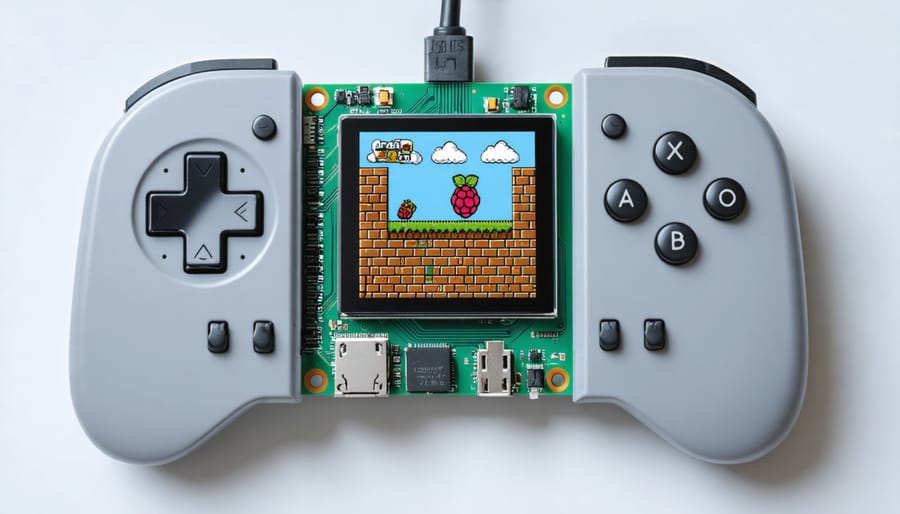
Setting up your Raspberry Pi Zero as a retro gaming console is a fun and rewarding project for beginners. Start by installing RetroPie, a popular retro gaming operating system, onto your Pi Zero. You’ll need a microSD card, a computer, and the RetroPie image file. Once installed, connect your Pi Zero to a display, game controllers, and a power source.
Configure your controllers and transfer your favorite classic game ROMs to the Pi Zero. RetroPie supports a wide range of retro gaming systems, from the NES and SNES to the PlayStation and Game Boy. Organize your game library, configure settings, and start playing your beloved childhood games. Learn about the impact of 5G on gaming here.
With a bit of tinkering, you can even set up your Pi Zero to be a portable retro gaming device by adding a small screen, battery, and 3D-printed case. This project is an excellent introduction to the capabilities of the Raspberry Pi Zero and the joy of retro gaming.

Project 3: Web Server
Setting up a web server on your Raspberry Pi Zero is a great way to learn about hosting websites and web applications. To get started, install a lightweight web server like Nginx or Apache on your Pi Zero. Next, create a simple HTML file that will serve as your website’s homepage. You can use a text editor like Nano to write the HTML code directly on your Pi Zero. Once your HTML file is ready, configure your web server to point to the directory where your website files are stored. Test your setup by accessing your Pi Zero’s IP address from a web browser on another device connected to the same network. With a basic understanding of web servers and HTML, you can expand your website by adding more pages, styling with CSS, and even incorporating dynamic elements using JavaScript or server-side programming languages like Python or PHP. Hosting a website on your Raspberry Pi Zero is an excellent introduction to web development and can open up a world of possibilities for your future projects.
Project 4: Personal VPN Server
Setting up a personal VPN server on your Raspberry Pi Zero is a great way to ensure secure internet access when connected to public networks. To get started, you’ll need to install a VPN server software like OpenVPN or WireGuard on your Pi Zero. Follow the installation instructions provided by the software, and configure the server settings according to your preferences. Once set up, you can connect to your Pi Zero’s VPN server from any device, such as your smartphone or laptop, when using public Wi-Fi networks. This encrypts your internet traffic, protecting your data from potential hackers or snoopers. With your own VPN server, you have full control over your privacy and security settings, unlike with commercial VPN providers. Additionally, setting up a VPN server on the Pi Zero is a cost-effective solution compared to paying for a monthly VPN subscription. By learning how to configure a personal VPN server on your Raspberry Pi Zero, you’ll not only gain valuable skills in network security but also enjoy peace of mind knowing your online activities are protected when using public networks.
Project 5: Media Streaming Device
Transform your Raspberry Pi Zero into a versatile media streaming device with Kodi, a free and open-source software designed for home entertainment. To get started, install the latest version of Raspbian on your Pi Zero and update all packages. Next, download and install Kodi from the official website or through the terminal using the command “sudo apt-get install kodi”. Once installed, launch Kodi and navigate through the user-friendly interface to configure your media libraries, add-ons, and settings. Connect your Pi Zero to your TV or monitor using an HDMI cable, and attach external storage devices containing your media files. Kodi supports a wide range of formats, including video, music, and images, making it easy to enjoy your favorite content on the big screen. With its low power consumption and compact size, the Raspberry Pi Zero is an ideal choice for creating a dedicated media streaming device that won’t break the bank. Customize your Kodi experience by installing add-ons for popular streaming services, live TV, and more, all controllable via a remote or mobile app. By following these simple steps, you’ll have your own personalized media center up and running in no time.
Conclusion
In conclusion, the Raspberry Pi Zero offers an affordable and powerful platform for beginners to explore a wide range of exciting projects. From setting up a basic web server to building a retro gaming console, a smart security camera, a digital photo frame, or a portable media server, these hands-on tutorials provide step-by-step guidance to help you get started quickly. By experimenting with these projects, you’ll gain valuable skills in programming, electronics, and problem-solving while having fun and creating something unique. Remember, the Raspberry Pi community is vast and supportive, so don’t hesitate to reach out for help or further learning and inspiration. Whether you’re a hobbyist, educator, or tech enthusiast, the Raspberry Pi Zero offers endless possibilities for innovation and creativity. So grab your Pi, follow these tutorials, and embark on an exciting journey of discovery and learning in the world of single-board computing. With dedication and curiosity, you’ll soon be developing your own amazing projects and contributing to the ever-growing Raspberry Pi community.


