Unleash the power of the Raspberry Pi 4 Model B and bring your innovative ideas to life. This incredible single-board computer offers unparalleled performance, versatility, and potential for creative projects across a wide range of domains. Whether you’re a beginner eager to explore the world of electronics and programming or an experienced maker looking to push the boundaries of what’s possible, the Raspberry Pi 4 Model B is your gateway to endless possibilities. From building smart home devices and Raspberry Pi security systems to creating interactive art installations and developing powerful machine learning applications, this mighty device empowers you to turn your ideas into reality. Join us on an exciting journey as we dive into the realm of Raspberry Pi 4 Model B projects, providing you with step-by-step tutorials, inspiring project ideas, and the knowledge you need to embark on your own groundbreaking creations.

Setting Up Your Raspberry Pi 4 Model B
Hardware Requirements
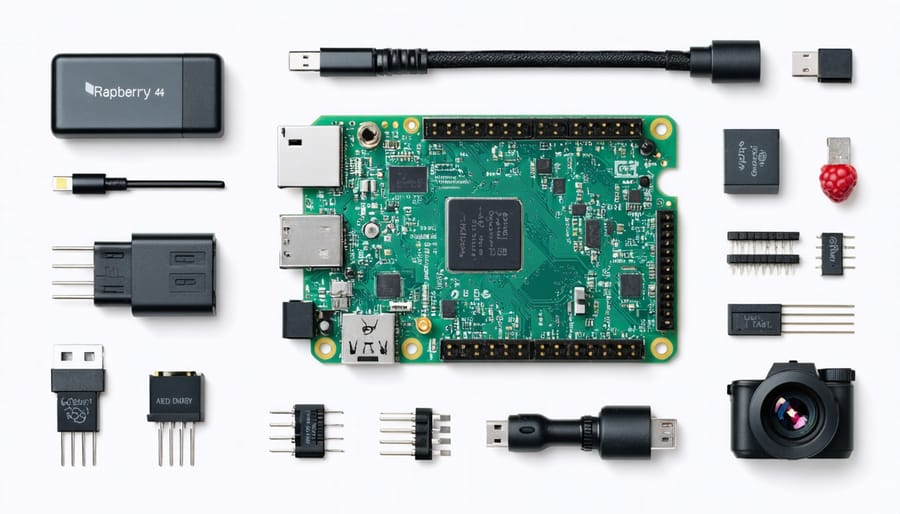
To embark on your Raspberry Pi 4 Model B projects, you’ll need the following essential components and accessories:
1. Raspberry Pi 4 Model B board (2GB, 4GB, or 8GB RAM)
2. A compatible power supply (USB-C, 5V, 3A)
3. MicroSD card (at least 8GB, Class 10) for storing the operating system and files
4. HDMI cable for connecting to a monitor or TV
5. USB keyboard and mouse
6. Ethernet cable (optional) for wired internet connection
7. Raspberry Pi 4 compatible case (optional) for protection
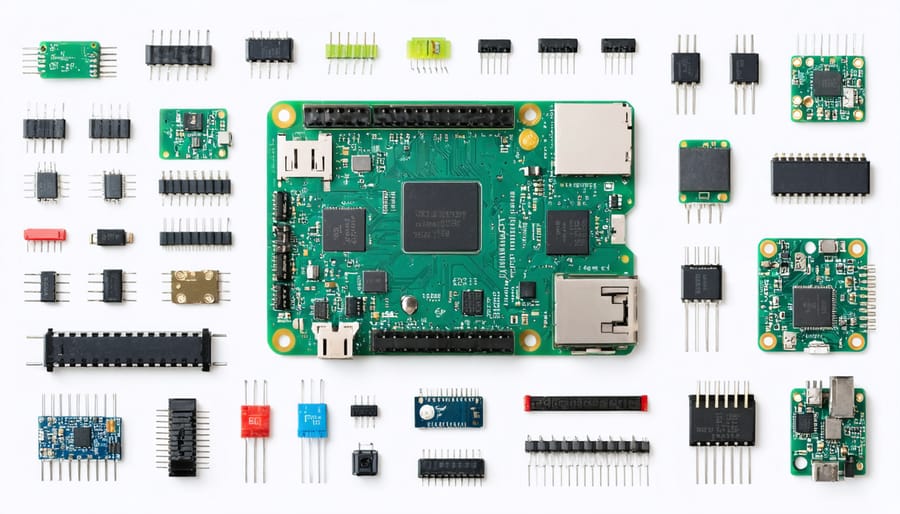
Depending on your specific project requirements, you may also need additional items such as:
1. Camera module for computer vision and photography projects
2. GPIO breakout kit or breadboard for electronic projects
3. Sensors (e.g., temperature, humidity, motion) for IoT applications
4. LED lights, buttons, and switches for interactive projects
5. External storage devices (USB drives or SSDs) for expanded storage
Before starting your project, ensure you have all the necessary components and accessories to avoid any roadblocks during the build process.
Installing the Operating System
Before diving into your Raspberry Pi 4 Model B projects, you’ll need to install an operating system on your device. The recommended OS for beginners is Raspberry Pi OS, formerly known as Raspbian. It’s based on Debian Linux and optimized for the Raspberry Pi hardware. Installing the Operating System is a straightforward process:
First, download the Raspberry Pi Imager from the official website. This tool simplifies the installation process by writing the OS image directly to your microSD card. Insert your microSD card into your computer and launch the Imager. Select the Raspberry Pi OS from the list of operating systems and choose your microSD card as the destination. Click “Write” to begin the installation process.
Once the installation is complete, insert the microSD card into your Raspberry Pi 4 Model B. Connect a monitor, keyboard, and mouse, then plug in the power supply. Your Raspberry Pi will boot up, and you’ll be greeted by the setup wizard. Follow the on-screen instructions to configure your language, time zone, and Wi-Fi settings.
After the initial setup, you’ll land on the Raspberry Pi OS desktop. From here, you can start exploring the various pre-installed tools and software or begin working on your projects. Remember to keep your OS updated to ensure optimal performance and security. With your Raspberry Pi 4 Model B now running Raspberry Pi OS, you’re ready to embark on your exciting project journey!
Beginner-Friendly Raspberry Pi 4 Projects

Building a Retro Gaming Console
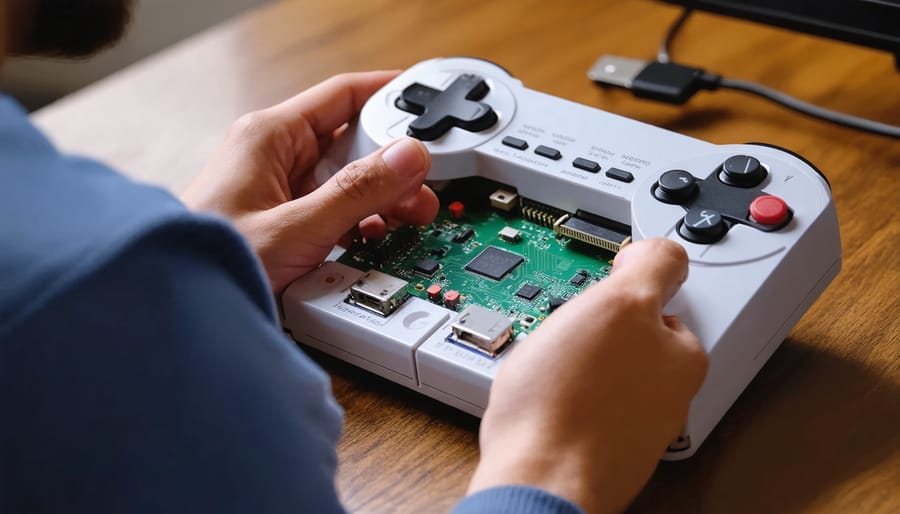
Turning your Raspberry Pi 4 Model B into a retro gaming console is a fun and rewarding project. Start by installing the RetroPie operating system on your microSD card. This OS is specifically designed for retro gaming and comes pre-loaded with emulators for various classic gaming systems. Once RetroPie is installed, connect your Raspberry Pi to a display, gamepad, and power source.
Next, configure your gamepad and customize the settings to your liking. You can then begin loading your favorite ROMs onto the Raspberry Pi. RetroPie supports a wide range of gaming systems, including the NES, SNES, Game Boy, PlayStation, and more. With a bit of tinkering, you can even set up your Raspberry Pi as a game server to play multiplayer games with friends.
Building a retro gaming console with your Raspberry Pi 4 Model B is a great way to relive classic gaming memories and introduce younger generations to the games you grew up with. The process is straightforward, and the end result is a compact, affordable, and highly customizable gaming machine that can provide hours of entertainment.
Creating a Personal Web Server
Creating a personal web server using your Raspberry Pi 4 Model B is a fun and educational project that allows you to host your own websites or web applications. To get started, you’ll need to install a web server software on your Raspberry Pi. One popular choice is Apache, which can be easily installed using the command line.
Once Apache is set up, you can create your website files using HTML, CSS, and JavaScript. Place these files in the appropriate directory on your Raspberry Pi, typically `/var/www/html/`. You can then access your website by entering your Raspberry Pi’s IP address into a web browser on any device connected to the same network.
To make your website accessible from anywhere on the internet, you’ll need to set up port forwarding on your router and consider using a dynamic DNS service. This will allow you to access your website using a domain name instead of an IP address.
As you become more comfortable with your web server setup, you can explore additional features like setting up SSL/TLS certificates for secure connections, installing content management systems like WordPress, or running web applications using languages like PHP or Python.
Remember to keep your Raspberry Pi and web server software updated to ensure the best performance and security. With a little effort and experimentation, you’ll soon have a fully functional personal web server running on your Raspberry Pi 4 Model B, ready to host your own unique websites and projects.
Advanced Raspberry Pi 4 Projects for Experts

Designing a Smart Home Hub
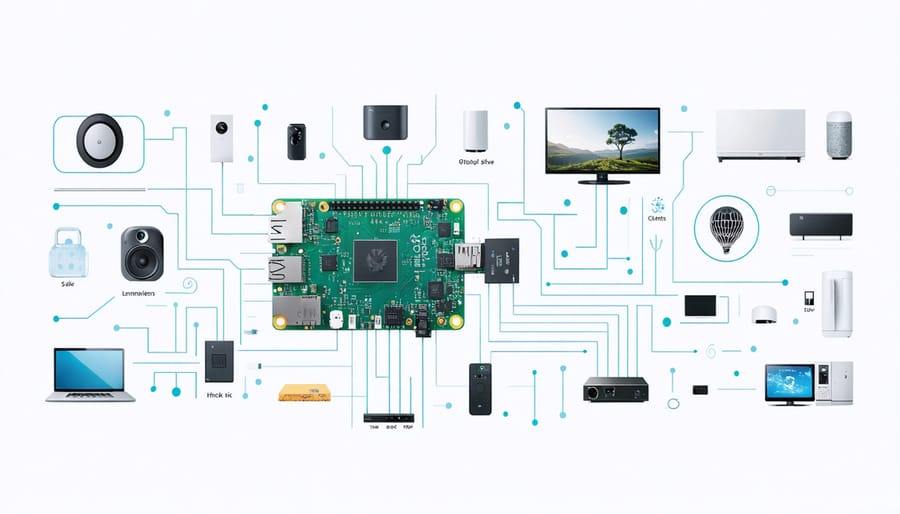
Creating a centralized smart home control system using a Raspberry Pi 4 Model B is an exciting project for tech enthusiasts looking to automate their living space. To get started, you’ll need a Raspberry Pi 4, a compatible case, a power supply, and a microSD card with the necessary software installed. Consider using a pre-configured image like Home Assistant or OpenHAB to simplify the setup process.
Once your Raspberry Pi is up and running, connect it to your home network and begin integrating your smart devices. Many popular smart home platforms, such as Philips Hue, Nest, and Samsung SmartThings, offer APIs or add-ons that allow you to control them through your smart home hub. You can also use open-source protocols like MQTT or Z-Wave to communicate with a wider range of devices.
To create a user-friendly interface for your smart home hub, you can either use the built-in web interface provided by your chosen software or develop a custom application using programming languages like Python or Node.js. This allows you to create personalized dashboards, set up automations, and control your devices from a single, centralized location.
As you expand your smart home system, consider adding features like voice control through integration with services like Amazon Alexa or Google Assistant. You can also incorporate security features, such as IP cameras or motion sensors, to monitor your home and receive alerts when necessary.
Remember to regularly update your Raspberry Pi’s software and keep your smart devices’ firmware up to date to ensure optimal performance and security. With a little effort and creativity, your Raspberry Pi 4 Model B-powered smart home hub will become the heart of your automated living space, providing convenience, comfort, and peace of mind.
Building an AI-Powered Robot
Building an AI-powered robot using the Raspberry Pi 4 Model B is an exciting project that combines the power of artificial intelligence with the versatility of this single-board computer. To get started, you’ll need a Raspberry Pi 4, a robot chassis kit, motors, sensors, and a camera module. Begin by assembling the robot chassis according to the manufacturer’s instructions, and then connect the motors and sensors to the Raspberry Pi’s GPIO pins.
Next, install the necessary software on your Raspberry Pi, such as the OpenCV library for computer vision and the TensorFlow framework for machine learning. You can train your own AI models or use pre-trained models for tasks like object detection, facial recognition, or speech recognition.
For example, you can use the camera module to capture images and train an object detection model to recognize specific items. When the robot encounters these objects, it can perform predefined actions, such as avoiding obstacles or picking up items. You can also integrate speech recognition to allow the robot to respond to voice commands.
To control the robot’s movements, you’ll need to write code that translates the AI model’s output into motor commands. This can be done using Python and libraries like RPi.GPIO or gpiozero. You can create a program that continuously reads data from the sensors, processes it using the AI model, and then sends appropriate commands to the motors.
As you develop your AI-powered robot, consider adding more advanced features like mapping and navigation using simultaneous localization and mapping (SLAM) techniques. You can also explore integrating additional sensors, such as ultrasonic or infrared sensors, to enhance the robot’s understanding of its environment.
Building an AI-powered robot with the Raspberry Pi 4 Model B is a challenging but rewarding project that allows you to explore the intersection of robotics and artificial intelligence. With the right components, software, and programming skills, you can create an intelligent robot capable of performing complex tasks and interacting with its surroundings in meaningful ways.
The Raspberry Pi 4 Model B is a powerful and versatile single-board computer that opens up a world of possibilities for tech enthusiasts, hobbyists, and educators alike. With its impressive specifications and affordable price point, this tiny device has become a go-to choice for countless exciting projects across various domains. Whether you’re interested in home automation, robotics, media centers, or web servers, the Raspberry Pi 4 Model B has the potential to bring your ideas to life. As you embark on your own Raspberry Pi journey, remember that the projects and resources mentioned in this article are just the tip of the iceberg. The vibrant Raspberry Pi community is constantly sharing new ideas, tutorials, and innovations, ensuring that there’s always something new to explore and learn. So, don’t hesitate to dive in, experiment, and let your creativity guide you as you unlock the full potential of your Raspberry Pi 4 Model B.


