Transform your Raspberry Pi into a powerful cybersecurity command center with projects that protect networks, detect threats, and enhance digital security. Whether building a network intrusion detection system, creating a VPN server, or developing a honeypot to study attack patterns, these hands-on projects offer practical experience in modern security practices. Learning to secure your Raspberry Pi opens doors to advanced security implementations while keeping costs minimal and educational value high. From penetration testing platforms to encrypted communication systems, these projects combine the Pi’s versatility with essential cybersecurity principles, making enterprise-level security accessible to enthusiasts and professionals alike. The compact computing power of Raspberry Pi, coupled with its extensive GPIO capabilities, creates an ideal platform for implementing real-world security solutions that defend against today’s evolving digital threats.
Essential Hardware and Software Requirements

Required Hardware Components
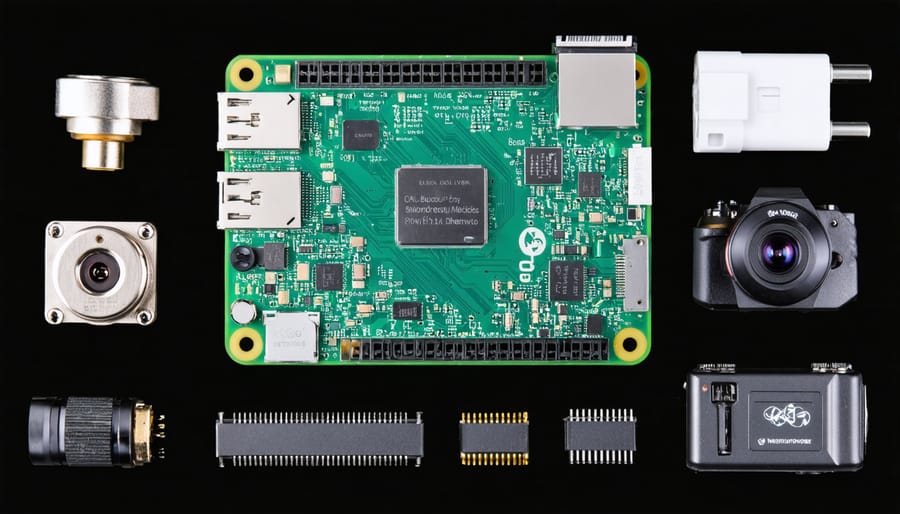
To get started with Raspberry Pi cybersecurity projects, you’ll need a reliable foundation of hardware components. The Raspberry Pi 4 Model B is highly recommended for its superior processing power and networking capabilities, with at least 4GB RAM being ideal for running security tools efficiently.
Essential accessories include a high-quality microSD card (32GB minimum, Class 10 or higher), a reliable power supply (official 15W USB-C recommended), and a protective case for safe operation. For networking projects, you’ll want a compatible USB Wi-Fi adapter that supports monitor mode, such as the Alfa AWUS036NEH or similar models.
Additional recommended components include:
– Ethernet cable for stable network connections
– USB keyboard and mouse
– HDMI cable and display
– Heat sinks for temperature management
– Optional: GPIO breakout board for hardware-based projects
For portable security applications, consider adding a small touchscreen display and a portable power bank. Having a second microSD card is also useful for testing different operating systems and maintaining backups of your security configurations.
Software Tools and Operating Systems
For Raspberry Pi cybersecurity projects, choosing the right operating system and tools is crucial. Kali Linux ARM is a popular choice, offering a comprehensive suite of pre-installed security tools including Wireshark, Metasploit, and Nmap. Alternatively, ParrotOS ARM provides a lightweight yet powerful security-focused distribution perfect for resource-constrained Pi systems.
Essential software tools for your security arsenal should include tcpdump for network packet analysis, Snort for intrusion detection, and OpenVPN for secure remote connections. For wireless security testing, Aircrack-ng suite proves invaluable, while SQLmap helps identify database vulnerabilities.
Consider installing Security Onion for comprehensive network monitoring and Fail2Ban to protect against brute force attacks. BeEF (Browser Exploitation Framework) is excellent for testing web application security, while PiHole adds network-wide ad blocking and basic security monitoring capabilities.
For beginners, the default Raspberry Pi OS with additional security tools installed can serve as a solid foundation. Remember to regularly update your system and installed tools to maintain optimal security performance. These tools, combined with the right OS, create a powerful platform for various cybersecurity projects and learning experiences.
Network Security Projects
Network Intrusion Detection System
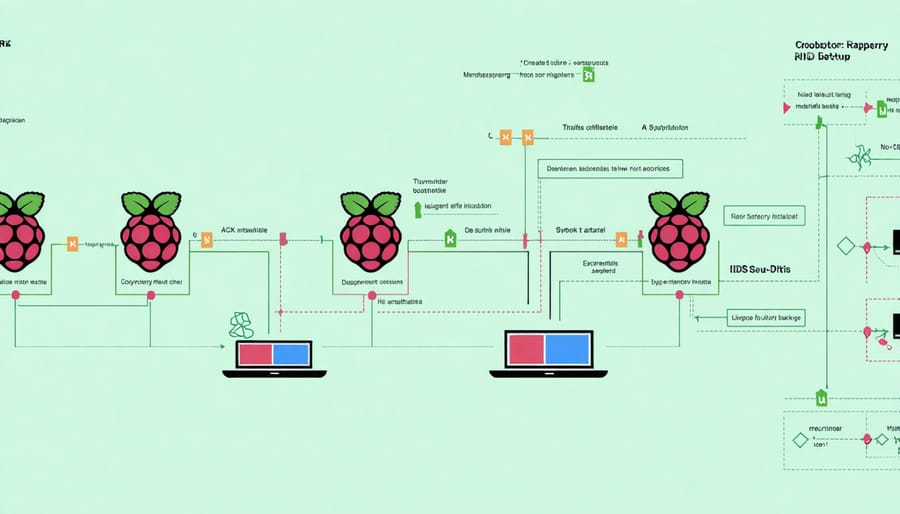
Transform your Raspberry Pi into a powerful Network Intrusion Detection System (IDS) with this beginner-friendly setup. Start by installing Snort, a widely-used open-source IDS, on your Raspberry Pi. First, update your system with ‘sudo apt-get update && sudo apt-get upgrade’, then install Snort using ‘sudo apt-get install snort’.
Configure your network interface by editing the ‘/etc/snort/snort.conf’ file. You’ll need to specify your home network’s IP range and customize rule sets based on your security needs. Basic rules might include detecting port scans, identifying suspicious packets, and monitoring for known malware signatures.
To enhance your IDS capabilities, install BASE (Basic Analysis and Security Engine) for a user-friendly web interface. This allows you to visualize alerts and analyze network traffic patterns. Set up BASE by installing Apache2, PHP, and MySQL, then configure them to work together.
For real-time monitoring, create a simple bash script that checks Snort logs and sends notifications to your email or smartphone when suspicious activity is detected. Consider adding custom rules to detect specific threats relevant to your network.
Remember to position your Raspberry Pi strategically in your network – typically between your router and internal network – to monitor all incoming and outgoing traffic effectively. Regular updates to your rule sets and monitoring of false positives will help maintain optimal security coverage.

Pi-hole Ad Blocker and Network Monitor
Pi-hole transforms your Raspberry Pi into a powerful network-wide ad blocker and monitoring solution, protecting all devices on your network from unwanted advertisements and tracking. This project not only enhances your privacy but also improves network performance by reducing unnecessary traffic.
To get started, ensure your Raspberry Pi is running the latest version of Raspberry Pi OS and has a static IP address configured. Install Pi-hole by opening a terminal and running the following command:
curl -sSL https://install.pi-hole.net | bash
During installation, follow the prompts to configure your preferred DNS provider and network settings. Once complete, access the Pi-hole admin interface by entering “http://pi.hole/admin” or your Pi’s IP address followed by “/admin” in your web browser.
Configure your router to use the Raspberry Pi as the primary DNS server to enable network-wide ad blocking. This ensures all devices on your network automatically benefit from ad blocking without requiring individual configuration.
The dashboard provides valuable insights into your network traffic, including:
– Blocked queries and domains
– Top clients and domains accessed
– Query types and forwarding destinations
– Real-time statistics and graphs
For enhanced security, enable HTTPS and set up 2FA for the admin interface. Regular updates can be performed using the command:
pihole -up
This setup blocks ads across your entire network while providing detailed analytics about your network traffic, making it an essential tool for both privacy and network monitoring.
VPN Server Setup
Setting up a personal VPN server on your Raspberry Pi offers a secure way to hide your IP address and protect your online privacy. This project requires a Raspberry Pi (3 or newer recommended), an SD card with Raspberry Pi OS, and a stable internet connection.
Begin by updating your system:
“`
sudo apt update
sudo apt upgrade
“`
Install OpenVPN, the most popular and secure VPN solution:
“`
sudo apt install openvpn
“`
Next, download and run the PiVPN installation script:
“`
curl -L https://install.pivpn.io | bash
“`
Follow the installation wizard, selecting OpenVPN (not WireGuard) when prompted. Choose UDP as your protocol and stick with the default port 1194 unless you have specific requirements. Create strong passwords when prompted and note them down securely.
After installation, generate a client profile:
“`
pivpn add
“`
Transfer the generated .ovpn file to your devices that will connect to the VPN. You can use this profile with OpenVPN clients on various platforms including smartphones, tablets, and computers.
Remember to configure port forwarding on your router to allow incoming VPN connections. Point port 1194 (UDP) to your Raspberry Pi’s local IP address.
This setup provides you with a personal, secure VPN connection whenever you’re away from home, ensuring your data remains protected on public networks.
Physical Security Projects

Smart Security Camera System
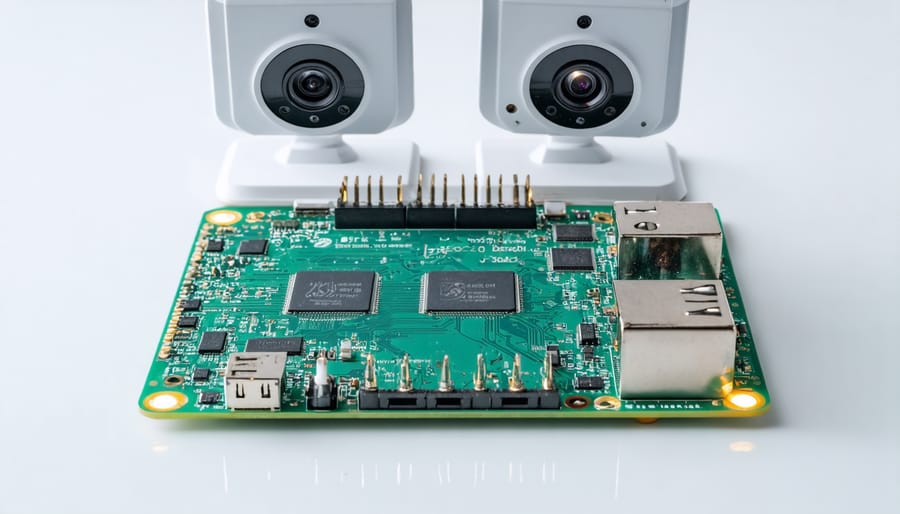
Transform your Raspberry Pi into a sophisticated security monitoring system with this motion-detecting camera project. Begin with a basic Raspberry Pi camera setup and enhance it with motion detection capabilities using Python’s OpenCV library.
First, connect your camera module and install the necessary software packages including ‘motion’ and ‘opencv-python’. Create a Python script that captures video feed and implements motion detection algorithms to identify changes in consecutive frames. When movement is detected, the system can automatically save snapshots or video clips and send notifications to your smartphone.
To improve security, implement encrypted storage for captured footage and add features like facial recognition to distinguish between familiar faces and potential intruders. Configure remote viewing capabilities through a secure web interface, allowing you to monitor your space from anywhere using SSL encryption.
For enhanced functionality, integrate your camera system with other sensors like PIR motion detectors and door sensors. Set up automated responses such as triggering alarms, sending email alerts, or logging events to a secure database. Consider implementing night vision capabilities using infrared LEDs for 24/7 monitoring.
Remember to secure your camera system by changing default passwords, enabling firewall rules, and regularly updating software to protect against vulnerabilities. This project not only provides practical security benefits but also serves as an excellent learning platform for computer vision and network security concepts.
Door Access Control System
Create a secure door access control system using your Raspberry Pi and an RFID reader module. This project combines physical security with digital authentication, making it perfect for protecting sensitive areas or managing entry points in your home or workspace.
You’ll need an RC522 RFID reader module, jumper wires, an electromagnetic door lock, and a relay module alongside your Raspberry Pi. Begin by connecting the RFID reader to your Pi’s GPIO pins: SDA to GPIO8, SCK to GPIO11, MOSI to GPIO10, and MISO to GPIO9. The relay module connects to GPIO17 and controls the electromagnetic lock.
Install the required libraries using pip:
“`
pip install mfrc522
pip install RPi.GPIO
“`
Create a Python script that reads RFID card data and compares it against a whitelist of authorized cards. When a valid card is detected, the system triggers the relay, unlocking the door for a preset duration. Add logging functionality to track access attempts and maintain security records.
Enhance the system by implementing additional security features like wrong attempt lockouts, time-based access restrictions, and real-time notifications via email or SMS when unauthorized access is attempted. Consider adding a backup power supply to ensure the system remains operational during power outages.
For better management, create a simple web interface using Flask to add or remove authorized cards and view access logs remotely.
Environmental Monitoring System
Creating an environmental monitoring system with your Raspberry Pi not only enhances security but also helps protect sensitive equipment from environmental threats. This project utilizes a DHT22 sensor to monitor temperature and humidity levels, with automated alerts when readings exceed predefined thresholds.
Begin by connecting the DHT22 sensor to your Raspberry Pi’s GPIO pins: VCC to Pin 1 (3.3V), Ground to Pin 6, and Data to GPIO4 (Pin 7). Install the required libraries by running:
“`bash
sudo apt-get update
sudo apt-get install python3-pip
pip3 install Adafruit_DHT
“`
Create a Python script that reads sensor data and sends alerts:
“`python
import Adafruit_DHT
import time
import smtplib
sensor = Adafruit_DHT.DHT22
pin = 4
while True:
humidity, temperature = Adafruit_DHT.read_retry(sensor, pin)
if temperature > 30 or humidity > 70:
# Send alert email
print(f”Alert: Temp={temperature}°C, Humidity={humidity}%”)
time.sleep(300)
“`
For enhanced security, consider adding these features:
– Encrypted data storage for historical readings
– Integration with your network monitoring system
– Multiple sensor points for comprehensive coverage
– Web interface for remote monitoring
Remember to place sensors away from direct sunlight and air vents for accurate readings. This setup helps protect against environmental threats that could compromise your security infrastructure.
Advanced Security Projects
Honeypot Implementation
A honeypot is an intentionally vulnerable system designed to attract and monitor potential cyber attacks, making it an excellent learning tool for cybersecurity enthusiasts. Using your Raspberry Pi, you can create a simple yet effective honeypot that helps you understand attack patterns and improve your network security.
To implement a basic honeypot, start by installing HoneyPi or Cowrie on your Raspberry Pi. These tools simulate vulnerable services like SSH or telnet, logging all attempted connections and attack methods. Configure your honeypot to appear as an attractive target by setting up common ports and services that attackers typically scan for.
Position your honeypot in a DMZ (demilitarized zone) separate from your main network to prevent any successful attacks from compromising your actual systems. Enable detailed logging to capture information about connection attempts, including IP addresses, usernames, passwords, and the commands attackers try to execute.
For enhanced analysis, consider integrating visualization tools like Kibana or Grafana to create meaningful dashboards of attack data. This setup helps you identify attack patterns, common vulnerabilities, and emerging threats in real-time.
Remember to regularly review your logs and update your honeypot configuration based on observed attack patterns. While maintaining your honeypot, always ensure it remains isolated from critical systems and monitor it closely to prevent it from being used as a launching point for attacks on other networks.

Network Traffic Analyzer
Transform your Raspberry Pi into a powerful network traffic analyzer to monitor and secure your home network. By implementing network traffic monitoring, you can detect suspicious activities, identify potential security threats, and gain valuable insights into your network’s behavior.
Start by installing Wireshark, a popular packet analyzer, on your Raspberry Pi. Connect your Pi to your network using either Wi-Fi or ethernet, and configure it in promiscuous mode to capture all network packets. For enhanced monitoring capabilities, consider installing additional tools like ntopng or Snort to provide real-time traffic analysis and intrusion detection.
Create custom scripts to log specific types of traffic, such as unusual port activity or suspicious IP addresses. You can set up automated alerts to notify you when potential security breaches are detected. Consider implementing a web interface using lightweight frameworks like Flask or Django to visualize your network data through graphs and charts.
To optimize performance, use an external USB storage device for logging data, as continuous packet capture can generate substantial amounts of information. Configure your analyzer to retain logs for a specified period and implement automatic cleanup routines to manage storage effectively.
Remember to secure your monitoring system itself by changing default credentials, implementing SSH key authentication, and regularly updating all installed software to prevent vulnerabilities in your security setup.
Password Security Tools
The Raspberry Pi can serve as an excellent platform for developing and hosting password security tools, helping you understand and enhance your password management practices. One practical project involves creating a password strength analyzer using Python. This tool can evaluate passwords against common security criteria like length, complexity, and presence in known breach databases, providing immediate feedback on password vulnerability.
You can extend this project by building a secure password generator that creates strong, random passwords using cryptographic functions. The generator can be configured to meet various password requirements and can be accessed through a simple web interface hosted on your Pi.
For more advanced implementations, consider developing a local password manager that stores encrypted passwords in a secure database. Using libraries like SQLite for storage and AES for encryption, you can create a self-hosted alternative to commercial password managers. The system can include features like automatic password rotation, two-factor authentication integration, and breach monitoring.
To enhance security further, implement a password vault with master password protection and API endpoints for secure password retrieval. This can be particularly useful when combined with other home automation projects or when accessing passwords across your local network.
Remember to implement proper security measures like SSL/TLS encryption for web interfaces and secure coding practices to protect sensitive password data. These projects not only improve your security infrastructure but also provide valuable hands-on experience with cryptography and secure development principles.
Raspberry Pi cybersecurity projects offer an invaluable pathway to understanding and implementing real-world security solutions. Through these hands-on experiments, enthusiasts can develop practical skills while creating meaningful protection systems for their networks and devices. The combination of affordability, versatility, and educational value makes the Raspberry Pi an ideal platform for cybersecurity learning and implementation.
The projects we’ve explored demonstrate how a simple single-board computer can be transformed into sophisticated security tools, from network monitoring systems to penetration testing platforms. These implementations not only enhance technical knowledge but also provide practical solutions for home and small business security needs.
Looking ahead, the possibilities for Raspberry Pi in cybersecurity continue to expand. With the growing importance of IoT security and the increasing sophistication of cyber threats, these projects serve as stepping stones to more advanced applications. Future developments might include AI-powered threat detection, automated response systems, and enhanced encryption tools.
For beginners, these projects provide a solid foundation in cybersecurity principles, while experienced users can customize and expand upon them to create more complex security solutions. The skills gained through these projects are directly applicable to professional cybersecurity roles, making them valuable additions to any technology enthusiast’s portfolio.
Remember, cybersecurity is an ever-evolving field, and the Raspberry Pi community continues to develop new tools and applications. Stay engaged with the community, keep learning, and don’t hesitate to experiment with your own security implementations.


