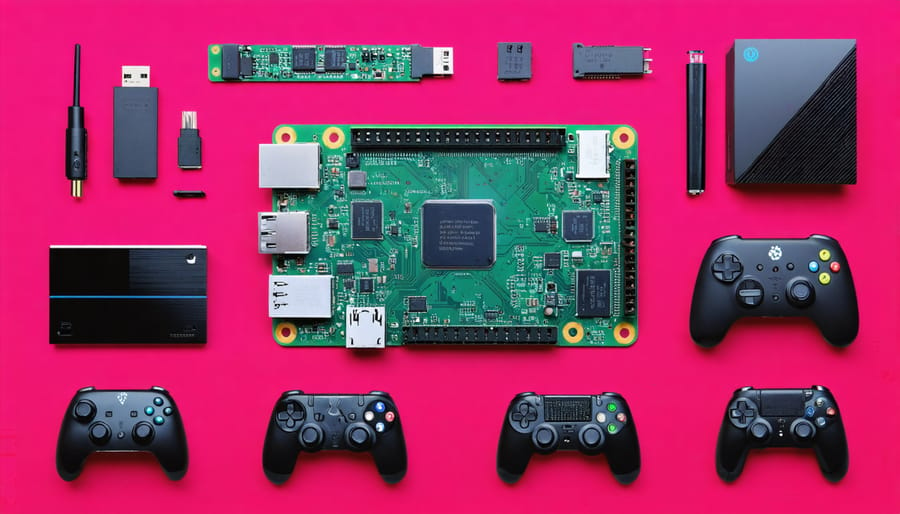
Unleash the power of the Raspberry Pi 4 8GB with these game-changing projects that push the boundaries of single-board computing. From setting up a lightning-fast web server to creating your own retro gaming console, dive into the world of endless possibilities. Transform your Pi into an ethical hacking powerhouse, mastering the art of penetration testing and network security. Harness the enhanced memory and processing capabilities to build a seamless media streaming hub, serving up your favorite content with ease. Embark on a journey of innovation and creativity as we explore the most impactful and rewarding projects tailored for the Raspberry Pi 4 8GB.
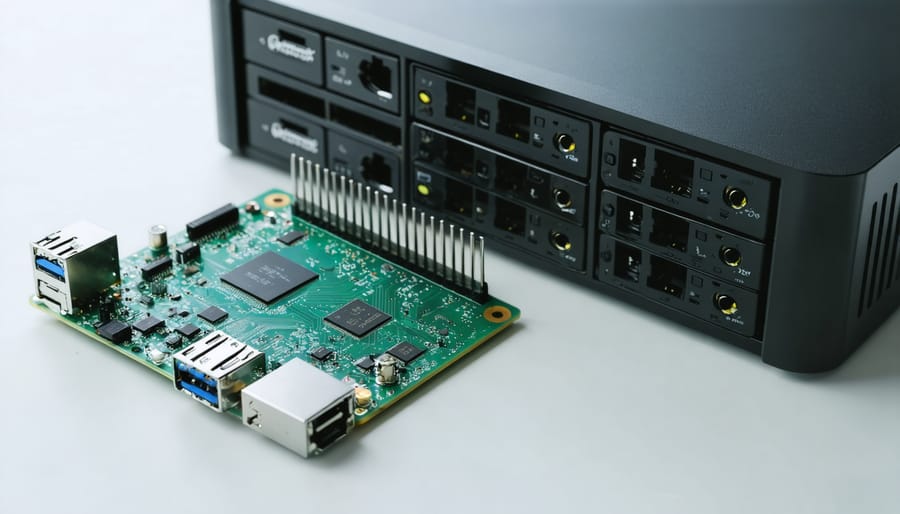
Building a High-Performance NAS Server
The Raspberry Pi 4 8GB is a powerful single-board computer that can be transformed into a high-performance Network Attached Storage (NAS) server. To set up your own Pi-powered NAS, start by installing a lightweight operating system like DietPi or OpenMediaVault. These OSes are optimized for NAS functionality and offer a user-friendly web interface for managing your server.
Next, connect one or more external hard drives to your Pi via USB. For optimal performance, use SSDs or fast HDDs. Configure your storage drives using the web interface, creating shared folders and setting up user permissions. You can also enable features like RAID for data redundancy and protection.
To enhance your NAS server’s capabilities, install additional software packages such as Samba for file sharing with Windows machines, NFS for Linux compatibility, and FTP for remote file access. You can also set up a media server using Plex or Emby to stream your movies, music, and photos to other devices on your network.
For top-notch performance, overclock your Pi 4’s CPU and RAM using a compatible heat sink and fan. This will ensure smooth file transfers and media streaming, even with multiple users accessing the NAS simultaneously. With its 8GB of RAM and powerful quad-core processor, the Pi 4 can handle demanding NAS tasks with ease, making it a cost-effective alternative to commercial NAS solutions for home and small office use.
Creating a Dedicated Web Server
The Raspberry Pi 4 8GB is a powerful single-board computer that can be easily configured as a dedicated web server. To get started, you’ll need to install a lightweight operating system like Raspberry Pi OS Lite or Ubuntu Server on your Pi. Once your OS is set up, update the system and install essential packages like Apache, PHP, and MySQL.
Next, configure Apache by editing its configuration files to specify your website’s directory and enable necessary modules. Create a new directory for your website files and ensure the correct permissions are set. Test your setup by creating a simple PHP file that displays phpinfo() and accessing it from a web browser.
To enhance your web server’s performance, consider implementing caching solutions like Varnish or Redis. These tools store frequently accessed data in memory, reducing the load on your server and improving response times. Additionally, you can configure Nginx as a reverse proxy to handle incoming requests and distribute them efficiently to Apache.
For added functionality, install popular web applications like WordPress, Drupal, or Laravel. These tools provide robust content management systems and frameworks for building dynamic websites and applications. Follow their respective documentation for installation and configuration instructions specific to the Raspberry Pi.
Remember to secure your web server by configuring a firewall, enabling HTTPS with SSL/TLS certificates, and regularly updating your system and software packages. With its 8GB of RAM and powerful quad-core processor, the Raspberry Pi 4 can handle a significant amount of web traffic, making it an excellent choice for hosting personal blogs, small business websites, or development environments.
Setting Up a Robust Home Automation Hub
The Raspberry Pi 4 8GB’s robust processing power makes it an ideal foundation for creating a responsive and feature-rich home automation hub using the popular open-source platform, HomeAssistant. With its user-friendly interface and extensive compatibility with various smart home devices, HomeAssistant empowers you to centralize control over your connected appliances, lights, security projects, and more.
To get started, install HomeAssistant on your Pi using the convenient all-in-one installer. Once set up, you can begin integrating your smart home devices by adding them to the HomeAssistant dashboard. The platform supports a wide array of protocols, such as Zigbee, Z-Wave, and MQTT, ensuring compatibility with most popular smart home brands.
With your devices connected, you can create custom automations and scenes to streamline your home’s functionality. For example, set up a “Good Night” scene that turns off all lights, locks the doors, and adjusts the thermostat with a single command. HomeAssistant’s powerful automation engine allows you to create complex rules based on time, device states, and environmental factors, giving you complete control over your smart home.
The Raspberry Pi 4 8GB’s ample memory ensures smooth performance, even when running multiple automations and integrations simultaneously. Its compact size and low power consumption make it an unobtrusive addition to your home network setup. By harnessing the Pi’s capabilities and HomeAssistant’s flexibility, you can create a customized, responsive home automation hub that simplifies your daily life and enhances your living space.
Developing a Portable Ethical Hacking Station
Installing and Optimizing Kali Linux
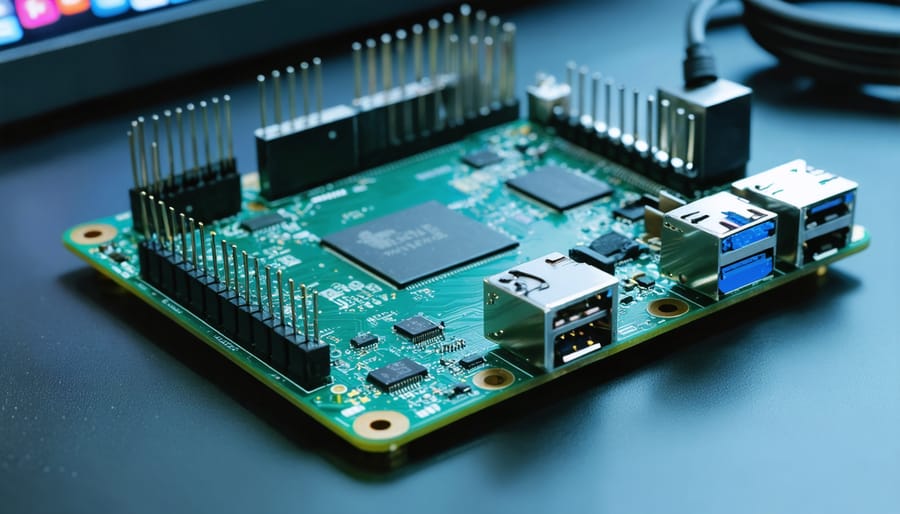
To install Kali Linux on your Raspberry Pi 4 8GB, start by downloading the Kali Linux ARM image from the official website. Write the image to a microSD card using a tool like Etcher. Insert the microSD card into your Pi, connect the peripherals, and power it on. The initial setup wizard will guide you through configuring the basics. Once set up, update the system packages to ensure you have the latest security patches and features. To optimize Kali Linux for the 8GB RAM, consider disabling unused services and tweaking memory-intensive applications. You can also overclock the CPU for a performance boost, but be cautious as this can generate more heat. With these steps, your Kali Linux installation on the Raspberry Pi 4 8GB will be ready to take on various ethical hacking and penetration testing projects while utilizing the full potential of the available RAM.
Essential Tools and Scripts
To effectively transform your Raspberry Pi into a powerful penetration testing tool, you’ll need a suite of essential utilities and scripts. Start by installing Kali Linux, a popular open-source operating system packed with hundreds of pre-installed security tools. Next, add Nmap, a versatile network scanner for discovering hosts, ports, and services. Wireshark, a network protocol analyzer, is crucial for capturing and inspecting packets. Don’t forget Metasploit, an indispensable framework for executing exploits and generating payloads. Aircrack-ng is a must-have for testing Wi-Fi network security, while Hydra excels at cracking passwords through brute-force attacks. Sqlmap automates the detection and exploitation of SQL injection vulnerabilities. Beef-xss, an advanced cross-site scripting framework, aids in client-side attacks. Lastly, consider adding custom scripts tailored to your specific testing needs. With these tools at your fingertips, your Raspberry Pi 4 8GB will be well-equipped to tackle a wide range of penetration testing challenges.
Building a Minecraft Server for Multiplayer Fun
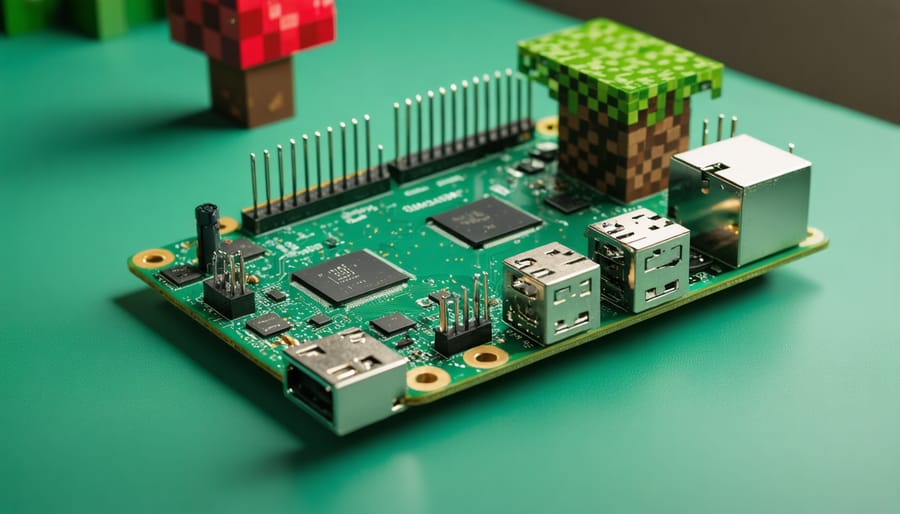
The Raspberry Pi 4’s 8GB RAM opens up exciting possibilities for hosting your own Minecraft server. With this powerful single-board computer, you can create a lag-free multiplayer experience for friends and family to enjoy together. The increased memory allows the Pi to handle more players and larger world sizes without compromising performance. Setting up a Minecraft server on Raspberry Pi is a straightforward process that involves installing the necessary software, configuring server settings, and port forwarding. Once your server is up and running, you can customize it with mods, plugins, and resource packs to enhance gameplay and create unique challenges. The Pi’s low power consumption and compact size make it an ideal choice for a dedicated Minecraft server that can run 24/7 without breaking the bank. Whether you’re hosting a small private server or a larger community, the Raspberry Pi 4 8GB provides a reliable and cost-effective solution for Minecraft enthusiasts looking to take their multiplayer experience to the next level.
Crafting a Powerful Retro Gaming Console
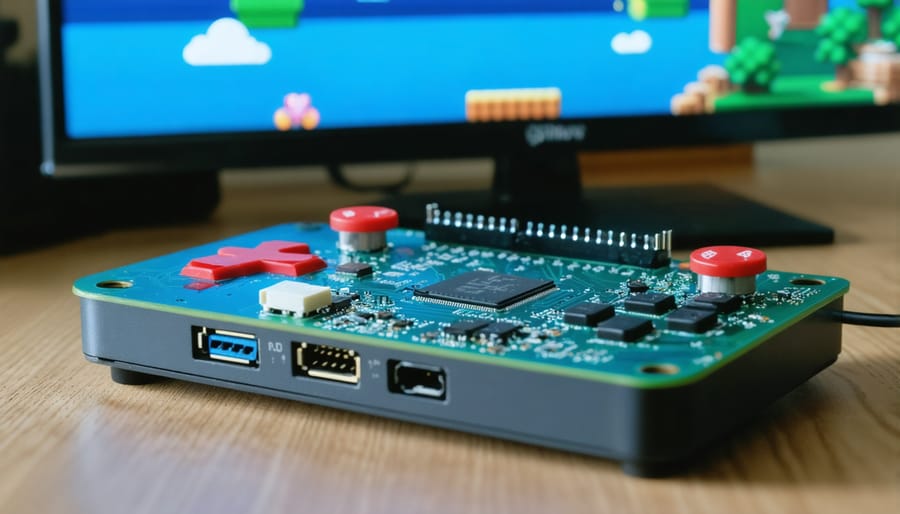
The Raspberry Pi 4 8GB’s impressive specs make it an ideal foundation for crafting the ultimate retro gaming console. With its quad-core 64-bit ARM Cortex-A72 processor and ample RAM, this tiny powerhouse can effortlessly emulate a wide range of classic gaming systems. Start by installing a retro gaming operating system like RetroPie or Lakka, which come pre-loaded with emulators for popular consoles such as NES, SNES, PlayStation, and more. The 8GB model’s expanded memory allows you to load up your microSD card with an extensive library of ROMs, ensuring you’ll never run out of nostalgic gaming adventures.
To elevate your retro gaming experience, consider adding USB controllers or building your own custom arcade joysticks for authentic gameplay. You can even use the Pi’s GPIO pins to connect physical buttons and create a bespoke arcade cabinet. Thanks to the Pi 4’s dual micro HDMI ports, you can output your games to a high-resolution monitor or TV for immersive, big-screen gaming. With a bit of tinkering and imagination, your Raspberry Pi 4 8GB can become a versatile, all-in-one retro gaming station that celebrates gaming’s rich history while taking advantage of modern technology. Get ready to rediscover your favorite classic titles and introduce a new generation to the joys of retro gaming, all powered by the mighty Raspberry Pi 4 8GB.
Conclusion
The Raspberry Pi 4 8GB model unlocks a world of exciting possibilities for tech enthusiasts, hobbyists, and educators alike. From creating powerful servers and immersive gaming setups to exploring the realms of AI, machine learning, and ethical hacking, this tiny computer packs a mighty punch. With its enhanced memory capacity and impressive performance, the 8GB Pi 4 empowers users to tackle more complex projects and push the boundaries of what’s possible with a single-board computer. Whether you’re a seasoned developer or a curious beginner, the Raspberry Pi 4 8GB offers endless opportunities to learn, create, and innovate. So why not dive in, explore the vast array of projects available, and unleash your imagination? Get your hands on a Raspberry Pi 4 8GB today and embark on an exhilarating journey of discovery and creation in the world of technology.


