Transform your Raspberry Pi Zero W into a high-quality audio interface with these simple steps. Unlock the potential of this pocket-sized powerhouse and experience crystal-clear sound for your projects, whether you’re creating a portable music player, a voice-controlled assistant, or an immersive audio experience. With its built-in WiFi, low power consumption, and impressive processing capabilities, the Raspberry Pi Zero W is the perfect foundation for your audio adventures. Get ready to dive into the world of digital audio and discover how this tiny device can revolutionize the way you listen, create, and innovate.
Step 1: Gather Your Audio Essentials
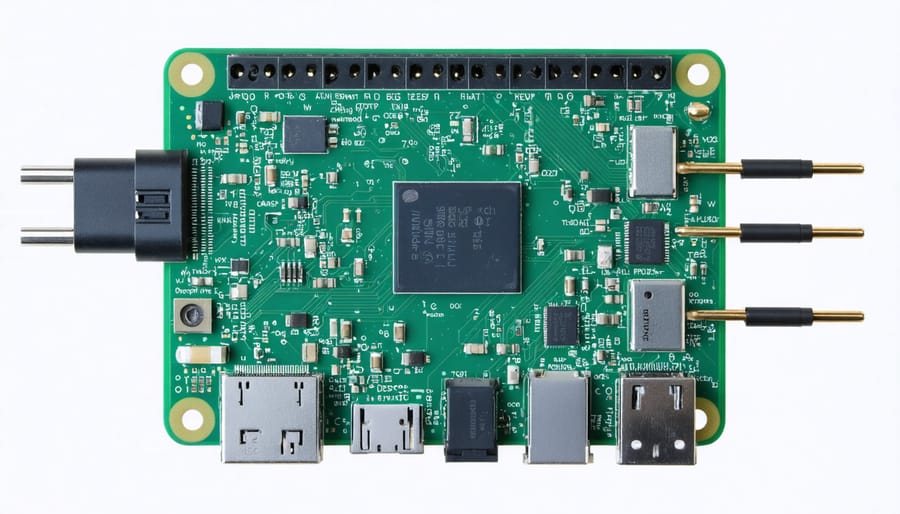
To get started with your Raspberry Pi Zero W audio output project, you’ll need to gather a few essential components. First and foremost, you’ll need a Raspberry Pi Zero W board, which is a compact and affordable single-board computer that comes with built-in Wi-Fi and Bluetooth connectivity. Next, you’ll require a compatible audio DAC (Digital-to-Analog Converter) or audio card to convert the digital audio signal from the Pi into an analog signal that can be played through speakers or headphones. Some popular options include the HifiBerry DAC+ Zero and the Adafruit I2S 3W Class D Amplifier Breakout.
In addition to the audio hardware, you’ll need a reliable power supply for your Raspberry Pi Zero W. A standard 5V micro-USB power adapter with a current rating of at least 1.2A should suffice. It’s important to choose a high-quality power supply to ensure stable performance and avoid any potential issues caused by insufficient power delivery.
On the software side, you have several options depending on your specific needs and preferences. One popular choice is Raspbian, the official operating system for Raspberry Pi devices. It comes with built-in audio support and a wide range of pre-installed software packages. Alternatively, you can opt for specialized audio-focused distributions like Volumio or Moode Audio, which offer enhanced audio capabilities and user-friendly interfaces for managing your music library and playback settings.
As you embark on your Raspberry Pi Zero W audio journey, don’t forget to explore other exciting possibilities, such as integrating a high-quality camera module for video streaming or surveillance applications. With the right combination of hardware and software, your Raspberry Pi Zero W can become a versatile and powerful audio hub for your projects and entertainment needs.

Step 2: Get Your Pi Ready to Rock
Installing the Operating System
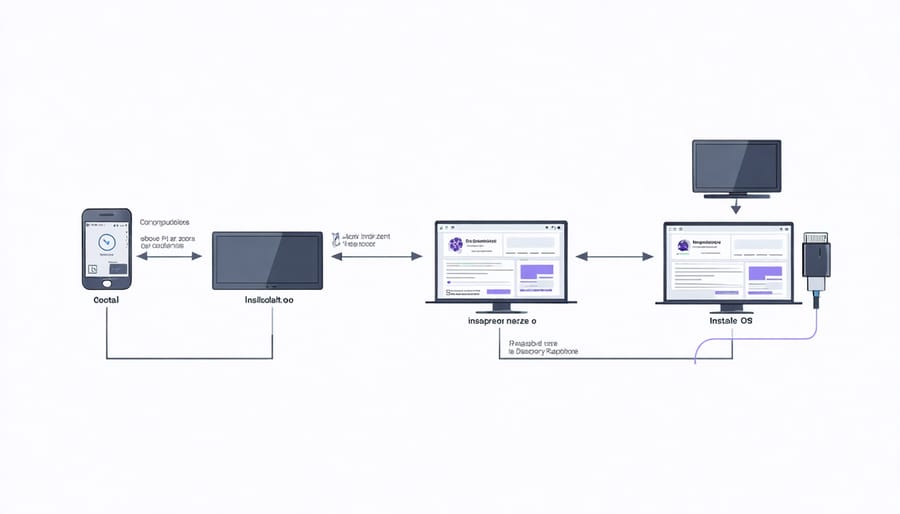
To install a lightweight, audio-focused operating system on your Raspberry Pi Zero W, we recommend using either Raspbian Lite or Volumio. Begin by downloading the desired OS image from the official website and writing it to a microSD card using a tool like Etcher.
For Raspbian Lite, insert the microSD card into your Pi and connect it to a monitor, keyboard, and power supply. On first boot, you’ll be prompted to configure basic settings like locale and password. Once set up, update the system packages by running `sudo apt update` and `sudo apt upgrade` in the terminal.
If you prefer a more audio-centric OS, Volumio is an excellent choice. After writing the image to the microSD card, insert it into the Pi and connect the power supply. Volumio will boot and create a wireless hotspot called “Volumio.” Connect to this network using another device and access the web interface at http://volumio.local to complete the setup process.
Both Raspbian Lite and Volumio provide a solid foundation for your Raspberry Pi Zero W audio projects, offering a balance of performance and flexibility. With the OS installed, you’re ready to configure the audio settings and start exploring the world of Pi audio.

Enabling SSH and Configuring Wi-Fi
To enable SSH for remote access on your Raspberry Pi Zero W, start by creating an empty file named “ssh” (without any extension) in the boot partition of your microSD card. This tells the Pi to enable SSH on the next boot.
Next, configure Wi-Fi by creating a file named “wpa_supplicant.conf” in the boot partition. Open the file and add the following lines:
network={
ssid=”your_wifi_network_name”
psk=”your_wifi_password”
key_mgmt=WPA-PSK
}
Replace “your_wifi_network_name” and “your_wifi_password” with your actual Wi-Fi credentials. Save the file and safely eject the microSD card.
Insert the microSD card into your Raspberry Pi Zero W and power it on. Give it a few moments to boot up and connect to your Wi-Fi network. You can now access your Pi remotely using SSH from another computer on the same network.
To do this, open a terminal (or PuTTY on Windows) and enter the following command:
ssh pi@raspberrypi.local
If prompted, enter the default password “raspberry”. You should now have remote access to your Raspberry Pi Zero W, making it easier to configure and manage your audio output project without needing a separate monitor and keyboard.
Step 3: Amp Up Your Audio Hardware
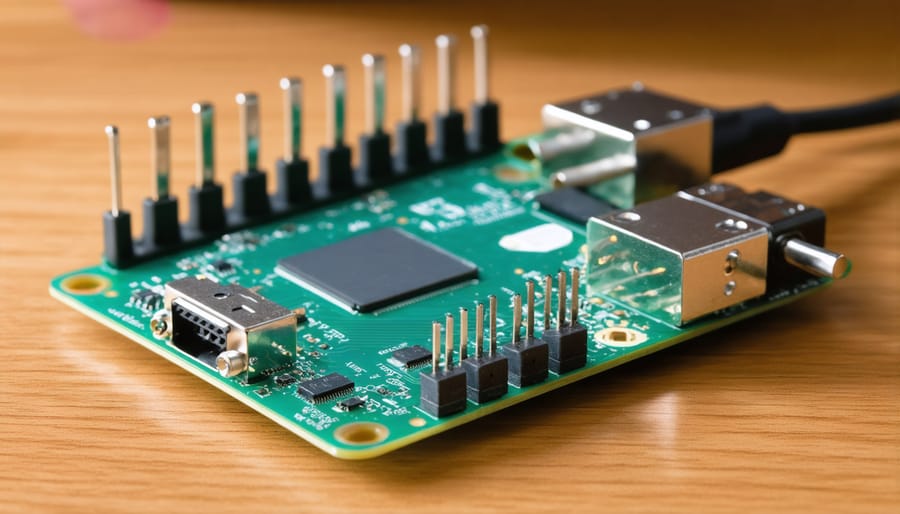
Now that you have the necessary hardware, it’s time to connect the audio DAC or audio card to your Raspberry Pi Zero W. Begin by ensuring your Pi is powered off and unplugged. Locate the appropriate GPIO pins on your Pi and carefully connect the DAC or audio card according to the manufacturer’s instructions. Typically, this involves connecting the 5V, Ground, I2S Data, I2S Clock, and I2S L/R pins to the corresponding pins on your Pi.
Once the hardware is connected, power on your Raspberry Pi Zero W and open a terminal window. To configure the audio output settings, you’ll need to modify a few configuration files. Start by editing the “config.txt” file with the command sudo nano /boot/config.txt. Add the following lines to the end of the file, depending on your specific DAC or audio card:
dtoverlay=hifiberry-dac
dtoverlay=iqaudio-dac
dtoverlay=justboom-dac
Save the changes and exit the editor. Next, edit the “asound.conf” file with sudo nano /etc/asound.conf and add the following lines:
pcm.!default {
  type hw
  card 0
}

ctl.!default {
  type hw
  card 0
}
This configuration sets the default audio output to the connected DAC or audio card. Save the changes and reboot your Raspberry Pi Zero W with sudo reboot. Upon rebooting, your Pi should now be configured to output audio through the connected hardware.
To test your audio setup, you can use the command aplay -D plughw:0,0 /usr/share/sounds/alsa/Front_Center.wav. If everything is configured correctly, you should hear a test sound through your connected speakers or headphones. Congratulations! You’ve successfully set up audio output on your Raspberry Pi Zero W.

Step 4: Fine-Tune Your Audio Software
Now that you have your hardware set up and the operating system installed, it’s time to fine-tune your audio software for optimal performance. Popular options for the Raspberry Pi Zero W include Volumio, Moode Audio, and PiMusicBox. Each offers a user-friendly web interface for managing your music library and audio settings.
To install Volumio, download the latest image from their website and write it to your microSD card using a tool like Etcher. Once booted, access the web interface and navigate to the settings menu to configure your audio output, adjust the volume, and select your preferred audio format.
Moode Audio follows a similar installation process, with the added benefit of a more customizable interface. After installation, access the web interface to set up your music library, configure your audio output, and adjust advanced settings like the audio buffer size and resampling rate.
PiMusicBox is another excellent choice, particularly for those who prefer a more streamlined setup process. Simply download the image, write it to your microSD card, and boot up your Raspberry Pi Zero W. The web interface allows you to easily manage your music library, control playback, and adjust audio settings.
Regardless of which software you choose, be sure to experiment with the various settings to find the optimal configuration for your specific setup. This may involve adjusting the audio output settings, tweaking the equalizer, or enabling features like volume normalization.
It’s worth noting that while the Raspberry Pi Zero W is a capable device for audio playback, those seeking the ultimate in audio quality may want to consider stepping up to a more powerful model like the Raspberry Pi 1 Model A or Raspberry Pi 3. These models offer additional processing power and RAM, which can help to minimize audio dropouts and improve overall performance.
Step 5: Sit Back and Enjoy the Symphony
Testing Your Audio Output
To test your audio output, start by playing a sample audio file or YouTube video on your Raspberry Pi Zero W. If you hear clear sound from your connected speakers or headphones, your setup is working correctly. If not, double-check your connections and volume settings. You can also run the speaker-test command in the terminal to generate test tones and verify each audio channel. Additionally, use the alsamixer utility to adjust volume levels and unmute channels if needed. By performing these simple tests, you can ensure that your Raspberry Pi Zero W audio output is configured properly and ready for your projects.
Troubleshooting Common Issues
When troubleshooting audio issues on your Raspberry Pi Zero W, start by double-checking your connections. Ensure that your speakers or headphones are securely plugged into the correct jack and that the cable is not damaged. If you’re using Bluetooth, verify that your device is properly paired and connected.
Next, check your volume levels. Use the `alsamixer` command in the terminal to adjust the volume and unmute any muted channels. If you’re still not hearing audio, try running the `sudo raspi-config` command and navigating to the “Advanced Options” menu. From there, select “Audio” and choose the appropriate output device.
If you encounter distorted or crackling audio, it may be due to insufficient power supply. Ensure that you’re using a reliable power source that provides enough current for your Raspberry Pi Zero W and any connected peripherals.
In some cases, updating your Raspberry Pi’s software can resolve audio issues. Run `sudo apt update` and `sudo apt upgrade` to install the latest updates and bug fixes.
If you’ve followed these steps and are still experiencing problems, consider seeking help from the Raspberry Pi community forums or online resources dedicated to troubleshooting audio on the Pi Zero W. With patience and persistence, you’ll soon have your audio output working smoothly.
In conclusion, setting up audio output on your Raspberry Pi Zero W is a straightforward process that opens up a world of possibilities for your projects. By following the steps outlined in this guide, you can configure your Pi to deliver high-quality sound through HDMI, 3.5mm jack, or even Bluetooth devices. Remember to choose the appropriate hardware for your needs, install the necessary software packages, and configure your settings to ensure optimal performance. Don’t be afraid to experiment with different audio configurations and software options to find the perfect setup for your specific application. Whether you’re building a media center, creating an interactive audio installation, or developing a voice-controlled assistant, the Raspberry Pi Zero W’s audio capabilities provide a versatile and affordable foundation for your projects. So grab your Pi, dive in, and let your creativity take center stage as you explore the exciting world of audio on this tiny but mighty single-board computer.


