

Unlock the power of 4G connectivity on your Raspberry Pi and take your projects to new heights! With the ability to connect your Pi to high-speed mobile networks, a world of possibilities opens up for remote monitoring, IoT applications, and mobile computing. Imagine deploying your Raspberry Pi in the field, streaming real-time data, or controlling devices from anywhere with a cellular signal. In this comprehensive guide, we’ll walk you through the process of setting up 4G on your Raspberry Pi, from choosing the right hardware to configuring the software. You’ll learn how to select a compatible 4G modem, connect it to your Pi, and install the necessary drivers and tools. We’ll also explore practical projects that showcase the potential of a 4G-enabled Raspberry Pi, such as a remote weather station, a mobile surveillance camera, or a portable web server. Whether you’re a beginner or an experienced maker, this article will empower you to harness the power of 4G and create innovative, connected projects with your Raspberry Pi.
Setting Up 4G Connectivity on Raspberry Pi
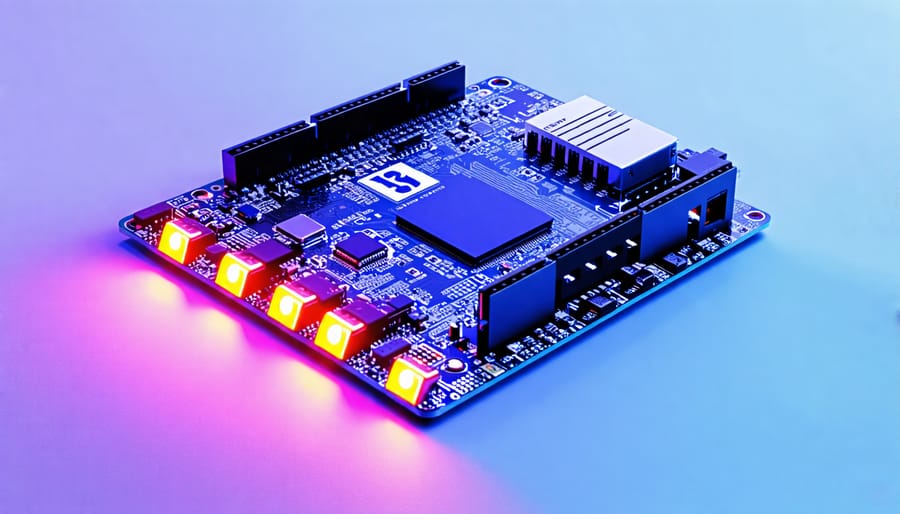
Hardware Requirements
Here are some compatible 4G modems and HATs for Raspberry Pi: 1. Waveshare SIM7600E-H 4G HAT: This HAT supports LTE CAT-4 up to 150Mbps downlink and 50Mbps uplink. It’s compatible with Raspberry Pi 2B/3B/3B+/4B. 2. Sixfab Raspberry Pi 4G/LTE Base HAT: Compatible with all Raspberry Pi models, this HAT supports various cellular modems, including the Quectel EC25 and Telit LE910C1. 3. Adafruit FONA 3G Cellular + GPS Breakout: While primarily a 3G module, it’s compatible with 2G and 4G networks. It works with the Raspberry Pi via UART or USB. 4. SixFab Raspberry Pi Cellular IoT Application Shield: This shield is compatible with the Raspberry Pi 3/4 and supports the Quectel BG96 module for LTE CAT M1, NB-IoT, and EGPRS. 5. Nimbelink Skywire 4G LTE CAT 4 Modem: This modem is compatible with the Raspberry Pi and supports speeds up to 150Mbps downlink and 50Mbps uplink. When choosing a 4G modem or HAT, ensure it’s compatible with your Raspberry Pi model and meets your project’s requirements for speed, coverage, and power consumption.
Software Configuration
To set up your Raspberry Pi for 4G connectivity, you’ll need to install the necessary drivers and configure the settings. Start by updating your Raspberry Pi’s package list and upgrading any installed packages to their latest versions. Next, install the required USB modeswitch and usb-modeswitch-data packages, which enable the Raspberry Pi to recognize and communicate with the 4G USB modem. Once the packages are installed, plug in your 4G USB modem to the Raspberry Pi. Use the lsusb command to verify that the modem is detected. You may need to configure the modem using usb_modeswitch to switch it from storage mode to modem mode. After the modem is recognized, install the PPP (Point-to-Point Protocol) software, which enables the Raspberry Pi to establish a connection with the 4G network. Edit the PPP configuration files, such as /etc/ppp/peers/provider and /etc/ppp/chatscripts/3gprovider, to specify your mobile network’s APN settings and authentication details. Next, install the wvdial package, which simplifies the process of establishing a PPP connection. Create a configuration file named /etc/wvdial.conf with your modem’s device name, baud rate, APN, and authentication information. Save the file and run wvdial to initiate the 4G connection and provide internet access. Finally, configure your Raspberry Pi to automatically connect to the 4G network on boot by editing the /etc/network/interfaces file. Add the necessary lines to define the PPP interface and specify the wvdial configuration file. With these steps completed, your Raspberry Pi should now be set up to connect to the 4G network automatically whenever it is powered on and the 4G USB modem is plugged in.

5 Innovative Projects Using 4G and Raspberry Pi
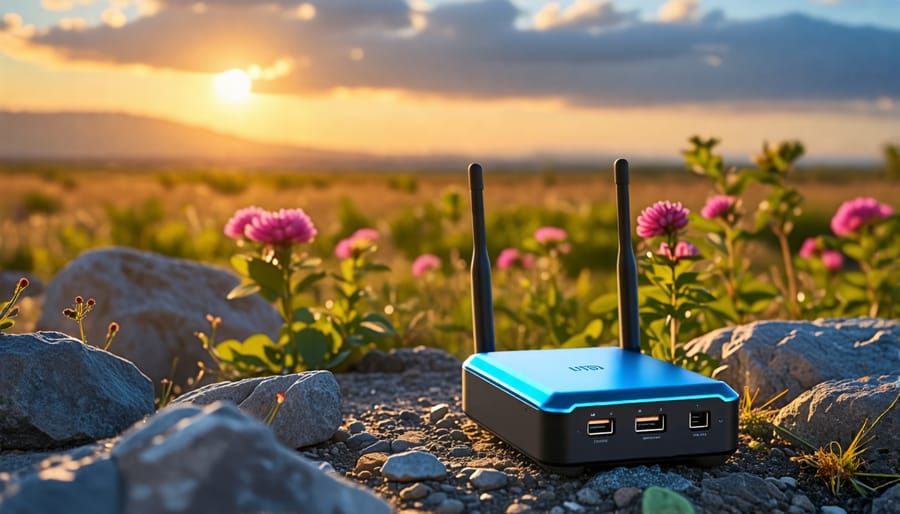
Portable 4G Wi-Fi Hotspot
To create a portable 4G Wi-Fi hotspot using a Raspberry Pi, you’ll need a 4G-compatible HAT or USB modem. Once you have the hardware, install the necessary software packages, such as sakis3g or wvdial, to configure the modem. Set up the connection using the appropriate APN settings provided by your mobile network operator. Next, configure your Raspberry Pi to act as a Wi-Fi access point using hostapd and dnsmasq. This will allow other devices to connect to your Pi and access the internet through the 4G connection. You can also set up a basic web interface using a lightweight web server like lighttpd to monitor the connection status and manage connected devices. With your portable 4G Wi-Fi hotspot ready, you can now take your Raspberry Pi on the go and enjoy internet connectivity wherever you have cellular coverage. This setup is particularly useful for remote projects, such as weather stations or wildlife cameras, where a reliable internet connection is required but traditional Wi-Fi networks are unavailable. It’s also a great way to share your 4G connection with multiple devices without the need for additional hardware.
Remote Surveillance Camera
Transform your Raspberry Pi into a versatile security camera with 4G connectivity for remote monitoring. By leveraging the power of 4G, you can deploy your Raspberry Pi camera in locations without Wi-Fi access, making it ideal for outdoor surveillance or monitoring remote properties. To get started, you’ll need a Raspberry Pi board, a compatible camera module, and a 4G HAT or USB modem. Set up the hardware and configure the software to enable 4G connectivity and live streaming capabilities. You can then access the camera feed remotely using a web browser or a dedicated mobile app, allowing you to keep an eye on your property from anywhere with an internet connection. With motion detection and alerts, you’ll be instantly notified of any activity, ensuring your property remains secure. This project showcases the versatility of the Raspberry Pi and how 4G technology can be harnessed to create powerful, remote monitoring solutions.
IoT Weather Station
Building a solar-powered weather station with 4G data transmission using a Raspberry Pi is an exciting project for tech enthusiasts and hobbyists. By harnessing renewable energy and leveraging the power of 4G connectivity, you can create a self-sufficient weather monitoring system that transmits data remotely. To get started, you’ll need a solar-powered Raspberry Pi setup, which includes a solar panel, charge controller, and battery. Connect your weather sensors, such as temperature, humidity, and barometric pressure sensors, to the Raspberry Pi’s GPIO pins. Install the necessary software libraries and configure the Raspberry Pi to read sensor data at regular intervals. Next, set up a 4G HAT or USB modem compatible with your Raspberry Pi to enable cellular connectivity. Configure the device to send the collected weather data to a remote server or cloud platform at predetermined intervals. This allows you to access and analyze the data from anywhere with an internet connection. With proper power management and optimized data transmission, your IoT weather station can operate autonomously for extended periods, providing valuable insights into local weather patterns and conditions.
Vehicle Tracking System
With a 4G Raspberry Pi, you can create a powerful vehicle tracking system that provides real-time location data. By combining a GPS module and a 4G cellular modem, you can transmit location information from the vehicle to a central server or database. Start by connecting the GPS module to the Raspberry Pi’s GPIO pins and configuring it to retrieve latitude and longitude coordinates. Next, set up the 4G modem to establish a connection to the cellular network, enabling data transmission. Write a Python script that reads the GPS data and sends it to a remote server using the 4G connection at regular intervals. On the server side, store the received data in a database and use a web-based interface or mobile app to display the vehicle’s location on a map in real-time. You can enhance the system by adding features like geofencing alerts, speed monitoring, and route tracking. This project showcases the potential of 4G Raspberry Pi in creating IoT solutions for fleet management, logistics, and personal vehicle tracking, offering valuable insights for businesses and individuals alike.
Disaster Relief Communication Hub
The Raspberry Pi 4G LTE HAT enables you to create a portable communication device that can be a lifesaver in emergency situations. By combining the power of a Raspberry Pi with cellular connectivity, you can build a compact, battery-powered hub that allows for essential communication during disasters or in remote areas without reliable internet access. To set up your disaster relief communication hub, you’ll need a Raspberry Pi board, the 4G LTE HAT, a compatible battery pack, and a waterproof enclosure. Configure the hardware and software components, ensuring that the device can connect to cellular networks and provide a stable connection for communication apps like Signal or Telegram. Your communication hub can include features such as a built-in messaging system, location sharing, and an emergency broadcast function to send alerts to nearby devices. You can also integrate solar charging capabilities to keep the device running even when power grids are down. With a 4G Raspberry Pi-powered disaster relief communication hub, you’ll have a reliable, portable device that can help you stay connected with loved ones and emergency services during critical situations, providing peace of mind and potentially saving lives in the process.