

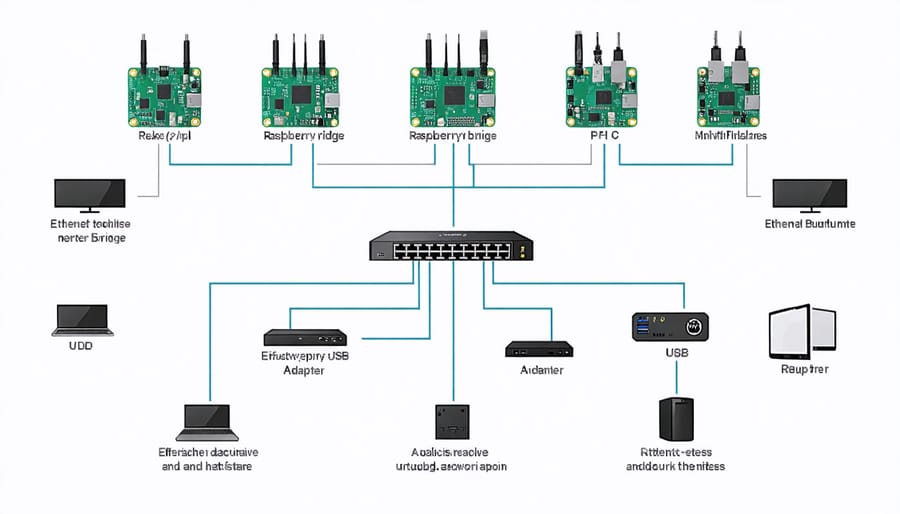
Transform your Raspberry Pi into a versatile network bridge in minutes, unlocking powerful network solutions for your home or small office setup. This cost-effective approach bridges multiple network interfaces, enabling seamless communication between different network segments while maintaining full control over traffic flow and security protocols.
By leveraging the Pi’s dual network capabilities (Ethernet and Wi-Fi), create a robust bridge that connects isolated networks, extends wireless coverage, or implements advanced network monitoring—all through a device that costs less than most commercial networking equipment. Whether you’re setting up a guest network, isolating IoT devices, or building a sophisticated home lab, the Raspberry Pi’s network bridging capabilities offer unmatched flexibility and customization options.
Master the fundamentals of network bridging with clear, step-by-step instructions that transform your Pi from a simple single-board computer into a professional-grade networking tool. From basic configuration to advanced features like traffic monitoring and QoS management, this guide covers everything you need to maximize your Pi’s networking potential.
What You’ll Need for Your Network Bridge
Hardware Requirements
To set up a Raspberry Pi network bridge, you’ll need the following essential hardware components:
1. Raspberry Pi (Model 3B+, 4B, or newer recommended) – These models offer better networking performance
2. Two network interfaces:
– Built-in Ethernet port
– Additional USB-to-Ethernet adapter or a dual Ethernet configuration
3. Power supply (minimum 5V/3A recommended)
4. MicroSD card (16GB or larger, Class 10)
5. Network cables (Cat5e or Cat6)
Optional but recommended components:
– Raspberry Pi case with good ventilation
– Small heatsinks for better thermal management
– Network cable tester for troubleshooting
– USB keyboard and HDMI monitor for initial setup
Ensure all components are compatible with your specific Raspberry Pi model and verify the USB-to-Ethernet adapter is recognized by Raspberry Pi OS before starting the bridge setup.
Software Prerequisites
Before setting up your Raspberry Pi as a network bridge, ensure you have the following software prerequisites in place. Your Raspberry Pi should be running the latest version of Raspberry Pi OS (formerly Raspbian), which already includes most required packages. However, you’ll need to install bridge-utils, which provides essential network bridging utilities:
sudo apt-get update
sudo apt-get install bridge-utils
Additionally, ensure your system has the following packages installed and updated:
– hostapd (for wireless access point functionality)
– dnsmasq (for DHCP and DNS services)
– iptables (for network routing and firewall)
It’s recommended to perform a full system update before proceeding:
sudo apt-get upgrade
Your Raspberry Pi should have at least 1GB of available storage space for these packages and configurations. While any Raspberry Pi model can theoretically work as a network bridge, models with built-in ethernet ports (like Pi 3B+ or Pi 4) are ideal for this setup.
Setting Up Your Raspberry Pi Network Bridge
Initial OS Configuration
Before setting up your Raspberry Pi as a network bridge, you’ll need to ensure your operating system is properly configured. Start with a fresh installation of Raspberry Pi OS (formerly Raspbian) and make sure it’s fully updated by running:
sudo apt update
sudo apt upgrade -y
Next, enable IP forwarding, which allows your Raspberry Pi to route network traffic between interfaces. Edit the system configuration file by entering:
sudo nano /etc/sysctl.conf
Find the line containing “net.ipv4.ip_forward=0” and change it to “net.ipv4.ip_forward=1”. If the line doesn’t exist, add it at the end of the file. Save and exit the editor.
To activate IP forwarding without rebooting, run:
sudo sysctl -p
Now, verify that your network interfaces are recognized by the system:
ip addr show
You should see at least two interfaces: typically eth0 (Ethernet) and wlan0 (Wi-Fi). Make note of these interface names as you’ll need them for the bridge configuration.
Finally, ensure that any necessary network interface drivers are installed and working correctly. Most common adapters work out of the box with Raspberry Pi OS, but some USB network adapters might require additional drivers.
Remember to back up your configuration files before making any changes. This will help you restore your system if needed.
Bridge Configuration Steps
Let’s dive into the step-by-step process of configuring your Raspberry Pi as a network bridge. First, ensure your Pi has two network interfaces available – typically the built-in Ethernet port and a USB Wi-Fi adapter or vice versa.
Open the terminal on your Raspberry Pi and install the bridge utilities package by running:
“`
sudo apt-get update
sudo apt-get install bridge-utils
“`
Create a new bridge interface by executing:
“`
sudo brctl addbr br0
“`
Next, add your network interfaces to the bridge. Replace eth0 and wlan0 with your actual interface names:
“`
sudo brctl addif br0 eth0
sudo brctl addif br0 wlan0
“`
Now, modify your network configuration file. Open it using:
“`
sudo nano /etc/network/interfaces
“`
Add the following configuration, adjusting as needed for your setup:
“`
auto br0
iface br0 inet static
bridge_ports eth0 wlan0
address 192.168.1.2
netmask 255.255.255.0
gateway 192.168.1.1
“`
Before activating the bridge, bring down your existing interfaces:
“`
sudo ifdown eth0
sudo ifdown wlan0
“`
Enable the bridge interface:
“`
sudo ifup br0
“`
To make the bridge persistent across reboots, add these lines to /etc/sysctl.conf:
“`
sudo nano /etc/sysctl.conf
net.bridge.bridge-nf-call-ip6tables = 0
net.bridge.bridge-nf-call-iptables = 0
net.bridge.bridge-nf-call-arptables = 0
“`
Finally, reboot your Raspberry Pi:
“`
sudo reboot
“`
After rebooting, verify your bridge configuration using:
“`
brctl show
“`
This command should display your bridge interface (br0) and its associated ports. Your Raspberry Pi is now configured as a network bridge, allowing traffic to flow between your connected interfaces seamlessly.
Remember to adjust IP addresses and network settings according to your specific network configuration. For optimal performance, ensure all cables are properly connected and your wireless adapter is compatible with bridge mode.
Testing Your Bridge Connection
Once you’ve configured your network bridge, it’s essential to verify that everything is working correctly. Start by checking the network status using the command ‘ip addr show’. You should see both interfaces listed with their respective IP addresses and the bridge interface showing as UP.
To test connectivity, try pinging devices on both networks through your bridge. For example:
ping -c 4 192.168.1.1 (or your router’s IP address)
ping -c 4 8.8.8.8 (Google’s DNS server to test internet connectivity)
If you encounter issues, here are some common troubleshooting steps:
1. Verify physical connections by checking if all cables are properly connected and the link lights are active
2. Confirm bridge interface status with ‘brctl show’
3. Check system logs using ‘dmesg | grep bridge’
4. Ensure IP forwarding is enabled by checking /proc/sys/net/ipv4/ip_forward
If devices aren’t receiving IP addresses, verify that your DHCP settings are correct and that the bridge interface is properly configured in the dhcpcd.conf file.
For connectivity problems, try:
– Restarting the networking service: sudo systemctl restart networking
– Checking firewall rules that might block bridge traffic
– Verifying that all network interfaces are set to promiscuous mode
If problems persist, temporarily disable your firewall to rule out any filtering issues, then re-enable it with appropriate rules once you’ve identified the problem.
Advanced Bridge Features
Traffic Monitoring
Once your network bridge is operational, monitoring traffic becomes essential for understanding network usage and troubleshooting potential issues. Several powerful tools can help you analyze network traffic on your Raspberry Pi bridge setup.
The most popular monitoring solution is tcpdump, which comes pre-installed on most Raspberry Pi distributions. To start monitoring, simply run ‘tcpdump -i any’ to capture packets across all interfaces. For more detailed analysis, Wireshark provides a comprehensive graphical interface and can be installed using ‘sudo apt-get install wireshark’.
Iftop is another lightweight tool that displays bandwidth usage per connection. Install it with ‘sudo apt-get install iftop’ and run it with ‘sudo iftop’ to see real-time bandwidth statistics. This tool is particularly useful for identifying which devices or services are consuming the most bandwidth.
For long-term traffic analysis, consider setting up Nagios or Cacti. These tools offer detailed graphs and alerts, perfect for maintaining network health. You can access these monitoring tools through various remote management options, making it convenient to check network status from anywhere.
To monitor specific interfaces, use the ‘nethogs’ utility, which breaks down bandwidth usage by process. This helps identify which applications are generating the most traffic. For basic statistics, the built-in ‘ifconfig’ or more modern ‘ip’ commands provide quick snapshots of network interface statistics.
Remember to regularly check your logs in /var/log/syslog for any bridge-related issues or unusual traffic patterns that might indicate problems with your setup.

Performance Optimization
To maximize your Raspberry Pi network bridge performance, implementing a few key optimizations can make a significant difference. Start by adjusting your network interface settings through the sysctl configuration. Modify the /etc/sysctl.conf file to increase the network buffer sizes and enable TCP window scaling, which can significantly improve throughput.
Consider enabling hardware flow control on your Ethernet interfaces if your network adapters support it. This feature helps prevent packet loss during high-traffic periods and works particularly well when combining the Pi’s network storage capabilities with bridge functionality.
Memory management plays a crucial role in bridge performance. Allocate additional RAM to the networking stack by adjusting the net.core.rmem_max and net.core.wmem_max values. A good starting point is 16MB for both parameters, but you can experiment with different values based on your specific usage patterns.
To reduce CPU overhead, enable hardware checksum offloading if your network interfaces support it. Use the ethtool command to verify and enable these features:
ethtool -K eth0 tx on rx on
ethtool -K eth1 tx on rx on
Monitor your bridge performance using tools like iftop or nethogs to identify bottlenecks and adjust accordingly. If you’re experiencing packet loss, consider implementing Quality of Service (QoS) rules to prioritize critical traffic.
Lastly, keep your Raspberry Pi’s firmware and operating system updated to ensure you have the latest network driver optimizations and security patches. Regular maintenance and monitoring will help maintain optimal bridge performance over time.
Common Issues and Solutions
When setting up a Raspberry Pi network bridge, you might encounter several common issues. One frequent problem is the loss of network connectivity after bridge configuration. To resolve this, double-check your network interface names and ensure they match exactly in your configuration files. If connectivity issues persist, try rebooting both your Raspberry Pi and connected devices.
Another typical issue is slow network speeds through the bridge. This can often be improved by enabling hardware acceleration if your Pi model supports it, or by adjusting the MTU (Maximum Transmission Unit) settings. If you notice packet loss, verify that all network cables are properly connected and in good condition.
DNS resolution problems may also occur. These can usually be fixed by correctly setting your DNS servers in the bridge configuration or by manually specifying DNS servers in your network settings. For unstable connections, ensure your power supply provides adequate current to the Raspberry Pi, as insufficient power can cause network instability.
Remember to check system logs using ‘dmesg’ or ‘journalctl’ commands when troubleshooting, as they often provide valuable information about the root cause of network bridge issues.
Setting up a Raspberry Pi network bridge is an excellent way to enhance your home network while learning valuable networking skills. This project offers remarkable flexibility, allowing you to extend your network’s reach, segment traffic, or create a secure testing environment. By following the steps outlined in this guide, you can transform your Raspberry Pi into a powerful networking tool that suits your specific needs. Whether you’re a hobbyist looking to experiment with network configurations or an educator setting up a lab environment, the Raspberry Pi network bridge provides an affordable and educational solution. We encourage you to try this project yourself – the setup process is straightforward, the hardware requirements are minimal, and the learning experience is invaluable. Start small, experiment with different configurations, and don’t hesitate to expand your setup as your needs grow.