

Transform your Raspberry Pi into a powerful mobile hotspot that keeps you connected on the go. With a few simple hardware additions and straightforward configuration tweaks, you can create a pocket-sized Wi-Fi access point perfect for remote work, travel, or solar-powered Raspberry Pi projects. Enjoy secure, reliable internet access wherever your adventures take you, all powered by the versatile and affordable Raspberry Pi platform. Unleash the potential of ultra-portable connectivity and experience the freedom of having your own personal hotspot in the palm of your hand.
What You’ll Need
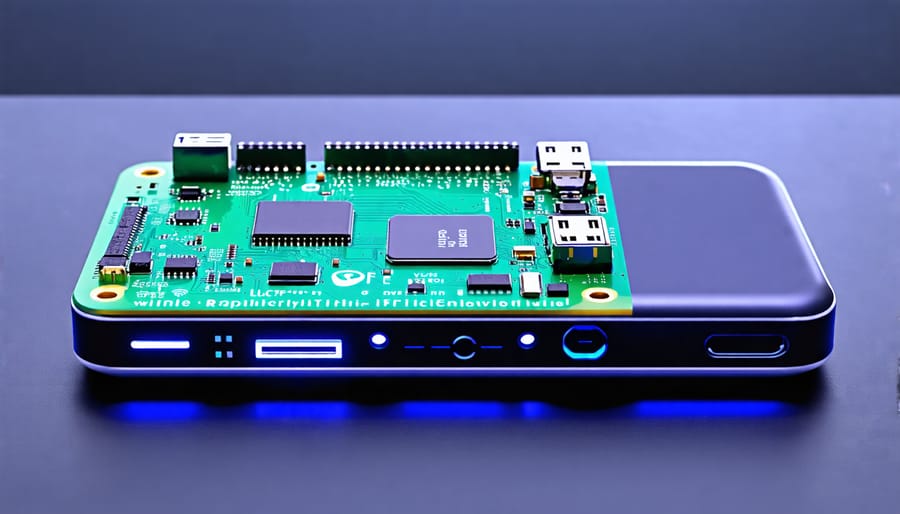
Hardware Requirements
To create a Raspberry Pi mobile hotspot, you’ll need a Raspberry Pi model 3 or 4, which comes with built-in Wi-Fi and Ethernet ports. Ensure you have a compatible power supply, such as the official Raspberry Pi power adapter or a portable power bank that can deliver at least 2.5A. You’ll also need a microSD card (8GB minimum) to install the operating system and a USB keyboard and mouse for initial setup. Optionally, consider using a portable battery case for enhanced mobility and protection.
Software Requirements
To set up your Raspberry Pi as a mobile hotspot, you’ll need a Raspberry Pi board (any model) with a compatible operating system, such as Raspberry Pi OS (previously called Raspbian). This lightweight Linux distribution is optimized for the Raspberry Pi and comes with most of the necessary software packages pre-installed. However, you may need to install additional packages like dnsmasq and hostapd using the command line. These packages enable the Raspberry Pi to function as a DHCP server and access point, respectively. With the right operating system and software configuration, your Raspberry Pi will be ready to transform into a portable Wi-Fi hotspot.
Step-by-Step Setup Guide
Installing the Operating System
To install the operating system on your Raspberry Pi for the mobile hotspot project, you’ll need to download the latest version of Raspberry Pi OS from the official website. Once downloaded, use a tool like Etcher to write the OS image to a microSD card. This process is straightforward and well-documented in the installing the operating system guide.
With the OS installed, insert the microSD card into your Raspberry Pi and power it on. The initial setup wizard will guide you through configuring basic settings like timezone, locale, and password. It’s essential to update the system packages to ensure you have the latest software and security patches.
Open a terminal and run the following commands:
“`
sudo apt update
sudo apt upgrade
“`
This may take a few minutes, but it’s a crucial step to ensure your Raspberry Pi is up-to-date and ready for the mobile hotspot configuration. With the operating system installed and updated, you’re now prepared to move on to the next steps of setting up your Raspberry Pi as a portable Wi-Fi access point.
Configuring the Network Settings
To configure the network settings for your Raspberry Pi mobile hotspot, you’ll need to set up both the Wi-Fi and ethernet connections. Start by connecting your Raspberry Pi to your router or modem via an ethernet cable. This will provide internet access to your hotspot.
Next, open the configuration file for the dhcpcd service by running sudo nano /etc/dhcpcd.conf in the terminal. Scroll down to the bottom of the file and add the following lines:
interface wlan0
    static ip_address=192.168.4.1/24
    nohook wpa_supplicant
This sets a static IP address for the Wi-Fi interface (wlan0) and prevents the dhcpcd service from automatically configuring it.
Save the changes and exit the editor. Then, open the hostapd configuration file with sudo nano /etc/hostapd/hostapd.conf and add the following:
interface=wlan0
driver=nl80211
ssid=YourHotspotName
hw_mode=g
channel=7
wmm_enabled=0
macaddr_acl=0
auth_algs=1
ignore_broadcast_ssid=0
wpa=2
wpa_passphrase=YourPassword
wpa_key_mgmt=WPA-PSK
wpa_pairwise=TKIP
rsn_pairwise=CCMP
Replace “YourHotspotName” and “YourPassword” with your desired hotspot name and password. This configuration sets up the Wi-Fi interface as an access point, specifying the network name, password, and security settings.
Finally, enable packet forwarding by uncommenting the line net.ipv4.ip_forward=1 in the file /etc/sysctl.conf. This allows traffic to be routed between the ethernet and Wi-Fi interfaces.
Reboot your Raspberry Pi for the changes to take effect. Your mobile hotspot should now be up and running, allowing devices to connect to it wirelessly while sharing the internet connection from the ethernet port.
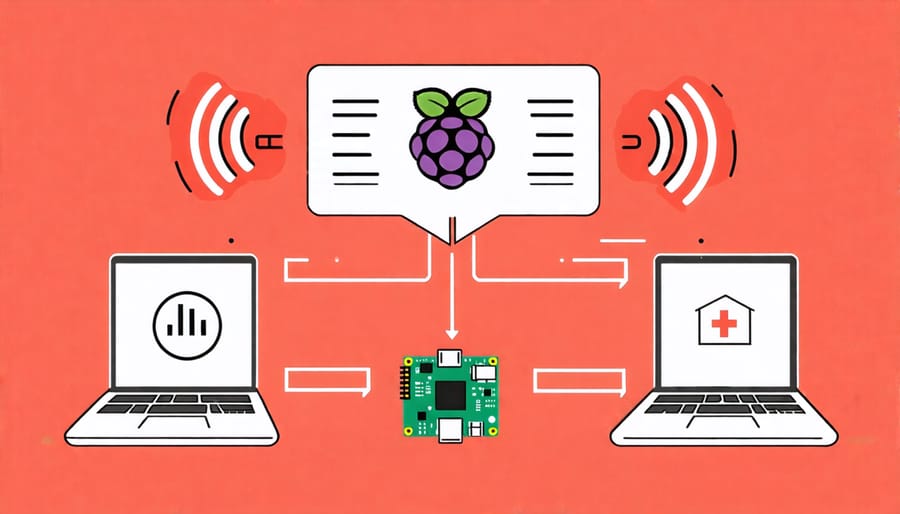
Enabling Internet Sharing
To enable internet sharing on your Raspberry Pi, you’ll need to configure it as a Wi-Fi access point and set up network address translation (NAT). Start by updating your system packages and installing the necessary software, such as hostapd and dnsmasq. Next, edit the configuration files for these services to specify your desired Wi-Fi network name (SSID), password, and IP address range for connected devices.
In the hostapd configuration file, define the wireless interface, SSID, and security settings. For dnsmasq, configure the IP address range and any additional DNS settings. You’ll also need to modify the network interfaces file to assign static IP addresses to the Wi-Fi and Ethernet interfaces.
To enable NAT, you’ll need to edit the sysctl.conf file and uncomment the line that enables IP forwarding. Then, use iptables to set up the necessary rules for masquerading and forwarding traffic between the Wi-Fi and Ethernet interfaces.
Once you’ve completed the configuration, start the hostapd and dnsmasq services and ensure they run on boot. You can now connect your devices to the Raspberry Pi’s Wi-Fi network and access the internet through the shared connection.
Remember to secure your Wi-Fi network with a strong password and consider implementing additional security measures, such as MAC address filtering or a captive portal, to protect your devices and data. With your Raspberry Pi configured as a mobile hotspot, you can enjoy the convenience of a portable Wi-Fi access point wherever you go.
Troubleshooting Common Issues
Connection Problems
If you’re experiencing issues with devices connecting to your Raspberry Pi hotspot, there are several steps you can take to troubleshoot the problem. First, ensure that your Raspberry Pi is powered on and the hotspot is active. Check the Wi-Fi settings on your device to confirm that the Raspberry Pi’s hotspot is visible and that you’re entering the correct password. If the connection is slow or unstable, try moving your device closer to the Raspberry Pi to improve signal strength. Additionally, verify that your Raspberry Pi’s software and packages are up to date, as outdated software can sometimes cause connectivity issues. If you’ve followed these steps and are still experiencing problems, try restarting both your Raspberry Pi and the device you’re trying to connect. If the issue persists, consult the Raspberry Pi documentation or seek assistance from the community forums for further guidance on resolving specific connection problems.
Slow Internet Speeds
To address slow internet speeds when using your Raspberry Pi as a mobile hotspot, consider optimizing the hotspot’s performance by following these tips:
1. Position your Raspberry Pi in an area with minimal interference from other electronic devices or physical barriers.
2. Ensure your Raspberry Pi is not overheating by providing adequate ventilation and consider using a heatsink or fan if necessary.
3. Limit the number of connected devices to reduce network congestion and improve overall performance.
4. Configure your Raspberry Pi to use the 5GHz Wi-Fi band, which offers faster speeds and less interference compared to the 2.4GHz band.
5. Update your Raspberry Pi’s operating system and relevant packages to ensure you have the latest performance improvements and bug fixes.
By implementing these optimization techniques, you can significantly enhance your Raspberry Pi mobile hotspot’s connection speed and overall performance, ensuring a smooth and reliable internet experience for your connected devices.
Conclusion
In conclusion, using a Raspberry Pi as a mobile hotspot offers a highly versatile and cost-effective solution for creating a portable Wi-Fi access point. This project empowers you to stay connected on the go, whether you’re working remotely, traveling, or simply need a reliable internet connection in areas with limited access. The compact size and low power consumption of the Raspberry Pi make it an ideal choice for mobile connectivity.
By following the step-by-step instructions provided in this article, you can easily set up your own Raspberry Pi mobile hotspot and enjoy the benefits of secure, portable internet access. The ability to customize settings and control network access adds an extra layer of flexibility to suit your specific needs.
We encourage you to embark on this exciting project and explore the possibilities that a Raspberry Pi mobile hotspot offers. Whether you’re a tech enthusiast, hobbyist, or educator, this project provides a hands-on learning experience and opens up new opportunities for connectivity and innovation. So, grab your Raspberry Pi, follow the guide, and unlock the potential of mobile internet access today!