Unleash the power of your Raspberry Pi with these five innovative networking projects that will elevate your skills and expand your device’s capabilities. Set up a VNC remote access solution to control your Pi from anywhere, create a network-attached storage (NAS) server for centralized file storage, transform your Pi into a secure VPN server to protect your online privacy, build a custom network monitoring tool to keep tabs on your home network, or develop a web-based control panel to manage your smart home devices effortlessly. With step-by-step tutorials and easy-to-follow instructions, these projects are perfect for both beginners and experienced enthusiasts looking to take their Raspberry Pi knowledge to the next level. Get ready to dive into the exciting world of Raspberry Pi networking and unlock endless possibilities!
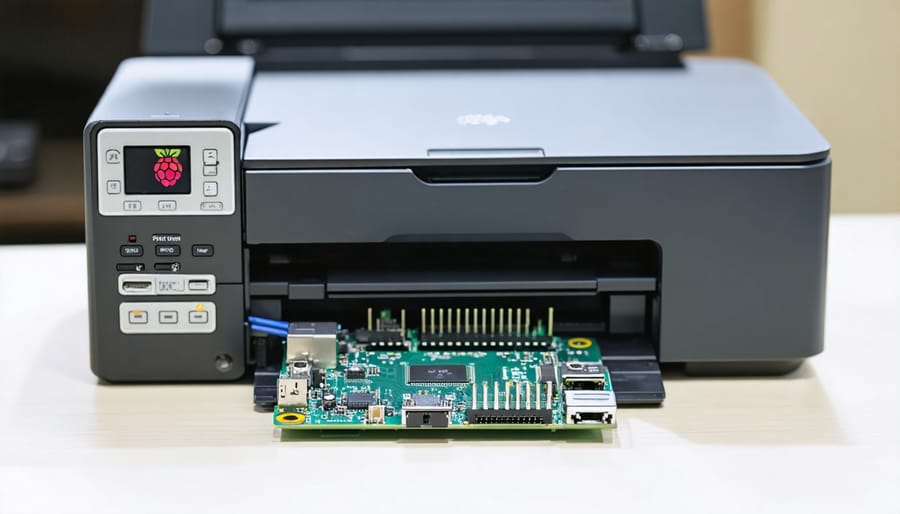
Raspberry Pi Network Print Server
Hardware and Software Requirements
To get started with Raspberry Pi networking projects, you’ll need a Raspberry Pi board (Pi 3 or newer recommended), a power supply, an SD card (8GB or larger), and an Ethernet cable. Optional components include a USB Wi-Fi adapter, breadboard, jumper wires, and LEDs. On the software side, you’ll need to install Raspberry Pi OS, along with packages like dnsmasq, hostapd, and iptables for certain projects. Python, along with libraries such as Flask and requests, will be used for scripting. Additional tools like Nmap, Wireshark, and OpenVPN may be required depending on the specific project.
Step-by-Step Configuration Guide
Here’s a step-by-step guide to configure your Raspberry Pi as a print server:
1. Install CUPS (Common Unix Printing System) on your Pi by running sudo apt-get install cups in the terminal.
2. Add your user to the “lpadmin” group with sudo usermod -a -G lpadmin pi to manage printers.
3. Edit the CUPS configuration file at /etc/cups/cupsd.conf. Find the “Listen” directive and add Port 631 below it. In the “location” sections, add Allow @local to grant access to the CUPS web interface.
4. Restart CUPS using sudo service cups restart.
5. Connect your printer to the Pi via USB and power it on.
6. Open a web browser and navigate to http://localhost:631. Click “Administration” and “Add Printer”.
7. Select your printer from the list and click “Continue”. Choose the appropriate driver or provide a PPD file.
8. Set the printer options and click “Add Printer”. Print a test page to ensure it’s working correctly.
9. To access the printer from other devices on your network, note down the Pi’s IP address using hostname -I.
With these steps, your Raspberry Pi print server is ready to use. Now any device on your local network can send print jobs to the connected printer via the Pi, making printing more convenient and centralized.

Raspberry Pi Network Ad Blocker

Setting Up Pi-hole
To set up Pi-hole on your Raspberry Pi, start by installing the Raspberry Pi OS using the official Raspberry Pi Imager. Once your Pi is up and running, open a terminal and enter the following command to download and run the Pi-hole installer:
“`
curl -sSL https://install.pi-hole.net | bash
“`
Follow the on-screen prompts to configure your Pi-hole settings, such as selecting your preferred DNS provider and setting a custom admin password. After the installation is complete, note down the IP address of your Pi-hole, which will be used to configure your devices.
Next, access your router’s settings and change the DNS server to the IP address of your Pi-hole. This will ensure that all devices connected to your network use Pi-hole for DNS resolution. Alternatively, you can configure each device individually to use Pi-hole as its DNS server.
To manage your Pi-hole settings and view statistics, access the web interface by entering your Pi-hole’s IP address in a web browser. From here, you can add custom blocklists, whitelist specific domains, and monitor your network’s activity.
Customizing Blocked Domains
To customize the blocked domains list on your Raspberry Pi, open the Pi-hole admin interface and navigate to the “Blacklist” tab. Here, you can manually add or remove domains to block or allow. Simply enter the domain name (e.g., example.com) in the input field and click “Add” to block it or “Add (whitelist)” to allow it. You can also import a list of domains from a pre-existing file by clicking “Choose File” under the “Import Domains” section and selecting the appropriate file. Remember to click “Apply Changes” after making any modifications to ensure they take effect immediately. With these simple steps, you can easily customize your ad-blocking experience on the Raspberry Pi.
Raspberry Pi Network Monitoring Dashboard
Choosing a Monitoring Tool
When choosing a monitoring tool for your Raspberry Pi networking project, consider popular open-source solutions like Nagios, Zabbix, and Icinga. Nagios offers a comprehensive monitoring system with a web-based interface, allowing you to monitor network services, host resources, and more. Zabbix provides real-time monitoring, alerting, and visualization features, making it easy to identify and resolve issues quickly. Icinga, a fork of Nagios, offers a user-friendly web interface and a powerful plugin system for extending its capabilities. While all three tools are feature-rich, Nagios and Icinga may have a steeper learning curve compared to Zabbix. Consider your specific monitoring needs, the scale of your network, and your level of technical expertise when selecting a tool. Regardless of your choice, these open-source solutions provide robust monitoring capabilities for your Raspberry Pi networking projects without the cost of proprietary software.
Installation and Setup
To get started with your Raspberry Pi networking project, you’ll need to install the necessary software. Begin by setting up the Raspberry Pi OS on your device using the official Raspberry Pi Imager. Once your Pi is up and running, open the terminal and update the system packages with the command `sudo apt update && sudo apt upgrade`.
Next, install the specific tools required for your chosen project. For example, to set up a Pi-hole ad-blocker, run `curl -sSL https://install.pi-hole.net | bash` to download and execute the installation script. Follow the on-screen prompts to configure your Pi-hole settings.
If you’re creating a VPN server, you’ll need to install OpenVPN with `sudo apt install openvpn` and then follow a guide to generate the necessary keys and certificates. Remember to secure your Raspberry Pi by changing the default password and enabling SSH key-based authentication for remote access. With the foundation set, you’re ready to dive into your networking project and explore the possibilities of your Raspberry Pi.
Configuring Dashboards
Here is the content for the “Configuring Dashboards” section, based on the provided details and constraints:
To customize your monitoring dashboards, start by selecting the metrics you want to track, such as network traffic, CPU usage, or storage capacity. Most dashboard solutions offer a variety of pre-built widgets and visualizations that you can drag and drop onto your dashboard canvas. Arrange these elements in a logical layout that helps you quickly identify important information at a glance. Many dashboards also allow you to set thresholds and alerts, so you receive notifications when key metrics exceed defined limits. Don’t forget to take advantage of customization options like color schemes, labels, and sizing to create dashboards that are both informative and visually appealing. With a little experimentation, you can design the perfect dashboard to keep tabs on your Raspberry Pi’s networking performance.
Word count: 123
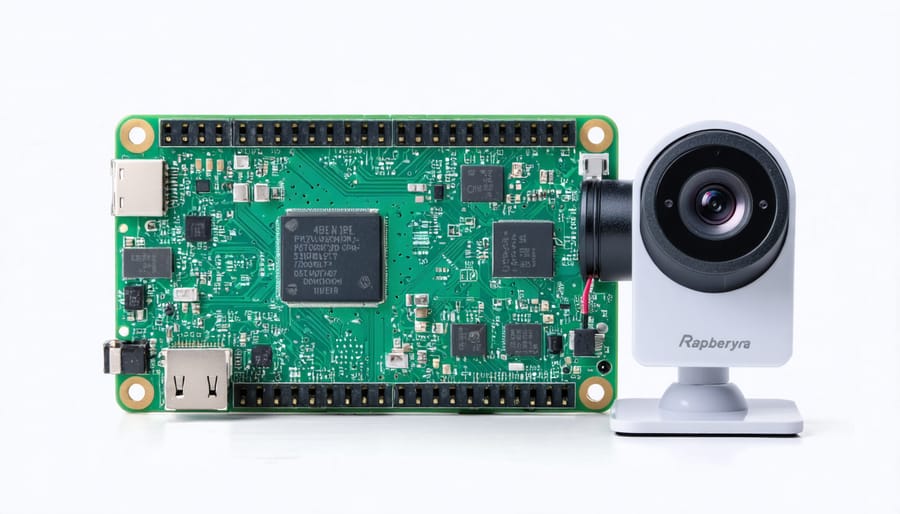
Raspberry Pi Network Security Camera

Camera Module Setup
To set up the Raspberry Pi camera module, first ensure your Pi is powered off. Locate the camera port on your Pi board, typically near the HDMI port. Gently lift the plastic clip on the port and insert the ribbon cable of the camera module, with the blue side facing the Ethernet port. Push the clip back down to secure the cable. Boot up your Pi and open the configuration tool by typing “sudo raspi-config” in the terminal. Navigate to “Interface Options” and enable the camera. Reboot your Pi for the changes to take effect. You can now use the camera module in your projects!
Configuring Motion Detection
To set up motion detection on your Raspberry Pi, first install the motion software by running “sudo apt-get install motion” in the terminal. Once installed, open the configuration file with “sudo nano /etc/motion/motion.conf”. Uncomment “daemon on” to run Motion as a background process. Set “framerate” to your desired FPS and “width” and “height” to your preferred resolution. Adjust sensitivity settings like “threshold” and “minimum_motion_frames” to fine-tune detection accuracy. Specify the output directory for captured images or videos with “target_dir”. Enable the web control interface by setting “webcontrol_localhost off” and “stream_localhost off”. Configure your camera settings, such as “rotate” for orientation and “brightness”. Finally, start the motion service with “sudo service motion start”. Access the web interface at your Pi’s IP address on port 8081 to monitor the live stream and review detected motion events.
Raspberry Pi Network File Server
Installing NFS Server Packages
To set up an NFS server on your Raspberry Pi, you’ll need to install the necessary packages. Start by updating your system with sudo apt update and sudo apt upgrade. Then, install the NFS kernel server package by running sudo apt install nfs-kernel-server. This package provides the essential components for sharing directories over the network. Additionally, install the rpcbind package with sudo apt install rpcbind, which helps manage Remote Procedure Call (RPC) services. Once these packages are installed, you’ll be ready to configure your NFS server and start sharing directories with other devices on your network.
Configuring Shared Directories
To configure the directories you want to share over NFS, open the /etc/exports file on the Raspberry Pi using a text editor like nano. Each line in this file specifies a directory to be exported, the client IP address or hostname allowed to access it, and any additional options. For example, to share the /home/pi/shared directory with read-write permissions to the client with IP address 192.168.1.100, add the following line:
/home/pi/shared 192.168.1.100(rw,sync,no_subtree_check)
You can replace the IP address with the client’s hostname or use wildcards to allow access from multiple clients. Save the file and run the command “sudo exportfs -a” to apply the changes without restarting the NFS server.
Setting Up User Permissions
To manage user access to shared folders on your Raspberry Pi, you’ll need to configure user permissions. Start by creating user accounts for each person who needs access using the adduser command. Then, assign appropriate permissions to the shared folders using the chmod command. For example, to give read and write access to a specific user, use chmod 660 /path/to/folder. To grant access to multiple users, consider creating a user group with the groupadd command and add the relevant users to that group. Finally, use chown to change the owner and group of the shared folders accordingly, such as chown -R :groupname /path/to/folder.
Conclusion
Raspberry Pi networking projects offer a wealth of opportunities for tech enthusiasts, hobbyists, and educators to explore the potential of this versatile single-board computer. By leveraging the power of the Raspberry Pi, users can create their own ad-blocking VPN server, set up a Pi-hole to block ads across their entire network, transform their Pi into a network-attached storage device, build a custom wireless access point, or even develop a network monitoring tool. These projects not only provide practical solutions to common networking challenges but also offer valuable learning experiences in network configuration, Linux administration, and programming. With the abundance of online resources, tutorials, and supportive communities, anyone can embark on these Raspberry Pi networking projects, regardless of their skill level. So, whether you’re a beginner looking to gain hands-on experience or an experienced user seeking to expand your knowledge, we encourage you to dive in and explore the exciting world of Raspberry Pi networking projects. Embrace the opportunity to learn, create, and innovate while unlocking the full potential of your Raspberry Pi.


